
Choose the Right Method for Setting Your Watch
When it comes to setting your watch, it’s important to choose the proper method based on the type of watch you own. Whether you have an analog watch with hands, a digital watch with a numeric display, or a smartwatch with various features, each requires a specific technique to ensure accurate timekeeping. By selecting the appropriate method, you can easily set and adjust your watch according to your needs. Let’s explore the different methods for setting your watch, so you can ensure that it always shows the correct time.
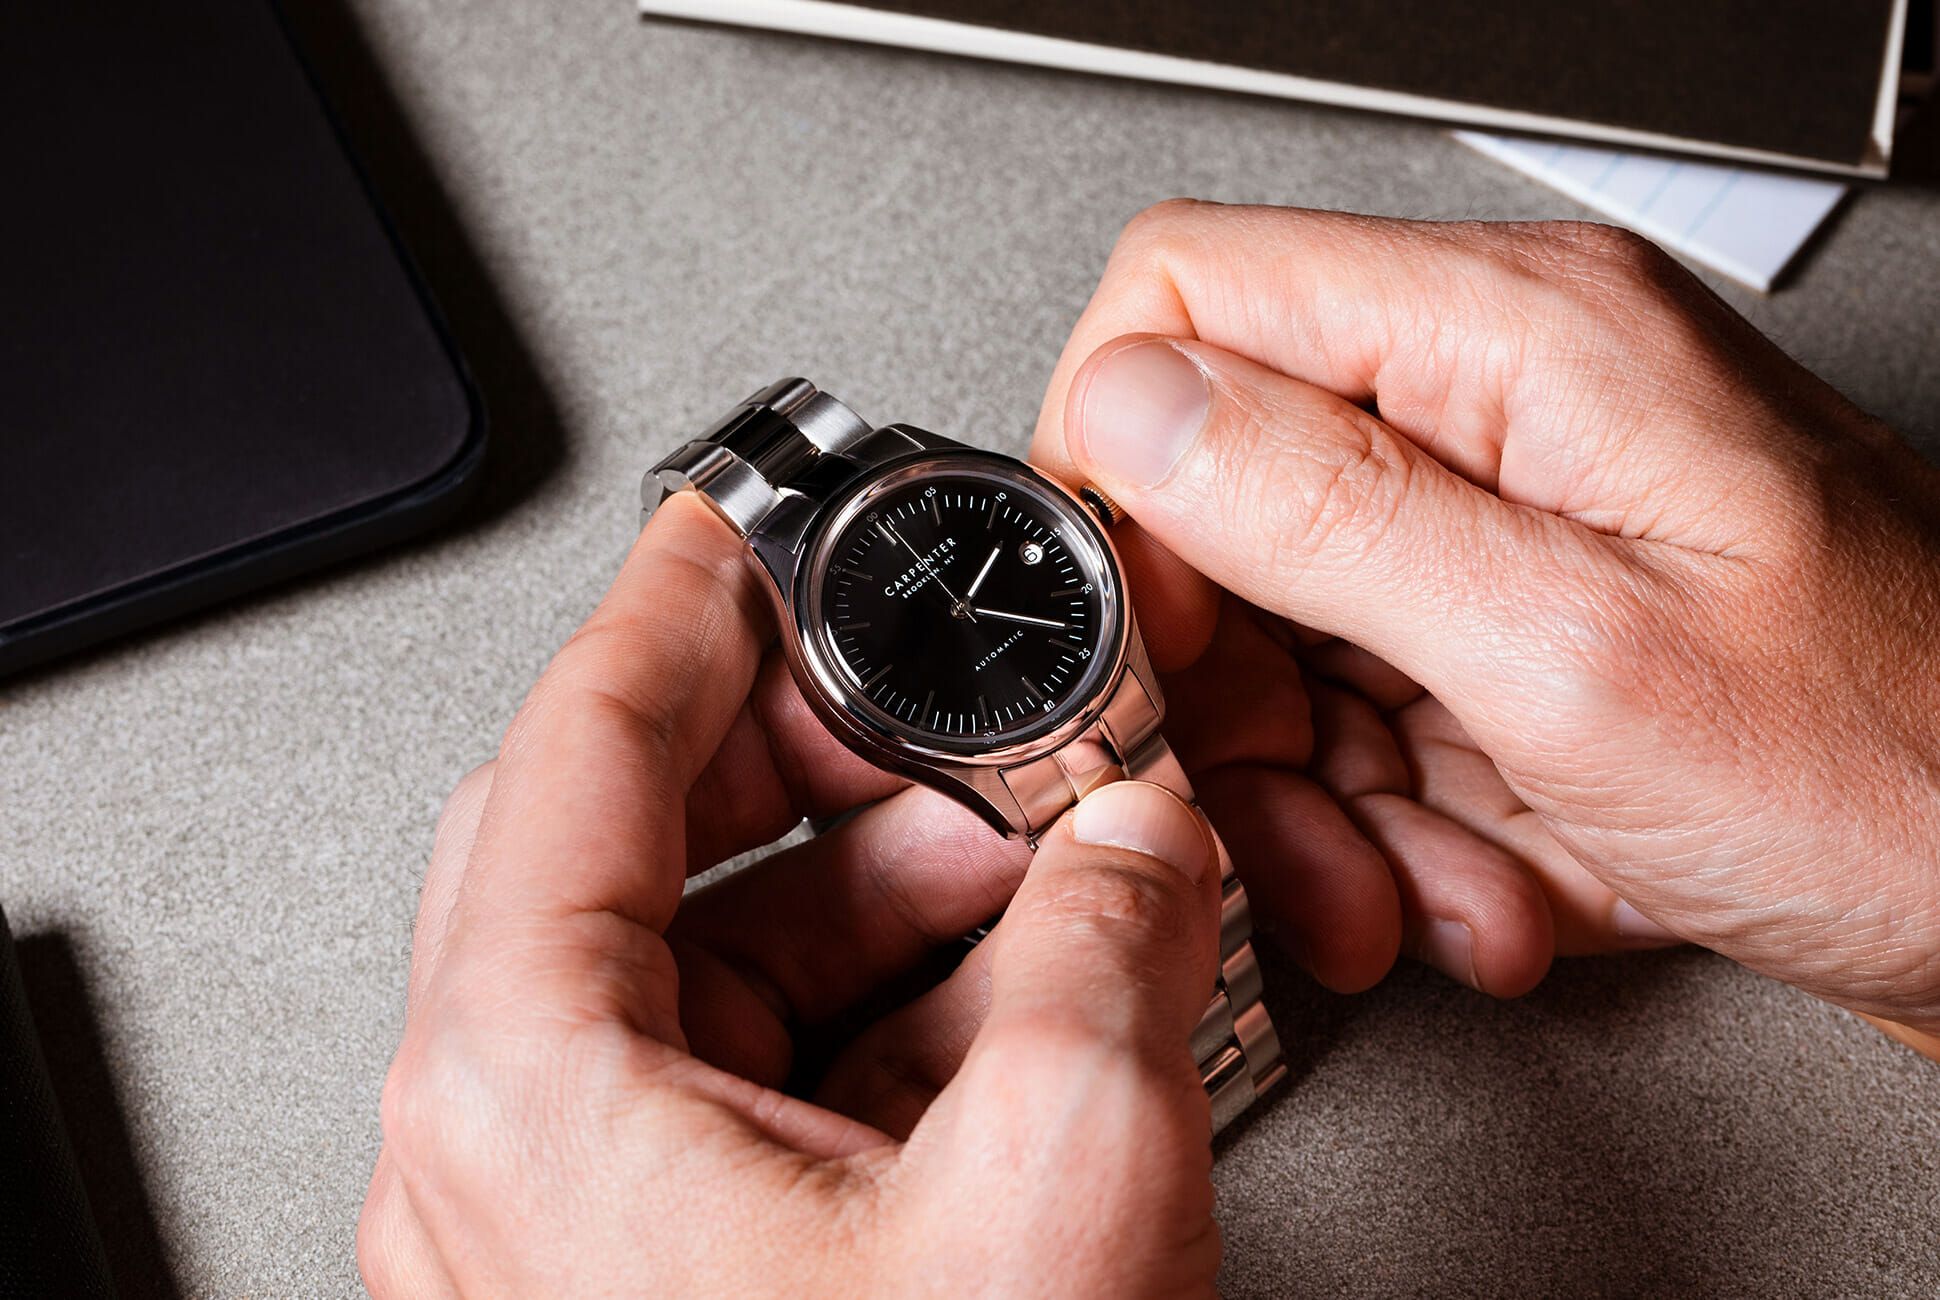
For analog watches, the classic method of setting the watch hands is the most common. This involves pulling out the crown, typically located on the side of the watch, and rotating it clockwise or counterclockwise to adjust the time. Some analog watches may also have a separate crown for adjusting the date or day, which can be set by following specific instructions provided by the watch manufacturer.
If you own a digital watch, setting the time is usually as simple as pressing a few buttons. Digital watches typically have dedicated buttons for adjusting the hours and minutes, as well as additional buttons for setting other functions such as the date or alarm. By referring to the watch’s instruction manual, you can navigate the menu and make the necessary adjustments to ensure accurate timekeeping.
Smartwatches, the latest innovation in timekeeping technology, offer a wide range of features beyond just telling time. These devices often have touchscreens or digital displays, making it easy to set the time, date, and other functions directly on the watch or through a connected smartphone app. Smartwatches also allow for customization, enabling you to personalize various settings to suit your preferences.
Once you have determined the appropriate method for your watch type, you can proceed with setting the time, date, and any additional features. Remember to refer to the watch’s instruction manual for detailed guidance, as the specific steps may vary depending on the brand and model of your watch. Taking the time to correctly set your watch will ensure its accuracy and enhance your overall experience of using it on a daily basis.
By carefully selecting the right method and following the correct steps, you can effectively set your watch and enjoy the convenience and functionality it provides. Whether you prefer the traditional elegance of an analog watch, the digital clarity of a numeric display, or the advanced features of a smartwatch, knowing how to properly set your timepiece will help you keep track of time with confidence and style.
Setting an Analog Watch
Setting an analog watch requires a simple yet precise process to ensure accurate timekeeping. Here are the steps to follow:
- Locate the crown: The crown is a small knob usually positioned on the right-hand side of the watch’s case. It may have multiple positions, including a closed position, a date adjustment position, and a time adjustment position.
- Unlock the crown: Gently pull out the crown to the time adjustment position. This will allow you to set the time. If your watch has a separate crown for date adjustment, you may need to pull it out to the corresponding position as well.
- Set the date (if applicable): If your analog watch has a date feature, rotate the crown in a clockwise or counterclockwise direction to adjust the date. Make sure to avoid setting the date between 9 pm and 3 am, as this can interfere with the watch’s automatic date change mechanism.
- Set the time: Rotate the crown in either direction until the correct time is displayed on the watch’s face. Be mindful of whether it is AM or PM, especially if your watch does not have a 24-hour display.
- Push in the crown: Once the time and date are set, carefully push the crown back to its closed position. Ensure it is fully secured to maintain the watch’s water resistance and prevent accidental adjustments.
Some analog watches also have additional features, such as a day indicator or a second time zone. To set these features, refer to the instruction manual provided with your watch. It will provide specific instructions on how to adjust these functions using the crown or other dedicated buttons.
Keep in mind that analog watches may require occasional adjustment due to factors like variations in temperature or daily wear. It is always a good idea to periodically compare your watch’s time to a reliable time source, such as your smartphone or a synchronized clock, to ensure its accuracy. Adjust the time as necessary to maintain precise timekeeping.
With these simple steps, you can easily set your analog watch to the correct time and enjoy the classic elegance and reliability it offers. Remember to handle the crown with care and follow the manufacturer’s instructions for any additional features to ensure optimal performance and longevity of your analog timepiece.
Setting a Digital Watch
Setting a digital watch is a straightforward process that can be done quickly and accurately. Here’s a step-by-step guide to help you set the time on your digital watch:
- Find the mode button: Look for a button labeled “Mode” on your watch. This button allows you to navigate through the different functions and settings of your digital watch.
- Press the mode button: Press the mode button repeatedly until you reach the time setting mode. Depending on your watch, this mode may be indicated by a specific icon or abbreviation such as “T” or “Time.”
- Select the hours: Once you’re in the time setting mode, you’ll need to adjust the hours. This is typically done by pressing one of the other buttons, often labeled “Up” or “Hour.” Press the button repeatedly until the correct hour is displayed on the watch’s screen.
- Select the minutes: After setting the hours, move on to adjusting the minutes. Similar to adjusting the hours, use the designated button, usually labeled “Down” or “Minute,” to increase or decrease the minutes until the desired time is shown.
- Save the time: Once you’ve set the correct hour and minute, exit the time setting mode by pressing the mode button again. Your digital watch will now display the accurate time.
Some digital watches offer additional features, such as alarms, timers, or multiple time zones. To set these functions, consult your watch’s manual for specific instructions. It will provide guidance on accessing these features and making adjustments according to your preferences.
Remember that digital watches may also have date settings. If your watch includes a date display, you might be able to set it using the same mode button or a dedicated button labeled “Date.” Refer to your watch’s manual to understand how to access and adjust the date function.
Keep in mind that different digital watch models may have variations in their button layouts and navigation systems. If you’re unsure about how to set your specific digital watch, consult the manufacturer’s instructions or visit their official website for assistance.
By following these simple steps and understanding the specific functions of your digital watch, you can easily and accurately set the time on your watch. Enjoy the convenience and reliability of your digital timepiece as it keeps you on schedule throughout the day.
Setting a Smartwatch
Setting a smartwatch involves a combination of using the touchscreen display, physical buttons, and sometimes a connected smartphone app. Here’s a step-by-step guide on how to set up and customize your smartwatch:
- Charge your smartwatch: Before setting up your smartwatch, ensure that it is fully charged. Most smartwatches come with a charging cable or dock, so connect it to a power source and let it charge until full.
- Power on your smartwatch: Once your smartwatch is charged, power it on by pressing and holding the power button or following the specific instructions provided by the manufacturer.
- Pair with your smartphone: Many smartwatches require pairing with a smartphone to access full functionality. Install the companion app provided by the smartwatch manufacturer on your smartphone and follow the on-screen instructions to pair the devices via Bluetooth.
- Set the time and date: After pairing, your smartwatch should automatically sync with your smartphone’s time and date. If not, you can manually adjust the time and date settings directly on the smartwatch or through the companion app.
- Customize watch faces: One of the advantages of a smartwatch is the ability to change and customize watch faces. Explore the available watch faces on your smartwatch or download additional ones through the companion app. Select a watch face that suits your style and preferences.
- Configure notifications and settings: Smartwatches offer various features like incoming call alerts, text messages, email notifications, and app notifications. Access the settings menu on your smartwatch or the companion app to customize which notifications you want to receive on your smartwatch.
- Explore additional features and apps: Smartwatches may have additional features such as fitness tracking, music control, weather updates, and more. Take the time to explore and configure these features according to your interests and preferences.
- Adjust other settings: Depending on the smartwatch model, you may have access to settings like display brightness, sound, vibration intensity, and more. Use the settings menu on your smartwatch or the companion app to adjust these settings to your liking.
Remember to regularly update your smartwatch’s firmware and companion app to ensure you have the latest features and bug fixes. Check for updates through the companion app or visit the manufacturer’s website for instructions on updating your smartwatch.
Setting up and personalizing your smartwatch enables you to make the most out of this advanced wearable technology. Explore the various customization options and features to tailor your smartwatch experience to suit your lifestyle, preferences, and needs.
Setting the Date and Day on Your Watch
Many watches, especially analog and some digital watches, come with the added functionality of displaying both the date and day of the week. Here’s a guide on how to set the date and day on your watch:
- Identify the crown position: Most watches have multiple crown positions to adjust different functions. Determine which position is designated for date and day adjustment.
- Unlock the crown: Gently pull out the crown to the appropriate position for date and day adjustment. This position is often between the closed and time adjustment positions.
- Adjust the date: Rotate the crown in a clockwise or counterclockwise direction to change the date displayed on your watch. Be careful not to set the date between 9 pm and 3 am, as it may interfere with the watch’s automatic date change mechanism.
- Set the day: If your watch includes a day indicator, continue rotating the crown to adjust the day of the week. The days may be displayed in abbreviated or full-text format, depending on the watch design.
- Lock the crown: Once the date and day are correctly set, gently push the crown back to its closed position. Ensure that it is fully secured to prevent accidental adjustments and maintain the watch’s water resistance.
It’s important to note that not all watches have a day indicator, and some watches may have a separate crown or pusher specifically for adjusting the day. Consult your watch’s instruction manual for specific guidance on how to set the date and day functions for your particular model.
Some watches, particularly digital and smartwatches, automatically adjust the date and day based on the connected smartphone’s settings. If your watch is connected to a smartphone, ensure that the correct date and day are displayed on your phone for accurate synchronization.
Occasionally, you may need to manually advance the date and day if your watch does not have an automatic feature or if it hasn’t been worn for an extended period. In such cases, refer to your watch’s manual for instructions on how to increment the date and day display.
By following these steps, you can easily set the date and day on your watch, ensuring that you always have the accurate information at your fingertips. Keep in mind that proper maintenance and periodic checks will ensure the smooth operation and longevity of these features on your timepiece.
Setting the Time on Your Watch
Accurate timekeeping is essential for any watch, and knowing how to set the time properly ensures that your watch displays the correct hour and minute. Here’s a step-by-step guide on how to set the time on your watch:
- Locate the crown: The crown is typically a small knob on the side of your watch. It may have multiple positions for different functions, including the time adjustment.
- Unlock the crown: Gently pull out the crown to the time adjustment position. This position allows you to set the time on your watch.
- Adjust the hours: Rotate the crown in a clockwise or counterclockwise direction until the correct hour is displayed on your watch’s face. Pay attention to whether it is AM or PM, especially if your watch does not have a 24-hour display.
- Adjust the minutes: After setting the hours, continue rotating the crown to adjust the minutes. Align the minute hand with the desired minute marker on the watch’s face.
- Push in the crown: Once the time is set accurately, gently push the crown back to its closed position. Ensure that it is fully secured to maintain the watch’s water resistance and prevent unintentional adjustments.
For watches with a digital display or touchscreen, setting the time is usually done through the settings menu. Access the menu by pressing the designated buttons or tapping the screen, and navigate to the time adjustment option. Use the provided controls to set the correct hour and minute. Some digital watches also offer the option to set the time in 12-hour or 24-hour formats.
If your watch has a feature for automatically connecting to a time signal, such as through radio signals or internet synchronization, follow the manufacturer’s instructions to enable this feature. This ensures that your watch remains accurate by regularly updating the time based on the atomic clock.
When adjusting the time on your watch, it’s best to refer to a reliable time source, such as your computer or a smartphone that is synchronized with an accurate time server. This ensures that you set your watch precisely.
Remember that depending on the watch’s movement type and technical specifications, adjusting the time may differ slightly. Always consult the watch’s instruction manual and guidelines provided by the manufacturer for specific steps and recommendations.
By following these steps and taking care when setting the time on your watch, you can ensure its accuracy and enjoy reliable timekeeping on your wrist.
Adjusting the Time Zone on Your Watch
When traveling or living in different time zones, it’s essential to adjust the time on your watch to accurately reflect the local time. Here’s a step-by-step guide on how to adjust the time zone on your watch:
- Identify the crown or buttons: Depending on your watch, you may need to use the crown or dedicated buttons to adjust the time zone. Refer to your watch’s manual to determine the correct method.
- Unlock the crown or navigate to the settings: If your watch has a crown, gently pull it out to the appropriate position for time zone adjustment. For watches with buttons, locate the button(s) that allow you to access the settings menu.
- Select the time zone: Rotate the crown or use the buttons to navigate through the available time zones. Find the time zone that corresponds to your current location or the desired time zone you want to set on your watch.
- Adjust the time: Once you’ve selected the correct time zone, proceed to adjust the hour and minute using the crown or buttons. Ensure that you set the time accurately to match the local time.
- Confirm the changes: After adjusting the time zone and time, push in the crown or navigate to the confirmation option in the settings menu to save the changes.
For digital watches or smartwatches, adjusting the time zone is often done through the settings menu. Access the menu using the designated buttons or touchscreen, and navigate to the time or world clock settings. From there, select the desired time zone and adjust accordingly.
It’s important to note that some modern watches, particularly smartwatches, can sync with your smartphone’s time zone automatically when connected via Bluetooth. Ensure that your smartphone has the correct time zone set, and your watch should adjust accordingly.
If you frequently travel between different time zones, consider choosing a watch with a world time function or multiple time zone display. These watches allow you to set and switch between various time zones with ease.
Remember that adjusting the time zone on your watch may impact other settings or functions, such as alarms or reminders. Be sure to check and adjust these settings if necessary to ensure they align with the new time zone.
By following these steps and referencing your watch’s manual, you can easily adjust the time zone on your watch and keep track of time accurately, no matter where your travels take you.
Setting Additional Features on Your Watch
Many watches offer additional features beyond the basic time display. These features can vary depending on the watch type and model, but some commonly found functions include alarms, timers, stopwatches, and more. Here’s a guide on how to set these additional features on your watch:
- Access the settings menu: Depending on your watch, you may need to press a specific button or touch the screen to access the settings menu.
- Navigate to the desired feature: Once in the settings menu, navigate to the feature you want to set. This could include alarms, timers, stopwatch, or other functions available on your watch.
- Adjust the settings: Use the designated buttons or touchscreen controls to adjust the settings for the specific feature. For example, you can set the alarm time or duration for a timer.
- Save the changes: After adjusting the settings, save the changes by selecting the appropriate option in the settings menu or by pressing a confirmation button.
- Test the feature: To ensure that the feature is set correctly, test it by activating the alarm, starting the timer, or using any other function you have set. Make any necessary adjustments if the feature doesn’t work as expected.
Keep in mind that different watches may have unique methods for adjusting and setting various features. Consult your watch’s instruction manual for specific instructions catered to your watch’s model.
For digital watches and smartwatches, additional features can often be accessed and adjusted through the companion app on your smartphone. Install the app provided by the watch manufacturer and connect it to your watch. From the app, you can customize and set various features available on your watch.
Always take the time to explore the additional features that your watch offers. This way, you can make the most of the functionalities provided and personalize your watch experience to suit your needs and preferences.
Remember to regularly check and update the settings of these additional features as required. This will ensure that they continue to function correctly and provide you with the desired utility.
By following these steps and using the resources available, you can easily set the additional features on your watch and take advantage of the various functions it offers beyond timekeeping.
Tips and Troubleshooting
Setting and maintaining your watch can be a straightforward process, but sometimes you might encounter challenges or have additional questions. Here are some tips and troubleshooting advice to help you along the way:
- Refer to the instruction manual: Always consult the instruction manual provided by the watch manufacturer. It contains specific information and guidance tailored to your watch model.
- Handle the watch with care: When adjusting the time or other settings, handle the watch gently to avoid any potential damage. Avoid putting excessive pressure on the crown or buttons.
- Use reliable time sources: When setting the time, refer to reliable time sources like your smartphone, computer, or synchronized clocks to ensure accuracy.
- Regularly check and adjust the time: Even though watches are designed to keep accurate time, it’s good practice to check and adjust the time periodically to compensate for variations and maintain accuracy.
- Keep spare batteries: If your watch runs on batteries, consider keeping spare ones on hand. This way, you can easily replace them when needed and prevent interruptions to your watch’s operation.
- Get professional help if needed: If you encounter difficulties in setting or adjusting your watch, consider seeking assistance from a professional watchmaker or contacting the watch manufacturer’s customer support for guidance.
- Service your watch regularly: Maintain the performance and longevity of your watch by servicing it regularly. A professional watch servicing can address issues and ensure that all components are in optimal condition.
- Protect against water damage: If your watch is water-resistant, ensure that the crown is fully locked before exposure to water. Avoid immersing a non-water-resistant watch in water to prevent damage.
- Be mindful of magnetic fields: Some watches can be sensitive to magnetic fields, which can affect their accuracy. Keep your watch away from magnetic devices such as smartphones, speakers, and magnetic closures on bags.
- Keep your watch clean and free from dirt: Regularly clean your watch using a soft cloth to remove dust and dirt. Avoid using harsh chemicals or abrasive materials that could damage the watch’s finish.
If you encounter persistent issues with your watch, such as consistent timekeeping problems or malfunctioning features, it is best to consult a professional watchmaker for repair or troubleshooting assistance. They have the expertise and tools to diagnose and resolve issues effectively.
By following these tips and troubleshooting advice, you can ensure the proper functioning and longevity of your watch, allowing you to enjoy accurate timekeeping and the full range of features it offers.