
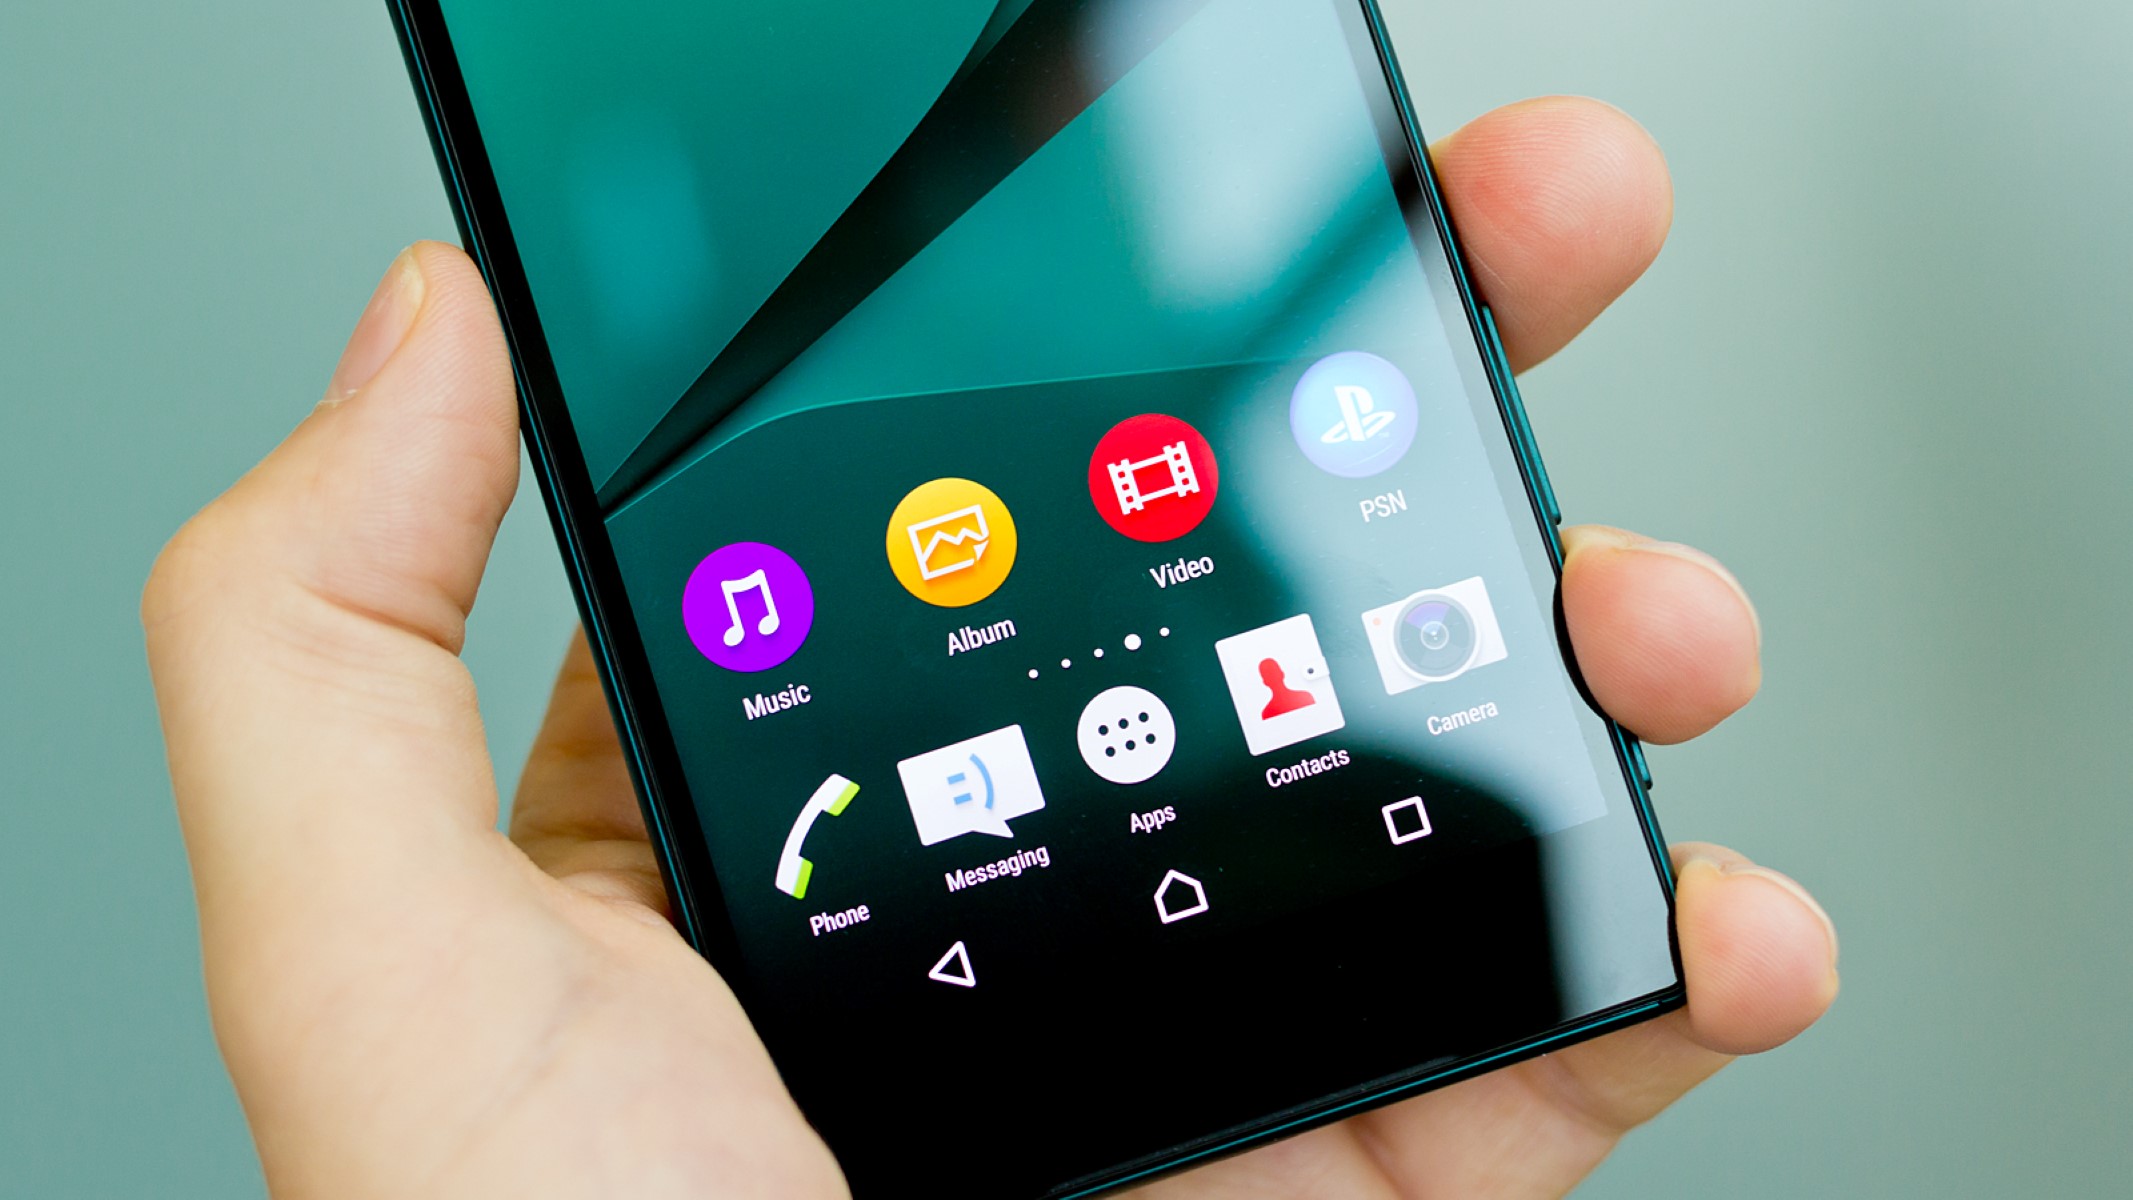
Enable Screen Capture
Screen capture, also known as screenshot, is a useful feature that allows you to capture and save a snapshot of what's currently displayed on your device's screen. Whether you want to save a memorable conversation, capture a funny meme, or document an important piece of information, knowing how to enable screen capture on your Xperia Z can be incredibly handy.
To enable screen capture on your Xperia Z, you can follow these simple steps:
-
Access Settings: Start by unlocking your Xperia Z and navigating to the "Settings" app. This can usually be found in the app drawer or by swiping down from the top of the screen and tapping the gear icon.
-
Select System: Within the Settings menu, scroll down and select "System."
-
Choose Gestures: In the System menu, look for and tap on "Gestures."
-
Toggle on Three-finger Screenshot: Once in the Gestures menu, you should see an option for "Three-finger Screenshot." Toggle this feature on to enable screen capture using a simple three-finger gesture on the screen.
By following these steps, you can easily enable the screen capture feature on your Xperia Z, allowing you to capture and save important information or memorable moments with just a simple gesture.
Remember, enabling screen capture on your device can be a game-changer, offering you a quick and convenient way to capture and save anything that appears on your screen. Whether it's a funny meme, an important piece of information, or a memorable conversation, having the ability to capture your screen can be incredibly useful in various situations.
Using the Power and Volume Down Buttons
One of the most straightforward methods to capture a screenshot on your Xperia Z is by using the physical buttons on the device. This method is especially useful when you need to capture a screenshot quickly without navigating through menus or settings. Here's how you can use the power and volume down buttons to capture a screenshot on your Xperia Z:
-
Identify the Content: First, ensure that the content you want to capture is displayed on the screen. Whether it's a funny meme, an important message, or a stunning image, make sure it's ready to be captured.
-
Locate the Buttons: On your Xperia Z, the power button is typically located on the right side of the device, while the volume down button is usually found on the same side, slightly above the power button.
-
Press the Buttons: Once the desired content is displayed, simultaneously press the power button and the volume down button. It's important to press both buttons at the same time to successfully capture the screenshot.
-
Confirmation and Feedback: After pressing the buttons, you should see a visual indication, such as a brief animation or a sound, confirming that the screenshot has been captured successfully.
By using the power and volume down buttons, you can effortlessly capture and save important information or memorable moments on your Xperia Z. This method is intuitive and efficient, making it ideal for capturing screenshots on the go. Whether you need to capture a snippet of a conversation, save an image, or document vital information, using the physical buttons to take a screenshot offers a quick and reliable solution.
Additionally, utilizing the power and volume down buttons for screen capture allows for seamless integration with the device's hardware, ensuring consistent and reliable performance. This method also eliminates the need to navigate through menus or enable specific settings, making it a convenient option for capturing screenshots in various scenarios.
In essence, mastering the use of the power and volume down buttons for screen capture on your Xperia Z empowers you to effortlessly capture and save anything that appears on your screen, providing a valuable tool for preserving important information and cherished moments.
Using the Notification Panel
Utilizing the notification panel to capture screenshots on your Xperia Z offers a convenient and efficient method that doesn't require physical button combinations or additional gestures. The notification panel, accessible with a simple swipe down from the top of the screen, provides quick access to essential functions, including the screen capture feature. Here's a detailed guide on how to use the notification panel to capture screenshots on your Xperia Z:
-
Access the Notification Panel: Begin by unlocking your Xperia Z and navigating to the screen or content you wish to capture. Once you have the desired content ready, swipe down from the top of the screen to reveal the notification panel. This action will display various quick settings and notifications.
-
Locate the Screen Capture Icon: Within the notification panel, look for the screen capture icon, which typically resembles a small phone or tablet with lines or a camera icon. The exact placement of the screen capture icon may vary based on your device's configuration and software version.
-
Initiate the Screen Capture: Upon locating the screen capture icon, tap on it to initiate the screen capture process. Depending on your device's settings, you may receive a visual indication, such as a brief animation or a flash, confirming that the screenshot has been successfully captured.
-
Access the Captured Screenshot: After capturing the screenshot, you can access it directly from the notification panel. A preview of the captured screenshot may appear as a notification, allowing you to quickly review and share the screenshot without navigating to the gallery or file manager.
-
Additional Options: In some Xperia Z models and software versions, tapping the captured screenshot preview in the notification panel may provide additional options, such as editing or sharing the screenshot directly from the notification panel itself. This streamlined process enhances the convenience of capturing and sharing screenshots on your Xperia Z.
By leveraging the notification panel to capture screenshots on your Xperia Z, you can streamline the process of preserving important information, memorable moments, or noteworthy content displayed on your device's screen. This method eliminates the need for complex button combinations or intricate gestures, offering a user-friendly approach to capturing screenshots with ease.
In essence, mastering the use of the notification panel for screen capture empowers you to efficiently capture and save anything that appears on your Xperia Z's screen, enhancing your ability to document and share valuable content seamlessly.
Using the Quick Settings Menu
Capturing screenshots on your Xperia Z can be effortlessly streamlined through the utilization of the Quick Settings menu. This method provides a convenient and intuitive approach to capturing and saving important information or memorable moments displayed on your device's screen. Here's a comprehensive guide on how to use the Quick Settings menu to capture screenshots on your Xperia Z:
-
Access the Quick Settings Menu: Start by unlocking your Xperia Z and navigating to the screen or content you wish to capture. Once the desired content is ready, swipe down from the top of the screen with two fingers or swipe down twice to reveal the Quick Settings menu. This action will unveil a set of essential functions and shortcuts, including the screen capture feature.
-
Locate the Screen Capture Icon: Within the Quick Settings menu, locate the screen capture icon, which typically resembles a small phone or tablet with lines or a camera icon. The exact placement of the screen capture icon may vary based on your device's configuration and software version.
-
Initiate the Screen Capture: Upon identifying the screen capture icon, tap on it to initiate the screen capture process. Depending on your device's settings, you may receive a visual indication, such as a brief animation or a flash, confirming that the screenshot has been successfully captured.
-
Access the Captured Screenshot: After capturing the screenshot, you can easily access it from the notification panel or the gallery. The captured screenshot may also appear as a notification, allowing you to quickly review and share it without navigating to the gallery or file manager.
-
Additional Options: Some Xperia Z models and software versions offer additional options within the Quick Settings menu after capturing a screenshot. These options may include the ability to edit or share the screenshot directly from the Quick Settings menu, providing a seamless and efficient process for managing captured screenshots.
By leveraging the Quick Settings menu for capturing screenshots on your Xperia Z, you can enhance your ability to preserve and share important content displayed on the device's screen. This method offers a user-friendly and accessible approach, eliminating the need for complex button combinations or intricate gestures. Mastering the use of the Quick Settings menu empowers you to efficiently capture and save anything that appears on your Xperia Z's screen, providing a valuable tool for documenting and sharing content seamlessly.
Using the Side Sense Feature
The Side Sense feature on your Xperia Z introduces a unique and intuitive method for capturing screenshots, offering a seamless and innovative approach to preserving important information and memorable moments displayed on your device's screen. By leveraging the Side Sense feature, you can effortlessly initiate the screen capture process with a simple gesture, enhancing the overall user experience and convenience.
To utilize the Side Sense feature for capturing screenshots on your Xperia Z, follow these straightforward steps:
-
Access Side Sense: Begin by unlocking your Xperia Z and navigating to the screen or content you wish to capture. Once the desired content is ready, gently double-tap the side of the device to activate the Side Sense feature. This action will reveal a set of customizable shortcuts and functions, including the screen capture option.
-
Locate the Screen Capture Icon: Upon activating Side Sense, look for the screen capture icon within the displayed shortcuts and functions. The screen capture icon typically resembles a small phone or tablet with lines or a camera icon, providing a clear visual indication of the screen capture feature.
-
Initiate the Screen Capture: Once you've located the screen capture icon within the Side Sense interface, tap on it to initiate the screen capture process. The device may provide a visual indication, such as a brief animation or a flash, confirming that the screenshot has been successfully captured.
-
Access the Captured Screenshot: After capturing the screenshot using the Side Sense feature, you can conveniently access it from the notification panel or the gallery. The captured screenshot may also appear as a notification, allowing you to quickly review and share it without navigating to additional menus.
By embracing the Side Sense feature for capturing screenshots on your Xperia Z, you can seamlessly integrate the screen capture process into your device's intuitive interface. This innovative approach eliminates the need for complex button combinations or intricate gestures, offering a user-friendly and efficient method for capturing and saving important content displayed on your device's screen.
Mastering the use of the Side Sense feature empowers you to effortlessly capture and preserve anything that appears on your Xperia Z's screen, enhancing your ability to document and share valuable content seamlessly. This intuitive feature exemplifies the device's commitment to delivering a user-centric experience, providing a convenient and innovative solution for capturing screenshots with ease.
Saving and Sharing Screenshots
After successfully capturing a screenshot on your Xperia Z using the method of your choice, it's essential to understand how to effectively save and share the captured screenshots. This process ensures that you can access the screenshots whenever needed and effortlessly share them with others, enhancing the practicality and usefulness of the screen capture feature.
Upon capturing a screenshot, the image is typically saved directly to your device's gallery or a designated screenshots folder. This allows for easy access and organization of the captured screenshots for future reference. You can locate the saved screenshots by accessing the gallery app or the file manager on your Xperia Z.
When it comes to sharing the captured screenshots, Xperia Z offers various convenient options. You can quickly share a screenshot with friends, family, or colleagues via messaging apps, social media platforms, email, or other communication channels. Additionally, the ability to edit the captured screenshots before sharing them further enhances the flexibility and personalization of the shared content.
To share a screenshot, simply locate the captured image in your device's gallery, tap on the share icon, and select the desired sharing method from the available options. This streamlined process enables you to effortlessly distribute the captured screenshots to others, whether it's a humorous meme, an important piece of information, or a memorable moment worth sharing.
Furthermore, Xperia Z provides the option to directly edit the captured screenshots before sharing them. This editing functionality allows you to enhance the screenshots with annotations, highlights, or other modifications, adding a personal touch and context to the shared content. Whether you need to emphasize specific details, add captions, or highlight key elements within the captured screenshots, the editing capabilities on Xperia Z offer a versatile and creative approach to customizing the shared content.
By mastering the process of saving and sharing screenshots on your Xperia Z, you can seamlessly integrate the captured content into your digital interactions and communications. Whether it's for personal use, professional purposes, or social sharing, the ability to efficiently save and share screenshots enhances the practicality and value of the screen capture feature on your Xperia Z, empowering you to preserve and distribute important content with ease.