
Setting Up the Philips Hue Bridge
The Philips Hue Bridge is a central hub that allows you to control your Philips Hue smart lights using the Philips Hue app or other smart home platforms. Before you can enjoy the convenience and flexibility of your smart lighting system, you need to set up the bridge properly. Here’s a step-by-step guide to help you get started.
1. Unbox and Connect: Begin by unboxing your Philips Hue Bridge and connecting it to your home network using the included Ethernet cable. Plug the power cable into an electrical outlet for a stable power source.
2. Download the App: Next, download the Philips Hue app on your smartphone or tablet from the App Store or Google Play Store. The app will be your primary control interface for managing your smart lights.
3. Open the App: Launch the Philips Hue app and follow the on-screen instructions to create an account. Once your account is set up, sign in to proceed with the setup process.
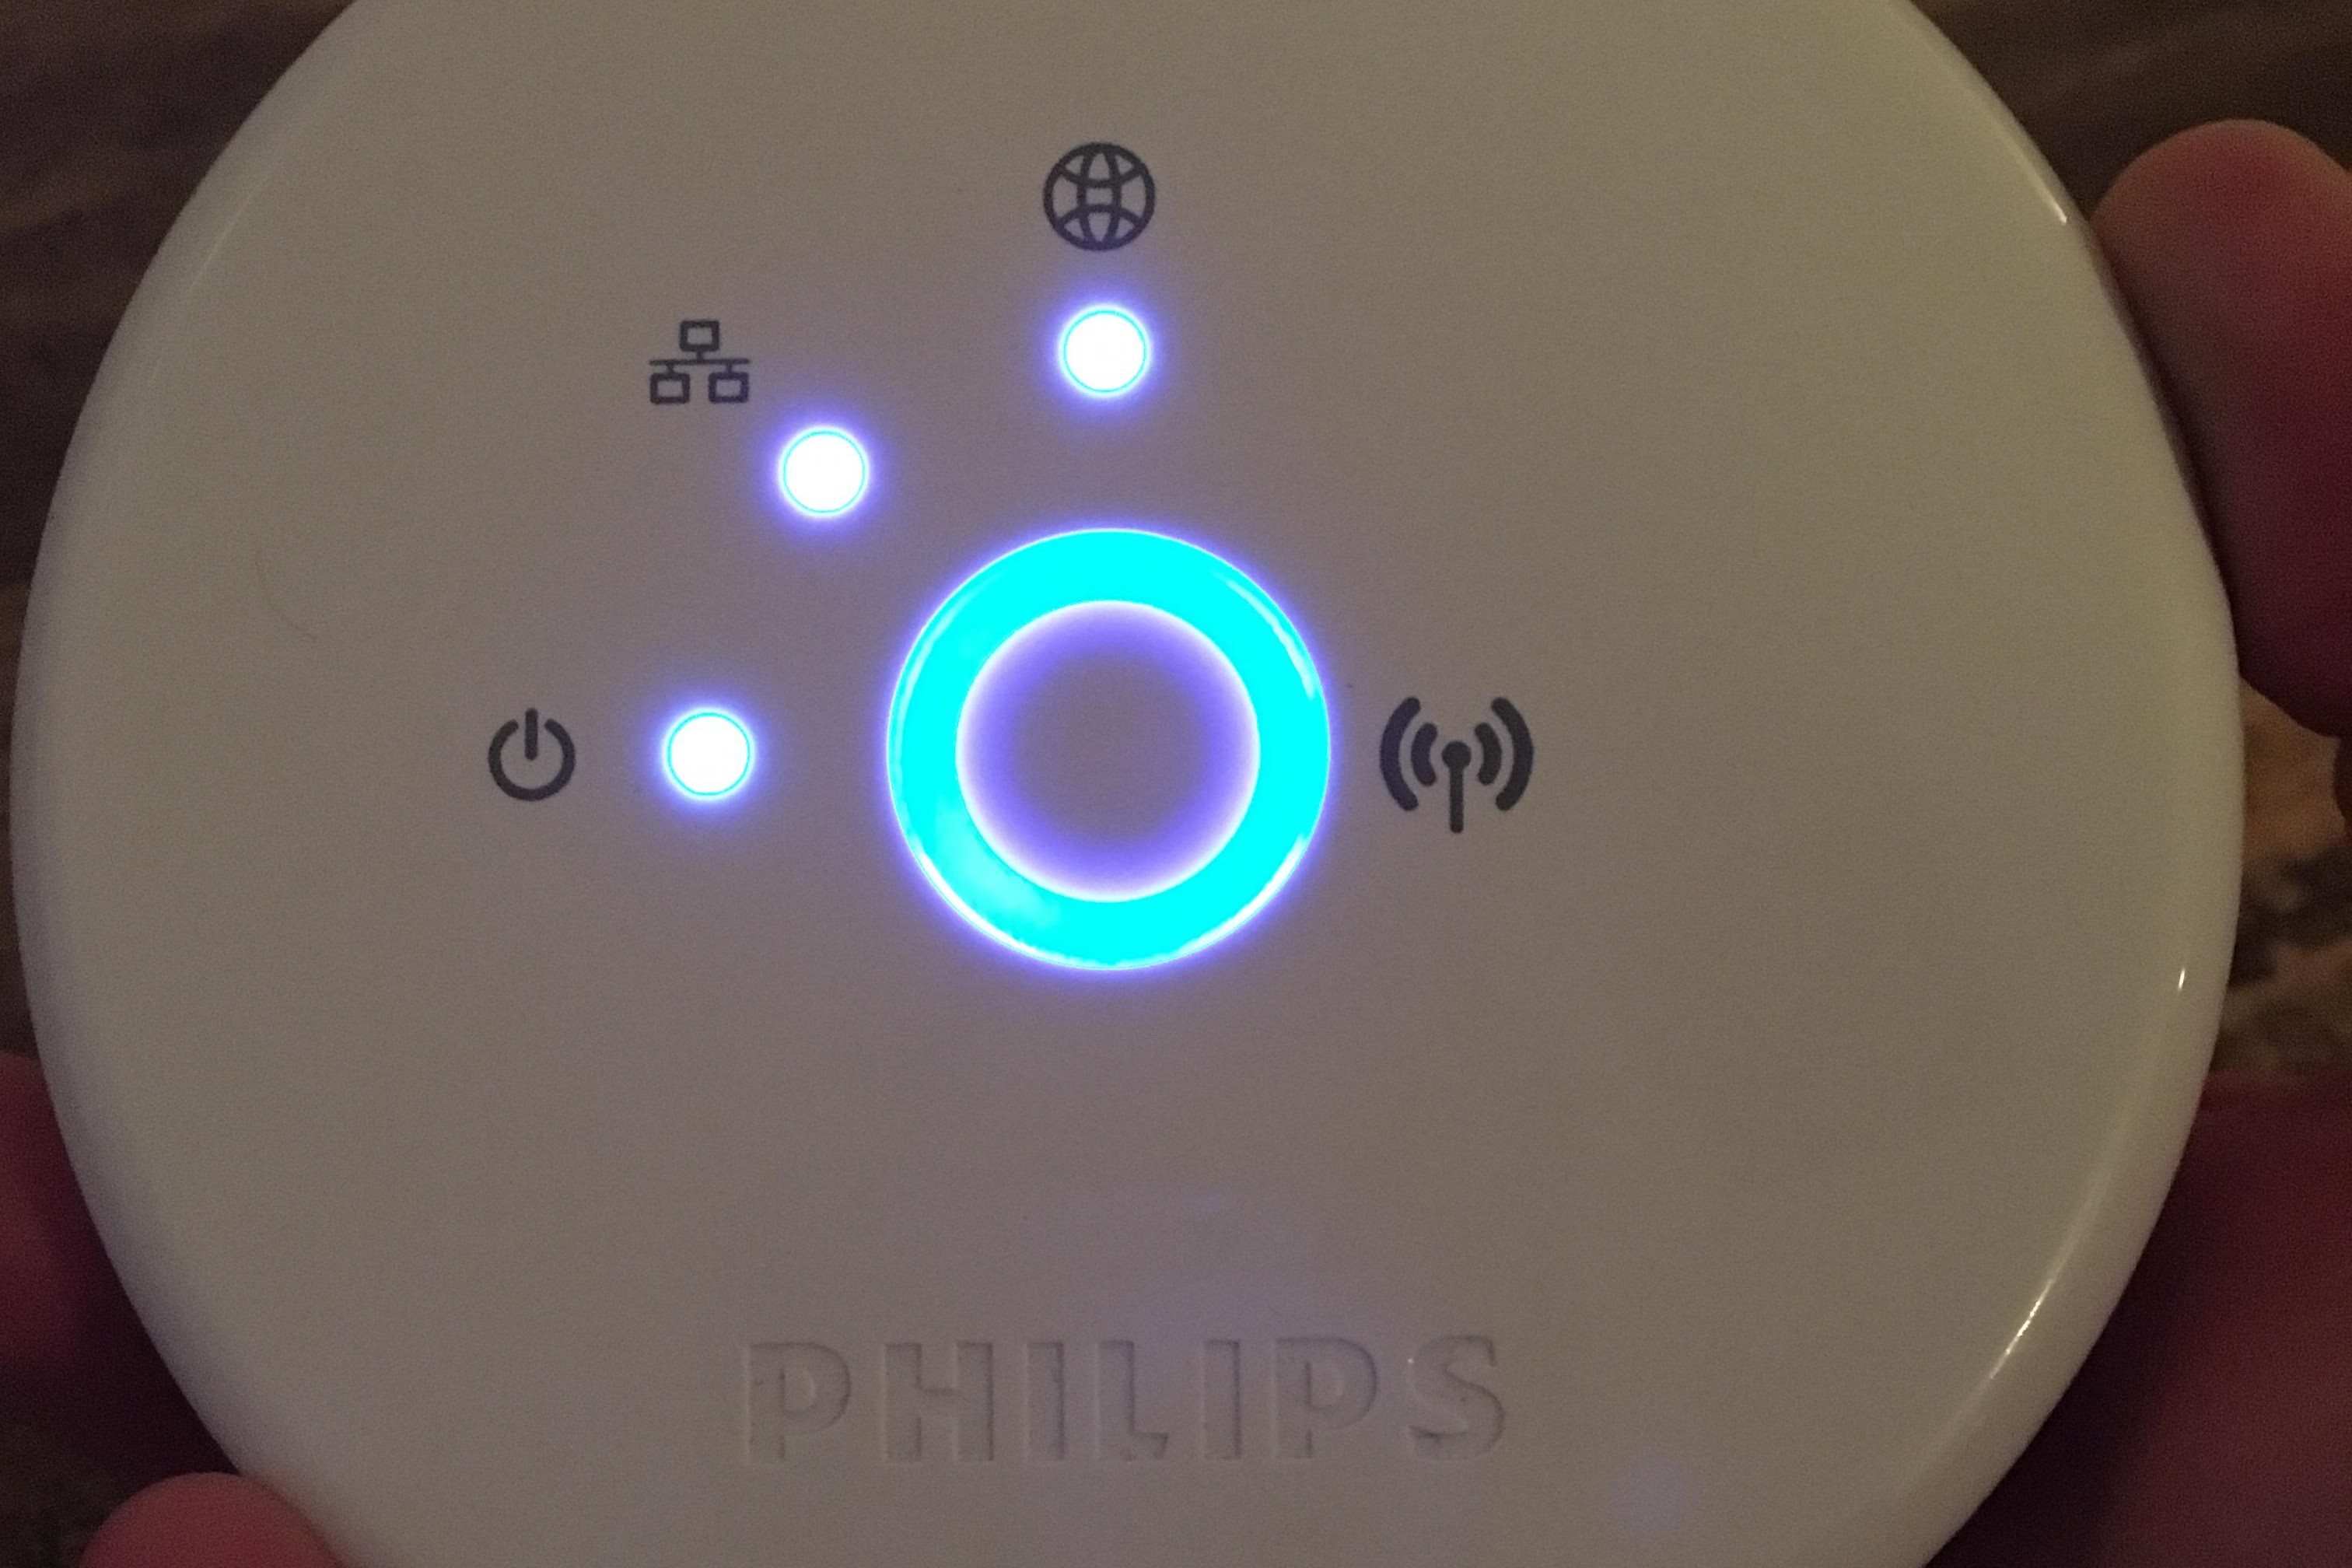
4. Connect the Bridge: In the app, select “Settings” and then tap on “Bridge” or “Add Bridge.” The app will search for the bridge on your network. Once detected, press the round button on the Philips Hue Bridge to confirm the connection.
5. Add Lights: After the bridge is successfully connected, you can start adding your Philips Hue smart lights to the system. This can be done by selecting “Add Lights” in the app and following the prompts to search for and connect the lights.
6. Customize and Control: Once your lights are added, you can customize their settings, create different lighting scenes, and control them individually or as a group through the app. You can also integrate your Philips Hue system with other smart home platforms like Apple HomeKit or Amazon Alexa for expanded functionality.
By following these simple steps, you can quickly and easily set up your Philips Hue Bridge and start enjoying the benefits of smart lighting. Remember to explore the various features and options available in the app to get the most out of your Philips Hue system.
Understanding the Bridge Status Light
The Philips Hue Bridge is equipped with a status light that provides important information about the system’s overall health and connectivity. By understanding the different colors and patterns emitted by the status light, you can easily identify any issues or perform necessary troubleshooting steps. Here’s what each color and pattern means:
Solid Green: A steady green light indicates that the bridge is properly connected to the network and everything is functioning normally. This is the ideal state and shows that your smart lighting system is ready to be controlled.
Blinking Green: A blinking green light signifies that the bridge is currently undergoing a firmware update. During this time, it is best to refrain from making any changes or interrupting the process. The light will stop blinking once the update is completed.
Solid Blue: If the status light turns solid blue, it means that the bridge is starting up or is in the process of connecting to the network. This is a normal occurrence during the initial setup or after a power outage. Wait for the light to turn solid green for normal operation.
Yellow: A solid yellow light indicates that the bridge is not properly connected to the network. Check your Ethernet cable connection and ensure that your network router is working correctly. You may need to restart the bridge to establish a proper connection.
Red: In the rare event that the status light turns solid red, it indicates a critical error. This could mean that the bridge is not functioning correctly or that there may be a hardware issue. Try unplugging the bridge from the power source and restarting it. If the issue persists, contact Philips Hue support for further assistance.
Off: If the status light is not lit at all, it means that the bridge is not receiving power. Check the power cable connection and ensure that the outlet is working. If necessary, try using a different power outlet or replace the power cable.
By familiarizing yourself with the various colors and patterns of the bridge status light, you can quickly identify any issues and take appropriate action to maintain a smoothly functioning Philips Hue system.
Solid Colors and Their Meanings
The Philips Hue Bridge uses solid colors to indicate different states and statuses of the system. Understanding these colors can help you troubleshoot any issues and ensure that your smart lighting system is running smoothly. Here are the solid colors and their respective meanings:
Solid Green: A solid green light indicates that the bridge is connected to the network and is functioning properly. This is the normal and desired state, showing that your smart lighting system is ready to be controlled.
Solid Blue: When the bridge emits a solid blue light, it indicates that the bridge is starting up or is in the process of connecting to the network. This is a normal occurrence during the initial setup or after a power outage. Wait for the light to turn solid green for normal operation.
Solid Yellow: A solid yellow light signifies that the bridge is not properly connected to the network. Check the Ethernet cable connection between the bridge and your network router. Ensure that both ends of the cable are securely plugged in. You may also need to check your network settings and restart the bridge to establish a proper connection.
Solid Red: If the bridge emits a solid red light, it indicates a critical error. This could be due to a malfunction or a serious hardware issue with the bridge. Try unplugging the bridge from the power source and restarting it. If the issue persists, it is recommended to contact Philips Hue support for further assistance.
Solid Off: If the status light is not lit at all, it means that the bridge is not receiving power. Check the power cable connection and ensure that the outlet is functioning. It is also worth trying a different power outlet or replacing the power cable if necessary.
By understanding the meanings of the solid colors emitted by the bridge, you can quickly identify any issues and take appropriate actions to maintain a stable and well-functioning Philips Hue smart lighting system.
Flashing Colors and Their Meanings
In addition to the solid colors, the Philips Hue Bridge also uses flashing colors to indicate specific events and conditions. Understanding these flashing colors can provide valuable information about the status of your smart lighting system. Here are the flashing colors and their meanings:
Flashing Green: A flashing green light indicates that the bridge is currently undergoing a firmware update. During this time, it is important not to interrupt the process or make any changes to the system. The flashing will stop once the firmware update is complete.
Flashing Blue: When the bridge emits a flashing blue light, it means that the bridge is in “Link” mode. This mode allows you to add new lights or accessories to your Philips Hue system. To add a new device, follow the instructions in the Philips Hue app to search for and connect the device while the bridge is in “Link” mode.
Flashing Yellow: A flashing yellow light indicates that the bridge is not connected to the network. Check the Ethernet cable connection between the bridge and your network router. Ensure that both ends of the cable are securely plugged in. You may also need to check your network settings and restart the bridge to establish a proper connection.
Flashing Red: If the bridge emits a flashing red light, it signifies an error or a problem with the connection. This could be due to an issue with the network, the bridge itself, or the lights that are connected to it. Try restarting the bridge and checking the network and light connections to resolve the issue. If the problem persists, contact Philips Hue support for further assistance.
Flashing White: A flashing white light indicates that the bridge is performing a factory reset. This action will restore the bridge to its default settings and remove all your configurations and connected lights. Only perform a factory reset if necessary and be aware that it will erase all your settings.
By recognizing the flashing colors and their meanings, you can quickly identify and address any issues or events related to your Philips Hue system. Whether it’s a firmware update, adding new devices, or troubleshooting connectivity problems, understanding the flashing colors will help you keep your smart lighting system running smoothly.
Bridge Offline: What to Do
Occasionally, you may experience a situation where your Philips Hue Bridge goes offline and is not functioning properly. This can be frustrating, but there are several steps you can take to troubleshoot and resolve the issue:
1. Check Network Connection: Start by ensuring that your network connection is stable and working correctly. Check that your router is connected to the internet and that other devices on your network are able to access it. If there are any issues with your network connection, resolve them first before troubleshooting the bridge.
2. Restart the Bridge: Sometimes, a simple restart can resolve connectivity problems. Unplug the power cable from the bridge and wait for about 10 seconds before plugging it back in. Give the bridge a few minutes to reconnect to the network and see if it comes back online.
3. Verify Ethernet Connection: Ensure that the Ethernet cable connecting the bridge to your network router is securely plugged in at both ends. Sometimes, a loose connection can cause the bridge to go offline. Try unplugging and reinserting the Ethernet cable to ensure a secure connection.
4. Reset the Bridge: If restarting the bridge didn’t solve the problem, you can try performing a bridge reset. Press and hold the small button on the back of the bridge for about 10 seconds until the status light starts flashing. This will reset the bridge to its factory settings. Keep in mind that this will erase all your configurations and connected lights, so only perform a reset if necessary.
5. Contact Customer Support: If you have tried all the above steps and your bridge is still offline, it might be a more complex issue that requires assistance. Reach out to the Philips Hue customer support team for further troubleshooting and guidance. They will be able to provide you with specific instructions or recommend further actions.
By following these steps, you can often resolve connectivity issues and bring your Philips Hue Bridge back online. Remember to be patient and thorough during the troubleshooting process, and don’t hesitate to seek support from the customer service team when needed.
Troubleshooting Common Bridge Light Issues
While the Philips Hue Bridge is designed to provide reliable performance, there may be times when you encounter light-related issues. Here are some common bridge light issues and troubleshooting steps to help resolve them:
1. Lights Not Responding: If your lights are not responding to commands from the app or are not turning on/off correctly, there are a few things you can try. First, make sure that the lights are still connected to the bridge. Check the connection by going to the app’s settings and selecting “Lights” to see if all the lights are listed. If any lights are missing, try resetting and reconnecting them to the bridge.
2. Lights Not Connecting: If you are having trouble connecting new lights to the bridge, there could be an issue with the connection process. Ensure that the lights are within range of the bridge and that they are powered on. Try selecting “Add Lights” in the app and following the instructions to search for and connect the lights manually. If the issue persists, try resetting the lights and repeating the connection process.
3. Lights Flickering or Dimming: If your lights are flickering or dimming unexpectedly, it could be a sign of a power issue or incompatible dimmer switches. Check that the lights are receiving a stable power supply and that there are no loose connections. If you have dimmer switches installed, ensure that they are compatible with Philips Hue lights. In some cases, replacing the dimmer switch with a standard on/off switch may resolve the issue.
4. Unresponsive Bridge: If your bridge is unresponsive or not functioning properly, first check that it is receiving power and connected to the network. Try restarting the bridge by unplugging the power cable and plugging it back in after a few seconds. If the issue persists, you can try performing a factory reset on the bridge. Keep in mind that this will erase all your settings and configurations, so only proceed with a reset if necessary.
5. Inconsistent Light Control: If you are experiencing inconsistency in light control, such as delays or lights not reacting simultaneously, it could be due to network congestion or interference. Ensure that your Wi-Fi network is strong and not overloaded with other devices. Additionally, try rearranging the lights and bridge to minimize interference from other electronics or physical obstructions.
If the troubleshooting steps above do not resolve your bridge light issues, it is recommended to reach out to Philips Hue customer support or consult their online resources for further assistance. They can provide more specific solutions and guidance based on your specific situation.
How to Reset the Philips Hue Bridge
If you’re experiencing persistent issues with your Philips Hue Bridge or need to start fresh with a clean slate, you may need to perform a factory reset. Resetting the bridge will erase all settings and configurations, so it should only be done as a last resort. Here are the steps to reset your Philips Hue Bridge:
1. Locate the Reset button: On the back of the Philips Hue Bridge, you will find a small reset button. It’s usually a tiny hole that can be pressed with a paperclip or similar object.
2. Power off the bridge: Ensure that the bridge is not connected to the power supply. Unplug it from the electrical outlet or remove the power cable.
3. Press and hold the Reset button: Using a paperclip or another pointed object, press and hold the Reset button on the back of the bridge.
4. Apply power while holding the button: While still holding down the Reset button, plug the bridge back into the power source. Keep holding the button for about 10-15 seconds.
5. Verify the reset: After holding the Reset button for the designated time, the bridge’s lights should flash briefly. This indicates that the reset process was successful.
6. Wait for the reset to complete: Allow the bridge a few minutes to complete the reset process. It will reboot and restore the default factory settings.
Once the reset is complete, you can start the setup process again by connecting the bridge to your network and adding your lights through the Philips Hue app. Remember to treat it as if you’re setting up the bridge for the first time.
Keep in mind that performing a factory reset will erase all your custom settings, configurations, and connected lights. It’s important to consider this step only if you are facing persistent issues that cannot be resolved through other troubleshooting methods.
If you need further assistance or encounter any difficulties during the reset process, refer to the official Philips Hue support documentation or get in touch with their customer support team for personalized guidance.