
What is Time Machine’s Command Line Utility?
Time Machine’s Command Line Utility is a powerful tool provided by Apple’s macOS that allows users to interact with the Time Machine backup system through the command line interface (CLI). Time Machine is a built-in backup feature in macOS that automatically makes incremental backups of your files, ensuring that you can easily restore them in case of data loss or system failure.
While Time Machine offers a convenient graphical interface for managing backups, the Command Line Utility provides a more flexible and customizable way to interact with the Time Machine backup system. It allows advanced users to perform various operations, such as initiating backups, restoring specific files or folders, and monitoring backup changes.
Installing Time Machine’s Command Line Utility is straightforward as it comes bundled with macOS. There is no need for separate installations or downloads. Simply open the Terminal, which can be found in the Utilities folder within the Applications folder, and you’ll have access to the powerful features of the Time Machine Command Line Utility.
Once installed, users can perform a wide range of tasks using the command line interface. Backups can be initiated manually with a simple command, allowing you to control when and how often backups occur. Additionally, you can restore specific files or entire folders using the command line, providing a fast and efficient way to retrieve lost or accidentally deleted data.
One of the key advantages of using Time Machine’s Command Line Utility is the ability to monitor backup changes. By using various commands and options, you can track the changes that occur during each backup, providing valuable insights into the backup process and ensuring the integrity of your backup data.
Furthermore, the Command Line Utility allows for automation and integration with other scripts or software. You can schedule backups or create custom scripts to perform specific tasks, giving you full control over the backup process and allowing for seamless integration into your workflow.
Overall, Time Machine’s Command Line Utility is a valuable tool for advanced users who want more control and flexibility when it comes to managing and monitoring their Time Machine backups. Whether you’re performing complex backup tasks, troubleshooting backup issues, or simply want to explore the command line capabilities, the Time Machine Command Line Utility is an indispensable resource for macOS users.
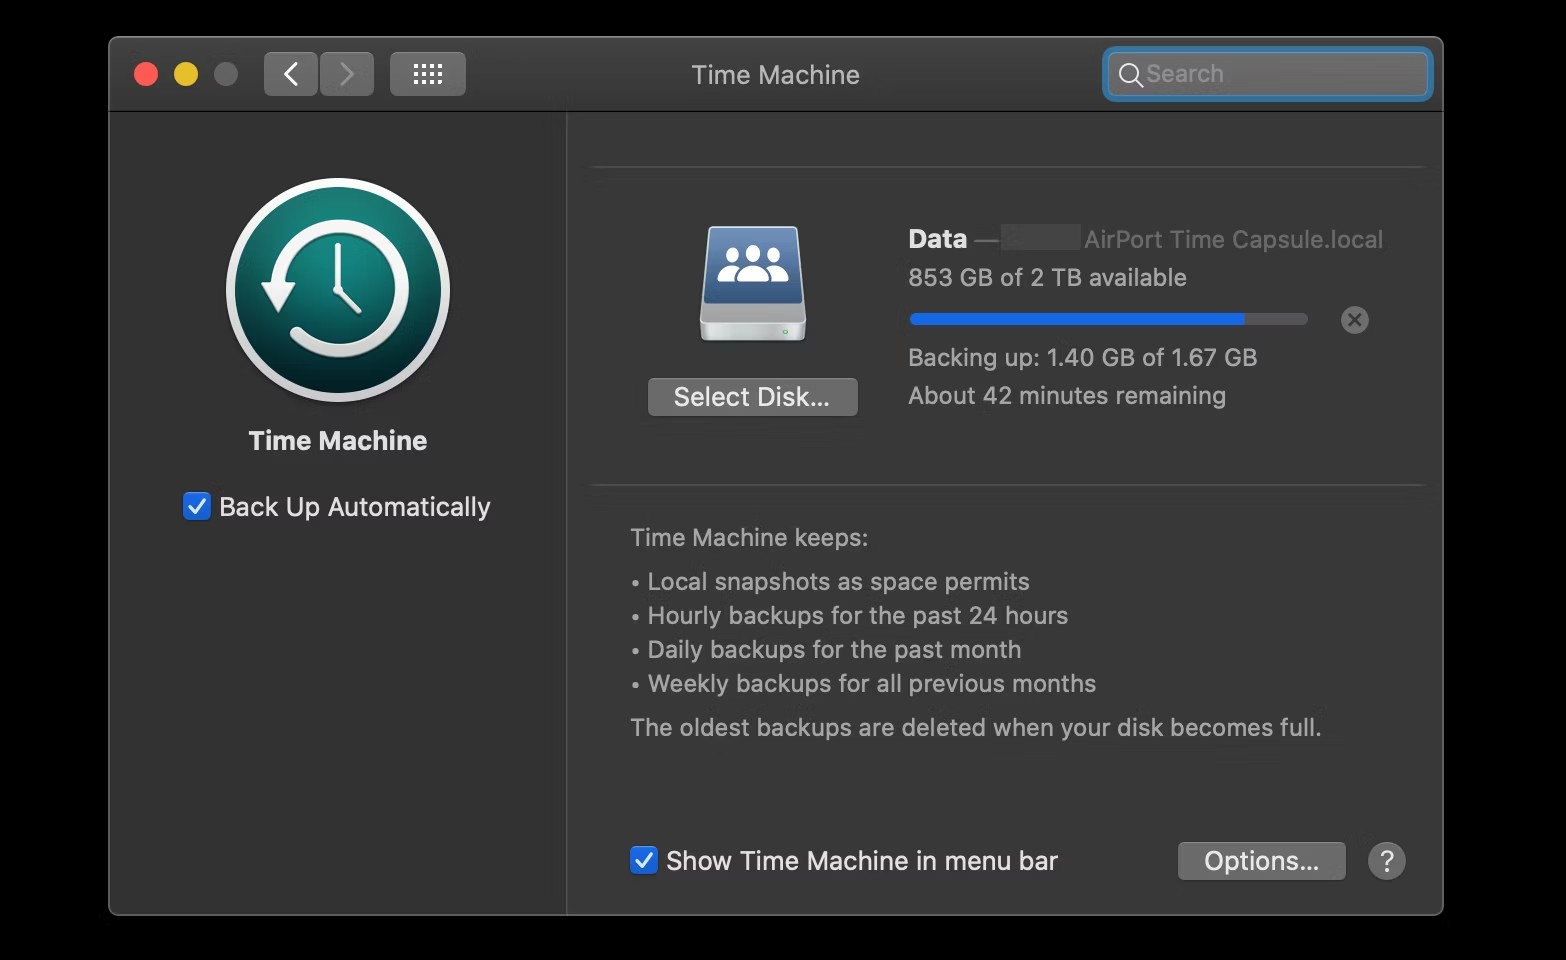
How to Install Time Machine
Installing and setting up Time Machine on your macOS device is a straightforward process. Follow these steps to get started:
- Ensure that you have an external storage device, such as an external hard drive or a Time Capsule, connected to your macOS device. This will serve as the destination for your Time Machine backups.
- Click on the Apple menu in the top-left corner of your screen and select “System Preferences.”
- In the System Preferences window, click on “Time Machine.”
- On the Time Machine pane, click on the “Select Backup Disk” button.
- A list of available disks will appear. Choose the external storage device you want to use for your Time Machine backups and click on the “Use Disk” button.
- You will have the option to encrypt your backups for added security. If you wish to enable encryption, check the “Encrypt backups” box and enter a strong password.
- Time Machine will now start backing up your files. The initial backup may take a while, depending on the size of your data. Subsequent backups will be incremental, capturing only the changes made since the previous backup.
- Once the initial backup is complete, Time Machine will automatically perform regular backups based on your preferences. By default, backups occur hourly.
- To access your Time Machine backups, click on the Time Machine icon in the menu bar and select “Enter Time Machine.” You can then navigate through your backups and restore specific files or entire folders.
That’s it! You have successfully installed and set up Time Machine on your macOS device. From now on, you can enjoy the peace of mind that comes with having regular backups of your important files and the ability to restore them easily if needed.
How to Use Time Machine’s Command Line Utility
Time Machine’s Command Line Utility provides a powerful set of commands that allow you to interact with the Time Machine backup system through the command line interface (CLI). Here’s how you can use Time Machine’s Command Line Utility:
- Open the Terminal on your macOS device. You can find it in the Utilities folder within the Applications folder.
- To view the available commands and options, type the following command and press Enter:
tmutil - Once you familiarize yourself with the available commands, you can start using them to perform various tasks. Here are a few examples:
- To initiate a manual backup, use the following command:
tmutil startbackupThis will start a Time Machine backup immediately.
- To exclude specific files or folders from backups, use the exclusion command:
tmutil addexclusion /path/to/file_or_folderReplace “/path/to/file_or_folder” with the actual path of the file or folder you want to exclude.
- To restore a specific file or folder from a Time Machine backup, use the restore command:
tmutil restore /path/to/file_or_folderReplace “/path/to/file_or_folder” with the location where you want to restore the file or folder.
- You can also use the compare command to check for differences between a file on your system and a version in the Time Machine backup:
tmutil compare /path/to/fileThis will show the differences between the file on your system and the latest backed-up version.
- To initiate a manual backup, use the following command:
- By combining these commands and exploring more options, you can perform advanced operations and automate Time Machine tasks according to your specific needs.
Using Time Machine’s Command Line Utility gives you greater control and flexibility in managing your Time Machine backups. Whether you want to initiate manual backups, exclude certain files from backups, restore specific items, or compare files, the Command Line Utility provides a versatile way to interact with Time Machine through the command line interface.
Understanding the Output of Time Machine’s Command Line Utility
When using Time Machine’s Command Line Utility on your macOS device, you may encounter various outputs that provide important information about your backups. Understanding the output is crucial for effectively managing and troubleshooting your Time Machine backups. Here’s a breakdown of the commonly encountered output and what it signifies:
Starting backup to… – This message indicates that a backup process has been initiated, and it specifies the destination where the backup will be saved. It confirms that Time Machine is actively performing a backup.
Backup completed successfully – This message appears when a backup process has finished without any errors. It confirms that the backup operation was successful, and your files are now safely backed up.
Backup already in progress – If you see this message, it means that Time Machine is already in the process of performing a backup. It indicates that you cannot initiate another backup until the current one is complete. It’s important to wait for the current backup to finish before starting another one.
Backup failed – This message indicates that the backup process encountered an error and was unable to complete successfully. It could be due to various reasons, such as a connection issue with the backup destination or insufficient available storage space. It’s essential to investigate the specific error message provided to determine the cause of the failure.
Backup stopped – This message occurs when you manually stop a backup process that was already in progress. It confirms that the backup has been halted and will not resume unless you initiate a new backup.
Excluded item: – If a file or folder has been excluded from Time Machine backups, this message will appear. It indicates that the specified item will not be included in future backups, ensuring that it will not consume storage space on the backup destination.
Item added to the backup: – This message signifies that a file or folder has been added to the backup set and will be included in future backups. It indicates that the specified item will be protected and recoverable in case of data loss or system failure.
Latest snapshot date: – This output displays the date and time of the most recent snapshot backup. It provides an overview of when the last backup took place, allowing you to ensure that your files are being backed up regularly and preserving a recent snapshot of your data.
Backup size: – This information provides details about the size of the Time Machine backup. It indicates how much space the backup files occupy on the backup destination, allowing you to monitor storage usage and manage backups accordingly.
By understanding the output of Time Machine’s Command Line Utility, you can track the progress and status of your backups, identify any potential issues, and take appropriate actions to ensure the integrity and availability of your backed-up files.
Monitoring Backup Changes with Time Machine’s Command Line Utility
Time Machine’s Command Line Utility provides a powerful way to monitor backup changes on your macOS device. By utilizing various commands and options, you can track the modifications occurring during each backup and gain valuable insights into the backup process. Here’s how you can effectively monitor backup changes using Time Machine’s Command Line Utility:
1. Check backup status: Use the command tmutil status to obtain information about the current backup status. It will display details such as the last successful backup time, the size of the backup, and the number of files that have been added, changed, or deleted during the recent backup.
2. Compare files: The command tmutil compare allows you to compare a file on your system with the corresponding version in the Time Machine backup. It shows the differences between the two versions, highlighting any modifications or discrepancies that have occurred.
3. Examine backup history: Use the command tmutil listbackups to view the history of previous backups. This will provide a list of all the backups performed, along with their corresponding dates and times. You can use this information to track the frequency and pattern of backups.
4. Analyze backup content: The command tmutil listfiles allows you to view the files and folders included in a specific backup. By specifying the backup you want to examine, you can get a comprehensive list of the contents backed up during that particular backup session.
5. Monitor backup progress: While a backup is in progress, you can use the command tmutil status -s to get real-time updates of the current backup operation. It will display a live summary of the backup progress, including the number of files completed and the estimated time remaining for the backup to finish.
6. Automate monitoring: To streamline the monitoring process, you can set up a script that utilizes the Time Machine Command Line Utility commands mentioned above. This script can be scheduled to run periodically, automatically providing you with regular updates on backup changes and ensuring you stay informed without manual intervention.
By regularly monitoring backup changes with Time Machine’s Command Line Utility, you can stay informed about the status and progress of your backups. This allows you to ensure the timely and accurate preservation of your important files and provides reassurance that your backup strategy is functioning as intended.
Troubleshooting Time Machine Backup Changes
While Time Machine is a reliable backup solution, there may be instances when you encounter issues or unexpected changes with your backups. Here are some common troubleshooting steps to help you resolve problems related to Time Machine backup changes:
1. Check backup destination: Ensure that the external storage device or Time Capsule connected to your macOS device, which serves as the backup destination, is properly connected and accessible. Verify that there is sufficient storage space available for backups.
2. Verify backup frequency: Check the Time Machine preferences to ensure that the backup frequency is set as desired. If you are not seeing recent backup changes, it could be due to infrequent backup intervals. Adjust the settings to a more frequent schedule if necessary.
3. Confirm backup exclusions: Verify that there are no unintentional exclusions set for specific files or folders. Use the command tmutil isexcluded to check the exclusion status of a particular item. If necessary, remove any unintended exclusions using the command tmutil removeexclusion.
4. Check for backup errors: Use the command tmutil verifychecksums to detect any errors in the Time Machine backup. If errors are detected, you may need to repair the backup. Use the command tmutil repairbackup to attempt a repair of the backup.
5. Restart Time Machine: Restarting Time Machine can often resolve any temporary glitches or issues. Go to System Preferences, select Time Machine, and toggle the Time Machine switch off and on again to reset the backup process.
6. Verify network connectivity: If you are backing up to a Time Capsule or network-attached storage (NAS) device, ensure that you have a stable network connection. Unstable network connectivity can cause backup failures or delays in backup changes.
7. Review system logs: Check the system logs on your macOS device for any Time Machine-related error messages or warnings. The Console.app, found in the Utilities folder, provides access to the system logs. Reviewing the logs can help identify specific issues affecting backup changes.
8. Reset Time Machine: If all else fails, you may need to reset Time Machine entirely. This involves disabling Time Machine, deleting the existing backup, and then re-enabling and reconfiguring Time Machine from scratch. Be cautious when performing this step, as it will remove all previous backups.
By following these troubleshooting steps, you can address and resolve common issues related to Time Machine backup changes. However, if you encounter persistent problems or require further assistance, it may be necessary to reach out to Apple Support or consult macOS user forums for specialized guidance.
Best Practices for Using Time Machine’s Command Line Utility
When using Time Machine’s Command Line Utility on your macOS device, following some best practices can help you effectively manage and optimize your Time Machine backups. Here are key recommendations for using Time Machine’s Command Line Utility:
1. Familiarize yourself with the commands: Take the time to understand the various commands and options provided by Time Machine’s Command Line Utility. This will enable you to leverage the utility’s full potential and perform tasks more efficiently.
2. Use scripting to automate tasks: Harness the power of scripting to automate backup tasks. Create custom scripts that utilize Time Machine’s Command Line Utility commands, allowing you to schedule backups, automate specific actions, and integrate Time Machine into your workflow seamlessly.
3. Regularly check backup statuses: Monitor the status of your backups using the tmutil status command. Regularly checking the backup status helps ensure that backups are occurring as expected and alerts you to any potential issues or missed backups.
4. Include important files and exclude unnecessary ones: Take the time to define which files and folders are critical for backup and exclude any unnecessary items to save storage space. Use the tmutil addexclusion command to specify exclusion preferences.
5. Test file restoration: Occasionally test the restoration of files from your Time Machine backups to ensure they are recoverable. This practice provides assurance that your backups are reliable and that you can retrieve your important data when needed.
6. Maintain sufficient storage space: Regularly assess the available storage space on your backup destination to ensure there is enough capacity to accommodate your backups. Time Machine requires ample space to store incremental backups and retain versions of files over time.
7. Keep backups offsite: Consider implementing an offsite backup strategy to protect your data in case of physical damage or theft. You can use external hard drives, network storage, or cloud-based storage solutions in addition to your local Time Machine backups.
8. Perform periodic backup verifications: Run occasional verification checks on your Time Machine backups using the tmutil verifychecksums command to detect any errors or corruption. This ensures the integrity and reliability of your backups.
9. Stay up to date: Keep your macOS system and Time Machine software up to date with the latest updates and patches. This helps ensure compatibility, performance improvements, and fixes for any known issues related to Time Machine backups.
10. Regularly review system logs: Monitor the system logs for any error messages or warnings related to Time Machine backups. This proactive approach allows you to address any issues promptly and maintain the health of your backup system.
By adhering to these best practices, you can maximize the benefits of Time Machine’s Command Line Utility and ensure the reliability, accessibility, and efficiency of your Time Machine backups.