
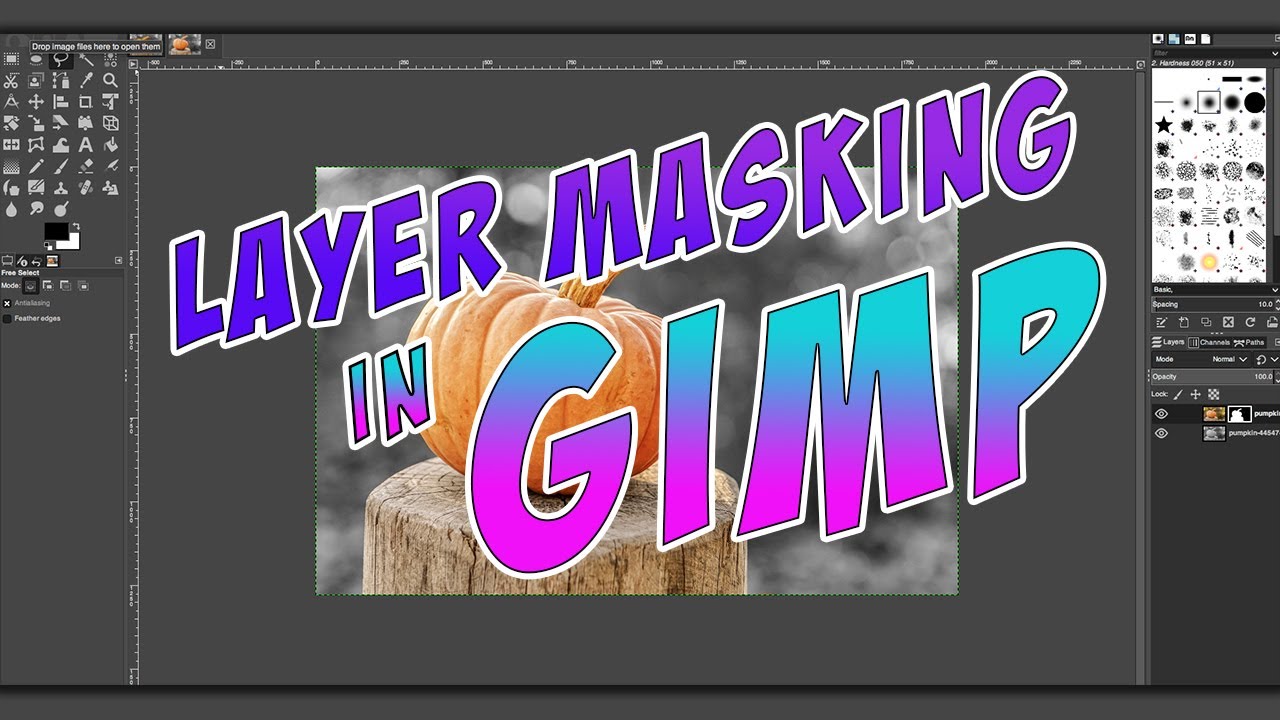
What is a Layer Mask?
A layer mask is a fundamental tool in image editing software like GIMP that allows you to edit specific areas of an image separately from the rest. It acts like a stencil, controlling the visibility of certain parts of a layer while keeping other areas intact. This powerful feature provides a non-destructive way to make selective edits, adjustments, and corrections to your images.
Unlike erasing or deleting parts of a layer, which permanently removes pixels, a layer mask allows you to hide or reveal portions of an image without altering the original data. Think of it as a virtual mask that covers the layer and determines which areas are transparent and which are opaque.
With a layer mask, you can create complex and professional-looking edits by blending multiple layers together seamlessly. It gives you the flexibility to work on specific parts of an image independently, such as adjusting the exposure in the sky while keeping the foreground untouched, or applying effects to specific objects in a photo.
Layer masks are typically represented by a grayscale thumbnail next to the layer in the layer panel. The white areas of the mask indicate the visible parts of the layer, while the black areas are hidden. You can use various tools and techniques to modify the mask, revealing or concealing portions of the layer beneath it.
Layer masks are an essential tool for photographers, graphic designers, and digital artists. They give you full control over the editing process, allowing you to make precise adjustments and create stunning compositions. Now that you have an understanding of what a layer mask is, let’s explore how to create and use them in GIMP.
How to Create a Layer Mask in GIMP
Creating a layer mask in GIMP is a straightforward process that can be done in a few simple steps. Here’s how you can do it:
- Select the layer to which you want to add a mask. You can do this by clicking on the layer name in the layers panel.
- Go to the “Layer” menu at the top, then select “Mask” and choose “Add Layer Mask”. Alternatively, you can right-click on the layer and choose “Add Layer Mask” from the context menu.
- In the “Add Layer Mask” dialog box that appears, select the “White (full opacity)” option if you want the entire layer to be visible initially. Choose “Black (full transparency)” if you prefer the entire layer to be hidden initially. Click “Add” to confirm.
- You will now see a white or black thumbnail linked to the layer in the layers panel. This represents the layer mask.
- To start editing the layer mask, select the layer mask thumbnail by clicking on it. You can now use various tools like brushes, gradients, or selection tools to modify the mask.
- To paint on the mask and reveal parts of the layer, select the brush tool, set the foreground color to white, and paint over the areas you want to make visible.
- To hide parts of the layer, switch your foreground color to black and paint over the areas you want to conceal. This will make them transparent on the layer.
- You can always modify the layer mask by switching between the mask thumbnail and the layer thumbnail in the layers panel.
- Remember to save your work as a GIMP project file (.xcf) to preserve the layer mask, or export your image as a common format like JPEG or PNG.
Creating and using layer masks in GIMP opens up a world of possibilities for creative image editing. Whether you want to blend multiple layers seamlessly, make selective adjustments, or create complex compositions, layer masks provide the flexibility and control you need. Now that you know how to create a layer mask, let’s explore various techniques for using layer masks for selections and refining them in GIMP.
Using Layer Masks for Selections
Layer masks can be a powerful tool for creating precise selections in GIMP. Instead of relying solely on selection tools like the lasso or magic wand, layer masks offer greater flexibility and control over the selection process. Here’s how you can use layer masks for selections:
1. Start by creating a layer mask for the layer you want to work with. You can follow the steps outlined in the previous section to add a layer mask to your desired layer.
2. Once you have the layer mask, select the layer thumbnail in the layers panel to work directly on the layer itself.
3. Use selection tools like the lasso or magic wand to make a rough selection of the area you want to mask. You don’t have to be too precise at this stage, as the layer mask will allow you to refine the selection later.
4. With the rough selection made, switch back to the layer mask thumbnail in the layers panel. Now, select a brush tool and set the brush color to white.
5. Begin painting over the area that you want to keep visible. As you paint with white on the layer mask, the selected area will become fully visible, while the unselected area will remain hidden.
6. To refine the selection, you can switch to a smaller brush size and carefully paint around the edges to ensure a smooth transition between the selected and unselected areas.
7. If you make a mistake and accidentally paint on the wrong area, simply switch the brush color to black and paint over the unwanted parts. This will hide them and make them transparent on the layer.
8. You can also use other tools like the gradient or the “Select by Color” tool to create more intricate selections on the layer mask.
Using layer masks for selections allows you to make precise adjustments and edits to specific areas of an image while keeping the rest intact. It gives you the flexibility to fine-tune your selections and achieve seamless results. Experiment with different selection tools and techniques to make the most of layer masks for selections in GIMP.
Refining Layer Masks with Brush Tools
The brush tools in GIMP can be incredibly useful for refining layer masks and achieving more precise and detailed edits. With these tools, you can touch up or modify the mask to create seamless blends, smooth transitions, and intricate effects. Here’s how you can use brush tools to refine layer masks in GIMP:
1. Start by selecting the layer mask thumbnail in the layers panel. This ensures that you’re working directly on the mask.
2. Choose the appropriate brush tool that suits your editing needs. GIMP offers various brush tools, including the Paintbrush, Pencil, Eraser, and Airbrush tools.
3. Adjust the brush settings such as size, hardness, opacity, and flow according to the specific edits you want to make. A larger brush size is useful for broad adjustments, while a smaller brush size allows for more precise editing.
4. Set the foreground color to white if you want to reveal parts of the layer, or black if you want to hide them. You can easily switch between the two by pressing the “X” key on your keyboard.
5. Start brushing over the layer mask to modify it. If you’re using white, you’ll reveal more of the layer, and if you’re using black, you’ll hide parts of the layer. Experiment with different brush strokes, pressures, and techniques to achieve the desired effect.
6. To create smooth transitions between different areas of the layer, use a soft-edged brush with reduced opacity. This helps blend the different elements seamlessly.
7. If you make a mistake, simply switch the foreground color to the opposite (white or black) and paint over the unwanted areas. This allows you to correct any errors or refine your edits.
8. For more intricate edits, you can use specialized brushes or create custom brushes in GIMP. This can give your layer masks unique textures or effects.
9. Remember that you can always adjust the layer opacity or the opacity of the brush tool to control the intensity of your edits.
By utilizing the brush tools effectively, you can refine your layer masks in GIMP and take your image editing to the next level. Take the time to experiment and practice with different brush settings and techniques to achieve the desired results.
Feathering the Layer Mask
Feathering the edges of a layer mask is an essential technique in GIMP that helps create smoother transitions between the masked and unmasked areas. This technique is particularly useful when blending images, creating composite shots, or applying adjustments to specific areas with subtle gradients. Here’s how you can feather a layer mask in GIMP:
1. Select the layer mask that you want to feather by clicking on its thumbnail in the layers panel.
2. In the main menu, go to “Filters” > “Blur” > “Gaussian Blur.”
3. Adjust the blur radius in the Gaussian Blur dialog box. The larger the radius, the more pronounced the feathering effect will be. Start with a small value and gradually increase it until you achieve the desired result.
4. Click “OK” to apply the blur effect to the layer mask.
5. Depending on the image and the desired effect, you may need to repeat the previous steps multiple times with different blur radii to achieve the ideal feathering.
6. You can also manually feather the layer mask using brush tools. Select a soft-edged brush, set the foreground color to black, and paint around the edges of the mask to gradually fade the visibility of the layer.
7. Experiment with different feathering techniques to achieve the desired outcome. For more advanced control, consider using layer modes or opacity adjustments in combination with feathering.
Feathering the layer mask helps create smoother transitions, reducing the visibility of hard edges and providing a more natural and seamless blend between different areas. It can enhance the overall quality and realism of your edited images.
Keep in mind that the amount of feathering required will depend on the specific image and the effect you want to achieve. It may take some trial and error to find the perfect balance. Take your time and experiment with different settings and techniques to achieve the desired feathering effect.
Combining Layer Masks
Combining layer masks in GIMP allows you to create intricate and complex edits by blending multiple layers together. This technique is particularly useful when you want to apply different adjustments or effects to specific areas of an image. Here’s how you can combine layer masks in GIMP:
1. Start by having multiple layers with their respective layer masks. Each layer mask should represent the areas you want to reveal or conceal on that particular layer.
2. Make sure that the layer you want to combine with another layer is positioned above the layer you want to combine it with. You can reorder the layers by dragging them in the layers panel.
3. Select the top layer and its associated layer mask by clicking on their respective thumbnails in the layers panel.
4. Copy the layer mask by right-clicking on the layer mask thumbnail and selecting “Copy Mask.”
5. Select the layer you want to combine with the top layer, then right-click on its layer mask thumbnail and choose “Add Layer Mask.”
6. In the “Add Layer Mask” dialog box, select the “Grayscale Copy of Layer” option and click “Add.”
7. You now have a combined layer mask for the two layers. By default, it will blend the layer masks together, revealing areas where both layer masks are white, concealing areas where both layer masks are black, and creating partial transparency in areas where the layer masks differ in shades of gray.
8. To further refine the combined layer mask, you can use brush tools, gradients, or selection tools to make additional modifications.
9. Repeat this process for any additional layers you want to combine, copying their layer masks and adding them to the final combined layer mask.
Combining layer masks allows you to create complex edits that selectively apply different adjustments or effects to specific regions of an image. It gives you full control over the visibility and transparency of various elements, providing endless creative possibilities.
Experiment with different combinations, layer orders, and modifications to achieve the desired result. Don’t be afraid to try different blending modes and opacity settings on individual layers to further enhance the overall composition.
Using Adjustment Layers with Layer Masks
Adjustment layers in GIMP offer a non-destructive way to apply various adjustments and effects to your images. When combined with layer masks, they provide even more control over the editing process. Here’s how you can use adjustment layers with layer masks in GIMP:
1. Start by adding an adjustment layer to your image. In the main menu, go to “Layer” > “New Adjustment Layer” and choose from a range of available adjustments such as Curves, Levels, Hue-Saturation, or Color Balance.
2. Once you’ve selected an adjustment, a new layer will be created automatically with the adjustment settings applied.
3. To apply the adjustment only to specific areas of your image, you need to add a layer mask to the adjustment layer. Right-click on the adjustment layer in the layers panel, choose “Add Layer Mask,” and select the appropriate option (e.g., “White (full opacity)” or “Black (full transparency)”).
4. With the layer mask added, select the layer mask thumbnail in the layers panel to work on the mask specifically.
5. Use brush tools, gradients, or selection tools to modify the layer mask. For example, you can use a black brush to hide the adjustment effect in certain areas or a white brush to reveal it.
6. By combining adjustment layers with layer masks, you have the flexibility to apply different adjustments to isolated areas of your image. For instance, you can darken the sky by using a curves adjustment, while leaving the foreground untouched by hiding the effect with the layer mask.
7. You can add multiple adjustment layers with their respective layer masks to create complex and layered edits. This allows you to fine-tune the adjustments and achieve the desired overall look.
Using adjustment layers with layer masks enables you to make targeted edits while preserving the original image data. This non-destructive approach empowers you to experiment and make changes without permanently altering the original image.
Remember to save your file as a GIMP project file (.xcf) if you want to edit or modify the adjustment layers in the future, or export your image as a common format like JPEG or PNG to share or publish your final edited image.
Common Mistakes to Avoid with Layer Masks
Layer masks are powerful tools in GIMP, but they can be tricky at times. Understanding and avoiding common mistakes will help you make the most out of layer masks and achieve better results. Here are some common mistakes to avoid:
1. Forgetting to select the layer mask: Always make sure you have the layer mask selected before making any edits. If you’re working on the layer itself, your edits will affect the content of the layer, not the mask.
2. Using hard-edged brushes: When painting on layer masks, avoid using hard-edged brushes as they can create sharp and unnatural transitions. Instead, use soft-edged brushes for smoother and more seamless results.
3. Not double-checking your work: After making edits on a layer mask, it’s important to zoom in and examine the masked edges. Look for any visible seams or abrupt transitions and refine them as needed to achieve a more realistic and blended effect.
4. Overdoing adjustments: It’s common to get carried away with adjusting layer opacity or brush opacity when working with layer masks. Remember to use subtle adjustments to maintain a natural and balanced look.
5. Using full opacity or transparency: Avoid using full opacity or full transparency on your layer masks. This can lead to harsh and unnatural effects. Utilize varying levels of opacity to create more subtle and realistic edits.
6. Not utilizing non-destructive editing: Layer masks are designed for non-destructive editing, so try to avoid making permanent changes directly to your images. Instead, use layer masks to make adjustments that can be easily modified or reversed later on.
7. Not experimenting with layer modes: Layer modes can greatly enhance the blending of layers with different layer masks. Don’t be afraid to experiment with different layer modes to find the one that best suits your desired effect.
8. Forgetting to save your work: Save your GIMP project files frequently, especially when working with complex layer masks. This ensures that you can go back and make changes later if needed.
Avoiding these common mistakes will help you make the most of layer masks in GIMP. With practice and attention to detail, you can achieve more precise and professional-looking edits that elevate your images to new levels.