
Back up Your Old iPhone
Before transferring your SIM card to a new iPhone, it's essential to back up your old device to ensure that none of your valuable data is lost in the process. To do this, follow these steps:
-
Connect to Wi-Fi: Ensure that your old iPhone is connected to a stable Wi-Fi network. This will facilitate the backup process and ensure that all your data is securely saved.
-
Open Settings: Navigate to the "Settings" app on your iPhone. This can be easily located on the home screen.
-
Tap on Your Name: Once in the "Settings" app, tap on your name at the top of the screen. This will take you to the Apple ID, iCloud, iTunes & App Store settings.
-
Select iCloud: In the "Apple ID" section, select "iCloud." This is where you can manage your iCloud storage and backup settings.
-
Tap on iCloud Backup: Scroll down and tap on "iCloud Backup." Ensure that the toggle switch is turned on. If it's already on, your iPhone will automatically back up to iCloud when connected to Wi-Fi, locked, and plugged into power.
-
Back Up Now: If you prefer to manually back up your device, tap "Back Up Now." This will initiate an immediate backup of your iPhone to iCloud.
-
Wait for the Backup to Complete: Depending on the amount of data on your iPhone and the speed of your Wi-Fi connection, the backup process may take some time. Ensure that your iPhone remains connected to Wi-Fi and power until the backup is complete.
By following these steps, you can ensure that all your important data, including contacts, photos, apps, and settings, are securely backed up to iCloud. This will make the transition to your new iPhone seamless and worry-free.
Remove the SIM Card from Your Old iPhone
Before you can transfer your SIM card to a new iPhone, you need to carefully remove it from your old device. Here’s how to do it:
-
Locate the SIM Card Tray: Depending on your iPhone model, the SIM card tray is usually located on the right side of the device. You can identify it by the small pinhole next to it.
-
Insert the Ejector Tool: To open the SIM card tray, gently insert the provided ejector tool or a paperclip into the pinhole. Apply a small amount of pressure until the SIM card tray pops out slightly.
-
Remove the SIM Card Tray: Carefully pull the SIM card tray out of the iPhone using your fingers or the ejector tool. Take care not to force it, as this could cause damage to the tray or the device.
-
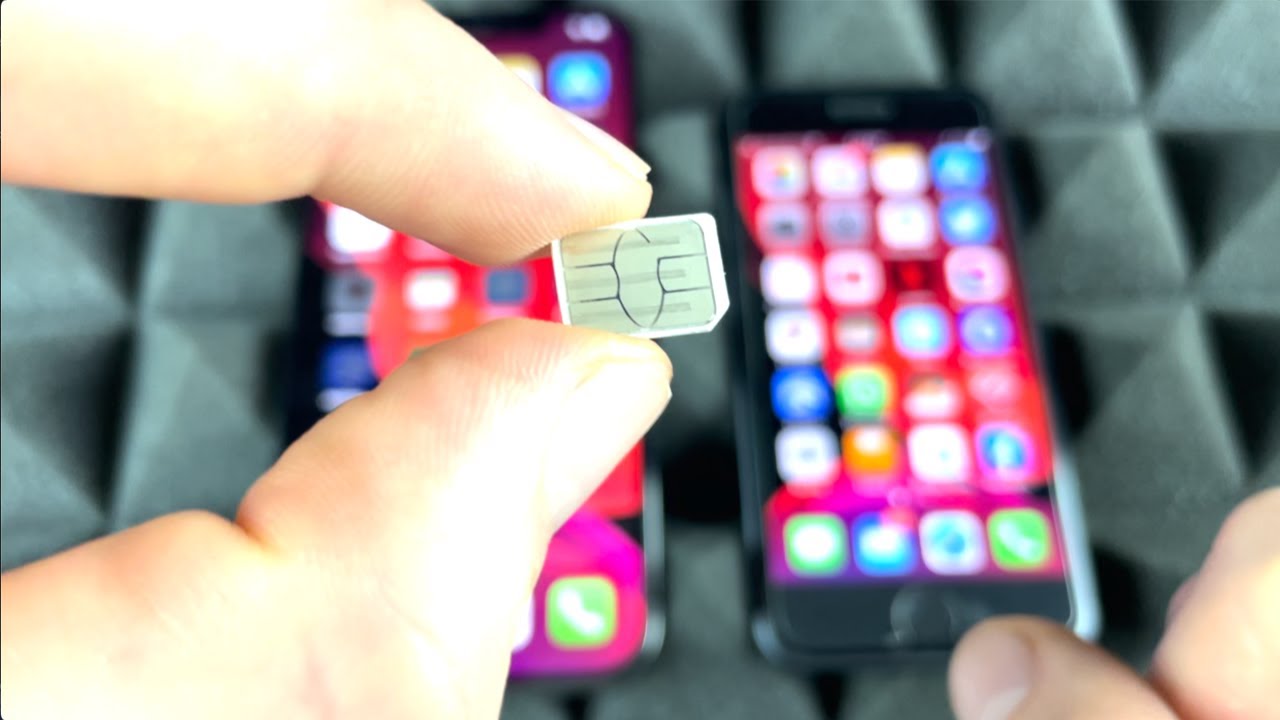
Remove the SIM Card: Once the tray is removed, take out the SIM card and set it aside in a safe place. Be mindful of the orientation of the SIM card, as it will need to be inserted in the same way into your new iPhone.
-
Reinsert the Empty Tray: After removing the SIM card, reinsert the empty tray back into the iPhone. Ensure that it is securely in place and sits flush with the device.
By following these steps, you can safely remove the SIM card from your old iPhone without causing any damage to the device or the SIM card itself. Once the SIM card is removed, you can proceed with inserting it into your new iPhone to activate your service and transfer your phone number and data.
Insert the SIM Card into Your New iPhone
Once you have successfully removed the SIM card from your old iPhone, the next step is to insert it into your new device. Follow these simple steps to complete the process:
-
Locate the SIM Card Tray: Similar to your old iPhone, the SIM card tray on your new device is typically situated on the right side. Look for the small pinhole next to the tray.
-
Insert the Ejector Tool: To open the SIM card tray, gently insert the provided ejector tool or a paperclip into the pinhole. Apply a small amount of pressure until the SIM card tray pops out slightly.
-
Place the SIM Card in the Tray: Carefully remove the SIM card from its holder and place it into the SIM card tray. Ensure that the gold contacts on the SIM card align with the contacts in the tray and that the notched corner matches the outline in the tray.
-
Insert the Tray into Your iPhone: Once the SIM card is securely in place, gently slide the tray back into the iPhone. Be cautious not to force it, as this could cause damage to the tray or the device.
-
Power On Your iPhone: After inserting the SIM card, power on your new iPhone and wait for it to establish a connection with your carrier. This may take a few moments, so be patient while the device activates the new SIM card.
By following these steps, you can seamlessly insert the SIM card into your new iPhone, ensuring that your device is ready to connect to your carrier’s network and access all the features and services associated with your phone number and data plan.
Set Up Your New iPhone
Setting up your new iPhone is an exciting process that allows you to personalize your device and ensure that it meets your specific needs and preferences. Here’s a simple guide to help you get started:
-
Power On Your iPhone: Press and hold the power button on your new iPhone until the Apple logo appears on the screen. This indicates that the device is powering on.
-
Select Your Language and Region: Once the iPhone is powered on, you will be prompted to select your preferred language and region. Choose the options that best suit your requirements.
-
Connect to Wi-Fi: To continue the setup process, connect your iPhone to a Wi-Fi network. This is essential for downloading updates and accessing various features and services.
-
Set Up Touch ID or Face ID: Depending on your iPhone model, you may have the option to set up Touch ID or Face ID for secure and convenient authentication. Follow the on-screen instructions to complete this process.
-
Restore from iCloud Backup: If you backed up your old iPhone to iCloud, you can choose the option to "Restore from iCloud Backup" during the setup process. This will allow you to transfer your data, settings, and apps to your new device.
-
Sign in with Your Apple ID: To access the App Store, iCloud, and other Apple services, sign in with your Apple ID. If you don’t have an Apple ID, you can create one during the setup process.
-
Customize Your Settings: Take some time to customize your iPhone settings, including display brightness, sounds, notifications, and privacy preferences. This will ensure that your device is tailored to your liking.
-
Download Essential Apps: Visit the App Store to download essential apps such as messaging, email, and productivity tools. You can also explore the App Store to discover new apps that cater to your interests and hobbies.
By following these steps, you can efficiently set up your new iPhone, allowing you to personalize the device and make it an integral part of your digital lifestyle. Whether it’s configuring security features, restoring data, or downloading apps, this process sets the stage for an enjoyable and seamless iPhone experience.
Activate Your New iPhone
Activating your new iPhone is a crucial step that ensures your device is connected to your carrier’s network and ready to make calls, send messages, and access mobile data. Here’s a step-by-step guide to help you activate your new iPhone:
-
Insert the SIM Card: As outlined in the previous section, ensure that the SIM card is securely inserted into your new iPhone. This is essential for activating your phone number and connecting to your carrier’s network.
-
Power On Your iPhone: Press and hold the power button on your new iPhone until the Apple logo appears on the screen. This indicates that the device is powering on.
-
Follow the On-Screen Instructions: Once the iPhone is powered on, you will be guided through the activation process with on-screen prompts. Follow the instructions to proceed with the activation.
-
Connect to Wi-Fi or Cellular Data: To complete the activation, ensure that your iPhone is connected to a Wi-Fi network or has access to cellular data. This will facilitate the activation and enable your device to communicate with your carrier’s network.
-
Confirm Your Phone Number: During the activation process, you may be prompted to confirm your phone number and carrier details. Verify this information to ensure that your iPhone is correctly associated with your mobile account.
-
Complete the Setup: Once the activation is successful, you will receive a confirmation message on your iPhone. Your device is now ready to use, and you can begin exploring its features and capabilities.
By following these steps, you can effectively activate your new iPhone, ensuring that it is seamlessly integrated with your carrier’s network and ready to deliver a reliable and connected mobile experience. Whether it’s making calls, sending texts, or accessing mobile data, a successful activation sets the stage for a fulfilling iPhone journey.
Troubleshooting Tips
While the process of transferring your SIM card and setting up your new iPhone is generally straightforward, you may encounter occasional challenges. Here are some troubleshooting tips to help address common issues:
-
No Service or Signal: If your new iPhone displays "No Service" or has a weak signal, try restarting the device. Additionally, ensure that the SIM card is inserted correctly and that your carrier’s network is operational in your location.
-
Activation Failure: If you encounter issues during the activation process, verify that the SIM card is properly inserted and that you have a stable internet connection. If the problem persists, contact your carrier for assistance.
-
Missing Data after Restore: If data is missing after restoring from an iCloud backup, ensure that the backup was completed successfully and that you are signed in to the correct Apple ID. You can also attempt to restore the backup again to resolve any discrepancies.
-
Face ID or Touch ID Not Working: If you experience difficulties setting up or using Face ID or Touch ID, ensure that the device’s sensors are clean and unobstructed. You can also check the settings to confirm that these features are enabled and configured correctly.
-
Wi-Fi or Bluetooth Connectivity Issues: If you encounter connectivity issues with Wi-Fi or Bluetooth, try restarting the device and the network router or Bluetooth accessory. Updating your iPhone to the latest software version can also address compatibility issues.
By familiarizing yourself with these troubleshooting tips, you can address common challenges that may arise during the setup and activation of your new iPhone. These solutions can help you overcome technical hurdles and ensure that your device operates smoothly, allowing you to fully enjoy its features and capabilities.