
Checking Compatibility
Before proceeding with pairing your Jabra headset with a USB dongle, it's crucial to ensure that your headset and dongle are compatible. This step is essential to guarantee a seamless and successful pairing process.
Here are the key points to consider when checking compatibility:
-
Headset Model: Identify the model of your Jabra headset. Different Jabra headset models may have varying compatibility with USB dongles. Refer to the user manual or the official Jabra website to verify if your specific headset model is compatible with a USB dongle.
-
Dongle Compatibility: Check the compatibility of the USB dongle with your Jabra headset. Some Jabra headsets come with their own proprietary USB dongles, while others are designed to be compatible with a range of generic USB dongles. Ensure that the USB dongle you intend to use is supported by your Jabra headset model.
-
Operating System Compatibility: Verify the compatibility of the USB dongle and Jabra headset with your computer's operating system. Whether you are using Windows, macOS, or Linux, it's crucial to confirm that the headset and dongle are compatible with your specific operating system to avoid any potential connectivity issues.
-
Bluetooth Version: Check the Bluetooth version supported by both the Jabra headset and the USB dongle. Compatibility issues may arise if the Bluetooth versions are not aligned. Ensure that both devices support the same Bluetooth version to facilitate a smooth pairing process.
-
Firmware Updates: Check for any firmware updates for your Jabra headset and USB dongle. Manufacturers often release firmware updates to improve compatibility and address connectivity issues. Updating the firmware of both devices can enhance compatibility and resolve any potential pairing challenges.
By meticulously verifying the compatibility of your Jabra headset and USB dongle, you can preemptively address any potential issues that may hinder the pairing process. This proactive approach ensures a smoother and more efficient pairing experience, ultimately leading to a seamless connection between your headset and the USB dongle.
Ensuring compatibility is the crucial first step in the process of pairing your Jabra headset with a USB dongle, setting the stage for a successful and hassle-free connectivity experience.
Remember, compatibility is key to a successful pairing process. Once you have confirmed compatibility, you can proceed with charging the headset in preparation for the pairing process.
Charging the Headset
Before initiating the pairing process, it’s essential to ensure that your Jabra headset is adequately charged. Charging the headset not only prepares it for the pairing procedure but also ensures uninterrupted usage once connected to the USB dongle.
Consider the following steps to charge your Jabra headset:
-
Locate the Charging Port: Identify the charging port on your Jabra headset. The location of the charging port may vary depending on the specific model of the headset. Refer to the user manual or the manufacturer’s guidelines to pinpoint the exact location of the charging port.
-
Connect the Charging Cable: Once you’ve located the charging port, use the provided charging cable to connect the headset to a power source. This can be a USB port on your computer, a wall adapter, or any other compatible power source. Ensure that the connection is secure to initiate the charging process.
-
Monitor the Charging Status: Upon connecting the charging cable, monitor the headset to ascertain the charging status. Many Jabra headsets are equipped with LED indicators that display the charging progress. The indicators may illuminate or flash to indicate the charging status, such as low battery, charging in progress, or fully charged.
-
Allow Sufficient Charging Time: Depending on the current battery level, allow the headset to charge for the recommended duration. This ensures that the battery reaches an optimal level for the subsequent pairing process. It’s advisable to refer to the user manual for specific charging duration recommendations.
By following these steps, you can ensure that your Jabra headset is adequately charged, paving the way for a seamless pairing experience with the USB dongle. A fully charged headset not only facilitates the pairing process but also ensures extended usage without interruptions due to low battery levels.
Charging the headset sets the stage for the upcoming steps in the pairing process, allowing you to proceed with confidence and the assurance of a well-prepared headset.
Once the headset is fully charged, the next step involves plugging in the USB dongle, a pivotal stage in the process of pairing your Jabra headset with the dongle.
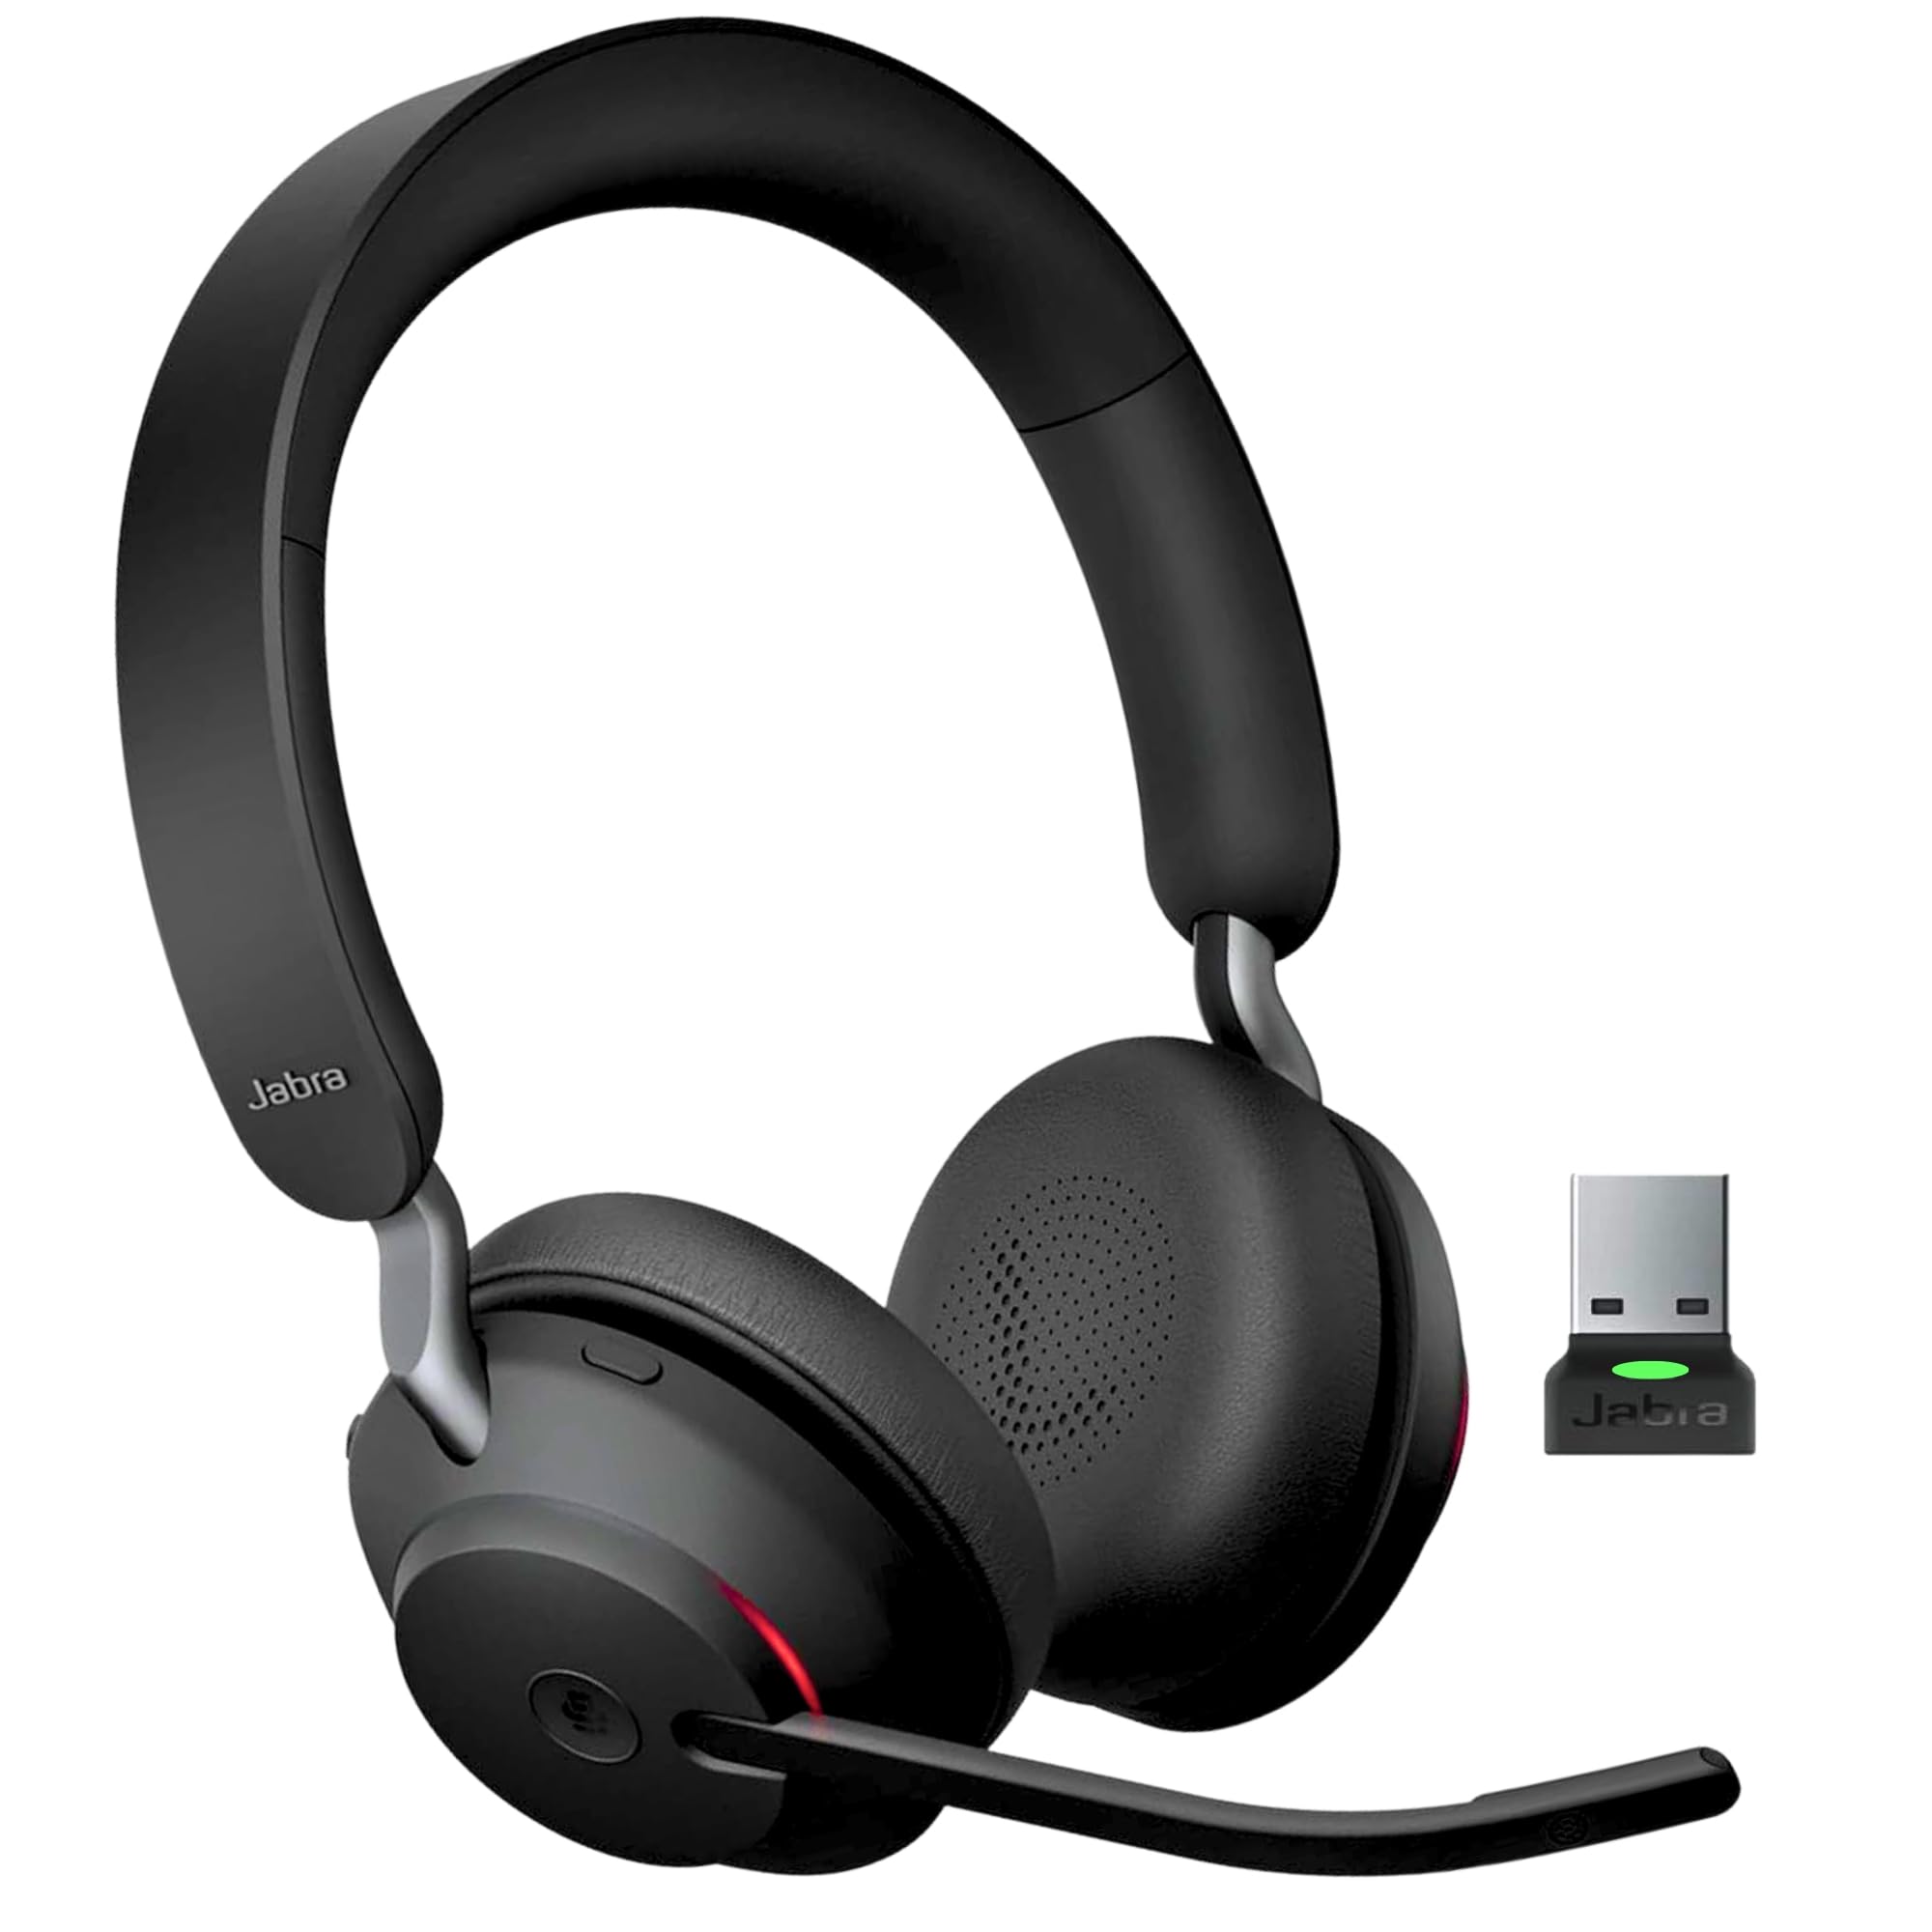
Plugging in the USB Dongle
Once your Jabra headset is adequately charged, the next step in the pairing process involves plugging in the USB dongle. This pivotal step establishes the initial connection between the headset and the computer, laying the groundwork for the subsequent pairing procedure.
Here’s a step-by-step guide to plugging in the USB dongle:
-
Locate an Available USB Port: Identify an available USB port on your computer or laptop where you can plug in the USB dongle. It’s advisable to select a port that is easily accessible and provides ample space for the dongle to be inserted without obstruction.
-
Insert the USB Dongle: Carefully insert the USB dongle into the selected USB port. Ensure that the insertion is secure and that the dongle fits snugly into the port. A firm connection is essential to establish a stable link between the dongle and the computer.
-
Observe the Dongle’s LED Indicator: Many USB dongles are equipped with LED indicators that display the connectivity status. Upon insertion, observe the LED indicator to confirm that the dongle is powered and ready to establish a connection with the Jabra headset.
-
Allow for Driver Installation (if applicable): Depending on the specific USB dongle and your computer’s operating system, driver installation may be required. If prompted, allow the computer to install any necessary drivers for the USB dongle to ensure seamless functionality.
By following these steps, you can effectively plug in the USB dongle, initiating the preliminary connection between the computer and your Jabra headset. This step sets the stage for the subsequent pairing process, where the headset and dongle will be synchronized to enable wireless communication.
Once the USB dongle is securely plugged in and operational, you are ready to proceed with the pivotal step of pairing your Jabra headset with the dongle, marking a significant advancement toward establishing a wireless connection for seamless communication.
After successfully plugging in the USB dongle, the subsequent step involves pairing the headset with the dongle, a critical phase in the process of enabling wireless connectivity for your Jabra headset.
Pairing the Headset with the Dongle
With the USB dongle securely plugged into your computer, the next crucial step in the process is pairing your Jabra headset with the dongle. This pivotal stage establishes the wireless connection between the headset and the computer, enabling seamless communication and audio functionality.
Follow these step-by-step instructions to pair your Jabra headset with the USB dongle:
-
Activate Pairing Mode on the Headset: Depending on the model of your Jabra headset, activate the pairing mode. This typically involves pressing and holding a specific button or combination of buttons on the headset to initiate the pairing process. Refer to the user manual for precise instructions on activating the pairing mode for your headset model.
-
Initiate Pairing Mode on the Dongle: On the computer, locate the Bluetooth settings or the specific software associated with the USB dongle. Activate the pairing mode on the dongle, allowing it to discover and connect to nearby Bluetooth devices, including your Jabra headset.
-
Search for Available Devices: Within the Bluetooth settings on your computer, initiate a search for available devices. The Jabra headset should appear in the list of discoverable devices, typically identified by its model name or a unique identifier.
-
Select and Pair the Headset: Once the Jabra headset is detected, select it from the list of available devices and initiate the pairing process. Follow any on-screen prompts to confirm the pairing request and establish the connection between the headset and the USB dongle.
-
Verify Successful Pairing: Upon successful pairing, the computer should display a confirmation message, indicating that the Jabra headset is now connected and ready for use. Additionally, the headset may emit an audio cue or display a visual indicator to signify the successful pairing with the USB dongle.
By meticulously following these steps, you can successfully pair your Jabra headset with the USB dongle, creating a seamless wireless connection that enables audio functionality and communication with your computer. This critical phase in the process sets the stage for testing the connection and ensuring the functionality of the paired devices.
Upon completing the pairing process, the next essential step involves testing the connection between the Jabra headset and the USB dongle to confirm the successful pairing and functionality of the wireless communication link.
Testing the Connection
After successfully pairing your Jabra headset with the USB dongle, it’s essential to test the connection to ensure seamless functionality and reliable wireless communication between the headset and your computer. Testing the connection allows you to verify the effectiveness of the pairing process and address any potential issues before utilizing the headset for audio and communication purposes.
Here’s a step-by-step guide to testing the connection between your Jabra headset and the USB dongle:
-
Audio Playback Test: Play a sample audio file or stream music on your computer while wearing the paired Jabra headset. Verify that the audio is transmitted wirelessly to the headset without any disruptions or delays. Listen for clarity, ensuring that the audio quality meets your expectations and that there are no connectivity issues affecting the playback.
-
Microphone Test: If your Jabra headset includes a microphone, initiate a test call or use a voice recording application on your computer to assess the microphone’s functionality. Speak into the headset’s microphone and verify that your voice is captured clearly without distortion or interference. Confirm that the microphone effectively transmits your voice to the computer during calls or recordings.
-
Mobility Test: Move around within the designated range of the USB dongle while wearing the paired Jabra headset. Test the wireless connectivity by ensuring that the audio remains consistent and clear, even as you move away from the computer. Assess the range at which the headset maintains a stable connection with the dongle, ensuring that mobility does not compromise the quality of the audio or communication.
-
Software Integration Test: If your Jabra headset is designed to work with specific software applications, such as communication platforms or voice recognition software, integrate the headset with these applications. Test the compatibility and functionality of the headset within the designated software environment, ensuring that it seamlessly integrates for effective communication and audio interaction.
By conducting these tests, you can ascertain the reliability and effectiveness of the connection between your Jabra headset and the USB dongle. Address any potential issues that arise during testing, such as audio disruptions, microphone malfunctions, or connectivity limitations, to optimize the functionality of the paired devices.
Testing the connection is a critical step in the process of pairing your Jabra headset with a USB dongle, ensuring that the wireless link between the headset and the computer functions seamlessly and reliably for various audio and communication needs.
Once you have successfully tested the connection and confirmed the functionality of the paired devices, you are ready to utilize your Jabra headset and USB dongle for wireless audio and communication, leveraging the convenience and mobility offered by the wireless connectivity.