
Checking for Backup
Before embarking on the process of resetting your iPhone 12, it's crucial to ensure that you have a recent backup of your device. A backup serves as a safety net, preserving your valuable data and settings so that you can easily restore them after the reset. Here's how to check for a backup:
-
Open Settings: Navigate to the "Settings" app on your iPhone 12. It's the gear-shaped icon typically found on the home screen.
-
Tap Your Name: Once in the Settings app, tap on your name at the top of the screen. This will take you to the Apple ID, iCloud, iTunes & App Store section.
-
Select iCloud: Within this section, select "iCloud." Here, you'll find various options related to iCloud, including iCloud Backup.
-
Check iCloud Backup Status: Tap on "iCloud Backup" to view the status of your most recent backup. If the feature is enabled, you should see the date and time of the last successful backup. If it's been a while since your last backup, it's advisable to perform a new backup before proceeding with the reset.
-
Verify iTunes Backup (Optional): If you've been using iTunes to back up your iPhone 12, you can also check the status of your most recent iTunes backup. To do this, connect your iPhone to your computer, open iTunes, and select your device. The "Summary" tab will display the date and time of your last backup.
By following these steps, you can confidently ascertain whether you have a recent backup of your iPhone 12. If a backup is not available, it's highly recommended to create one to safeguard your data and settings. With this essential precaution in place, you can proceed with the subsequent steps of resetting your iPhone 12, knowing that your valuable information is securely preserved.
Signing Out of iCloud and iTunes
Before initiating the process of resetting your iPhone 12, it's imperative to sign out of iCloud and iTunes to ensure a smooth transition and prevent any potential complications. By disassociating your device from these services, you can safeguard your data and prevent any unintended consequences during the reset. Here's a comprehensive guide on how to sign out of iCloud and iTunes:
Signing Out of iCloud
-
Access Settings: Begin by opening the "Settings" app on your iPhone 12. This can be easily located on the home screen, featuring a gear-shaped icon.
-
Navigate to Your Profile: Once in the Settings app, tap on your name at the top of the screen. This will lead you to the section encompassing your Apple ID, iCloud, iTunes & App Store settings.
-
Select iCloud: Within this section, locate and tap on "iCloud." Here, you'll find a range of options related to iCloud, including iCloud Backup and iCloud Drive.
-
Scroll Down and Sign Out: Scroll down to the bottom of the iCloud settings and click on "Sign Out." You will be prompted to confirm your decision. Upon confirmation, your iPhone 12 will sign out of iCloud, and you'll be presented with the option to keep a copy of your data on the device or delete it from your device.
Signing Out of iTunes & App Store
-
Return to Settings: After signing out of iCloud, return to the main page of the Settings app.
-
Tap on Your Profile: Once again, tap on your name at the top of the screen to access the Apple ID, iCloud, iTunes & App Store settings.
-
Select iTunes & App Store: In this section, tap on "iTunes & App Store." Here, you'll find your Apple ID at the top of the screen.
-
Sign Out: Tap on your Apple ID and then select "Sign Out" from the pop-up window. You may be prompted to enter your Apple ID password to complete the sign-out process.
By following these steps, you can effectively sign out of iCloud and iTunes on your iPhone 12, ensuring that your device is disassociated from these services before proceeding with the reset. This proactive measure helps to safeguard your data and settings, providing a seamless experience as you move forward with the reset process.
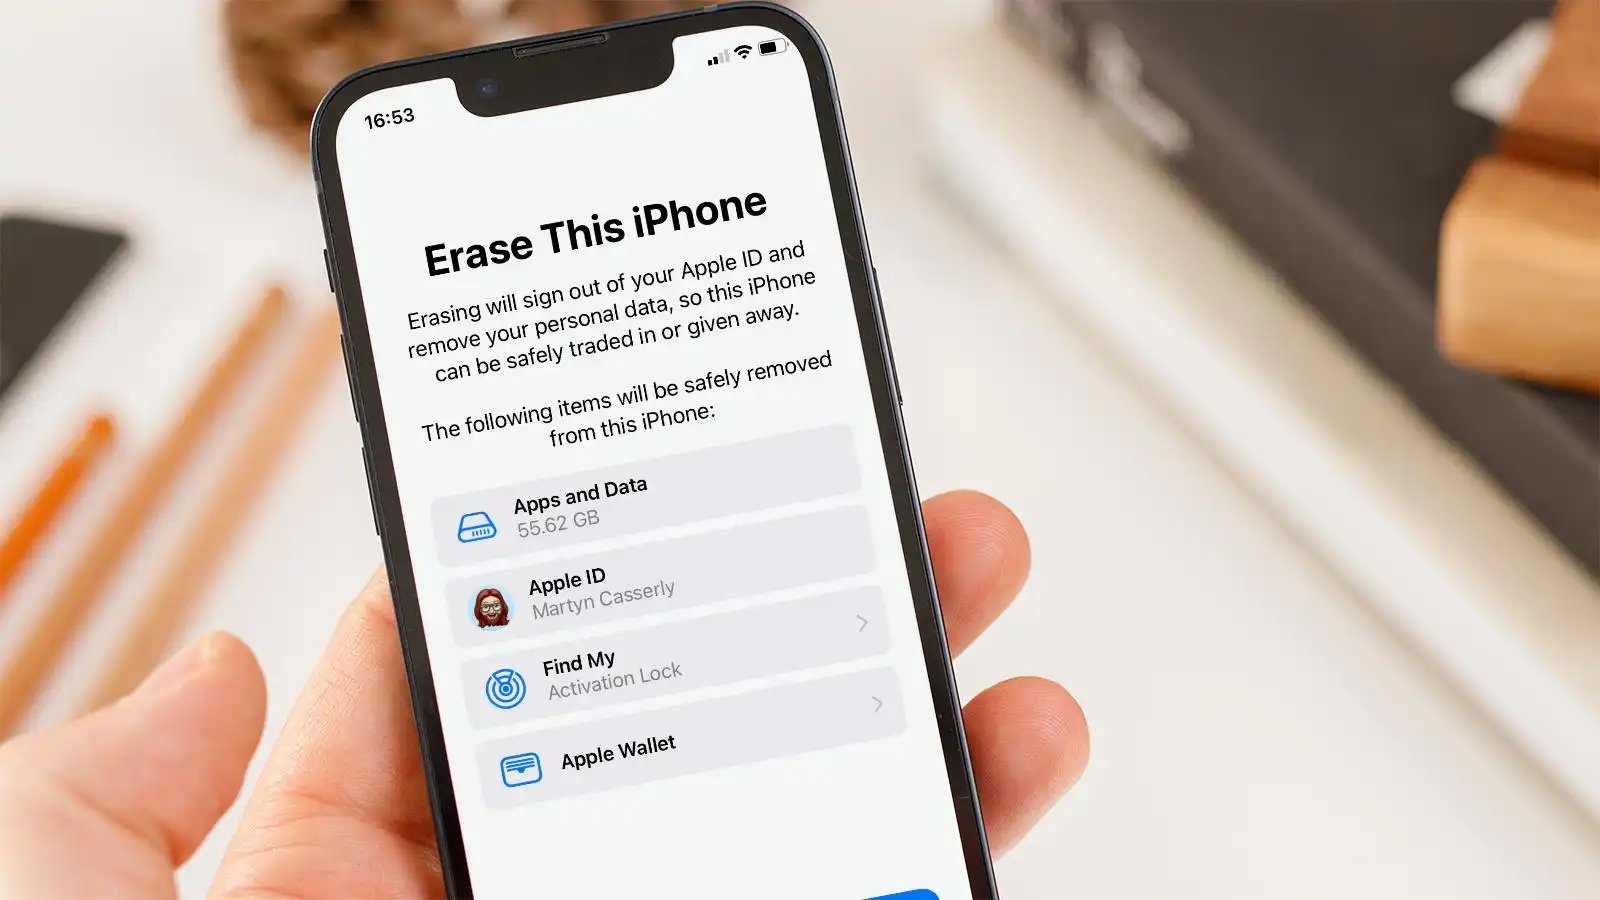
Erasing All Content and Settings
Erasing all content and settings on your iPhone 12 is a critical step that requires careful consideration and attention to detail. This process effectively restores your device to its original factory state, removing all personal data, settings, and configurations. It's essential to approach this step with caution, ensuring that you have backed up your data and signed out of iCloud and iTunes before proceeding. Here's a comprehensive guide on how to erase all content and settings on your iPhone 12:
-
Access Settings: Begin by unlocking your iPhone 12 and navigating to the home screen. Locate and tap on the "Settings" app, represented by a gear-shaped icon.
-
Navigate to General: Within the Settings app, scroll down and tap on "General." This section houses a range of fundamental device management options.
-
Select Reset: Scroll to the bottom of the General settings and tap on "Reset." This will open a new set of options related to resetting various aspects of your iPhone 12.
-
Choose Erase All Content and Settings: Within the Reset menu, tap on "Erase All Content and Settings." A confirmation prompt will appear, emphasizing the irreversible nature of this action. It's crucial to proceed with caution, as this process will permanently delete all data and settings from your device.
-
Enter Passcode: If you have set a passcode for your iPhone 12, you will be prompted to enter it to confirm the erasure process. This additional security measure ensures that only authorized users can initiate such a significant action.
-
Confirm Erasure: After entering your passcode, a final confirmation prompt will appear, asking you to confirm the erasure of all content and settings. Once confirmed, the process will commence, and your iPhone 12 will begin the comprehensive reset procedure.
-
Wait for Completion: The duration of the erasure process may vary depending on the amount of data stored on your device. It's essential to allow ample time for the process to complete, ensuring that all data and settings are thoroughly removed.
By following these steps, you can effectively erase all content and settings on your iPhone 12, restoring it to its original factory state. This process is a fundamental aspect of device maintenance and is particularly useful when preparing to sell or transfer ownership of your device. With your data securely backed up and iCloud and iTunes accounts signed out, you can confidently proceed with this critical step, knowing that your information is safely preserved and your device is ready for the next phase of its journey.
Setting Up as New iPhone
After successfully erasing all content and settings on your iPhone 12, the next pivotal phase involves setting it up as a new device. This process is akin to a fresh start, allowing you to configure your device according to your preferences and requirements. Whether you're setting up a brand-new iPhone 12 or reconfiguring it after a reset, the following steps will guide you through the seamless setup process:
-
Welcome Screen: Upon completing the erasure process, your iPhone 12 will display the welcome screen. This serves as the initial point of interaction, welcoming you to the device setup process.
-
Select Language and Region: Begin by selecting your preferred language and region. This ensures that your device's interface and settings align with your linguistic and geographical preferences.
-
Connect to Wi-Fi: To proceed with the setup, connect your iPhone 12 to a Wi-Fi network. This enables the device to access essential updates and services during the configuration process.
-
Activate Your iPhone: After connecting to Wi-Fi, the device will prompt you to activate it. This involves verifying your identity and confirming your ownership of the device.
-
Set Up Touch ID or Face ID (Optional): Depending on your iPhone 12 model, you may have the option to set up Touch ID or Face ID for secure and convenient authentication.
-
Create a Passcode: Establish a secure passcode to safeguard your device and protect your personal information. This serves as an additional layer of security, ensuring that only authorized users can access your iPhone 12.
-
Restore or Skip Apps & Data: At this stage, you have the choice to restore your apps and data from a previous backup or set up your iPhone 12 as a new device. If you opt to start afresh, you can skip this step and manually install apps and configure settings later.
-
Sign in with Apple ID: To access the full range of Apple services and features, sign in with your Apple ID. This grants you access to iCloud, the App Store, Apple Music, and other essential services.
-
Enable or Disable Services: Customize your device by enabling or disabling various services such as Siri, Location Services, and Find My iPhone based on your preferences.
-
Set Up Siri: If desired, set up Siri to utilize voice commands and personalized assistance on your iPhone 12.
-
Complete Setup: After configuring the aforementioned settings, your iPhone 12 will finalize the setup process, and you'll be greeted by the home screen, ready to embark on a new journey with your freshly configured device.
By following these steps, you can effectively set up your iPhone 12 as a new device, tailoring it to your specific needs and preferences. This process marks the beginning of a personalized and optimized user experience, ensuring that your device aligns with your individual requirements and usage patterns.
Restoring from Backup
Restoring your iPhone 12 from a backup is a pivotal step that allows you to seamlessly retrieve your previously saved data, settings, and configurations. Whether you've recently reset your device or upgraded to a new iPhone 12, the process of restoring from a backup ensures that your valuable information is promptly reinstated, facilitating a smooth transition and preserving your personalized user experience. Here's a comprehensive guide on how to restore your iPhone 12 from a backup:
-
Access Settings: Begin by unlocking your iPhone 12 and navigating to the home screen. Locate and tap on the "Settings" app, represented by a gear-shaped icon.
-
Navigate to General: Within the Settings app, scroll down and tap on "General." This section houses a range of fundamental device management options.
-
Select Reset: Scroll to the bottom of the General settings and tap on "Reset." This will open a new set of options related to resetting various aspects of your iPhone 12.
-
Choose Erase All Content and Settings: Within the Reset menu, tap on "Erase All Content and Settings." A confirmation prompt will appear, emphasizing the irreversible nature of this action. It's crucial to proceed with caution, as this process will permanently delete all data and settings from your device.
-
Enter Passcode: If you have set a passcode for your iPhone 12, you will be prompted to enter it to confirm the erasure process. This additional security measure ensures that only authorized users can initiate such a significant action.
-
Confirm Erasure: After entering your passcode, a final confirmation prompt will appear, asking you to confirm the erasure of all content and settings. Once confirmed, the process will commence, and your iPhone 12 will begin the comprehensive reset procedure.
-
Wait for Completion: The duration of the erasure process may vary depending on the amount of data stored on your device. It's essential to allow ample time for the process to complete, ensuring that all data and settings are thoroughly removed.
By following these steps, you can effectively erase all content and settings on your iPhone 12, restoring it to its original factory state. This process is a fundamental aspect of device maintenance and is particularly useful when preparing to sell or transfer ownership of your device. With your data securely backed up and iCloud and iTunes accounts signed out, you can confidently proceed with this critical step, knowing that your information is safely preserved and your device is ready for the next phase of its journey.