
Checking SIM Card Compatibility
Before setting up your SIM card on the new iPhone 14, it's crucial to ensure that the SIM card is compatible with the device. The iPhone 14 utilizes a nano-SIM card, which is the smallest SIM card size available. To verify compatibility, follow these steps:
-
Check the SIM Card Size: The iPhone 14 requires a nano-SIM card, which measures 12.3mm by 8.8mm. If your current SIM card is larger, such as a micro-SIM or standard SIM, you will need to obtain a nano-SIM card from your mobile service provider.
-
Review Network Compatibility: Different mobile carriers operate on various network technologies, such as GSM or CDMA. Ensure that your SIM card and carrier are compatible with the iPhone 14's supported network technologies. Most modern SIM cards are compatible with both GSM and CDMA networks, but it's always best to confirm with your carrier.
-
Check for SIM Lock: If your iPhone 14 was purchased from a specific carrier and is locked to that carrier, you will need a SIM card from the same carrier or one that is compatible with the locked device. To check for a SIM lock, you can insert a SIM card from a different carrier and see if the device recognizes it. If it does not, the device may be locked to a specific carrier.
-
Verify SIM Card Activation: Ensure that the SIM card is activated by your mobile carrier. If you have recently obtained a new SIM card, it may require activation before it can be used in your iPhone 14.
By confirming the compatibility of your SIM card with the iPhone 14, you can avoid potential issues during the setup process and ensure seamless connectivity with your mobile network. If any compatibility issues arise, reach out to your mobile carrier for assistance in obtaining a compatible nano-SIM card and addressing any activation or network compatibility concerns.
Inserting the SIM Card into iPhone 14
Inserting the SIM card into your iPhone 14 is a straightforward process that allows you to seamlessly connect to your mobile network and enjoy cellular services. Follow these simple steps to insert the SIM card into your iPhone 14:
-
Locate the SIM Card Tray: Begin by locating the SIM card tray on your iPhone 14. The SIM card tray is typically situated on the side of the device. You can identify it by the small pinhole next to it, which is used to eject the tray.
-
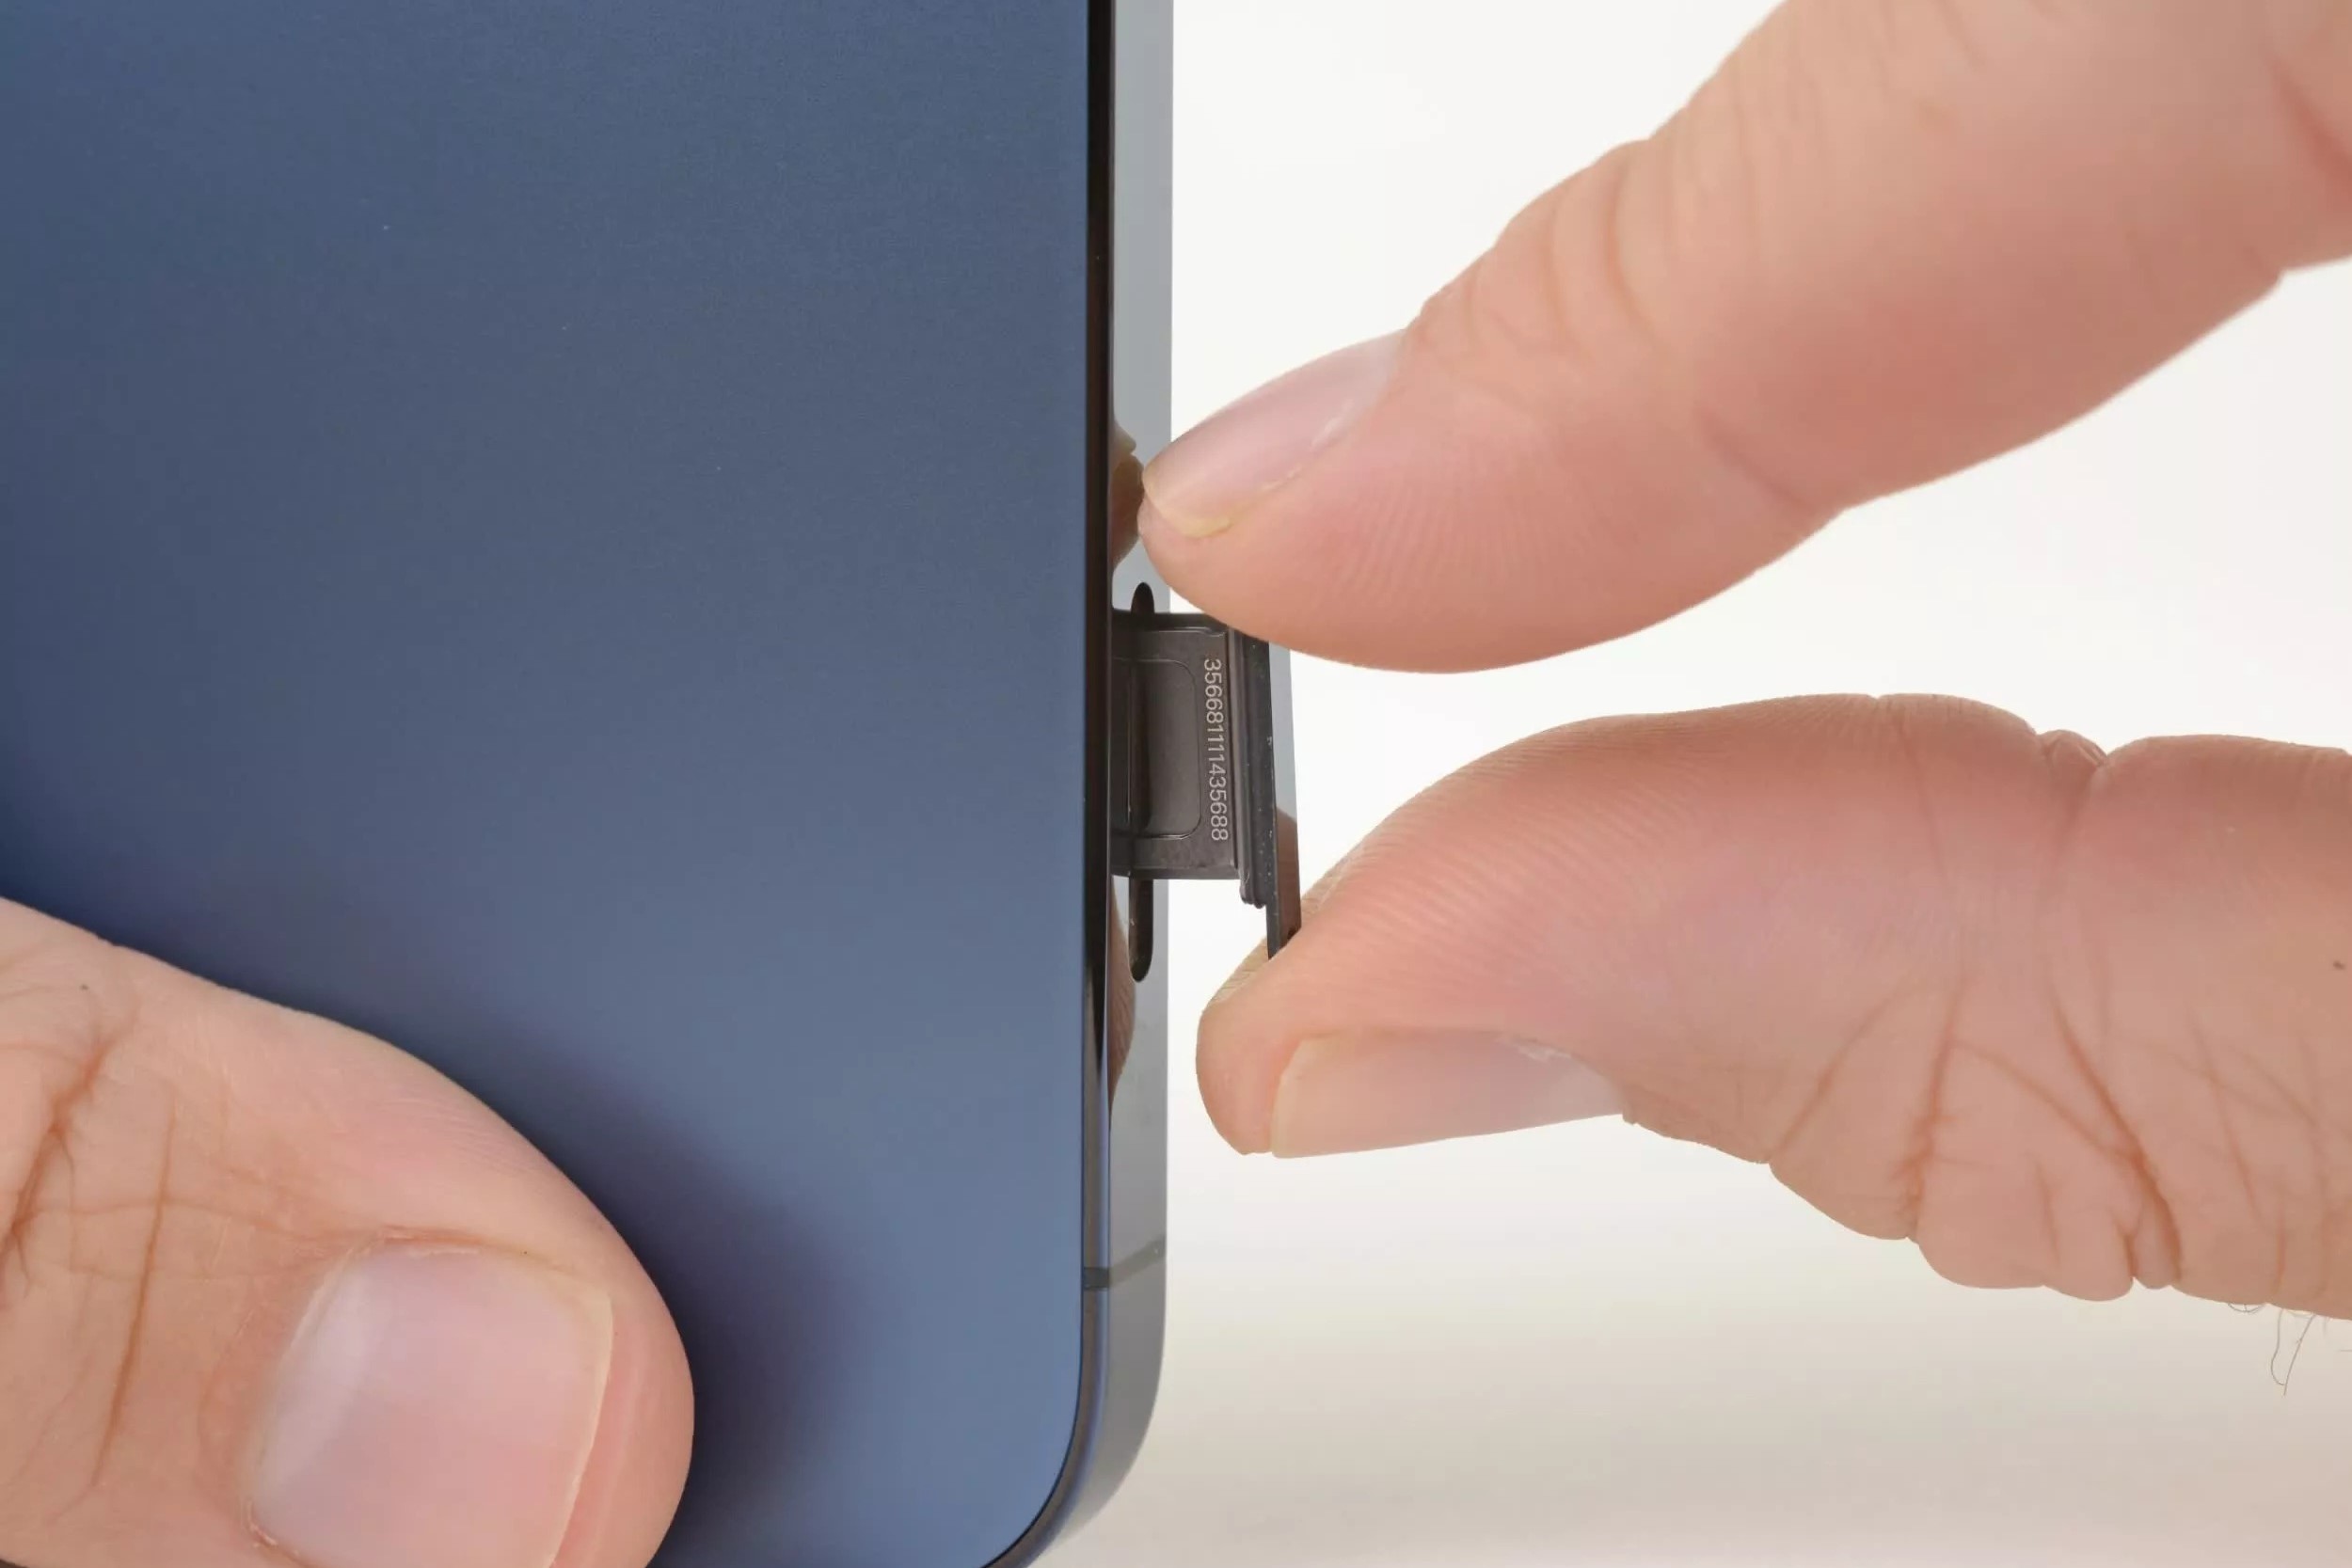
Eject the SIM Card Tray: To access the SIM card tray, you will need to use the SIM eject tool provided with your iPhone 14. Insert the eject tool into the pinhole next to the SIM card tray and gently apply pressure. This will cause the SIM card tray to pop out slightly, allowing you to remove it from the device.
-
Remove the SIM Card Tray: Once the SIM card tray is partially ejected, carefully pull it out of the iPhone 14. Take care not to apply excessive force to avoid damaging the tray or the device.
-
Place the SIM Card on the Tray: With the SIM card tray in hand, position the nano-SIM card on the tray. The tray is designed to accommodate the SIM card in a specific orientation, ensuring a secure fit. Align the SIM card with the tray's layout, taking note of the notched corner that matches the tray's configuration.
-
Reinsert the SIM Card Tray: After placing the SIM card on the tray, carefully slide the tray back into the iPhone 14 until it is fully seated. Ensure that the tray is inserted in the correct orientation to prevent any potential damage to the SIM card or the device.
-
Secure the SIM Card Tray: Gently press the SIM card tray back into the iPhone 14 until it is flush with the device's side. The tray should fit snugly, with no protrusions or misalignments.
-
Power On the iPhone 14: Once the SIM card tray is securely in place, power on your iPhone 14. The device will detect the presence of the SIM card and initiate the setup process, prompting you to configure cellular settings and activate the SIM card.
By following these steps, you can effortlessly insert the SIM card into your iPhone 14, enabling you to harness the full capabilities of your device's cellular connectivity. This seamless process ensures that you can swiftly transition to using your new iPhone 14 with your existing mobile network, allowing you to stay connected and productive on the go.
Activating the SIM Card
Activating the SIM card is a pivotal step in the setup process, as it enables your iPhone 14 to establish a connection with your mobile carrier's network and access cellular services. The activation process may vary depending on your mobile carrier and whether you are using a new SIM card or transferring an existing number to your iPhone 14. Here's a detailed guide to activating the SIM card on your iPhone 14:
-
New SIM Card Activation: If you have obtained a new SIM card from your mobile carrier, it will need to be activated before it can be used in your iPhone 14. Activation typically involves associating the SIM card with your mobile account and assigning a phone number and service plan to it. To activate a new SIM card, you may need to visit your carrier's website, use a dedicated mobile app, or contact customer support for assistance. The activation process may require you to provide the SIM card's unique identification number, known as the ICCID, which is printed on the SIM card itself.
-
Number Transfer (Porting): If you are transferring an existing phone number from another device to your iPhone 14, a process known as number porting, the activation steps will involve additional considerations. When initiating the number transfer, you will need to provide specific details, such as the current phone number, account information, and possibly a PIN or account password associated with the number. Your mobile carrier will facilitate the transfer process, ensuring that your existing number is seamlessly linked to the new SIM card in your iPhone 14.
-
E-SIM Activation: The iPhone 14 also supports eSIM technology, allowing you to activate a digital SIM card without the need for a physical card. If your carrier offers eSIM activation, you can add a cellular plan to your iPhone 14 using the built-in eSIM feature. This streamlined process eliminates the need for a physical SIM card and enables you to activate cellular service directly through the device's settings.
-
Activation Confirmation: Once the SIM card activation process is complete, your iPhone 14 will display a confirmation message indicating that the SIM card is active and ready for use. You may need to restart your device to finalize the activation and begin using cellular services.
By following these activation steps, you can seamlessly integrate your SIM card with your iPhone 14, ensuring that you can harness the full potential of your device's cellular capabilities. Whether activating a new SIM card, transferring an existing number, or utilizing eSIM technology, the activation process is designed to provide a seamless and efficient transition to your iPhone 14's mobile network connectivity.
Setting Up Cellular Data
Setting up cellular data on your iPhone 14 is essential for accessing mobile internet and utilizing various online services while on the go. Whether you're browsing the web, streaming media, or using location-based apps, configuring cellular data ensures that your iPhone 14 can seamlessly connect to your mobile carrier's network. Follow these steps to set up and manage cellular data on your device:
Accessing Cellular Settings
To begin, navigate to the "Settings" app on your iPhone 14 and tap on "Cellular." This will open the cellular settings menu, where you can manage your device's mobile data usage and network preferences.
Enabling Cellular Data
Within the cellular settings menu, locate the "Cellular Data" option and toggle it on to enable mobile data usage on your iPhone 14. When enabled, your device will be able to connect to the internet and utilize cellular services provided by your mobile carrier.
Configuring Cellular Data Options
Under the cellular settings menu, you can further customize your device's mobile data usage by exploring additional options. These may include settings for roaming, personal hotspot, and app-specific data usage controls. Adjust these settings based on your preferences and data plan requirements.
Monitoring Data Usage
To manage your data consumption, the "Cellular Data Usage" section within the settings menu provides insights into your data usage patterns. Here, you can view a breakdown of data usage by individual apps and services, empowering you to monitor and optimize your data usage.
Wi-Fi Assist
The "Wi-Fi Assist" feature, located within the cellular settings, allows your iPhone 14 to seamlessly switch to cellular data when Wi-Fi connectivity is weak or unstable. This ensures a consistent internet connection, especially when transitioning between Wi-Fi networks and cellular data.
Data Roaming
If you frequently travel internationally, the "Data Roaming" setting enables your iPhone 14 to connect to partner networks abroad, allowing you to use cellular data while traveling. Be mindful of potential roaming charges and consider activating international data packages with your mobile carrier to manage costs effectively.
Utilizing eSIM Technology
The iPhone 14 supports eSIM functionality, enabling you to add additional cellular plans without the need for a physical SIM card. Through the "Cellular" settings, you can configure and manage eSIM profiles, providing flexibility in choosing and activating cellular plans directly on your device.
By following these steps and customizing your cellular data settings, you can optimize your iPhone 14's mobile connectivity to suit your usage habits and preferences. Whether managing data usage, enabling roaming capabilities, or leveraging eSIM technology, configuring cellular data ensures that your device remains seamlessly connected to your mobile network, empowering you to stay productive and connected wherever you go.
Configuring Voice and Text Settings
Configuring voice and text settings on your iPhone 14 is essential for optimizing your communication experience and ensuring that you can seamlessly make calls, send messages, and manage your voice and text preferences. By customizing these settings, you can tailor your device to suit your communication needs and preferences. Here's a comprehensive guide to configuring voice and text settings on your iPhone 14:
Managing Call Settings
Navigate to the "Settings" app on your iPhone 14 and select "Phone" to access call settings. Here, you can customize various call-related options, including call forwarding, call waiting, and caller ID settings. Adjusting these settings allows you to personalize your calling experience and manage incoming and outgoing calls efficiently.
Setting Up Voicemail
Within the "Phone" settings, you can set up and manage your voicemail preferences. Configure voicemail greetings, notifications, and access settings to ensure that you can effectively manage and retrieve voicemail messages. Personalizing your voicemail settings adds a personal touch to your communication experience.
Customizing Messaging Preferences
To manage text and messaging settings, navigate to the "Messages" section within the "Settings" app. Here, you can customize messaging options, including message notifications, iMessage settings, and message filtering. Adjusting these preferences allows you to tailor your messaging experience to align with your communication style and preferences.
Enabling Wi-Fi Calling
The iPhone 14 supports Wi-Fi calling, which enables you to make and receive calls over a Wi-Fi network. By enabling Wi-Fi calling in the "Phone" settings, you can ensure seamless connectivity in areas with limited cellular coverage. This feature provides added flexibility and reliability in maintaining voice communication.
Configuring Emergency SOS
In the "Emergency SOS" settings, you can set up emergency contact preferences and customize SOS features. This includes enabling automatic emergency calls, configuring emergency contact information, and activating SOS countdown settings. Customizing these options ensures that you can quickly access emergency services and notify designated contacts in critical situations.
Managing Language and Region Settings
Under the "General" settings, you can customize language and region preferences to align with your linguistic and location-based requirements. Adjusting these settings allows you to personalize your device's interface and communication features to suit your language and regional preferences.
By following these steps and customizing voice and text settings on your iPhone 14, you can optimize your communication experience and tailor your device to suit your individual preferences. Whether managing call preferences, setting up voicemail, or customizing messaging options, configuring voice and text settings empowers you to personalize your communication experience and stay connected with ease.
Troubleshooting SIM Card Issues
Troubleshooting SIM card issues on your iPhone 14 is essential for ensuring seamless connectivity and addressing potential challenges that may arise during the setup or usage of the SIM card. By identifying and resolving common SIM card issues, you can optimize your device's functionality and maintain uninterrupted access to cellular services. Here's a comprehensive guide to troubleshooting SIM card issues on your iPhone 14:
Checking SIM Card Installation
Before delving into troubleshooting, it's crucial to verify that the SIM card is correctly installed in your iPhone 14. Ensure that the SIM card tray is securely inserted, and the SIM card is positioned in the tray according to the designated orientation. If the SIM card is not detected, reinsert the SIM card tray and ensure a proper fit to eliminate installation-related issues.
Network Signal and Coverage
If you are experiencing signal or network coverage issues, confirm that your mobile carrier's network is operational in your current location. Weak or fluctuating signals may impact the device's ability to recognize the SIM card and establish a stable connection. Consider moving to an area with better network coverage to assess if the issue is related to signal strength.
Restarting the Device
A simple yet effective troubleshooting step involves restarting your iPhone 14. Restarting the device can resolve temporary software glitches and refresh the device's connectivity settings, potentially resolving SIM card recognition issues and restoring normal functionality.
Checking for SIM Card Damage
Inspect the SIM card for any signs of physical damage, such as scratches, dents, or corrosion. Damaged SIM cards may hinder proper detection and connectivity. If the SIM card appears damaged, contact your mobile carrier to obtain a replacement SIM card.
Software Updates
Ensure that your iPhone 14 is running the latest version of iOS. Software updates often include bug fixes and improvements related to cellular connectivity and SIM card recognition. Updating your device's software can address underlying software-related issues that may affect the SIM card's functionality.
Resetting Network Settings
If persistent SIM card issues persist, consider resetting the network settings on your iPhone 14. This process clears network-related configurations and preferences, potentially resolving connectivity issues. Navigate to the device's settings, select "General," followed by "Reset," and choose "Reset Network Settings" to initiate the process.
Contacting Your Mobile Carrier
If troubleshooting steps do not resolve the SIM card issues, reach out to your mobile carrier's customer support for assistance. They can provide insights into network-related issues, verify the status of your SIM card and account, and offer guidance on resolving persistent connectivity challenges.
By following these troubleshooting steps, you can effectively address SIM card issues on your iPhone 14, ensuring that your device maintains reliable connectivity and seamless access to cellular services. Identifying and resolving potential issues empowers you to make the most of your iPhone 14's communication capabilities and stay connected with confidence.