
Why Use a Vacation Reply in Windows Live Hotmail
Going on a vacation is a wonderful opportunity to relax, unwind, and disconnect from the daily grind. However, it’s important to remember that your email inbox won’t take a break along with you. That’s where the vacation reply feature in Windows Live Hotmail comes in handy. By setting up a vacation reply, you can let your contacts know that you’re currently away and may not be able to respond to their emails promptly. Here are a few reasons why using a vacation reply in Windows Live Hotmail is beneficial:
- Provide reassurance to your contacts: When you’re away, it’s not uncommon for people to wonder why you haven’t responded to their emails. By setting up a vacation reply, you can alleviate any concerns and let your contacts know that you will respond to their messages when you return.
- Manage expectations: A vacation reply allows you to set clear expectations for your contacts regarding your availability. You can let them know the date range during which you’ll be away and when they can expect to hear back from you. This helps avoid any misunderstandings or frustrations.
- Maintain professionalism: Whether you’re on a personal vacation or a business trip, setting up a vacation reply demonstrates your professionalism. It shows that you value prompt communication and ensures that your contacts know you haven’t simply ignored their emails.
- Prevent unnecessary follow-up: Without a vacation reply, contacts may repeatedly send follow-up emails, wondering why you haven’t responded. By setting up an automated response, you can help reduce the number of unnecessary follow-ups and save time for both you and your contacts.
- Stay organized: A vacation reply can act as a reminder for you to address certain emails once you return. You can use this opportunity to inform your contacts that you will be reviewing their messages upon your arrival, allowing you to prioritize and manage your mailbox more efficiently.
Overall, the vacation reply feature in Windows Live Hotmail is a valuable tool that enhances communication during your absence. It helps maintain professionalism, manage expectations, and reduce the stress of returning to a cluttered inbox. So, before you set off on your next vacation, take a few minutes to set up a vacation reply in Windows Live Hotmail, and enjoy your time away with peace of mind.
Step 1: Sign in to your Windows Live Hotmail Account
Before you can access the vacation reply settings in Windows Live Hotmail, you need to sign in to your account. Follow these simple steps to log in:
- Open a web browser on your computer and go to the Windows Live Hotmail website.
- On the login page, enter your Hotmail email address and password in the respective fields.
- Click on the “Sign In” button to access your account.
Once you have successfully signed in, you will be directed to your Hotmail inbox, where you can proceed to the next steps to set up your vacation reply.
Note: If you are using a public computer or a device that isn’t yours, it’s essential to log out of your account after you’re finished to ensure the security and privacy of your information. To log out, click on your profile picture or initials in the top-right corner of the screen and select “Sign out” from the dropdown menu.
Step 2: Access the Vacation Reply Settings
Once you have signed in to your Windows Live Hotmail account, you need to access the vacation reply settings to enable and configure the feature. Follow these steps to find the vacation reply settings:
- In your Hotmail inbox, look for the gear icon located in the top-right corner of the screen. This icon represents the settings menu.
- Click on the gear icon to open the settings menu.
- In the dropdown menu, scroll down and select “Options.”
- You will be taken to the Options page, where you can customize various settings for your Hotmail account.
- On the left side of the Options page, navigate to the “Mail” category. Click on it to expand the options related to email settings.
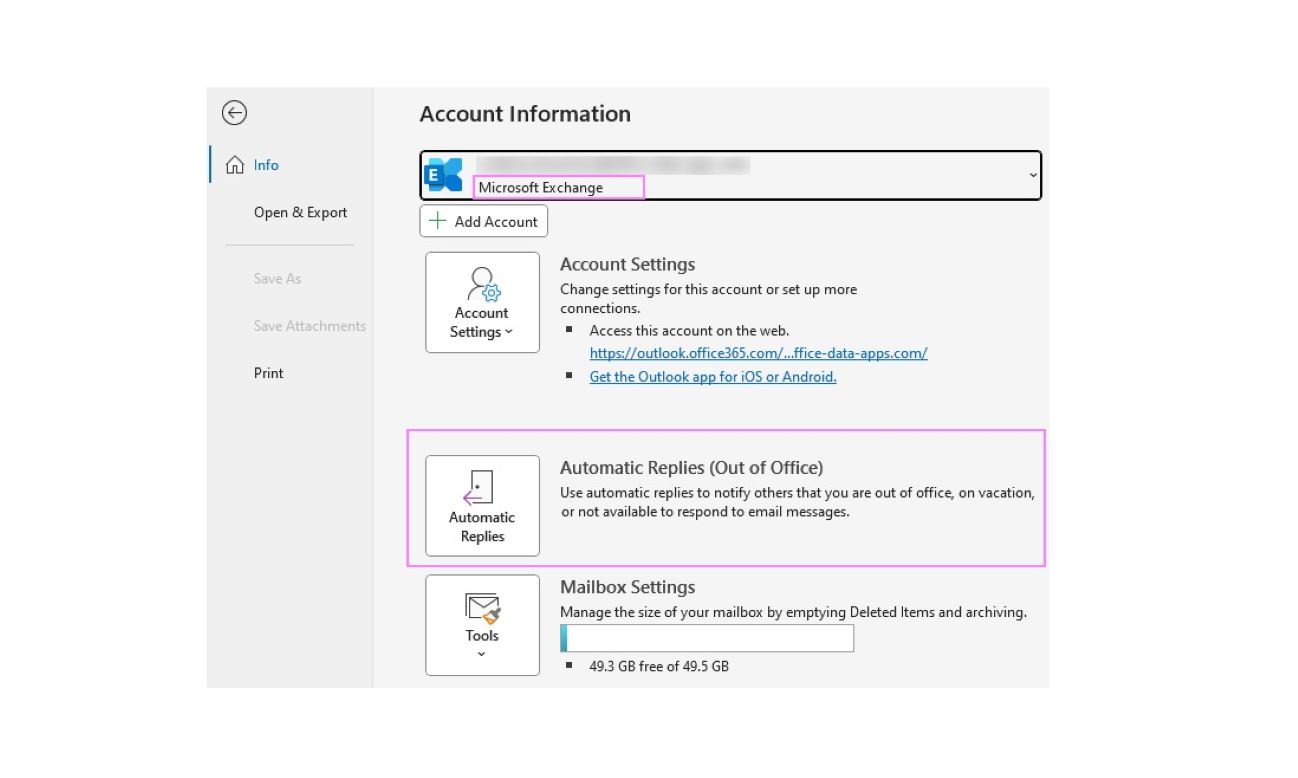
- Look for the “Automatic replies” or “Out of Office” section, depending on the version of Hotmail you are using. This is where you will find the vacation reply settings.
- Click on the “Automatic replies” or “Out of Office” section to access the vacation reply settings.
By following these steps, you will now have access to the vacation reply settings in Windows Live Hotmail. You can proceed to the next step to enable and customize your vacation reply message.
Note: The location and appearance of the settings may vary slightly depending on the version of Hotmail you are using. However, the basic steps to access the vacation reply settings remain the same.
Step 3: Enable the Vacation Reply Feature
Now that you have accessed the vacation reply settings in Windows Live Hotmail, it’s time to enable the feature. Here’s how you can do it:
- Within the vacation reply settings page, you will see an option to enable the vacation reply feature. It may be labeled as “Turn on vacation reply” or “Enable out of office.”
- Click on the checkbox or toggle switch next to the corresponding option to enable the vacation reply feature.
- Some versions of Hotmail may provide additional options, such as setting different vacation replies for internal contacts and external contacts. If these options are available, you can configure them according to your preferences.
By enabling the vacation reply feature, you are now ready to customize your vacation reply message and set the date range during which the reply will be active.
Note: Make sure to review the available options in the vacation reply settings page carefully, as they may differ slightly depending on the version of Hotmail you are using. However, the basic functionality of enabling the vacation reply feature remains the same.
Step 4: Customize Your Vacation Reply Message
With the vacation reply feature enabled in Windows Live Hotmail, it’s time to customize the message that will be sent automatically to your contacts. Follow these steps to personalize your vacation reply:
- Within the vacation reply settings, you will find a text box labeled “Message” or “Reply Message.”
- Click inside the text box and start typing your customized vacation reply message. You can include information such as the dates you will be away, alternate contact details in case of emergency, or any other relevant details you wish to share with your contacts.
- Windows Live Hotmail provides various formatting options, similar to a basic text editor. You can use these options to bold important information, add bullet points for clarity, or even include hyperlinks if necessary.
- Make sure to keep your vacation reply message concise, clear, and professional. Avoid including sensitive or confidential information in the message.
- Take some time to review your message for any typos or errors before proceeding to the next step.
By customizing your vacation reply message, you will ensure that your contacts receive a clear and informative response while you are away. Once you are satisfied with your message, you can move on to setting the date range during which the vacation reply will be active.
Note: The available formatting options may vary slightly depending on the version of Hotmail you are using. However, the basic functionality of customizing your vacation reply message remains consistent.
Step 5: Set the Date Range for Your Vacation Reply
Setting the date range for your vacation reply in Windows Live Hotmail is essential to ensure that your contacts receive the automated response only during the time you are away. Follow these steps to specify the start and end dates of your vacation reply:
- Within the vacation reply settings, locate the option to set the date range. It may be labeled as “Start date” and “End date,” or similar.
- Click on the corresponding fields to select the start date of your vacation. You can either type the date manually or use the provided calendar tool to choose the desired date.
- Similarly, select the end date of your vacation by choosing it from the calendar tool or manually entering the date.
- Ensure that the selected dates accurately represent the duration of your absence.
- If available, some versions of Hotmail may also allow you to specify the time of day when the vacation reply will be activated and deactivated. This can be useful if you have specific times during your vacation when you can still respond to emails.
By setting the date range for your vacation reply, you ensure that your contacts receive your automated response only within the specified timeframe. This allows you to maintain clear communication and manage expectations regarding your availability.
Note: The options for setting the date range may vary slightly depending on the version of Hotmail you are using. However, the basic functionality of specifying the start and end dates of your vacation reply remains consistent.
Step 6: Save Your Vacation Reply Settings
After customizing your vacation reply message and setting the date range for its activation, it’s important to save these settings in Windows Live Hotmail. Follow these steps to ensure that your vacation reply is enabled and ready to go:
- Once you have finalized your vacation reply message and specified the start and end dates, look for the option to save the settings. This may be labeled as “Save,” “Apply,” or “OK.”
- Click on the corresponding button to save your vacation reply settings.
- After saving the settings, you may be redirected back to your Hotmail inbox or the main settings page, depending on the version of Hotmail you are using.
- Double-check that the vacation reply feature is now enabled and that your customized message and date range are correctly displayed.
- If necessary, you can make further adjustments to your vacation reply settings by following the previous steps again.
By saving your vacation reply settings, you ensure that your automated response will be sent to your contacts during the specified time period. This allows you to enjoy your vacation without worrying about managing incoming emails and provides your contacts with the necessary information regarding your availability.
Note: It’s always a good idea to double-check your vacation reply message and date range to ensure they accurately reflect your plans. This will help you avoid any miscommunication or confusion with your contacts while you are away.
Step 7: Test Your Vacation Reply
Before you completely rely on your vacation reply in Windows Live Hotmail, it’s important to test it to ensure that it functions as expected. Follow these steps to test your vacation reply:
- Open a separate email account or ask a friend or colleague to send a test email to your Hotmail address.
- Make sure that the test email is sent during the date range you specified for your vacation reply.
- Wait for a few minutes to allow the test email to arrive in your Hotmail inbox.
- Once the test email is received, check to see if your automated vacation reply is triggered.
- Review the contents of the vacation reply message to ensure that it displays correctly and includes all the necessary information.
- If the vacation reply is not triggered, double-check that you have correctly enabled and saved the vacation reply settings.
- If necessary, make any necessary adjustments to the settings, save them again, and conduct another test.
By testing your vacation reply, you can ensure that it is functioning correctly and providing the intended response to your contacts. This allows you to verify that your customized message is being sent, and that it reflects your availability and vacation plans accurately.
Note: Remember to inform your close contacts about your vacation plans in advance, especially if they are sending urgent or time-sensitive emails. This can help avoid any confusion or frustration if they do not receive an immediate response.