
Setting up Instant Messaging in Windows Live Hotmail
Windows Live Hotmail offers a convenient instant messaging feature that allows you to chat with your contacts in real-time. To start using instant messaging in Windows Live Hotmail, you’ll need to set it up. Follow these steps to get started:
- Sign in to your Windows Live Hotmail account. If you don’t have an account, you can create one for free.
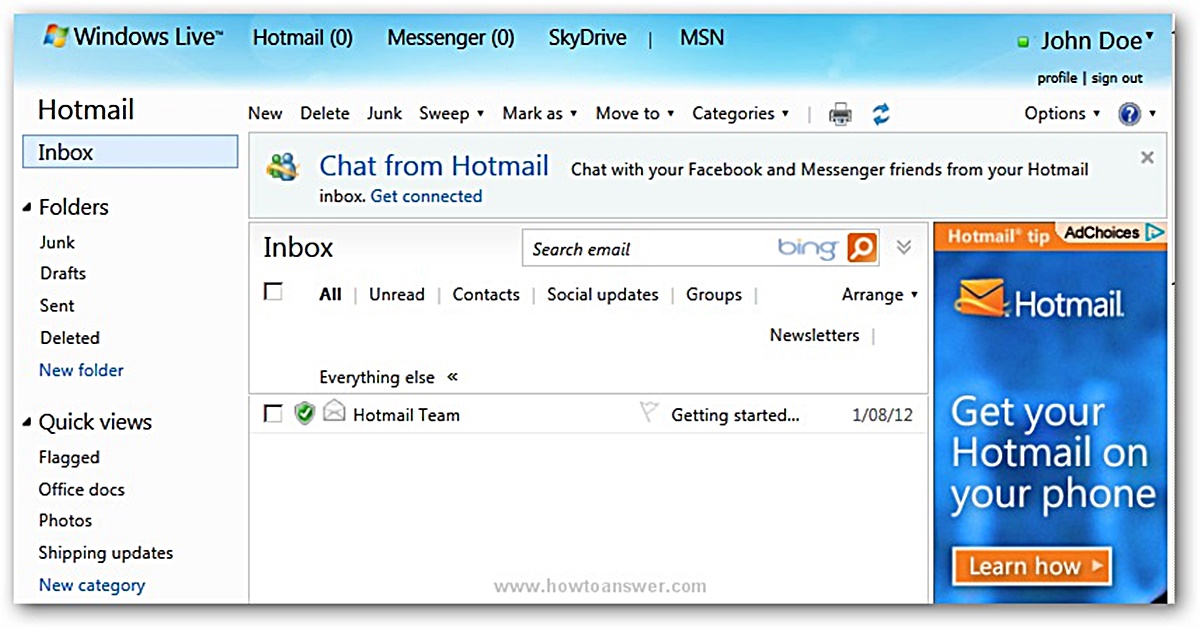
- Once you’re signed in, click on the messaging icon located in the top right corner of the screen. It looks like a speech bubble.
- A pop-up window will appear, displaying your contact list. If you haven’t added any contacts yet, you’ll need to do so before you can start chatting with them. Click on the “Add a contact” button and enter the email address or username of the person you want to add as a contact.
- After adding your contacts, you can begin sending instant messages. Simply click on a contact’s name in the list, and a chat window will appear. Type your message in the text field at the bottom and press Enter to send it.
- If you want to receive instant messages from your contacts, make sure your status is set to “Available.” You can change your status by clicking on your profile picture or initials at the top right corner of the screen and selecting the desired status from the drop-down menu.
- During a conversation, you can also make use of emoticons to add a personal touch to your messages. Just click on the smiley face icon in the chat window and select the emoticon you want to use.
With instant messaging set up in Windows Live Hotmail, you can effortlessly communicate with your contacts in a fast and efficient manner. Whether you want to have a quick chat with a friend or discuss important matters with a colleague, instant messaging makes it easy to stay connected.
Sending an Instant Message
Sending an instant message in Windows Live Hotmail allows you to have real-time conversations with your contacts. Follow these simple steps to send an instant message:
- Sign in to your Windows Live Hotmail account and click on the messaging icon located in the top right corner of the screen.
- A pop-up window will appear, displaying your contact list. Find the contact you want to message and click on their name.
- A chat window will open, providing you with a text field at the bottom. Type your message in the field and press Enter to send it.
- You can continue the conversation by typing in the text field and sending additional messages. The messages will appear in the chat window, allowing for a smooth flow of communication.
- If you want to use emoticons to express yourself better, click on the smiley face icon in the chat window. A menu with various emoticon options will appear. Select the one you want to use, and it will be inserted into your message.
- Once you have finished your conversation, you can close the chat window by clicking on the “X” icon at the top right corner.
Sending instant messages in Windows Live Hotmail is a convenient way to communicate with your contacts in real-time. Whether you want to have a casual chat or discuss important matters, sending instant messages ensures quick and direct communication.
Receiving an Instant Message
Receiving an instant message in Windows Live Hotmail allows you to engage in real-time conversations with your contacts. Here’s how you can receive an instant message:
- Sign in to your Windows Live Hotmail account and make sure your status is set to “Available” to receive messages. You can check your status by clicking on your profile picture or initials at the top right corner of the screen and selecting the desired status from the drop-down menu.
- When a contact sends you an instant message, a chat window will automatically open. You’ll see the incoming message displayed in the chat window.
- To reply to the message, type your response in the text field at the bottom of the chat window and press Enter to send it. The messages will then appear in the chat window, allowing for a seamless conversation.
- If you want to use emoticons to enhance your message, click on the smiley face icon in the chat window. A menu with a variety of emoticon options will appear. Select the one you want to use, and it will be included in your response.
- You can continue the conversation by receiving and sending messages in the chat window. The messages will appear in chronological order, providing a clear and organized conversation history.
- To close the chat window when you have finished the conversation, simply click on the “X” icon at the top right corner.
Receiving instant messages in Windows Live Hotmail enables you to communicate with your contacts in real-time. Whether it’s a casual chat or an important discussion, receiving instant messages allows for a quick and efficient exchange of information.
Blocking or Unblocking Contacts
In Windows Live Hotmail, you have the ability to block or unblock contacts to control who can send you instant messages. Follow these steps to block or unblock a contact:
- Sign in to your Windows Live Hotmail account and click on the messaging icon located in the top right corner of the screen.
- In the pop-up window, click on the settings icon, which looks like a gear, located at the top right corner. A drop-down menu will appear.
- From the drop-down menu, select “More mail settings.” You will be redirected to the settings page.
- Under the “Customize Hotmail” section, click on “Safe and blocked senders.”
- Next, click on “Blocked senders.” This will display the list of contacts that you have blocked.
- To block a new contact, enter their email address or username in the “Enter an email address or domain” field and click on the “Add” button. This will prevent the contact from sending you instant messages.
- If you want to unblock a contact, simply locate their email address or username in the list of blocked senders and click on the “Remove” button next to their name. This will allow the contact to send you instant messages again.
- Remember to click on the “Save” button at the top or bottom of the page to save your changes.
Blocking or unblocking contacts in Windows Live Hotmail gives you control over your instant messaging experience. By blocking unwanted contacts, you can ensure a more secure and pleasant communication environment. Similarly, unblocking contacts allows you to restore communication with previously blocked individuals.
Customizing your Instant Messaging Settings
Customizing your instant messaging settings in Windows Live Hotmail allows you to personalize and optimize your messaging experience. Here’s how you can customize your settings:
- Sign in to your Windows Live Hotmail account and click on the messaging icon located in the top right corner of the screen.
- In the pop-up window, click on the settings icon, which looks like a gear, located at the top right corner. A drop-down menu will appear.
- From the drop-down menu, select “More mail settings.” You will be redirected to the settings page.
- Under the “Customize Hotmail” section, click on “Messaging settings.”
- Here, you can customize various settings for instant messaging. For example, you can choose to receive notifications when someone sends you an instant message by enabling the “Chat notifications” option.
- You can also choose to show your online status to your contacts by selecting the “Show when I’m online” option. This allows your contacts to see if you are available for a chat.
- If you prefer to keep your conversations private, you can enable the “Block invitations from people not on my contact list” option. This ensures that only contacts in your list can send you instant messages.
- Additionally, you can customize your display name by entering a desired name in the “Display name” field. This allows you to use a different name for instant messaging compared to your email address.
- After customizing your settings, don’t forget to click on the “Save” button at the top or bottom of the page to save your changes.
By customizing your instant messaging settings in Windows Live Hotmail, you can tailor your messaging experience to suit your preferences. Whether it’s receiving notifications, controlling your online presence, or customizing your display name, these settings ensure a personalized and efficient communication experience.
Adding Contacts to Your Instant Messaging List
In Windows Live Hotmail, adding contacts to your instant messaging list allows you to easily initiate conversations and stay connected with the people you frequently communicate with. Here’s how you can add contacts to your instant messaging list:
- Sign in to your Windows Live Hotmail account and click on the messaging icon located in the top right corner of the screen.
- In the pop-up window, click on the “Add a contact” button. This will open a dialog box where you can enter the email address or username of the person you want to add as a contact.
- Enter the email address or username of the contact and click on the “Add” button. If the contact is already on your contact list, their name will appear in the search results. Simply click on their name to add them as a contact.
- If the contact is not already on your list, you will need to send them an invitation to connect. Fill in the necessary details and click on the “Send” button. The contact will receive an invitation to connect and, once accepted, will be added to your instant messaging list.
- When a contact has been successfully added to your list, you can simply click on their name in the contact list to start an instant message conversation.
By adding contacts to your instant messaging list in Windows Live Hotmail, you can easily reach out and communicate with your friends, family, and colleagues. Whether it’s a quick catch-up or an important conversation, adding contacts ensures that you are just a message away from staying connected.
Deleting a Contact from Your Instant Messaging List
In Windows Live Hotmail, you have the flexibility to manage your instant messaging list by deleting contacts that you no longer wish to communicate with. Here’s how you can delete a contact from your instant messaging list:
- Sign in to your Windows Live Hotmail account and click on the messaging icon located in the top right corner of the screen.
- In the pop-up window, locate the contact you want to delete from your list. Hover over their name and you will see a small “X” icon appear to the right of their name.
- Click on the “X” icon, and a confirmation message will appear asking if you want to delete the contact. Click on “Remove” to confirm the deletion.
- The contact will be removed from your instant messaging list, and they will no longer appear on your contact list.
Once a contact has been deleted from your instant messaging list in Windows Live Hotmail, you will no longer be able to send them instant messages, and they will not be able to send you any messages as well.
Deleting a contact from your instant messaging list allows you to keep your list organized and focused on the contacts that you actively communicate with. It provides you with the flexibility to manage your contact list according to your preferences and communication needs.
Using Emoticons in Instant Messages
Emoticons, also known as smileys or emojis, can add a touch of fun and expressiveness to your instant messages in Windows Live Hotmail. Here’s how you can use emoticons in your conversations:
- Sign in to your Windows Live Hotmail account and click on the messaging icon located in the top right corner of the screen.
- In the pop-up window, open a chat with the contact you want to send an emoticon to by clicking on their name.
- In the chat window, you will see a smiley face icon located at the bottom. Click on the smiley face icon to open the emoticon menu.
- A menu with a wide variety of emoticons will appear. You can browse through the categories or use the search bar to find a specific emoticon.
- Click on the emoticon you want to use, and it will be automatically inserted into the chat window at the cursor’s position.
- You can continue typing your message or send multiple emoticons in the same message by repeating the process.
- Emoticons are a great way to express your emotions and add a visual element to your messages. Whether it’s a smiley face to show happiness or a thumbs-up to indicate approval, emoticons allow you to convey feelings and reactions in a fun and creative way.
- Once you have finished your message, simply press Enter to send it. The message, along with the chosen emoticon, will be sent to your contact.
Using emoticons in your instant messages can help create a more engaging and lively conversation. They can convey emotions, tone, and even enhance the clarity of your message. So, feel free to explore the wide range of emoticons available to add a touch of personality to your conversations in Windows Live Hotmail.
Changing Your Online Status
In Windows Live Hotmail, you have the ability to control and customize your online status to let your contacts know if you are available for instant messaging. Here’s how you can change your online status:
- Sign in to your Windows Live Hotmail account and click on your profile picture or initials located at the top right corner of the screen.
- A drop-down menu will appear. From the menu, select the desired status option, such as “Available,” “Busy,” “Away,” or “Invisible.”
- If you choose the “Available” status, it means you are online and ready to receive and send instant messages. Your contacts will see a green dot next to your name, indicating your availability.
- When you select the “Busy” status, it lets your contacts know that you are currently occupied and may not be able to respond to instant messages immediately. They will see a red dot next to your name, indicating your busy status.
- If you choose the “Away” status, it indicates that you are currently not actively using your Windows Live Hotmail account. Your contacts will see a yellow dot next to your name, signifying your temporary absence.
- The “Invisible” status allows you to be online and actively use Windows Live Hotmail, but your contacts will not see your online status. They will see a gray dot next to your name, indicating that you are invisible.
- Once you have selected your preferred status, it will be displayed next to your name in the contact list, letting your contacts know about your availability.
- You can change your online status at any time by repeating the above steps and selecting a different status option.
Changing your online status in Windows Live Hotmail gives you control over your availability for instant messaging. Whether you want to be actively engaged in conversations or need some uninterrupted time, customizing your online status ensures effective communication with your contacts.