
How to Enable Screen Recording on iPhone 13
Screen recording is a valuable feature that allows you to capture and share what's happening on your iPhone 13's screen. Whether you want to demonstrate a new app, create a tutorial, or simply save a memorable moment, enabling screen recording on your iPhone 13 is a straightforward process.
To enable screen recording on your iPhone 13, follow these simple steps:
-
Access the Control Center: Begin by navigating to the Control Center on your iPhone 13. You can do this by swiping down from the top-right corner of the screen on models with Face ID, or by swiping up from the bottom of the screen on models with a Home button.
-
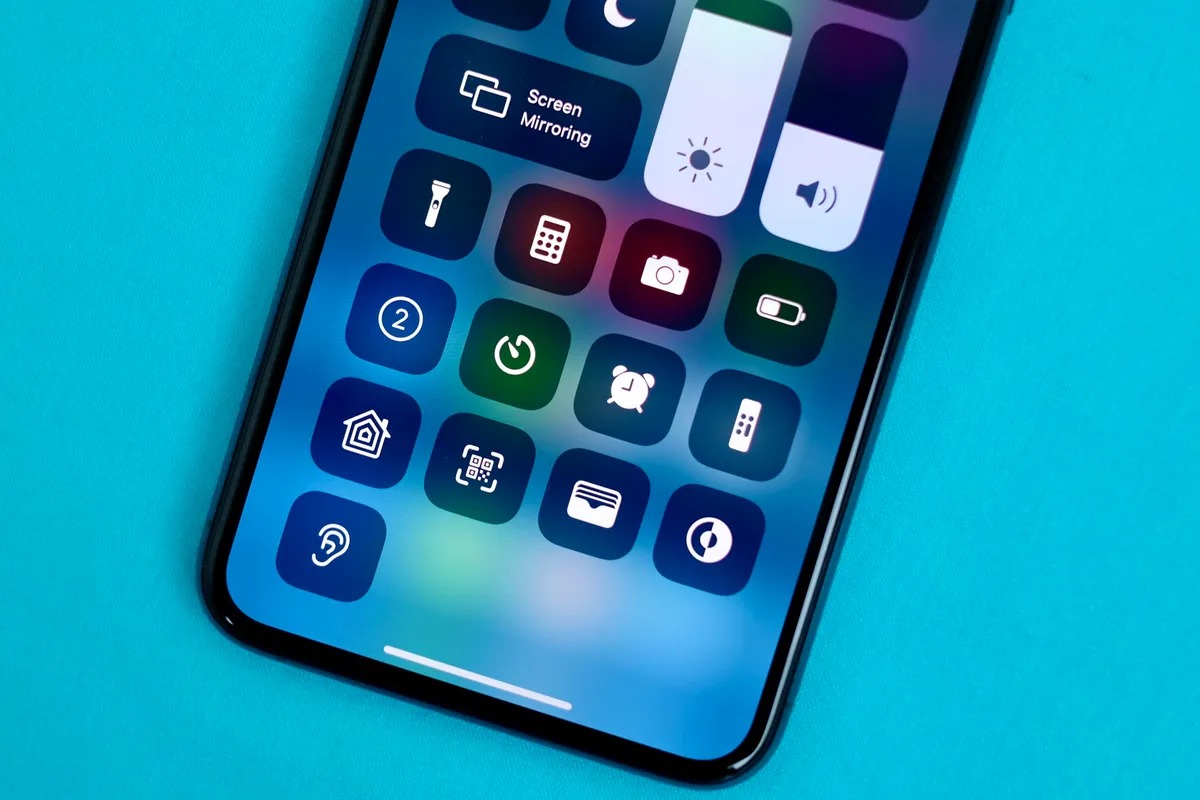
Locate the Screen Recording Icon: Once you're in the Control Center, look for the screen recording icon. It resembles a solid circle within another circle.
-
Initiate Screen Recording: Tap the screen recording icon to initiate the screen recording process. A countdown will appear, giving you a brief moment to prepare before the recording begins.
-
Confirm Screen Recording: After the countdown, the screen recording will commence. You'll notice a red indicator at the top of the screen, indicating that the recording is in progress.
-
End the Recording: To stop the screen recording, simply tap the red indicator at the top of the screen. A confirmation prompt will appear, allowing you to confirm the end of the recording.
By following these steps, you can easily enable screen recording on your iPhone 13 and start capturing the content on your screen. Whether you're showcasing a new feature, capturing a memorable moment, or creating engaging content, the screen recording feature on the iPhone 13 provides a convenient way to share what's happening on your device.
Remember that screen recording can be a powerful tool for sharing information, demonstrating processes, and preserving important moments. With the ability to capture both audio and visual content, screen recording on the iPhone 13 offers a versatile way to communicate and share experiences with others.
Now that you've learned how to enable screen recording on your iPhone 13, you're ready to start capturing and sharing your screen with ease. Whether it's for work, education, or personal use, the screen recording feature adds a new dimension to the way you interact with your iPhone 13.
Using Control Center to Start Screen Recording
The Control Center on your iPhone 13 serves as a centralized hub for accessing various functions and features, including the screen recording capability. By leveraging the Control Center, you can effortlessly initiate screen recording to capture the content displayed on your device's screen.
To begin the process, simply access the Control Center by swiping down from the top-right corner of the screen on models with Face ID, or by swiping up from the bottom of the screen on models with a Home button. Once in the Control Center, locate the screen recording icon, which is represented by a solid circle within another circle. This icon serves as the gateway to activating the screen recording feature on your iPhone 13.
Upon tapping the screen recording icon, a brief countdown will appear, providing you with a moment to prepare before the recording commences. This countdown not only allows you to ready yourself for the recording but also ensures that you capture the desired content seamlessly.
As the countdown concludes, the screen recording will initiate, and a red indicator will appear at the top of the screen, indicating that the recording is in progress. This visual cue serves as a reminder that your screen activity is being captured, enabling you to monitor the recording as it unfolds.
Once you've successfully recorded the desired content, ending the recording is a simple task. By tapping the red indicator at the top of the screen, you can promptly stop the screen recording. A confirmation prompt will then appear, providing you with the option to confirm the end of the recording and finalize the process.
By utilizing the Control Center to start screen recording on your iPhone 13, you gain the ability to effortlessly capture and share the content displayed on your device's screen. Whether you're demonstrating a process, showcasing a feature, or preserving a memorable moment, the screen recording feature empowers you to capture your screen with ease.
In essence, the Control Center serves as the gateway to unlocking the screen recording functionality on your iPhone 13, providing a seamless and intuitive way to capture the content that matters most to you. With just a few taps, you can initiate screen recording and share your screen activity with precision and convenience.
Customizing Screen Recording Settings
Customizing the screen recording settings on your iPhone 13 allows you to tailor the recording experience to suit your specific needs and preferences. By accessing the settings related to screen recording, you can enhance the quality of your recordings, adjust audio and visual elements, and optimize the overall recording process.
To customize the screen recording settings on your iPhone 13, follow these steps:
-
Access Screen Recording Settings: Begin by navigating to the Settings app on your iPhone 13. Within the Settings menu, locate and select the Control Center option. This will provide you with access to various control options, including screen recording.
-
Customize Recording Options: Within the Control Center settings, you can customize the screen recording options to align with your preferences. This includes the ability to enable or disable microphone audio during recordings, ensuring that you capture clear and high-quality audio alongside your screen activity.
-
Adjust Video Quality: Additionally, you can adjust the video quality settings to optimize the visual clarity of your screen recordings. By selecting the preferred video resolution, you can ensure that your recordings maintain a high level of detail and sharpness, enhancing the overall viewing experience for your audience.
-
Enable External Microphone: If you prefer to use an external microphone for audio input during screen recordings, the screen recording settings allow you to enable this feature. By connecting a compatible external microphone to your iPhone 13, you can capture professional-grade audio alongside your screen content, elevating the quality of your recordings.
-
Customize Control Center Access: As part of the screen recording settings, you have the option to customize the accessibility of the screen recording feature within the Control Center. This allows you to rearrange the position of the screen recording icon, ensuring that it's easily accessible and prominently displayed for quick and convenient use.
By customizing the screen recording settings on your iPhone 13, you gain the flexibility to tailor the recording experience to your unique requirements. Whether you're focused on achieving optimal audio quality, enhancing video clarity, or streamlining the recording process, the ability to customize screen recording settings empowers you to capture and share your screen content with precision and control.
In essence, the screen recording settings serve as a gateway to fine-tuning the recording experience, enabling you to optimize audiovisual elements, adjust accessibility options, and personalize the overall recording process. By leveraging these settings, you can elevate the quality of your screen recordings and ensure that they align with your specific preferences and objectives.
Saving and Sharing Screen Recordings
Once you've successfully captured a screen recording on your iPhone 13, the next crucial steps involve saving and sharing the recorded content. These actions enable you to preserve the recording for future use and distribute it to others, amplifying the impact and utility of your screen recordings.
Saving Screen Recordings
After concluding a screen recording session, the recorded content is automatically saved to your device's Photos app. This seamless integration ensures that your recordings are readily accessible and organized within your photo library, allowing for easy retrieval and management. Within the Photos app, you can categorize, label, and organize your screen recordings alongside your other media content, ensuring that they are conveniently stored for future reference.
Sharing Screen Recordings
Sharing your screen recordings with others is a straightforward process that facilitates effective communication and collaboration. Once a screen recording is saved in the Photos app, you can effortlessly share it via various platforms and communication channels. Whether you intend to showcase a new feature, demonstrate a process, or convey a memorable moment, sharing screen recordings enables you to engage and inform your audience effectively.
Sharing Options
The Photos app offers a range of sharing options, allowing you to distribute your screen recordings through messaging apps, social media platforms, email, and more. This versatility empowers you to reach your intended audience with ease, leveraging the power of visual content to convey information and evoke meaningful interactions.
Customization and Personalization
Furthermore, the sharing process enables you to customize and personalize your screen recordings before distribution. You can add captions, annotations, and highlights to the recordings, enhancing their clarity and impact. Additionally, you have the flexibility to tailor the sharing settings, ensuring that your screen recordings are shared securely and in accordance with your preferences.
Amplifying Engagement
By saving and sharing your screen recordings, you amplify the reach and impact of your content, fostering engagement and interaction with your audience. Whether you're sharing educational tutorials, product demonstrations, or personal experiences, the ability to save and share screen recordings empowers you to connect with others and convey information in a compelling and immersive manner.
In essence, the process of saving and sharing screen recordings on your iPhone 13 extends the value and utility of your captured content, enabling you to preserve and distribute it effectively. By seamlessly integrating with the Photos app and offering versatile sharing options, the screen recording feature empowers you to communicate, collaborate, and engage with others through the compelling medium of visual content.