
Why Replace All the Fonts in Your Presentation?
Fonts play a crucial role in the overall look and feel of a presentation. They have the power to enhance or detract from the content, making a significant impact on how your audience perceives the information you’re presenting. So, why should you consider replacing all the fonts in your presentation? Here are a few compelling reasons:
- Consistency: Using a consistent set of fonts throughout your presentation creates a cohesive visual experience for your audience. It helps establish a professional and polished look that reflects your attention to detail.
- Visual Appeal: Different fonts evoke different emotions and moods. By carefully selecting appropriate fonts, you can convey the desired tone and enhance the visual appeal of your presentation. Fonts that are outdated or overused can make your content appear dull and uninteresting.
- Accessibility: Fonts play a significant role in ensuring accessible presentations. Choosing legible fonts with proper spacing and sizing can help individuals with visual impairments read your content more easily. It’s essential to prioritize inclusive design to ensure that your presentation is accessible to a wide range of audience members.
- Branding: If you are representing a company or organization, aligning your presentation’s fonts with your brand guidelines can help reinforce brand consistency and recognition. Consistent branding across all materials helps to strengthen your brand identity and create a memorable impression on your audience.
- Modernization: Font trends change over time, and using outdated fonts can make your presentation feel old-fashioned and out of touch. By replacing your fonts with more contemporary choices, you can infuse a fresh and modern aesthetic into your presentation, grabbing your audience’s attention.
- Customization: Replacing all the fonts in your presentation also opens up the opportunity for customization. By selecting unique and distinctive fonts, you can add a personal touch and make your presentation stand out from the rest.
Overall, replacing all the fonts in your presentation allows you to create a consistent and visually appealing experience for your audience. It helps you convey your message effectively while leaving a lasting impression. In the following sections, we’ll explore how to replace fonts in your presentation and provide tips for finding the right replacement fonts.
Before You Begin
Before diving into the process of replacing fonts in your presentation, there are a few key considerations to keep in mind. These guidelines will help ensure a smooth and successful font replacement process:
- Make a backup: It’s always a good idea to create a backup copy of your original presentation before making any changes. This way, you can easily revert back to the original version if needed.
- Understand font licensing: When selecting replacement fonts, be mindful of their licensing requirements. Some fonts may be free for personal use but require a license for commercial use. Ensure that the fonts you choose align with the appropriate licensing terms for your presentation.
- Consider compatibility: Different devices and operating systems may not support all fonts. When selecting replacement fonts, consider their compatibility across various platforms to ensure that your presentation looks consistent and professional to all viewers.
- Maintain hierarchy: Fonts contribute to the visual hierarchy of your presentation. Consider the different font styles (e.g., headings, subheadings, body text) and their sizes to maintain a clear and organized structure. The replacement fonts should retain this hierarchy to ensure readability.
- Be mindful of font pairing: If you’re using multiple fonts in your presentation, choose replacement fonts that pair well together. Fonts that complement each other can add visual interest and create a harmonious design.
- Test the readability: Once you’ve replaced the fonts, make sure to preview and test the presentation on different devices and screens. Pay attention to how the fonts appear at different sizes, ensuring that they remain legible and readable.
- Consider feedback: If possible, get feedback from colleagues or friends on the new fonts you’ve chosen. Their perspectives can help you gauge how well the fonts align with your presentation’s goals and whether they convey the intended message effectively.
By considering these points before replacing the fonts in your presentation, you can ensure a seamless transition and a visually pleasing result. Now that you’re aware of the important pre-replacement considerations, let’s explore the steps to replace fonts in your presentation in the next section.
How to Replace All the Fonts in Your Presentation
Now that you’re ready to replace the fonts in your presentation, follow these step-by-step instructions to ensure a successful font replacement:
- Open the presentation: Launch your presentation software (such as Microsoft PowerPoint or Google Slides) and open the presentation that you want to update with new fonts.
- Select all text: To replace all the fonts in your presentation, you’ll need to select all the text elements. You can either click and drag your mouse to select the entire presentation’s content or use the keyboard shortcut “Ctrl + A” (Windows) or “Command + A” (Mac) to select all.
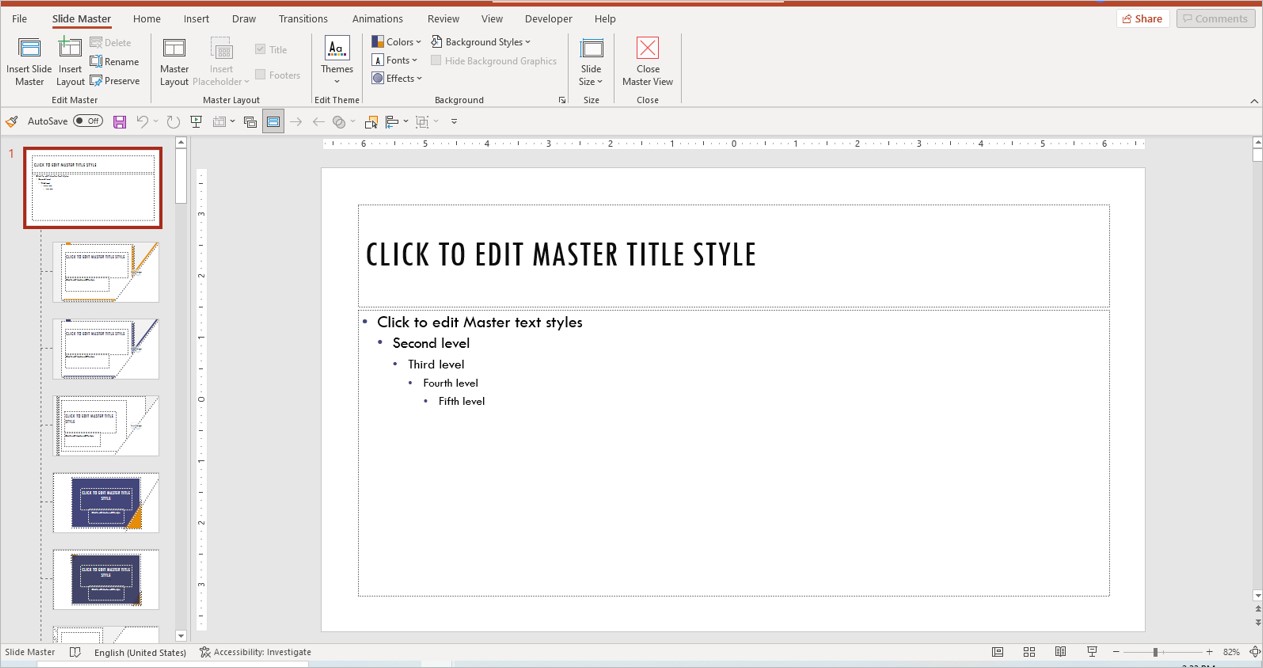
- Access the font options: Look for the font options within your presentation software’s toolbar or menu. In most cases, you’ll find them in the “Home” or “Format” tab.
- Choose “Replace Fonts”: Locate the option called “Replace Fonts” or a similar variation. Click on it to open the font replacement dialog box.
- Select replacement fonts: In the font replacement dialog box, you’ll see a list of your current fonts along with their replacements. Choose the desired replacement fonts that you want to apply to your presentation.
- Apply the replacements: Click the “Replace” or “Apply” button to replace all instances of the existing fonts with the new ones you’ve selected. Depending on the size and complexity of your presentation, this process may take a few moments to complete.
- Review the changes: Once the font replacements are applied, thoroughly review your presentation to ensure that the new fonts are rendering as expected. Check for any issues with text alignment, spacing, or readability.
- Make adjustments if needed: If you notice any discrepancies or inconsistencies after replacing the fonts, make the necessary adjustments to maintain the visual cohesiveness of your presentation. This may include fine-tuning font sizes, line spacing, or adjusting text boxes.
- Save the updated presentation: After you’re satisfied with the font replacements and any necessary adjustments, save the updated presentation with a new filename to preserve the original version.
By following these steps, you can seamlessly replace all the fonts in your presentation with the new ones you’ve chosen. Next, let’s explore how to find the right replacement fonts that align with your presentation’s goals.
Finding the Right Replacement Fonts
Choosing the right replacement fonts is crucial to the overall success of your font replacement endeavor. Here are some helpful tips to guide you in finding the perfect replacement fonts for your presentation:
- Consider your presentation’s tone: Think about the tone and messaging of your presentation. Are you aiming for a formal and professional look, or do you want to evoke a more creative and casual vibe? Select replacement fonts that align with the desired tone to effectively convey your message.
- Research font families: Look for font families that offer a wide range of font variations (e.g., regular, bold, italic) to provide flexibility in your design. This enables you to maintain visual hierarchy and emphasize important information within your presentation.
- Focus on legibility: While aesthetics are important, prioritize the legibility of your replacement fonts. Opt for fonts that are clear, easy to read, and have appropriate spacing between characters. This ensures that your audience can consume your content without any visual hindrances.
- Use contrast wisely: If your presentation includes headings and subheadings, consider using fonts that create a visual contrast between them. This helps differentiate sections and improves overall readability. However, make sure the contrast is not excessive, as it can lead to an unbalanced and distracting design.
- Align with your brand: If you’re creating a presentation for your company or brand, choose replacement fonts that are consistent with your established brand guidelines. This reinforces brand identity and creates a cohesive visual experience across your materials.
- Showcase uniqueness: Consider selecting replacement fonts that have a distinct and unique style. This can help your presentation stand out and leave a lasting impression on your audience.
- Test readability at different sizes: When evaluating replacement fonts, be sure to test their readability at various sizes. Ensure that the fonts remain legible whether displayed on a large screen or a smaller device.
- Seek inspiration: Browse through font libraries, design blogs, or online communities to seek inspiration for your replacement fonts. Pay attention to the typography used in well-designed presentations and consider how those fonts could enhance your own.
- Trust your instincts: Ultimately, trust your instincts and go with fonts that resonate with you and align with the message you want to convey. Your intuition plays a vital role in selecting the right replacement fonts for your presentation.
By following these tips, you can confidently choose replacement fonts that enhance the visual appeal and impact of your presentation. In the next section, we’ll explore how to preview and test the new fonts before finalizing your presentation.
Previewing and Testing the New Fonts
Before finalizing your presentation with the new fonts, it’s essential to preview and test how they appear within the context of your slides. Follow these steps to ensure that the new fonts are rendering correctly and enhance the overall design:
- Preview on different devices: View your presentation on various devices to check how the new fonts appear across different screen sizes and resolutions. This will help identify any potential issues with spacing, alignment, or readability.
- Check font compatibility: Ensure that the replacement fonts are compatible with the software and version you’re using to create your presentation. Some fonts may not render correctly or may be substituted with default system fonts if they are not supported.
- Assess legibility: Review each slide to verify that the new fonts maintain good legibility. Pay close attention to smaller text sizes, ensuring that they are still clear and readable.
- Consider accessibility: Test the readability of the new fonts for individuals with visual impairments. Use accessibility tools or assistive technologies to simulate how individuals with different visual needs will experience your presentation.
- Validate compatibility: If you plan to share or present your slides on different computers or software versions, double-check the compatibility of the replacement fonts. Confirm that the fonts are embedded or compatible across different systems to ensure consistent display.
- Seek feedback: Share your presentation with trusted colleagues or friends and ask for their feedback on the new fonts. Their perspectives can provide valuable insights and help identify any issues or areas for improvement.
- Make necessary adjustments: Based on the feedback received and your own observations, make any adjustments or fine-tuning to improve the appearance and readability of the new fonts.
- Proofread thoroughly: Take the time to proofread all the text in your presentation, ensuring that there are no typos or formatting errors caused by the font replacements. A final review will help maintain the professionalism of your presentation.
By previewing and testing the new fonts, you can identify and resolve any issues or inconsistencies before sharing or presenting your slides. This thorough evaluation will ensure that your presentation is visually appealing, legible, and impactful. In the final section, we’ll explore how to save and share your updated presentation.
Saving and Sharing Your Updated Presentation
Once you’ve replaced the fonts in your presentation and ensured that everything looks perfect, it’s time to save and share your updated file. Follow these steps to preserve your work and make it accessible to your intended audience:
- Save a copy: Before making any further changes, save a copy of your updated presentation with a new filename. This allows you to keep the original version intact while having the updated version readily available.
- Choose the appropriate file format: Select the file format that best suits your sharing needs. Common options include PowerPoint (PPT or PPTX), PDF, or exporting as images. Consider the compatibility and functionality of the chosen format for your intended audience.
- Compress file size: If your presentation contains many images or media elements, it may result in a large file size. To make sharing more convenient, consider compressing the file size using built-in tools or specialized software.
- Consider cloud storage: Uploading your updated presentation to a cloud storage service, such as Google Drive or Dropbox, allows for easy sharing and collaboration. Additionally, cloud storage ensures that your files are accessible from multiple devices.
- Create a sharing link: If you’re sharing your presentation through a cloud storage service, generate a sharing link or set the appropriate sharing permissions. This way, you can control who can access and view your presentation.
- Email or transfer the file: If you prefer to directly share the updated presentation file, attach it to an email or transfer it via a file-sharing service. Be sure to mention that the fonts have been replaced and provide any instructions if necessary.
- Incorporate presentation tools: If you’re planning to present your updated slides, explore presentation tools like PowerPoint online, Google Slides, or other presentation software. These tools allow for smooth presentation playback and compatibility across different devices.
- Add a preview image: Consider creating a visually appealing preview image or cover slide that represents your presentation. This can entice your audience to open and engage with your updated file.
- Include font installation instructions: If you’ve used custom or less common fonts in your presentation, provide font installation instructions for recipients to ensure they can view the presentation as intended. Share links to the font files or direct them to reputable sources from where they can download the fonts.
By following these guidelines, you can effectively save and share your updated presentation, ensuring that your audience can access and experience the new fonts seamlessly. With your font-replaced presentation ready to be circulated, you’re now set to make a lasting impact with your visually appealing and professionally designed slides.