
Backing Up Your Photos
Backing up your photos is a crucial step before deleting them from your Motorola Razr. It ensures that your precious memories are safely stored and can be retrieved if needed. There are several methods to back up your photos, ranging from using the built-in gallery app to transferring them to a computer.
One of the most convenient ways to back up your photos is by utilizing the built-in gallery app on your Motorola Razr. This app allows you to create a backup of your photos directly on your device. To do this, open the gallery app and navigate to the settings menu. Look for the backup or sync option, which may vary depending on the specific version of the app. Once located, follow the on-screen instructions to initiate the backup process. This method ensures that your photos are securely stored on your device, ready to be restored if necessary.
Another effective approach to back up your photos is by using a computer to transfer them. Connect your Motorola Razr to your computer using a USB cable. Once connected, your device should appear as a removable storage device on your computer. Navigate to the DCIM folder, which typically contains all the photos captured by your device. Copy the entire folder or selected photos to a location on your computer, such as a dedicated photo backup folder. This method provides an additional layer of security for your photos, as they are now stored on your computer as well.
By backing up your photos using these methods, you can proceed with confidence to delete them from your Motorola Razr, knowing that your memories are safely preserved. Whether you choose to utilize the built-in gallery app or transfer your photos to a computer, the key is to ensure that you have a reliable backup in place before removing any photos from your device. This proactive approach safeguards your valuable memories and allows you to free up space on your Motorola Razr without any concerns.
Remember, backing up your photos is an essential practice that not only protects your cherished moments but also provides peace of mind. With your photos securely backed up, you can confidently manage and organize your photo collection, knowing that they are safely preserved for the future.
Using the Built-in Gallery App
The built-in gallery app on your Motorola Razr offers a convenient and efficient way to manage your photos. It provides a user-friendly interface and a range of features that enable you to organize, view, and back up your photo collection with ease.
To begin using the gallery app, simply locate and tap the app icon on your device. Once opened, you will be greeted with a visually appealing interface that displays all your photos in a grid or timeline view, depending on your preference. This intuitive layout allows for effortless navigation through your photo library, making it simple to locate specific images or moments captured.
In addition to its viewing capabilities, the gallery app also offers essential tools for managing your photos. You can create albums to categorize and group related photos, making it easier to access and share specific sets of images. Furthermore, the app provides basic editing features, allowing you to enhance your photos directly within the app. This includes options to crop, apply filters, adjust brightness, and more, empowering you to refine your images without the need for third-party editing tools.
One of the standout features of the built-in gallery app is its ability to facilitate photo backups. By leveraging the app's backup or sync functionality, you can ensure that your photos are securely stored on your device or in the cloud. This provides an added layer of protection for your valuable memories, giving you peace of mind knowing that they are safely preserved.
The process of backing up your photos using the gallery app is typically straightforward. Upon accessing the app's settings, you may find options related to backup, sync, or cloud storage. By following the on-screen instructions, you can initiate the backup process, which may involve selecting the desired storage location and specifying any preferences for automatic syncing.
Overall, the built-in gallery app on your Motorola Razr serves as a versatile tool for managing your photo collection. Its seamless integration with the device's camera, coupled with its intuitive interface and backup capabilities, makes it a valuable asset for organizing and safeguarding your photos. Whether you're looking to create albums, apply quick edits, or ensure that your photos are backed up, the gallery app offers a comprehensive solution within a single, user-friendly interface.
Using a Computer to Transfer Photos
Transferring photos from your Motorola Razr to a computer provides a secure and versatile method for managing your photo collection. This approach not only allows you to create a backup of your photos but also enables you to organize and edit them using the robust tools available on a computer. By leveraging the USB connectivity of your device, you can seamlessly transfer your photos to a computer in just a few simple steps.
To initiate the transfer process, begin by connecting your Motorola Razr to your computer using a compatible USB cable. Once connected, your device should prompt you to select a USB connection option. Choose the "File Transfer" or "Media Transfer" mode to enable access to your device's internal storage from your computer. This establishes a direct connection between your device and computer, allowing you to access the photos stored on your Motorola Razr.
Upon successful connection, navigate to the "This PC" or "My Computer" section on your computer to locate your Motorola Razr, which should appear as a removable storage device. Access the device's internal storage and navigate to the DCIM folder, where your photos are typically stored. Here, you can select individual photos or entire folders to transfer to your computer. Simply drag and drop the selected items to a location on your computer, such as a dedicated photo folder or desktop.
Once the transfer is complete, you can access and manage your photos on your computer with greater flexibility. This includes organizing them into specific folders, applying advanced editing techniques using professional software, and creating backups on external storage devices or cloud services. Additionally, transferring your photos to a computer frees up space on your Motorola Razr, allowing you to capture new moments without storage constraints.
By utilizing a computer to transfer your photos, you gain access to a wide array of tools and capabilities for managing and preserving your photo collection. This method not only facilitates the creation of backups but also empowers you to enhance and organize your photos with the convenience of a larger screen and robust software. Whether you're looking to create a comprehensive photo library on your computer or simply free up space on your device, transferring photos to a computer offers a versatile and secure solution for managing your cherished memories.
Deleting Photos from the Gallery App
Deleting photos from the gallery app on your Motorola Razr is a straightforward process that allows you to declutter your photo collection and free up valuable storage space on your device. Whether you're looking to remove individual photos or entire albums, the gallery app provides intuitive tools for managing your images with ease.
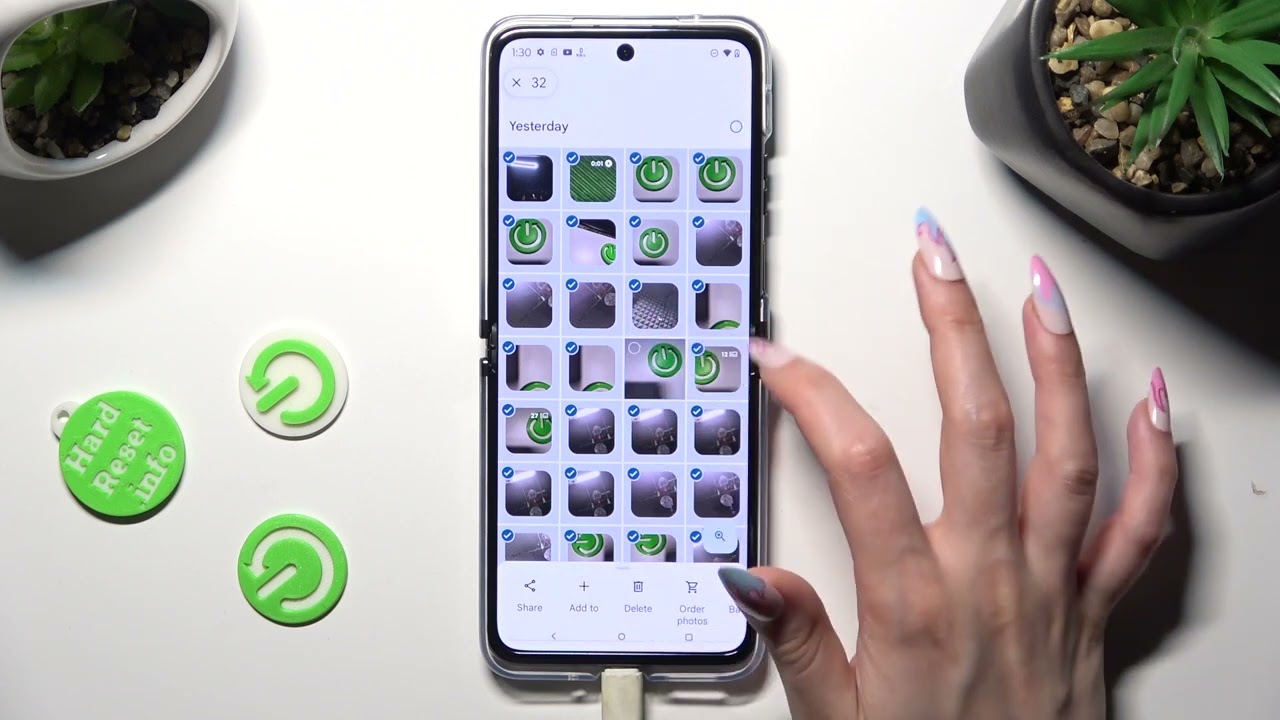
To begin deleting photos, open the gallery app on your Motorola Razr and navigate to the specific album or view that contains the photos you wish to remove. Once you've located the target photos, you can initiate the deletion process by selecting the individual photos or tapping the "Select" option to choose multiple items at once.
After selecting the desired photos, look for the delete or trash icon, typically represented by a bin or trash can symbol. Tap this icon to confirm the deletion of the selected photos. Depending on the specific version of the gallery app, you may be prompted to confirm the deletion action to ensure that you intend to remove the selected photos permanently.
Upon confirming the deletion, the selected photos will be removed from your device, freeing up storage space and streamlining your photo collection. It's important to note that deleted photos are typically moved to a temporary folder, such as the "Recently Deleted" or "Trash" section within the gallery app, before being permanently erased from your device. This safety measure provides an opportunity to restore accidentally deleted photos within a limited timeframe before they are permanently removed.
In addition to individual photo deletion, the gallery app also offers the option to delete entire albums or folders, providing a convenient way to declutter your photo library. By accessing the album view within the gallery app, you can select specific albums and initiate the deletion process, removing multiple photos at once and optimizing your photo organization.
Overall, the gallery app on your Motorola Razr empowers you to efficiently manage your photo collection by providing simple yet effective tools for deleting individual photos and entire albums. This streamlined process ensures that you can easily declutter your device and maintain a well-organized photo library, all within the familiar and user-friendly interface of the gallery app.
Deleting Photos from the File Manager
Deleting photos from the file manager on your Motorola Razr offers a direct and efficient method to manage your photo collection. The file manager provides a comprehensive view of your device's storage, allowing you to navigate through folders and delete specific photos or entire directories with ease.
To initiate the deletion process, open the file manager app on your Motorola Razr and navigate to the location where your photos are stored. This is typically within the DCIM (Digital Camera Images) folder, where the device's camera captures and saves photos by default. Once you've located the folder containing the photos you wish to delete, you can proceed to select the individual photos or folders to be removed.
Upon selecting the target photos or folders, look for the delete or trash icon within the file manager interface. This icon is commonly represented by a bin or trash can symbol and serves as the primary tool for initiating the deletion process. Tap the delete icon to confirm the removal of the selected photos or folders from your device.
After confirming the deletion, the selected photos or folders will be permanently removed from your device, freeing up valuable storage space and streamlining your photo collection. It's important to note that deleted items are typically moved to a temporary folder, such as the "Recycle Bin" or "Trash" section within the file manager, before being permanently erased from your device. This safety measure provides a brief window to restore accidentally deleted photos or folders before they are permanently removed.
The file manager on your Motorola Razr offers a straightforward and effective solution for managing your photo collection by providing direct access to the device's storage and enabling you to delete specific photos or entire folders with ease. This streamlined process ensures that you can efficiently declutter your device and maintain a well-organized photo library, all within the intuitive interface of the file manager app.
By leveraging the file manager's capabilities, you can confidently manage your photo collection, freeing up space on your device and ensuring that your cherished memories are organized and easily accessible. Whether you're looking to remove individual photos or entire directories, the file manager provides a versatile and user-friendly solution for optimizing your photo storage on the Motorola Razr.