
Checking SD Card Compatibility
Before saving items to an SD card on your Motorola Razr M, it's crucial to ensure that the device is compatible with the SD card you intend to use. This step is essential to prevent any potential issues with storage and data transfer. Here's how to check the SD card compatibility for your device:
-
Review Device Specifications: Start by reviewing the device specifications provided by the manufacturer. This information can typically be found in the user manual or on the official website. Look for details regarding the supported SD card types and maximum storage capacity. The Motorola Razr M may support microSD, microSDHC, and microSDXC cards with varying storage capacities.
-
Consult Official Documentation: If you're unsure about the compatible SD card types, consider consulting the official documentation or support resources provided by Motorola. The manufacturer's guidance can offer specific recommendations and compatibility details, ensuring that you select an SD card that aligns with the device's requirements.
-
Online Research: In addition to official sources, you can conduct online research to gather insights from user forums, tech communities, and reliable technology websites. Look for discussions or articles related to SD card compatibility for the Motorola Razr M. Community experiences and expert recommendations can provide valuable guidance.
-
Check SD Card Class: Pay attention to the SD card class, which indicates the minimum sustained data write speed. For optimal performance, consider using a Class 10 or higher SD card. This ensures smoother data transfer and better overall functionality when saving items to the SD card.
By thoroughly checking the SD card compatibility for your Motorola Razr M, you can make an informed decision when selecting an SD card for storage expansion. This proactive approach helps to avoid potential compatibility issues and ensures a seamless experience when utilizing the SD card for storing files, photos, videos, and other data on your device.
Inserting the SD Card
Inserting an SD card into your Motorola Razr M is a straightforward process that allows you to expand the device's storage capacity for storing photos, videos, music, and other files. Follow these steps to seamlessly insert the SD card into your device:
-
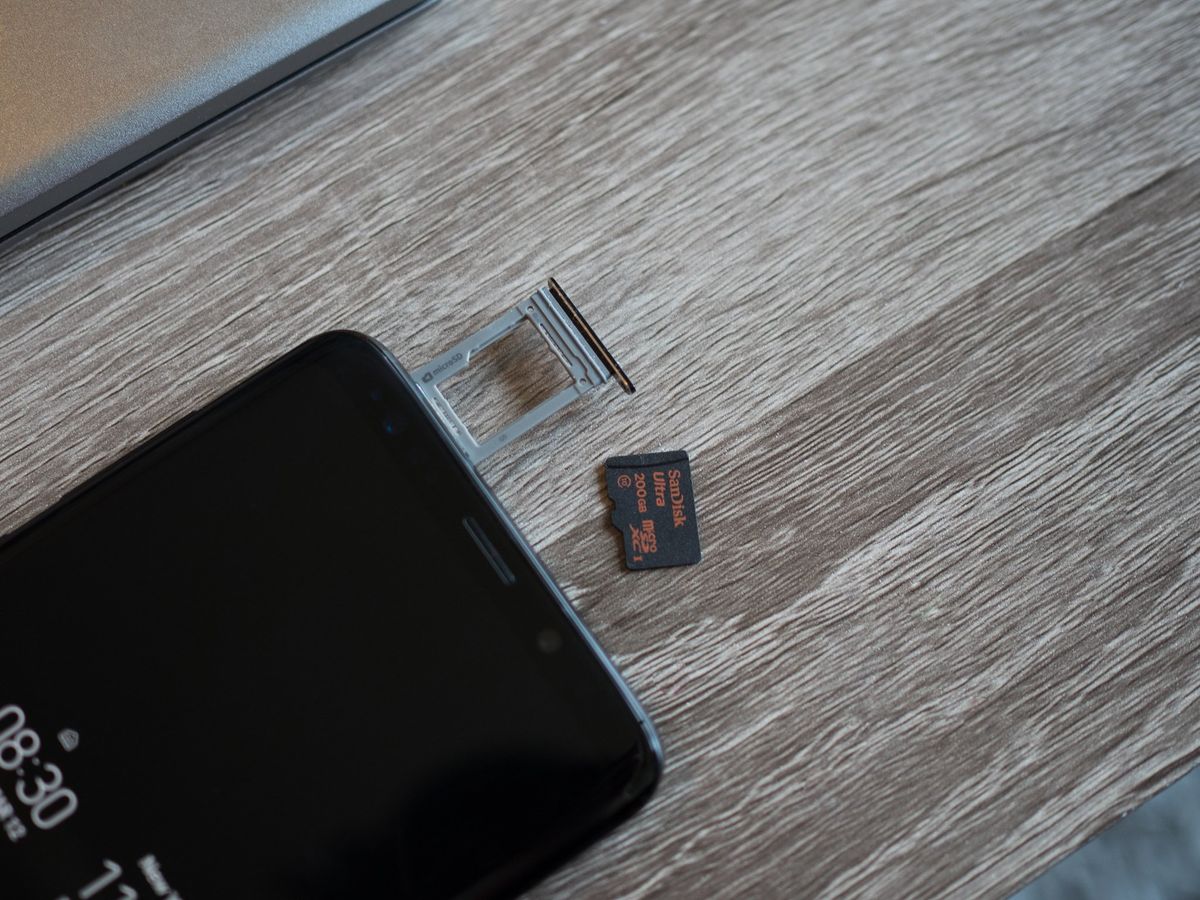
Locate the SD Card Slot: Begin by locating the SD card slot on your Motorola Razr M. Typically, the slot is positioned on the side of the device, often near the SIM card tray. Use a SIM eject tool or a small paperclip to gently push the tray release button, allowing the tray to pop out.
-
Prepare the SD Card: If you have purchased a new SD card, ensure that it is compatible with the device and has sufficient storage capacity for your needs. Remove the SD card from its packaging and handle it carefully to avoid static electricity discharge or physical damage.
-
Insert the SD Card: With the tray ejected, carefully place the SD card into the designated slot, ensuring that the metal contacts on the card align with the contacts within the slot. Gently push the tray back into the device until it clicks into place, securing the SD card within the slot.
-
Verify Recognition: Once the SD card is inserted, power on your Motorola Razr M and navigate to the device's settings. Access the storage or memory settings to verify that the SD card is recognized and displayed as part of the available storage options. This step ensures that the device has successfully detected the inserted SD card.
-
Format the SD Card (if necessary): In some cases, the SD card may require formatting to ensure compatibility and optimal performance with the device. If prompted or if the SD card is not recognized, navigate to the device's settings and format the SD card as per the on-screen instructions.
By following these steps, you can effortlessly insert an SD card into your Motorola Razr M, expanding the device's storage capabilities and enabling seamless access to additional storage space for your media and files. This simple process empowers you to make the most of your device's functionality and storage flexibility, enhancing your overall user experience.
Setting the Default Storage Location
Setting the default storage location on your Motorola Razr M is a pivotal step in optimizing the device's storage management and ensuring that newly captured photos, downloaded files, and other data are directly saved to the SD card. By designating the SD card as the default storage location, you can efficiently utilize its expanded capacity while preserving the internal storage for essential system functions and applications.
Here's a detailed guide on how to set the default storage location to the SD card on your Motorola Razr M:
-
Access Device Settings: Begin by unlocking your device and navigating to the "Settings" menu. This can typically be accessed through the app drawer or by swiping down from the top of the screen and tapping the gear icon.
-
Locate Storage Settings: Within the "Settings" menu, scroll or search for the "Storage" or "Storage Settings" option. This section provides detailed information about the device's storage usage and available storage options.
-
Select Default Storage: Once in the "Storage" settings, look for an option related to default storage. Depending on the device's software version and user interface, this option may be labeled as "Default Storage Location" or "Storage Settings."
-
Choose SD Card: Upon selecting the default storage option, you will likely be presented with a choice between "Internal Storage" and "SD Card." Tap on the "SD Card" option to designate it as the default storage location for new content.
-
Confirm Selection: After choosing the SD card as the default storage location, the device may prompt you to confirm the selection. Follow any on-screen prompts to finalize the setting change.
-
Verify Default Storage: To ensure that the default storage location has been successfully set to the SD card, navigate back to the device's storage settings and confirm that the SD card is now listed as the default storage location for new content.
By setting the default storage location to the SD card, you can streamline the process of saving new items directly to the expanded storage, reducing the reliance on the device's internal storage. This not only optimizes the available space on your Motorola Razr M but also contributes to a more organized and efficient storage management approach.
Taking advantage of the SD card's ample capacity for storing media, documents, and other files can significantly enhance your device's usability and accommodate your growing storage needs. With the default storage location set to the SD card, you can capture and download content with the assurance that it will be seamlessly saved to the external storage, enriching your overall user experience.
Moving Files to the SD Card
Transferring files to the SD card on your Motorola Razr M is a practical way to free up internal storage space and organize your data more efficiently. Whether it's photos, videos, music, or documents, moving files to the SD card can help optimize your device's performance and ensure that essential content remains easily accessible. Here's a comprehensive guide on how to seamlessly move files to the SD card:
-
Access File Manager: Begin by accessing the file manager app on your Motorola Razr M. The file manager provides a user-friendly interface for navigating through your device's storage and managing files effectively.
-
Select Files to Transfer: Navigate to the location of the files you wish to move. This could include the "Downloads" folder, "Camera" folder for photos and videos, or any other directory where the desired files are stored.
-
Choose Files for Transfer: Long-press on the files you want to move to activate the selection mode. You can also tap on individual files to select them one by one. Once the files are selected, look for options such as "Move" or "Transfer" in the file manager interface.
-
Select SD Card as Destination: After choosing the "Move" or "Transfer" option, the file manager will prompt you to select the destination for the selected files. Choose the SD card as the destination to initiate the transfer process.
-
Navigate to SD Card Directory: Upon selecting the SD card as the destination, navigate to the specific directory or folder within the SD card where you want the files to be transferred. This could include creating a new folder for organizing the files, such as "Photos," "Videos," or "Documents."
-
Complete the Transfer: Once the destination folder is selected, confirm the transfer process to move the files from the internal storage to the SD card. Depending on the file sizes and quantities, the transfer may take a few moments to complete.
-
Verify Transfer Completion: After the transfer process is finished, navigate to the SD card directory where the files were transferred and verify that they are now accessible from the external storage. This step ensures that the files have been successfully moved to the SD card.
By following these steps, you can efficiently move files to the SD card on your Motorola Razr M, optimizing the device's storage and ensuring that your valuable content is securely stored on the expanded external storage. This approach not only helps declutter the internal storage but also facilitates better organization and accessibility of your files, contributing to an enhanced user experience.
Managing Files on the SD Card
Effectively managing files on the SD card of your Motorola Razr M is essential for maintaining a well-organized and accessible storage system. By implementing strategic file management practices, you can optimize the utilization of the SD card's storage capacity and ensure seamless access to your valuable data. Here's a comprehensive guide on managing files on the SD card:
1. Organizing Files into Folders:
Creating specific folders on the SD card can help categorize different types of files, such as photos, videos, music, and documents. By organizing files into distinct folders, you can streamline the process of locating and accessing specific content, enhancing overall storage efficiency.
2. Regular Backup and Archiving:
Implementing a regular backup strategy for the files stored on the SD card is crucial for safeguarding your data against potential loss or corruption. Consider archiving older files that are not frequently accessed to free up space while preserving them for future reference.
3. Deleting Unnecessary Files:
Periodically review the contents of the SD card and remove any redundant or obsolete files to free up storage space. This practice helps maintain an optimal storage capacity and prevents clutter, ensuring that the SD card remains efficient for storing essential data.
4. Utilizing File Management Apps:
Explore the availability of file management apps that offer advanced features for organizing, transferring, and securing files on the SD card. These apps can provide additional functionality, such as file encryption, batch operations, and synchronization with cloud storage services.
5. Monitoring Storage Usage:
Regularly monitor the storage usage on the SD card to stay informed about available space and potential capacity limitations. This proactive approach allows you to take timely actions, such as transferring files to alternative storage or expanding the SD card capacity if needed.
6. Security and Privacy Considerations:
When managing sensitive or private files on the SD card, prioritize security measures such as file encryption or utilizing secure folders within file management apps. This ensures that your confidential data remains protected from unauthorized access.
By implementing these file management practices, you can effectively manage the content stored on the SD card of your Motorola Razr M, optimizing storage efficiency and ensuring that your valuable files remain organized and easily accessible. This proactive approach contributes to a seamless user experience and enhances the overall functionality of your device's external storage capabilities.