
Checking Compatibility
Before installing a memory card in your OnePlus Nord, it's crucial to ensure that the device is compatible with the specific type of memory card you intend to use. The OnePlus Nord supports microSDXC cards, which are widely available and offer ample storage capacity for your device. It's important to note that the OnePlus Nord does not support microSDHC cards, so be sure to select a microSDXC card for optimal compatibility.
To determine the compatibility of a microSDXC card with your OnePlus Nord, you can refer to the device's specifications provided by the manufacturer. Additionally, you can check the official OnePlus website or consult the user manual for detailed information on compatible memory card types and maximum storage capacity supported by the device.
Ensuring compatibility between your OnePlus Nord and the microSDXC card is essential to prevent any potential issues with storage expansion. By selecting a compatible memory card, you can seamlessly enhance the storage capacity of your device, allowing you to store more photos, videos, and apps without encountering compatibility-related challenges.
Opening the SIM Tray
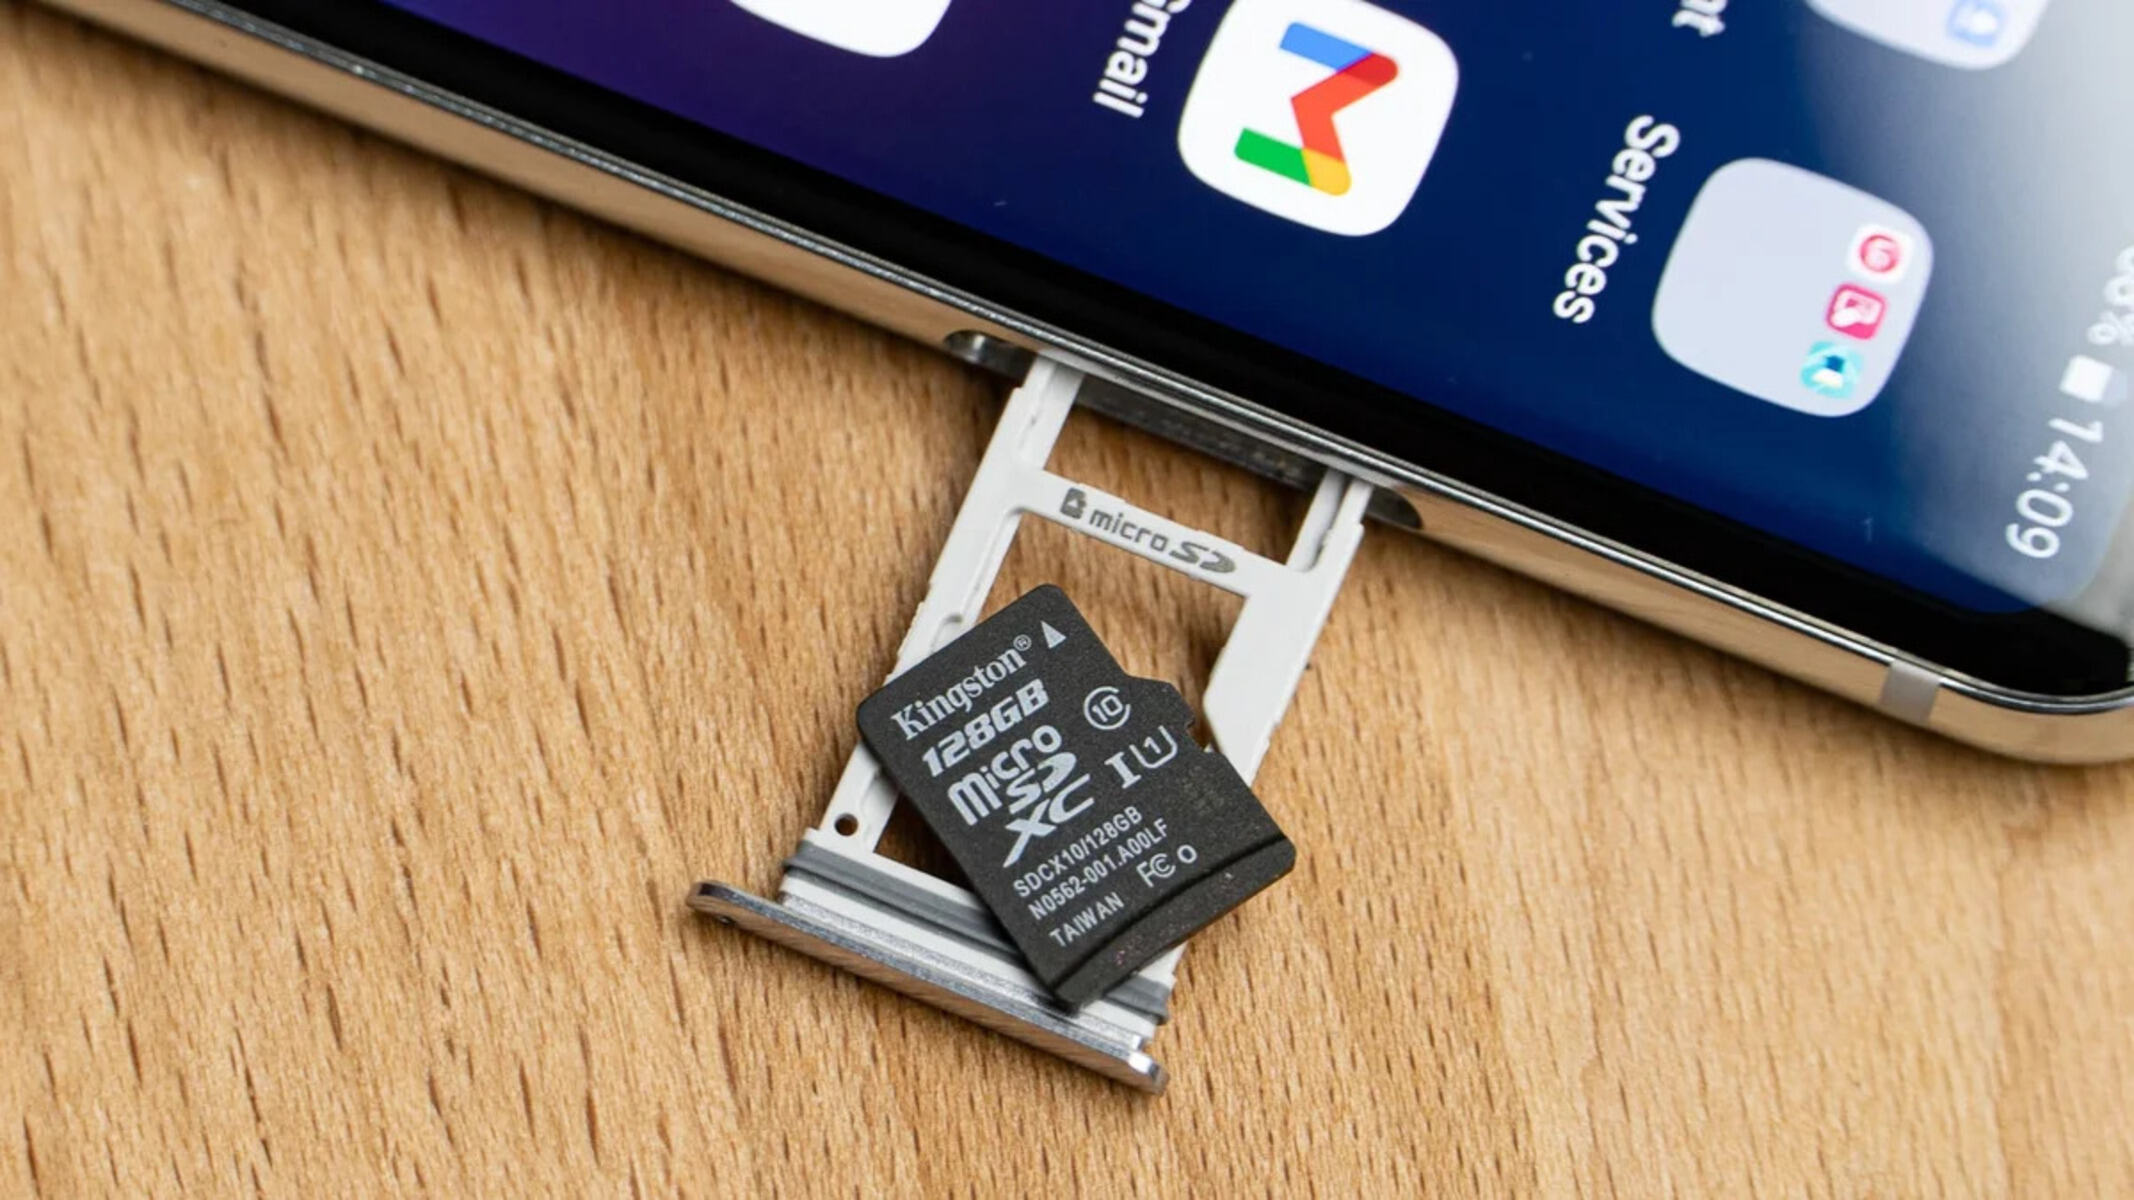
Opening the SIM tray on your OnePlus Nord is a straightforward process that allows you to access the SIM card slot and the memory card slot. Before initiating this procedure, it's essential to ensure that your device is powered off to prevent any potential damage or disruption. Once you have confirmed that the device is powered off, you can proceed with the following steps to open the SIM tray:
-
Locate the SIM Tray: The SIM tray is typically positioned on the left-hand side of the device. It is a small, recessed slot that can be identified by a tiny hole adjacent to it. This hole is designed to accommodate the SIM ejection tool, which is included with your OnePlus Nord.
-
Insert the SIM Ejection Tool: Retrieve the SIM ejection tool from the OnePlus Nord's packaging or utilize a small paperclip if the tool is not readily available. Gently insert the pointed end of the SIM ejection tool into the hole next to the SIM tray. Apply light pressure to ensure that the tool is inserted securely.
-
Eject the SIM Tray: Once the SIM ejection tool is firmly in place, exert a small amount of pressure to activate the internal mechanism. This action will cause the SIM tray to protrude slightly from the device, allowing you to grasp and remove it carefully.
-
Remove the SIM Tray: With the SIM tray partially ejected, carefully pull it out from the device. Take care to avoid applying excessive force, as this may cause damage to the SIM tray or the internal components of the device.
By following these steps, you can successfully open the SIM tray on your OnePlus Nord. This process provides access to the SIM card slot and the memory card slot, enabling you to insert or replace the SIM card and expand the device's storage capacity with a compatible memory card. Once the SIM tray is open, you can proceed with the next steps to insert the memory card and configure the device according to your preferences.
Opening the SIM tray on your OnePlus Nord is a simple yet crucial task that facilitates the seamless management of SIM cards and memory expansion. By familiarizing yourself with this process, you can confidently navigate the hardware features of your device and optimize its functionality to suit your needs.
Inserting the Memory Card
Inserting a memory card into your OnePlus Nord is a straightforward process that allows you to expand the device's storage capacity, providing ample space for photos, videos, and other digital content. Once you have opened the SIM tray and accessed the memory card slot, you can proceed with the following steps to insert the memory card securely:
-
Prepare the Memory Card: Before inserting the memory card, ensure that it is compatible with the OnePlus Nord and is a microSDXC card. Verify that the memory card is free from any physical damage and is clean, as any debris or dirt may interfere with the insertion process.
-
Align the Memory Card: Take the microSDXC card and carefully align it with the designated slot within the SIM tray. The card should be positioned with the metal contacts facing downward and the notched edge aligned with the corresponding notch in the slot. This alignment is crucial to ensure proper connectivity and prevent any potential damage to the memory card or the device.
-
Insert the Memory Card: Once the memory card is aligned correctly, gently slide it into the designated slot within the SIM tray. Apply light and even pressure to ensure that the memory card is inserted smoothly and securely. Take care to avoid using excessive force, as this may cause damage to the memory card or the device's internal components.
-
Verify the Insertion: After inserting the memory card, visually inspect the SIM tray to confirm that the memory card is seated properly within the slot. Ensure that the card is flush with the surface of the SIM tray and is not protruding or misaligned. This verification step is essential to guarantee that the memory card is securely inserted and ready for use.
By following these steps, you can successfully insert a memory card into your OnePlus Nord, expanding the device's storage capacity and enhancing its functionality. Once the memory card is securely in place, you can proceed with closing the SIM tray and powering on the device to configure the memory card settings according to your preferences.
Inserting a memory card into your OnePlus Nord is a simple yet impactful task that empowers you to optimize the device's storage capabilities, enabling you to store and access a diverse range of digital content without limitations. With the memory card securely inserted, you can fully leverage the potential of your OnePlus Nord and enjoy an expanded storage experience tailored to your needs.
Closing the SIM Tray
After successfully inserting the memory card into your OnePlus Nord, the next crucial step is to securely close the SIM tray, ensuring that the memory card remains firmly in place and the device is ready for operation. The process of closing the SIM tray is essential to safeguard the integrity of the memory card and prevent any potential damage or disconnection during regular use.
To close the SIM tray on your OnePlus Nord, follow these steps:
-
Position the SIM Tray: With the memory card securely inserted, align the SIM tray with the corresponding slot on the device. Take care to position the SIM tray correctly, ensuring that it is oriented in the same direction from which it was initially removed.
-
Carefully Insert the SIM Tray: Once the SIM tray is aligned with the slot, gently guide it back into the device. Apply light and even pressure to ensure that the SIM tray slides smoothly into place without encountering any resistance. Take care to avoid forcing the SIM tray, as this may cause damage to the device or the tray itself.
-
Verify the Closure: After inserting the SIM tray, visually inspect the device to confirm that the tray is fully seated and flush with the device's exterior. Ensure that the SIM tray is securely closed and does not protrude from the device, as this may indicate an incomplete closure.
By following these steps, you can effectively close the SIM tray on your OnePlus Nord, ensuring that the memory card remains securely in place and the device is ready for use. Once the SIM tray is closed, you can power on your device and configure the memory card settings to optimize its functionality according to your preferences.
Closing the SIM tray is a critical aspect of the memory card installation process, as it directly impacts the stability and performance of the inserted memory card. By completing this step with care and attention to detail, you can maintain the integrity of the memory card and enjoy seamless access to expanded storage on your OnePlus Nord.
Checking Memory Card Recognition
Once you have successfully inserted the memory card into your OnePlus Nord and closed the SIM tray, it is essential to verify that the device recognizes the memory card and integrates it seamlessly into the storage system. Checking the memory card recognition ensures that the device can access and utilize the expanded storage capacity provided by the inserted memory card. This verification process is crucial to confirm the successful integration of the memory card and to address any potential issues related to its recognition.
To check the memory card recognition on your OnePlus Nord, follow these steps:
-
Power On the Device: After closing the SIM tray, power on your OnePlus Nord by pressing the designated power button. Allow the device to boot up fully and access the home screen or the lock screen, depending on your device's settings.
-
Navigate to Settings: Once the device is powered on, navigate to the "Settings" menu by tapping on the gear icon in the app drawer or by swiping down from the top of the screen and selecting the settings gear icon.
-
Access Storage Settings: Within the "Settings" menu, locate and select the "Storage" or "Storage & memory" option. This section provides detailed information about the device's storage capacity, including the recognition of any inserted memory cards.
-
Verify Memory Card Recognition: In the "Storage" or "Storage & memory" settings, you should see the details of the inserted memory card, including its capacity and available space. This confirmation indicates that the device recognizes the memory card and has successfully integrated it into the storage system.
-
Utilize the Memory Card: To further validate the memory card recognition, you can access the file manager or the gallery app to confirm that the device can read and write data to the memory card. By navigating through the file directories and accessing the stored content, you can ensure that the memory card is fully recognized and functional.
By following these steps, you can effectively check the memory card recognition on your OnePlus Nord, ensuring that the device seamlessly integrates the inserted memory card into its storage system. This verification process provides peace of mind and confirms that the expanded storage capacity is readily accessible for storing photos, videos, and other digital content.
Checking the memory card recognition is a critical step in the memory card installation process, as it validates the successful integration of the memory card with your OnePlus Nord. By confirming the device's recognition of the memory card, you can confidently utilize the expanded storage capacity and enjoy a seamless storage experience tailored to your needs.