
Setting Up Face ID
Setting up Face ID on your iPhone 13 is a straightforward process that enhances the security and convenience of unlocking your device and authorizing secure transactions. Face ID utilizes advanced facial recognition technology to accurately identify and authenticate the device owner, providing a seamless and secure user experience.
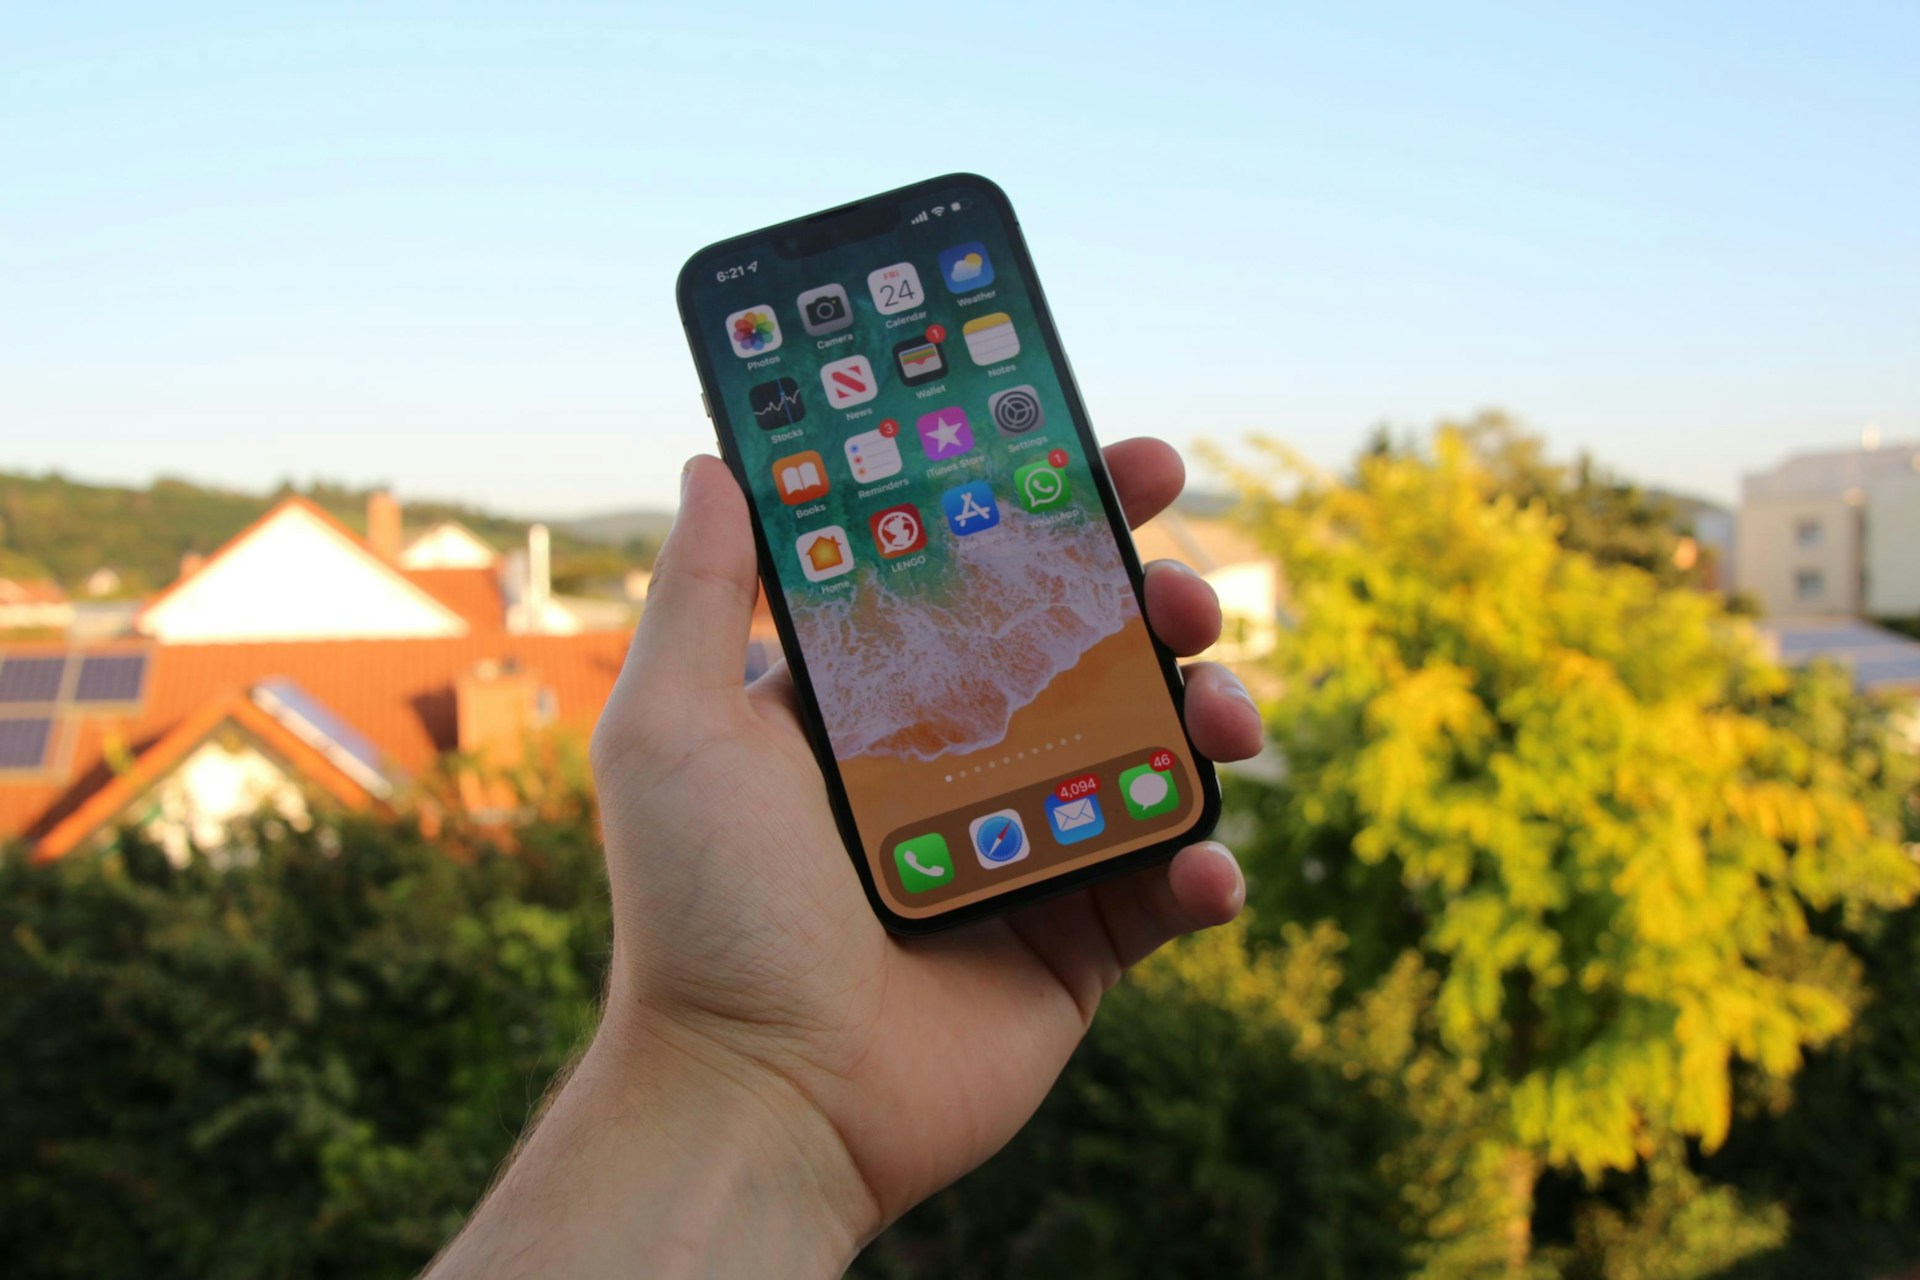
To begin the setup process, navigate to the "Settings" app on your iPhone 13 and select "Face ID & Passcode." You will be prompted to enter your device passcode to access the Face ID settings. Once inside the Face ID & Passcode menu, tap on "Set Up Face ID" to initiate the facial recognition configuration.
When prompted, position your face within the designated frame on the screen and follow the on-screen instructions to complete the initial scan. During this process, ensure that your face is well-illuminated and clearly visible to the front-facing TrueDepth camera. The iPhone 13 will capture multiple images of your face from different angles to create a comprehensive facial recognition profile.
After the initial scan is completed, you will be prompted to perform a second facial scan to further enhance the accuracy and reliability of Face ID. This additional scan helps the device create a detailed 3D map of your facial features, ensuring that Face ID can accurately recognize you in various lighting conditions and angles.
Once the setup process is finalized, you can test the functionality of Face ID by attempting to unlock your iPhone 13 using facial recognition. Simply raise the device to eye level and glance at the screen. If the Face ID setup was successful, the device will seamlessly authenticate your identity and unlock the screen, granting you immediate access to your device.
It's important to note that Face ID is designed with privacy and security in mind. The facial recognition data captured during the setup process is securely stored within the device's secure enclave, ensuring that it remains protected and inaccessible to unauthorized parties.
By setting up Face ID on your iPhone 13, you can enjoy the convenience of securely unlocking your device and authorizing transactions with just a glance, while also ensuring that your personal data remains safeguarded against unauthorized access.
Using a Passcode
Utilizing a passcode on your iPhone 13 is a fundamental aspect of device security, providing an additional layer of protection to safeguard your personal data and privacy. While advanced biometric authentication methods such as Face ID and Touch ID offer seamless and convenient access to your device, a passcode serves as a reliable fallback option and a crucial defense against unauthorized access.
To set up a passcode on your iPhone 13, begin by accessing the "Settings" app and navigating to the "Face ID & Passcode" or "Touch ID & Passcode" section, depending on the biometric authentication method you prefer. Upon entering your existing biometric credentials or device passcode, you can proceed to set up a new passcode by selecting the "Turn Passcode On" option.
When creating a passcode, it's essential to choose a combination that is both memorable and secure. Apple recommends using a six-digit passcode as the default option, offering a balance between convenience and robust security. However, for enhanced protection, you have the option to customize your passcode by selecting the "Passcode Options" and choosing a custom numeric code, alphanumeric code, or even a custom numeric code of any length.
In addition to the traditional passcode options, iPhone 13 users can also opt for a custom alphanumeric code, allowing them to incorporate letters, numbers, and special characters to create a highly secure and unique passcode. This advanced passcode option significantly enhances the complexity and strength of the passcode, further fortifying the security of the device.
Once the passcode is established, it becomes an integral part of the device's security framework, serving as the primary method of access in scenarios where biometric authentication may not be feasible or available. Whether it's unlocking the device, authorizing sensitive actions, or accessing secure data, the passcode acts as a reliable safeguard, ensuring that only authorized users can interact with the device and its contents.
By incorporating a passcode into your iPhone 13 security measures, you can bolster the overall protection of your device, mitigating the risk of unauthorized access and fortifying the confidentiality of your personal information and sensitive data. This proactive approach to device security aligns with Apple's commitment to empowering users with robust privacy and security features, fostering a safe and secure digital experience.
Enabling Find My iPhone
Enabling the "Find My iPhone" feature on your iPhone 13 is a proactive step towards enhancing the security and traceability of your device. This powerful functionality empowers you to locate your iPhone in real-time, safeguard your personal data, and take swift action in the event of loss or theft. By activating Find My iPhone, you gain peace of mind knowing that you have a robust tool at your disposal to protect your device and its contents.
To enable Find My iPhone, begin by accessing the "Settings" app on your iPhone 13 and selecting your Apple ID profile at the top of the screen. From there, tap on "Find My" to access the Find My iPhone settings. You will then have the option to enable both "Find My iPhone" and "Send Last Location."
Once Find My iPhone is activated, your device's location will be periodically transmitted to iCloud, allowing you to track its whereabouts using the Find My app on another Apple device or through the iCloud website. This capability is invaluable in scenarios where your iPhone is misplaced or left behind, enabling you to pinpoint its exact location and take the necessary steps to retrieve it.
In addition to location tracking, Find My iPhone offers a range of security features designed to protect your device and personal data. For instance, you can remotely lock your iPhone, display a custom message on the lock screen, or initiate a remote wipe to erase all data from the device, ensuring that your sensitive information remains out of reach in the event of theft or unauthorized access.
Furthermore, the "Send Last Location" feature automatically transmits your device's last known location to Apple when the battery is critically low, providing a crucial breadcrumb trail that can aid in locating your iPhone before the battery is depleted.
By enabling Find My iPhone on your iPhone 13, you are equipping yourself with a powerful set of tools to safeguard your device and mitigate the impact of potential loss or theft. This proactive approach to device security aligns with Apple's commitment to empowering users with robust privacy and security features, fostering a safe and secure digital experience.
The peace of mind that comes with knowing you can track, secure, and protect your iPhone 13 through the Find My iPhone feature underscores the value of integrating advanced security measures into your digital lifestyle. With Find My iPhone at your disposal, you can confidently navigate the digital landscape, knowing that your device and personal data are fortified against unforeseen challenges.
Activating Lost Mode
Activating Lost Mode on your iPhone 13 is a pivotal step in the event that your device is misplaced or falls into the wrong hands. This feature empowers you to take immediate action to protect your personal data and enhance the chances of recovering your device. When activated, Lost Mode locks your iPhone, preventing unauthorized access, and allows you to display a custom message on the lock screen, providing essential contact information to facilitate its safe return.
To activate Lost Mode, you can utilize the Find My app on another Apple device or access the iCloud website from a web browser. Once you have identified your iPhone 13 within the Find My app or iCloud, you can initiate Lost Mode and customize a message to be displayed on the device's lock screen. This message can include instructions on how to contact you, offering a direct communication channel for anyone who may come across your lost device.
In addition to displaying a custom message, Lost Mode prompts your iPhone 13 to transmit its current location to iCloud, allowing you to track its movements and potentially pinpoint its whereabouts. This real-time location data serves as a valuable resource, enabling you to coordinate with local authorities or take direct action to retrieve your device.
Furthermore, Lost Mode automatically suspends the use of Apple Pay and disables notifications and access to sensitive information on the device, bolstering the security of your personal data. This proactive measure mitigates the risk of unauthorized transactions or the exposure of confidential information while your iPhone is in an unaccounted-for state.
By activating Lost Mode on your iPhone 13, you are leveraging a comprehensive set of security measures to safeguard your device and personal data in the face of unexpected loss or theft. This proactive approach aligns with Apple's commitment to empowering users with robust privacy and security features, ensuring that you have the tools and capabilities to navigate unforeseen challenges with confidence.
The peace of mind that comes with knowing you can take swift and decisive action to protect your iPhone 13 through Lost Mode underscores the value of integrating advanced security measures into your digital lifestyle. By leveraging the full potential of Lost Mode, you can enhance the traceability of your device and maximize the chances of a successful recovery, minimizing the impact of potential loss or unauthorized access.
Using Touch ID (if applicable)
If your iPhone 13 model is equipped with Touch ID, you have the opportunity to leverage this advanced biometric authentication technology to enhance the security and convenience of accessing your device and authorizing secure transactions. Touch ID utilizes a state-of-the-art fingerprint sensor embedded within the device's home button, allowing you to seamlessly unlock your iPhone and authenticate various actions with a simple touch of your finger.
To set up Touch ID on your iPhone 13, begin by accessing the "Settings" app and navigating to the "Touch ID & Passcode" section. You will be prompted to enter your device passcode to access the Touch ID settings. Once inside the Touch ID & Passcode menu, you can proceed to enroll your fingerprints by selecting "Add a Fingerprint" and following the on-screen instructions.
During the fingerprint enrollment process, you will be prompted to place your finger on the home button multiple times to capture a comprehensive image of your fingerprint from various angles. This meticulous scanning process ensures that Touch ID can accurately recognize your fingerprint and authenticate your identity with precision and reliability.
After successfully enrolling your fingerprints, you can utilize Touch ID to unlock your iPhone 13, authorize App Store and iTunes purchases, and authenticate various actions within supported apps and services. The seamless integration of Touch ID into the device's user interface streamlines the authentication process, allowing you to access your device and sensitive information with unparalleled ease and efficiency.
The advanced security measures embedded within Touch ID, including the secure storage of fingerprint data within the device's secure enclave, ensure that your biometric information remains protected and inaccessible to unauthorized parties. This robust approach to biometric authentication aligns with Apple's commitment to prioritizing user privacy and security, providing you with a reliable and intuitive method of safeguarding your device and personal data.
By leveraging Touch ID on your iPhone 13, you can enjoy the seamless and secure authentication experience that this advanced biometric technology offers. Whether it's unlocking your device, authorizing transactions, or accessing sensitive information, Touch ID empowers you to interact with your iPhone 13 with confidence, knowing that your biometric identity is safeguarded and your digital experience is fortified against unauthorized access.
Setting Up Emergency SOS
Setting up Emergency SOS on your iPhone 13 is a critical step in prioritizing your personal safety and preparedness for unforeseen emergencies. This feature provides a swift and discreet method of contacting emergency services and notifying your designated emergency contacts, ensuring that help is readily accessible when it matters most.
To configure Emergency SOS on your iPhone 13, navigate to the device's "Settings" app and select the "Emergency SOS" option. Within this menu, you can customize the behavior of Emergency SOS to align with your specific needs and preferences.
One of the key aspects of setting up Emergency SOS is configuring the automatic initiation of emergency calls. By enabling the "Auto Call" feature, your iPhone 13 will automatically dial the local emergency services number when the side button is rapidly pressed five times in succession. This rapid activation method ensures that you can swiftly summon assistance in urgent situations, even if you are unable to physically interact with your device.
In addition to automatic emergency calls, you have the option to designate emergency contacts who will be notified when Emergency SOS is activated. These contacts will receive a message informing them that Emergency SOS has been triggered, along with your current location, providing them with crucial information to coordinate assistance or offer support during the emergency.
Furthermore, the Emergency SOS settings allow you to customize the behavior of the device's side button to accommodate your specific needs. You can choose to enable or disable the "Countdown Sound" and "Countdown Haptics" options, tailoring the feedback provided by the device when Emergency SOS is initiated.
By setting up Emergency SOS on your iPhone 13, you are proactively equipping yourself with a powerful tool to swiftly access emergency services and notify your trusted contacts in times of need. This proactive approach to personal safety aligns with Apple's commitment to empowering users with robust features that prioritize their well-being and security.
The peace of mind that comes with knowing you have a reliable and discreet method of summoning assistance underscores the value of integrating advanced safety measures into your digital lifestyle. With Emergency SOS at your disposal, you can navigate daily activities and unforeseen challenges with confidence, knowing that you have a proactive safety net within reach.
Using a Strong Password
Utilizing a strong and resilient password is a cornerstone of robust digital security, especially when it comes to safeguarding access to your iPhone 13. A strong password serves as a formidable barrier against unauthorized access, protecting your personal data, sensitive information, and digital identity from potential threats. When creating a strong password for your iPhone 13, it's essential to adhere to best practices that enhance its complexity and resilience, fortifying the overall security of your device.
To begin, consider crafting a password that is at least 12 characters long, incorporating a diverse combination of uppercase and lowercase letters, numbers, and special characters. This multifaceted approach significantly bolsters the strength of the password, making it more resistant to brute-force attacks and unauthorized intrusion attempts. By diversifying the character composition, you create a robust and intricate password that poses a formidable challenge to potential attackers.
Furthermore, avoid using easily guessable information such as common words, phrases, or sequential number patterns. Opt for a password that is unique, unpredictable, and unrelated to readily available personal details. This proactive measure mitigates the risk of password guessing or dictionary-based attacks, ensuring that your chosen password remains resilient in the face of sophisticated intrusion techniques.
In addition to crafting a strong password, it's crucial to refrain from reusing passwords across multiple accounts or devices. Each digital entity, including your iPhone 13, should be protected by a distinct and exclusive password to prevent the domino effect of a single compromised credential leading to widespread security vulnerabilities. By maintaining unique passwords for each digital asset, you fortify the overall security posture of your digital ecosystem, minimizing the impact of potential security breaches.
Moreover, consider leveraging a reputable password manager to securely store and manage your complex passwords. A password manager offers a centralized and encrypted repository for your diverse credentials, streamlining the process of maintaining strong and unique passwords across your digital footprint. This proactive approach not only enhances the convenience of password management but also reinforces the overall security of your digital identity.
By prioritizing the use of a strong password for your iPhone 13, you are actively fortifying the security of your device and personal data, aligning with Apple's commitment to empowering users with robust privacy and security features. This proactive stance underscores the value of integrating advanced security measures into your digital lifestyle, fostering a safe and secure digital experience that prioritizes the confidentiality and integrity of your personal information.