
How to Locate the SIM Card Slot on iPad
If you have an iPad with cellular capabilities, you will need to know how to locate the SIM card slot. The SIM (Subscriber Identity Module) card is essential for connecting your iPad to a cellular network, allowing you to access the internet and make calls. Here’s a quick guide to help you locate the SIM card slot on your iPad.
- Identify the Model: The location of the SIM card slot may vary depending on the iPad model. For older models, such as the iPad 2, 3, or 4, the SIM card slot is typically located on the side of the device. However, for newer models, including the iPad Air, iPad Pro, and iPad mini, the SIM card slot may be located on the right-hand side or along the top edge of the device.
- Look for the SIM Tray: Once you have identified the model of your iPad, look for the SIM tray. This tray is a small, elongated slot with a pinhole. It may be located near the volume buttons or on the top edge of the device, depending on the model.
- Use a SIM Eject Tool: To access the SIM card slot, you will need a SIM eject tool or a paperclip. Insert the tool into the pinhole on the SIM tray and gently press to release the tray.
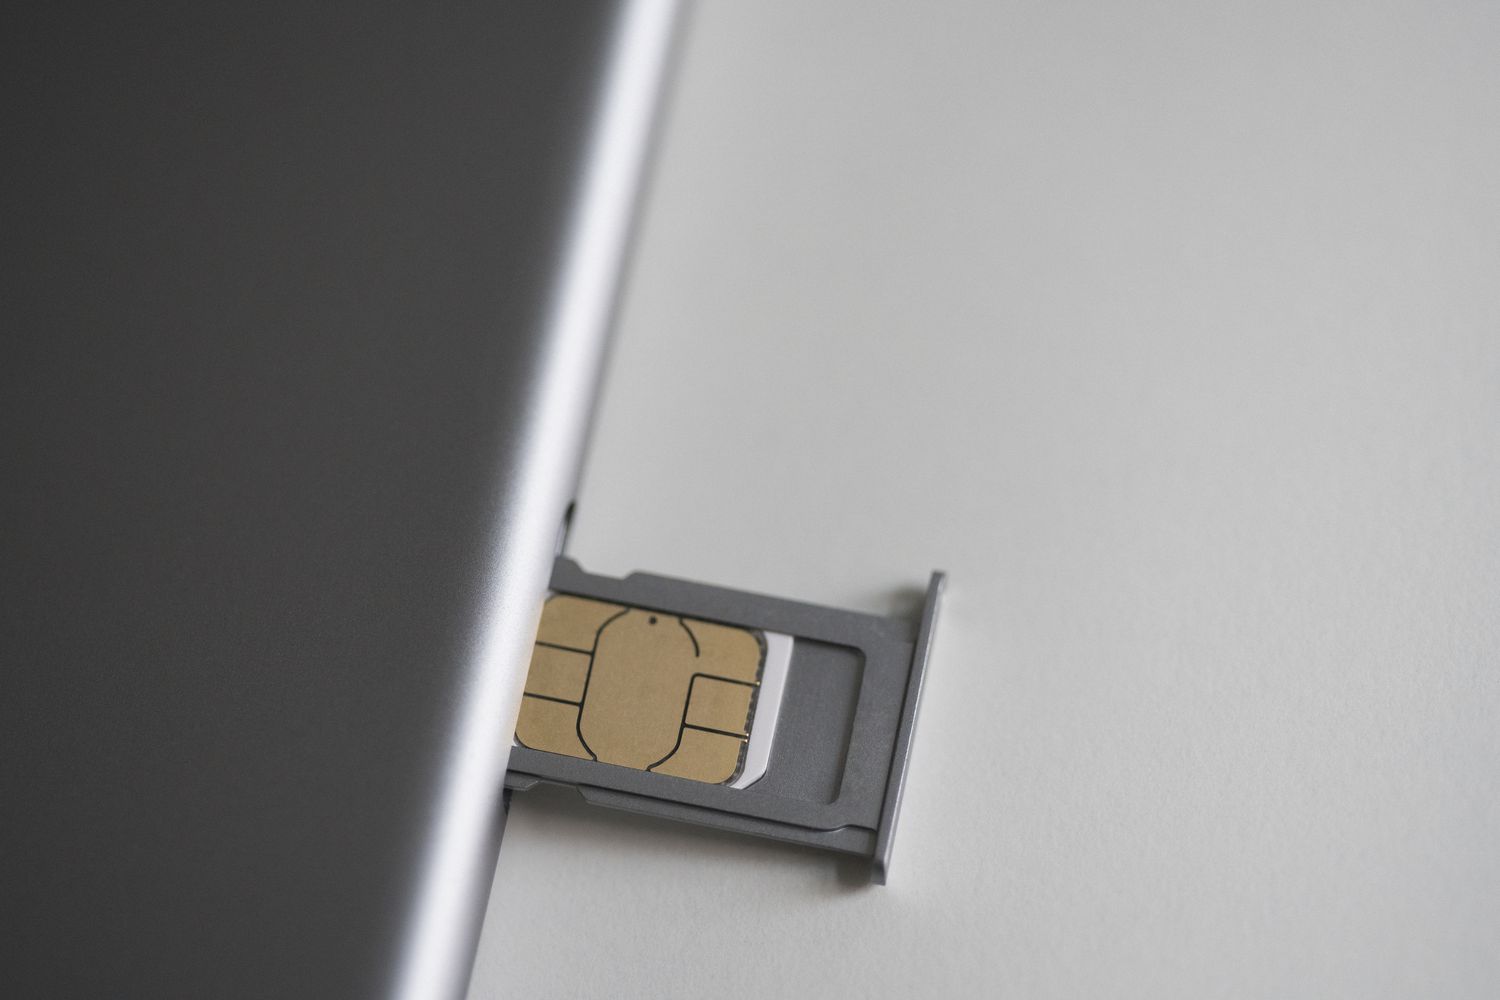
- Observe the Tray: When the SIM tray is ejected, you will see a small compartment that houses the SIM card. The tray is designed to hold the SIM card securely in place.
By following these steps, you can easily locate the SIM card slot on your iPad. Understanding the location of the SIM card slot is crucial for managing your cellular connectivity and ensuring that your iPad can access mobile networks when needed.
Steps to Remove the SIM Card Tray
Once you have located the SIM card tray on your iPad, you may need to remove it to insert or replace the SIM card. Here are the steps to safely remove the SIM card tray from your iPad:
- Gather the Necessary Tools: Before you begin, ensure that you have a SIM eject tool, a paperclip, or a similar object that fits into the pinhole on the SIM tray. This tool will allow you to safely eject the tray without causing damage to your iPad.
- Insert the Eject Tool: Carefully insert the SIM eject tool into the pinhole on the SIM tray. Apply gentle pressure until you feel the tray release. If you are using a paperclip, make sure it is straightened and insert it into the pinhole with caution.
- Remove the Tray: Once the tray is released, gently pull it out of the iPad. Take care not to force the tray, as it should slide out smoothly once it has been released. Avoid using excessive pressure, as this could damage the tray or the internal components of the iPad.
- Place the Tray in a Safe Location: When the tray is removed, place it in a secure location where it will not be easily misplaced. It is a small component that can be easily lost, so handling it with care is important.
Following these steps will allow you to safely remove the SIM card tray from your iPad without causing any damage to the device. By exercising caution and using the appropriate tools, you can easily access the SIM card slot and manage your cellular connectivity as needed.
Inserting a SIM Card into Your iPad
Once you have removed the SIM card tray from your iPad, you can proceed with inserting or replacing the SIM card. Here are the steps to follow when inserting a SIM card into your iPad:
- Remove the SIM Card Tray: If the SIM card tray is not already removed, refer to the previous section for guidance on safely removing it from your iPad.
- Position the SIM Card: Take the SIM card and position it correctly in the compartment on the SIM tray. The SIM card has a notched corner that aligns with the shape of the compartment, ensuring that it is inserted in the right orientation.
- Slide the Tray Back In: Once the SIM card is in place, carefully slide the tray back into the iPad. Ensure that it is inserted smoothly and securely, without applying excessive force.
- Power On Your iPad: After inserting the SIM card tray, power on your iPad and allow it to detect the SIM card. Depending on your cellular provider and the status of the SIM card, you may need to follow on-screen prompts to activate the card and establish a connection.
By following these steps, you can successfully insert a SIM card into your iPad and ensure that it is securely in place for cellular connectivity. Properly installing the SIM card will enable your iPad to access mobile networks, make calls, and utilize cellular data as needed.
Troubleshooting SIM Card Issues on iPad
While using a SIM card with your iPad can greatly enhance its functionality, you may encounter occasional issues that affect the card’s performance. Here are some troubleshooting steps to address SIM card issues on your iPad:
- Check SIM Card Compatibility: Ensure that the SIM card you are using is compatible with your iPad model and that it is from a supported cellular provider. Incompatible or unsupported SIM cards may cause connectivity problems.
- Restart Your iPad: Sometimes, a simple restart can resolve temporary issues with the SIM card. Power off your iPad, wait a few seconds, and then power it back on to see if the SIM card functions normally.
- Verify Cellular Coverage: If you are experiencing poor cellular reception or connectivity issues, check the coverage in your area. Weak signals or network outages can impact the performance of your SIM card.
- Re-seat the SIM Card: If you suspect that the SIM card may not be making proper contact, power off your iPad, remove the SIM card tray, and re-seat the SIM card. Ensure that it is securely positioned in the tray before reinserting it into the iPad.
- Update iOS: Keeping your iPad’s operating system up to date can address software-related issues that may affect the SIM card’s performance. Check for any available iOS updates and install them if necessary.
- Contact Your Cellular Provider: If troubleshooting steps do not resolve the issue, contact your cellular provider’s customer support. They can assist with verifying the status of your SIM card, troubleshooting network issues, and providing guidance on resolving connectivity problems.
By following these troubleshooting steps, you can effectively address SIM card issues on your iPad and restore seamless connectivity. Identifying and resolving any underlying issues will ensure that your iPad can leverage the full benefits of cellular connectivity for communication and internet access.