
Understanding ISO Adjustment on iPhone 11 Camera
The ISO adjustment feature on the iPhone 11 camera plays a crucial role in capturing high-quality photos in various lighting conditions. ISO, which stands for International Organization for Standardization, determines the camera sensor's sensitivity to light. Understanding how ISO adjustment works can significantly impact the outcome of your photos.
When you increase the ISO setting, the camera sensor becomes more sensitive to light, allowing you to capture well-exposed images in low-light environments. On the other hand, decreasing the ISO setting makes the sensor less sensitive to light, which is ideal for well-lit conditions. It's important to note that higher ISO settings can introduce digital noise or graininess to the photos, while lower ISO settings produce cleaner and sharper images.
The iPhone 11 camera offers a range of ISO settings, allowing users to manually adjust the sensitivity based on the lighting conditions. This level of control empowers photographers to capture stunning images in diverse environments, from dimly lit interiors to bright outdoor settings.
Understanding the ISO adjustment on the iPhone 11 camera involves recognizing the trade-offs between sensitivity, image quality, and lighting conditions. By mastering this feature, photographers can optimize their photo-taking experience and produce visually captivating images across a spectrum of scenarios.
How to Access ISO Settings on iPhone 11 Camera
Accessing the ISO settings on the iPhone 11 camera is a straightforward process that empowers users to take control of their photography experience. To access the ISO settings, follow these simple steps:
-
Open the Camera App: Begin by launching the Camera app on your iPhone 11. This will bring up the camera interface, allowing you to prepare for capturing stunning photos.
-
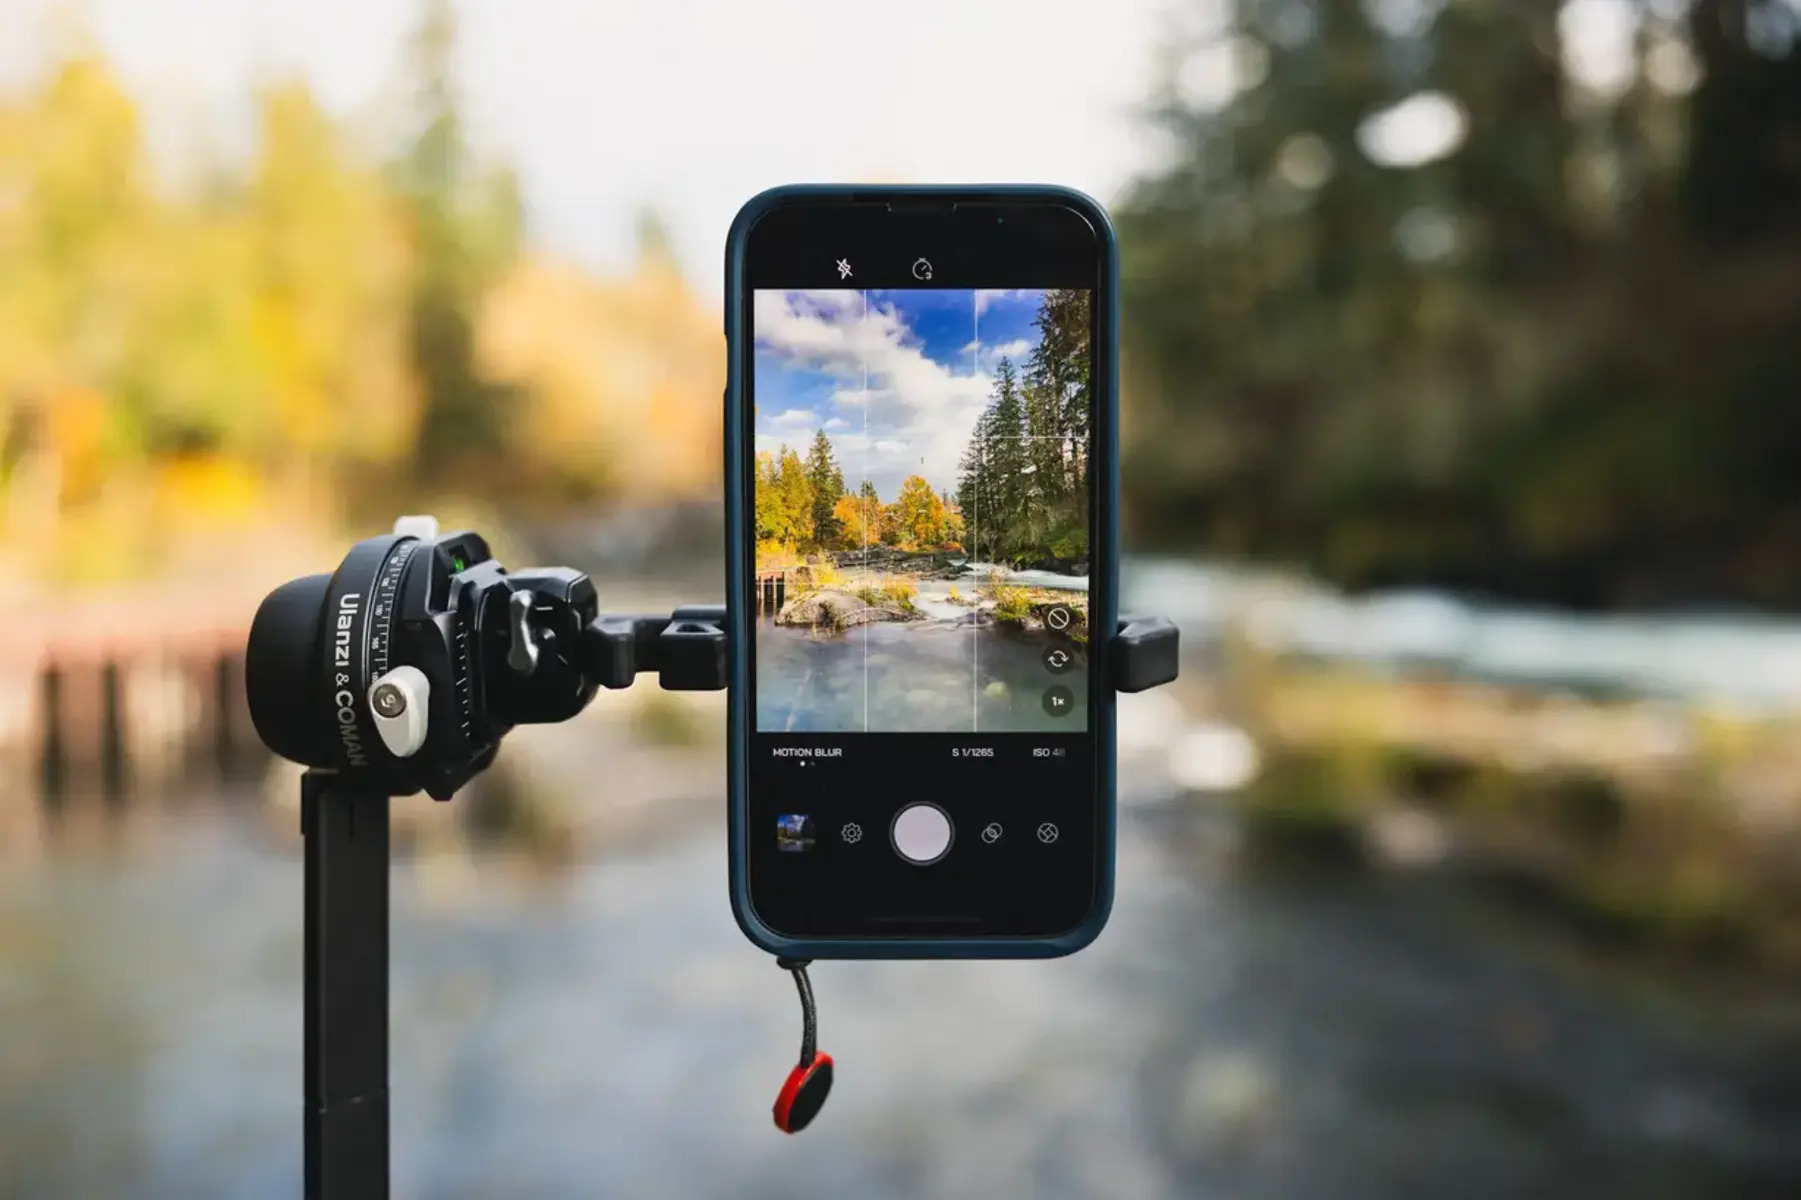
Locate the ISO Setting: Once the camera interface is active, look for the ISO setting icon, which is represented by a series of numbers. On the iPhone 11, the ISO setting is conveniently accessible within the camera interface, ensuring that users can swiftly adjust it as needed.
-
Tap the ISO Setting: Upon locating the ISO setting icon, tap on it to activate the ISO adjustment feature. This action will prompt the appearance of a slider or a list of ISO values, depending on the camera mode and settings.
-
Adjust the ISO Setting: With the ISO adjustment feature activated, users can now manually adjust the ISO setting by dragging the slider or selecting from the available ISO values. This level of control allows photographers to fine-tune the camera's sensitivity to light, catering to the specific lighting conditions of their environment.
-
Capture Stunning Photos: After adjusting the ISO setting to suit the lighting conditions, proceed to capture breathtaking photos using the optimized ISO sensitivity. Whether in low-light settings or well-lit environments, the ISO settings on the iPhone 11 camera enable users to unleash their creativity and capture visually compelling images.
By following these steps, users can seamlessly access and manipulate the ISO settings on the iPhone 11 camera, unlocking a world of photographic possibilities. This intuitive process empowers photographers to adapt to diverse lighting conditions and elevate the quality of their images with precision and ease.
Using ISO Settings to Enhance Photo Quality
The ISO settings on the iPhone 11 camera serve as a powerful tool for enhancing the overall quality of photos. By understanding how to leverage ISO adjustments effectively, photographers can elevate their images to new heights, capturing stunning details and preserving the ambiance of various lighting conditions.
When it comes to enhancing photo quality, the ISO settings play a pivotal role in achieving optimal exposure and sharpness. In low-light environments, such as dimly lit interiors or evening settings, increasing the ISO setting can significantly improve the camera's sensitivity to light. This allows for the capture of well-exposed images without compromising on clarity or detail. By raising the ISO setting, photographers can effectively brighten their photos, bringing out intricate details and nuances that may have been lost in the shadows.
Conversely, in well-lit conditions, lowering the ISO setting can produce remarkable results. By reducing the camera sensor's sensitivity to light, lower ISO settings can yield cleaner, less grainy images with enhanced sharpness and depth. This is particularly beneficial when capturing scenes with ample natural light, such as outdoor landscapes or well-illuminated subjects. The ability to fine-tune the ISO settings empowers photographers to maintain image integrity and achieve exceptional clarity, even in brightly lit scenarios.
Moreover, the ISO settings on the iPhone 11 camera enable photographers to adapt to dynamic lighting situations with precision. Whether transitioning from indoor to outdoor environments or encountering fluctuating light levels, the flexibility of ISO adjustments ensures that photographers can maintain optimal exposure and image quality throughout their shooting experience.
By strategically utilizing the ISO settings, photographers can infuse their photos with a captivating balance of light and shadow, resulting in visually compelling compositions. This level of control over the camera's sensitivity to light empowers photographers to craft images that resonate with depth, texture, and atmospheric allure.
In essence, the ISO settings on the iPhone 11 camera serve as a versatile tool for photographers to enhance the overall quality of their photos. By harnessing the potential of ISO adjustments, photographers can transcend the limitations of varying lighting conditions, capturing images that exude clarity, depth, and visual impact. This level of creative control empowers photographers to unleash their artistic vision, resulting in a portfolio of captivating and evocative photographs.
Tips for Adjusting ISO Settings for Different Lighting Conditions
Adjusting ISO settings for different lighting conditions is a fundamental aspect of mastering the art of photography with the iPhone 11 camera. By strategically manipulating the ISO settings, photographers can adapt to diverse environments and capture stunning images with precision and clarity. Here are essential tips for adjusting ISO settings to optimize photo quality across various lighting scenarios:
1. Low-Light Environments:
In dimly lit settings, such as indoor spaces or evening scenes, increasing the ISO setting can significantly enhance the camera's sensitivity to light. This adjustment allows for well-exposed images without compromising on detail. However, it's crucial to strike a balance, as excessively high ISO settings can introduce digital noise. Experiment with moderate ISO increments to achieve optimal exposure while preserving image quality.
2. Well-Lit Conditions:
When shooting in brightly illuminated environments, such as outdoor landscapes or well-lit interiors, lowering the ISO setting can yield cleaner, sharper images with reduced graininess. By decreasing the camera sensor's sensitivity to light, lower ISO settings maintain image integrity and enhance overall clarity. This approach is particularly effective in capturing scenes with ample natural light, allowing photographers to preserve intricate details and textures.
3. Dynamic Lighting Scenarios:
In situations where lighting conditions fluctuate, such as transitioning from indoor to outdoor settings or encountering varying light levels, it's essential to adapt the ISO settings accordingly. Anticipate changes in lighting and adjust the ISO setting in real-time to maintain optimal exposure and image quality. By staying attuned to the evolving lighting conditions, photographers can consistently produce visually compelling images with balanced exposure.
4. Experimentation and Observation:
Mastering ISO adjustments involves experimentation and keen observation of the resulting images. Take the opportunity to explore the impact of different ISO settings on photo quality in various lighting conditions. By capturing test shots at different ISO levels, photographers can gain insights into the nuances of exposure and image clarity. This hands-on approach fosters a deeper understanding of how ISO settings influence the visual outcome of photos.
5. Leveraging Editing Tools:
In post-processing, leverage editing tools to refine and optimize images captured at different ISO settings. Editing software and apps offer features to reduce digital noise in high-ISO images and enhance the overall quality of low-ISO shots. By complementing ISO adjustments with post-capture editing, photographers can further elevate the visual impact of their photos, ensuring exceptional quality across a spectrum of lighting conditions.
By implementing these tips, photographers can harness the full potential of ISO adjustments on the iPhone 11 camera, effectively adapting to diverse lighting conditions and producing captivating images with remarkable clarity and depth. The mastery of ISO settings empowers photographers to transcend the constraints of varying light environments, resulting in a portfolio of visually compelling and evocative photographs.