
Checking the SIM Card Slot Location
Before you can insert a SIM card into your iPhone SE, it’s essential to locate the SIM card slot. The SIM card slot on the iPhone SE is situated on the right-hand side of the device. It’s important to note that the location of the SIM card slot may vary depending on the model and version of the iPhone SE, so it’s crucial to identify the specific location on your device.
Firstly, ensure that your iPhone SE is powered off to avoid any potential damage to the device or the SIM card during the insertion process. Once the device is powered off, gently turn it over to locate the SIM card slot. You’ll notice a small pinhole on the right-hand side of the device, typically near the middle of the edge. This pinhole is the location of the SIM card tray.
Upon locating the SIM card slot, it’s important to prepare for the next steps in the process of inserting the SIM card. This includes having your SIM card and the SIM card ejector tool (included with your iPhone SE or a small paperclip) readily available to facilitate the insertion process.
By familiarizing yourself with the location of the SIM card slot and ensuring that your device is powered off, you’re ready to proceed with the next steps of inserting the SIM card into your iPhone SE.
Powering Off the iPhone SE
Before inserting a SIM card into your iPhone SE, it’s crucial to power off the device to prevent any potential damage and ensure a smooth and safe insertion process. Powering off your iPhone SE is a simple and essential step that can help protect the device and the SIM card from any mishaps during the SIM card insertion process.
To power off your iPhone SE, follow these steps:
- Locate the Power Button: The power button is located on the right-hand side of the device. It is typically positioned towards the top of the right-hand edge.
- Press and Hold the Power Button: Press and hold the power button until the “slide to power off” slider appears on the screen.
- Slide to Power Off: Once the “slide to power off” slider appears, use your finger to slide it from left to right. This action initiates the power-off sequence for your iPhone SE.
- Wait for the Device to Power Off: Allow the device to complete the power-off process. You may notice the screen going dark or displaying the Apple logo briefly before turning off completely.
Once your iPhone SE is powered off, you can proceed with the next steps of locating the SIM card tray and preparing to insert the SIM card.
By following these simple steps to power off your iPhone SE, you’ll ensure that the device is safely prepared for the SIM card insertion process, minimizing the risk of any potential issues or damage during the procedure.
Locating the SIM Card Tray
After powering off your iPhone SE, the next step in the process of inserting a SIM card is to locate the SIM card tray. The SIM card tray houses the SIM card and is an integral part of the insertion process. Here’s how to locate the SIM card tray on your iPhone SE:
- Identify the SIM Card Slot: Turn the powered-off iPhone SE over to the right-hand side of the device. Look for a small pinhole or slot near the middle of the right edge. This slot is the location of the SIM card tray and is typically marked with a small icon indicating its purpose.
- Inspect the SIM Card Slot: Upon locating the slot, observe its size and shape. The SIM card tray slot is usually a small, rectangular opening that is designed to accommodate the SIM card tray.
- Prepare the SIM Card Ejector Tool: To access the SIM card tray, you will need the SIM card ejector tool that came with your iPhone SE. If the ejector tool is not readily available, a small paperclip can be used as an alternative. Ensure that the ejector tool or paperclip is easily accessible for the next step.
By following these steps, you’ll successfully locate the SIM card tray on your iPhone SE, setting the stage for the subsequent steps of ejecting the SIM card tray and inserting the SIM card. Familiarizing yourself with the location of the SIM card tray is essential for a smooth and hassle-free SIM card insertion process.
Ejecting the SIM Card Tray
Once you’ve located the SIM card tray on your iPhone SE, the next step is to eject the SIM card tray in preparation for inserting the SIM card. Ejecting the SIM card tray allows you to access the compartment where the SIM card will be placed. Here’s how to eject the SIM card tray from your iPhone SE:
- Retrieve the SIM Card Ejector Tool: Take the SIM card ejector tool that came with your iPhone SE or a small paperclip, ensuring that it is readily available for use.
- Locate the Ejector Pinhole: On the side of your iPhone SE, near the SIM card slot, you’ll find a small pinhole. This is the location where you will insert the SIM card ejector tool to release the SIM card tray.
- Insert the Ejector Tool: Gently insert the pointed end of the ejector tool or straightened paperclip into the pinhole. Apply light pressure until you feel a slight resistance, indicating that the tool has engaged with the internal mechanism of the SIM card tray.
- Eject the SIM Card Tray: Once the ejector tool is properly inserted, exert a gentle but firm outward pressure to trigger the release of the SIM card tray. The tray will partially protrude from the device, allowing you to grasp and remove it fully.
By following these steps, you’ll successfully eject the SIM card tray from your iPhone SE, paving the way for the insertion of the SIM card. It’s important to handle the SIM card tray and SIM card with care to avoid any damage during the process.
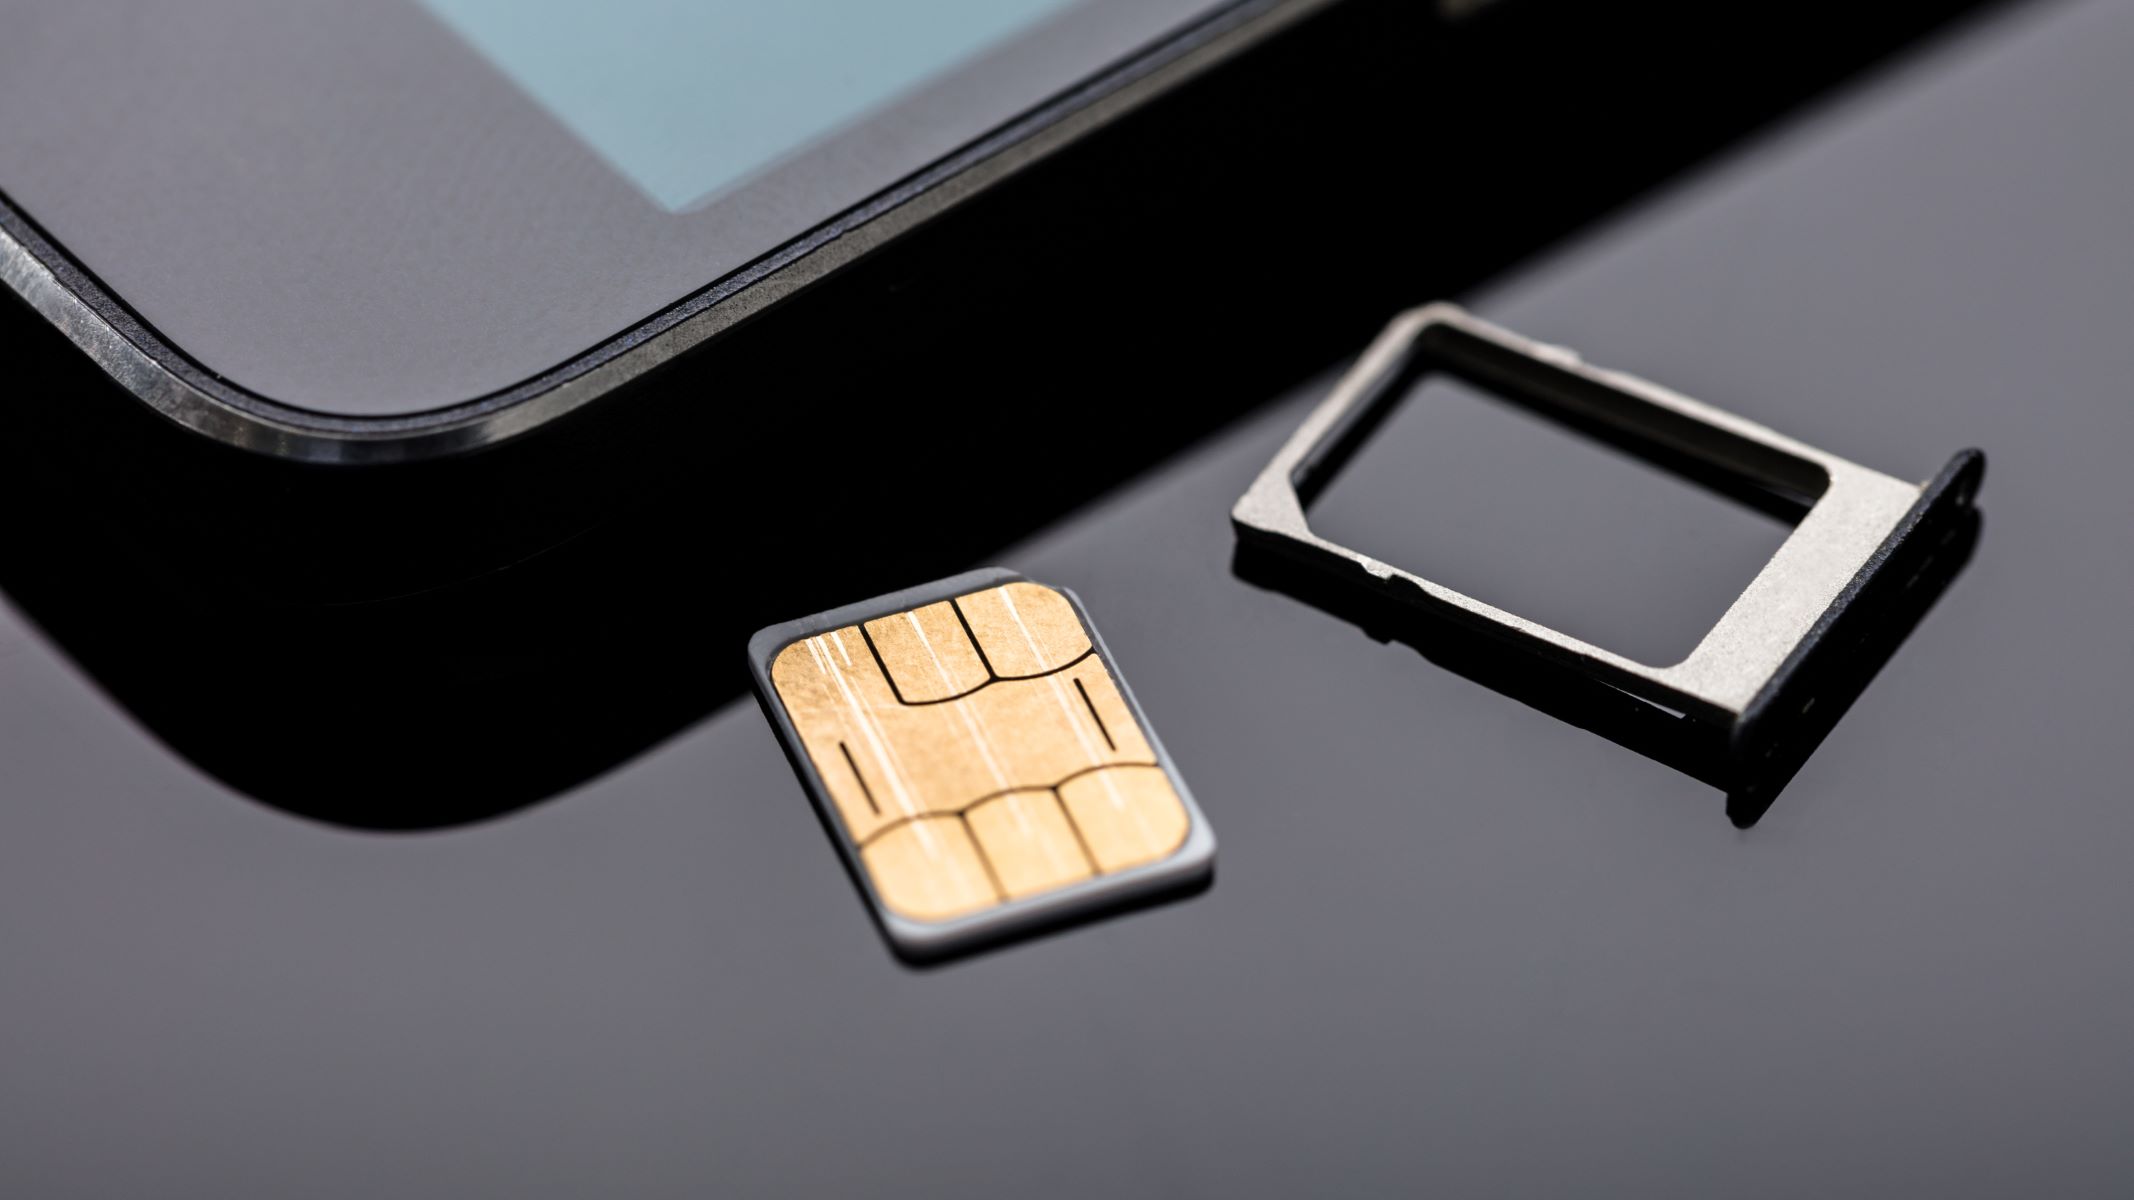
Inserting the SIM Card
With the SIM card tray ejected from your iPhone SE, you’re now ready to insert the SIM card into the designated slot on the tray. Properly inserting the SIM card ensures a secure connection and allows your device to access cellular networks. Follow these steps to insert the SIM card into your iPhone SE:
- Retrieve the SIM Card: Carefully remove the SIM card from its packaging or your previous device, if applicable. Handle the SIM card by its edges to avoid any contact with the metal contacts or circuitry.
- Position the SIM Card: Examine the SIM card tray to identify the orientation for inserting the SIM card. Most SIM card trays have a designated corner or notch that aligns with the shape of the SIM card, ensuring the correct positioning.
- Place the SIM Card on the Tray: Gently place the SIM card onto the SIM card tray, aligning it with the designated guides or notches. Ensure that the SIM card rests flat and securely within the tray, without any protrusions or misalignments.
- Slide the Tray into the Device: Once the SIM card is positioned correctly on the tray, carefully reinsert the tray into the SIM card slot on your iPhone SE. Apply gentle pressure to slide the tray back into place, ensuring that it fits snugly and securely within the device.
By following these steps, you’ll successfully insert the SIM card into your iPhone SE, setting the stage for reconnecting to cellular networks and enjoying the full functionality of your device. It’s important to handle the SIM card with care and precision to avoid any damage during the insertion process.
Reinserting the SIM Card Tray
After successfully inserting the SIM card into the designated slot on the tray, the next step is to reinsert the SIM card tray into your iPhone SE. This crucial step ensures that the SIM card is securely positioned within the device, allowing for seamless connectivity and network access. Follow these steps to reinsert the SIM card tray into your iPhone SE:
- Align the SIM Card Tray: Position the SIM card tray in alignment with the SIM card slot on the right-hand side of your iPhone SE. Ensure that the tray is oriented correctly, with the metal contacts of the SIM card facing down and the tray’s opening aligned with the slot.
- Slide the Tray into the Device: Gently insert the SIM card tray back into the SIM card slot, applying light pressure to slide it into place. Take care to avoid forcing the tray, ensuring that it glides smoothly and securely into the device.
- Verify the Tray’s Position: Once the tray is fully inserted, ensure that it sits flush with the device’s edge and aligns seamlessly with the surrounding frame. A properly inserted SIM card tray should be level with the device’s exterior, with no gaps or unevenness.
- Power On Your iPhone SE: With the SIM card tray securely reinserted, power on your iPhone SE to initiate the device’s startup sequence. Once the device is powered on, it will detect the inserted SIM card and establish network connectivity.
By following these steps, you’ll effectively reinsert the SIM card tray into your iPhone SE, ensuring that the SIM card is securely positioned for optimal functionality. It’s essential to handle the SIM card tray and device with care during this process to avoid any potential damage.
Powering On the iPhone SE
After successfully reinserting the SIM card tray into your iPhone SE, the final step is to power on the device. Powering on your iPhone SE will initiate the startup sequence and allow the device to detect the inserted SIM card, enabling network connectivity and full functionality. Follow these steps to power on your iPhone SE:
- Locate the Power Button: The power button is situated on the right-hand side of the device, typically near the top edge. Identify the button to prepare for the power-on process.
- Press and Hold the Power Button: Press and hold the power button until the Apple logo appears on the screen. This action initiates the startup sequence for your iPhone SE.
- Wait for the Device to Power On: Allow the device to complete the startup process. You’ll notice the Apple logo displayed on the screen, indicating that the device is powering on and initializing the operating system.
- Unlock Your iPhone SE: Once the startup process is complete, swipe or enter your passcode to unlock your iPhone SE. The device will now be fully powered on and ready for use.
By following these steps, you’ll effectively power on your iPhone SE, allowing the device to detect the inserted SIM card and establish network connectivity. Your iPhone SE is now ready to be used with the newly inserted SIM card, enabling you to make calls, send messages, and access mobile data as needed.