
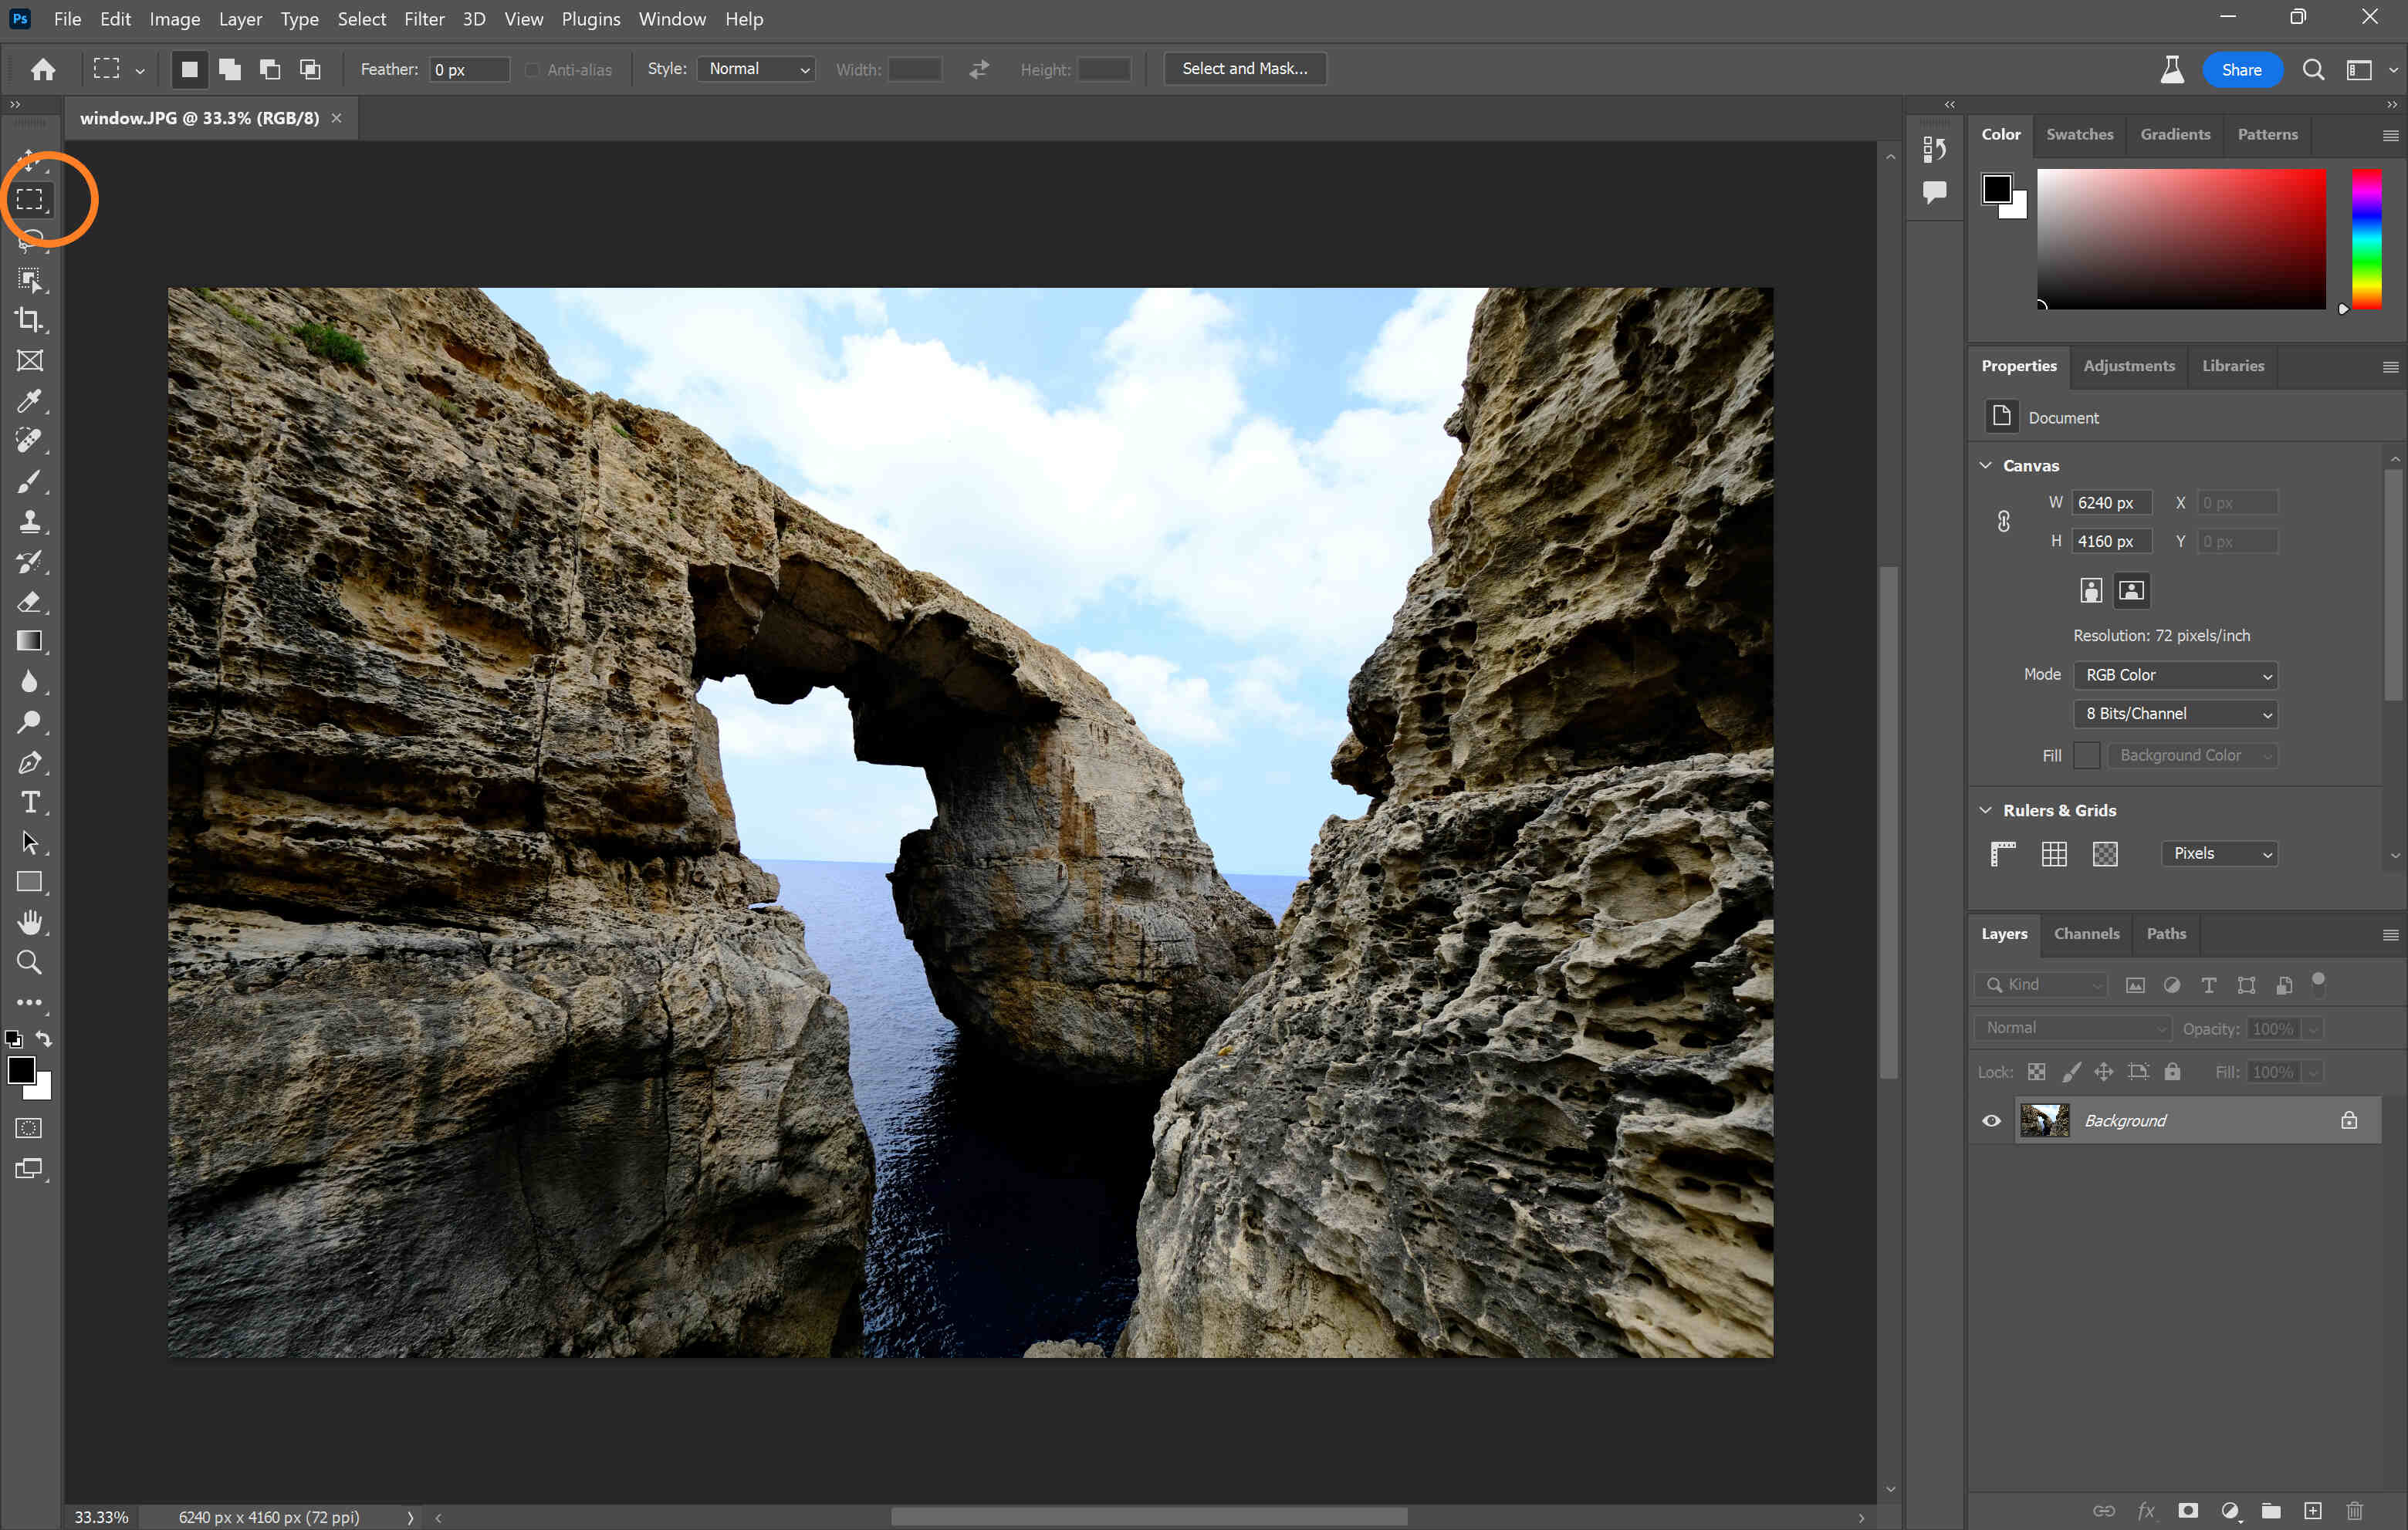
What is the Marquee Tool?
The Marquee Tool is one of the essential selection tools in Adobe Photoshop that allows users to create various geometric shapes and make precise selections within an image. It is commonly used for cropping, resizing, and applying effects to specific areas of an image. With the Marquee Tool, you can create rectangular, circular, and even custom-shaped selections with ease.
The primary function of the Marquee Tool is to define an area of an image that you want to manipulate or apply changes to. By creating a selection with the Marquee Tool, you can limit the impact of your edits to a specific part of the image without affecting the rest. This tool is especially useful when you need to isolate an object or make targeted adjustments like color correction or retouching.
The Marquee Tool provides flexibility and precision in making selections. You can easily adjust the size and shape of the selection by dragging the cursor over the desired area or by specifying specific dimensions. This tool also offers additional features like feathering, adding to or subtracting from the selection, and transforming the selection to suit your needs.
Whether you are a graphic designer, photographer, or digital artist, mastering the Marquee Tool is essential for efficient and accurate image editing in Photoshop. By learning how to use this tool effectively, you can enhance your creative workflow, achieve professional-looking results, and bring your artistic vision to life.
The Different Types of Marquee Selections
The Marquee Tool in Adobe Photoshop offers several options for creating different types of selections. Understanding these types and knowing when to use them is crucial for achieving your desired results. Let’s explore the different types of Marquee selections:
1. Rectangular Selection: The most basic and commonly used type of Marquee selection is the rectangular selection. By dragging the cursor while using the Marquee Tool, you can create a rectangular selection around the desired area. This type of selection is perfect for cropping or resizing images, as well as making precise edits to specific portions of an image.
2. Elliptical Selection: The Marquee Tool also allows you to create circular or elliptical selections. By selecting the Elliptical Marquee option, you can draw a perfect circle or an oval-shaped selection by dragging the cursor. This type of selection is ideal for highlighting and manipulating round objects or creating artistic effects.
3. Single Row and Single Column Selection: If you need to make a selection that spans only a single row or column of pixels, Photoshop provides options for making these types of selections. The Single Row Marquee and Single Column Marquee tools allow you to select a single row or column by simply clicking and dragging horizontally or vertically. These selections are useful when you want to make specific adjustments to a line or column of pixels.
4. Fixed Ratio or Fixed Size Selection: In addition to the standard rectangular and elliptical selections, Photoshop offers the option to create selections with fixed ratios or fixed sizes. This means you can specify the exact dimensions of the selection before creating it. Fixed ratio selections are useful when you need to maintain a specific aspect ratio, while fixed size selections allow you to create selections with precise dimensions, ensuring consistency across multiple images.
5. Custom Shape Selection: Besides the predefined shapes, Photoshop allows you to create custom shape selections using the Custom Shape Marquee tool. You can choose from a variety of shape presets or create your own custom shape using the Pen tool. Custom shape selections provide flexibility and can be used to select any irregular or complex area within an image.
By familiarizing yourself with the different types of Marquee selections and their applications, you can enhance your editing capabilities and efficiently achieve the desired results in Photoshop. Experiment with these selection types to explore the creative possibilities and take your image editing to the next level.
How to Access the Marquee Tool
Accessing the Marquee Tool in Adobe Photoshop is a straightforward process. Follow the steps below to locate and activate this powerful selection tool:
1. Open Adobe Photoshop: Launch Adobe Photoshop on your computer. If you don’t have Photoshop installed, you can download it from the official Adobe website and follow the installation instructions.
2. Select the Marquee Tool: Once Photoshop is open, you can access the Marquee Tool by selecting it from the toolbar. The Marquee Tool is represented by a rectangular icon with a dotted outline. If the Marquee Tool is not visible, you can find it by clicking and holding the icon of the currently active tool, then selecting the Marquee Tool from the fly-out menu.
3. Customize the Marquee Tool Options: After selecting the Marquee Tool, the options bar at the top of the screen will display the available settings for the tool. You can choose the type of Marquee selection (Rectangular, Elliptical, Single Row, Single Column, Fixed Ratio, or Custom Shape) by clicking on the corresponding icons in the options bar. You can also adjust other settings such as feathering and style options to refine your selections.
4. Start Making Selections: Once you have customized the Marquee Tool options, you can start making selections on your image. Click and hold the mouse button, then drag the cursor over the area you want to select. If you are making a fixed-size or fixed-ratio selection, you can release the mouse button after dragging to specify the dimensions of the selection.
5. Modify and Transform the Selection: After creating a selection, you can modify it by clicking and dragging the selection handles or by using the transform options available in Photoshop. You can resize, rotate, or move the selection to precisely define the area you want to work with.
6. Apply Edits: Once you have made a selection, you can apply various edits or modifications to the selected area. You can adjust colors, apply filters or effects, copy and paste the selection, or perform other editing tasks based on your requirements.
Accessing and using the Marquee Tool in Photoshop opens up a world of possibilities for precise selection and editing. Take the time to familiarize yourself with the different options and experiment with the tool to fully harness its capabilities in your creative endeavors.
Using the Marquee Tool to Create a Rectangular Selection
The Marquee Tool in Adobe Photoshop is incredibly versatile and allows for precise selection of various shapes. One of the most commonly used selections is the rectangular selection, which can be created effortlessly using the Marquee Tool. Follow the steps below to create a rectangular selection in Photoshop:
1. Open an Image: Launch Adobe Photoshop and open the image you want to work with. You can do this by selecting “File” from the menu bar, then choosing “Open” and browsing for the desired image file on your computer.
2. Select the Marquee Tool: Locate the Marquee Tool in the Photoshop toolbar, represented by a rectangular icon. If it is not visible, click and hold on the currently active tool to reveal a fly-out menu. Select the Marquee Tool from the menu to activate it.
3. Configure the Marquee Tool Options: In the options bar at the top of the screen, you can customize the settings for the Marquee Tool. Ensure that the “Rectangular Marquee” option is selected.
4. Click and Drag to Create the Selection: Position the cursor at one corner of the area you want to select and click. While holding the mouse button, drag the cursor diagonally across the image to the opposite corner, creating a rectangular shape. The area covered by the cursor will be highlighted, indicating the selection you are creating.
5. Adjust the Selection: Once the initial selection is made, you can fine-tune it by clicking and dragging the selection handles. Use these handles to resize or reposition the selection as needed. Hold down the Shift key while dragging to maintain the aspect ratio of the selection.
6. Apply Edits or Effects: With the rectangular selection in place, you can now perform various edits or apply effects exclusively to the selected area. This could include cropping the image, adjusting brightness or contrast, removing blemishes, or any other enhancements you want to make.
Creating a rectangular selection with the Marquee Tool is a fundamental skill in Photoshop. Practice creating and refining selections of different sizes to gain confidence in using this tool. With precise selections, you can achieve greater accuracy and control when editing your images.
Using the Marquee Tool to Create a Circular Selection
The Marquee Tool in Adobe Photoshop is not limited to creating rectangular selections. It also allows you to create circular or elliptical selections with ease. The circular selection is particularly useful when you want to highlight or manipulate round objects in your image. Follow the steps below to create a circular selection using the Marquee Tool:
1. Open an Image: Launch Adobe Photoshop and open the image you want to work with. If you don’t have an image open, you can go to “File” > “Open” and navigate to the desired image file on your computer.
2. Select the Marquee Tool: Locate the Marquee Tool in the Photoshop toolbar, represented by a rectangular icon. If it is not visible, click and hold on the currently active tool to reveal a fly-out menu. From the menu, select the Marquee Tool to activate it.
3. Configure the Marquee Tool Options: In the options bar at the top of the screen, ensure that the “Elliptical Marquee” option is selected. This will enable you to create circular or elliptical selections.
4. Click and Drag to Create the Selection: Position the cursor at the desired center point of the circular selection. Click and hold the mouse button, then drag the cursor outward to define the size of the circle. As you drag, the circular shape will expand. Release the mouse button once you are satisfied with the size of the selection.
5. Adjust the Selection: Once the circular selection is created, you can make adjustments to its size and position. To resize the circular selection, click and drag any of the selection handles located along the edge of the circle. Hold down the Shift key while dragging to maintain the proportions of the selection. To reposition the selection, click and drag anywhere inside the circle.
6. Apply Edits or Effects: With the circular selection in place, you can perform various edits or apply effects exclusively to the selected area. This could include adjusting the color, applying filters, adding texture, or any other enhancements you want to make to the circular region.
By utilizing the Marquee Tool’s elliptical option, you can easily create precise circular selections in Photoshop. This allows you to isolate specific objects or features within your image and make targeted edits or enhancements. Practice using the Marquee Tool to create circular selections, and unlock new creative possibilities in your image editing endeavors.
Creating a Fixed Ratio or Fixed Size Selection
The Marquee Tool in Adobe Photoshop offers the flexibility to create selections with fixed ratios or fixed sizes. This functionality allows you to maintain specific aspect ratios or dimensions when making selections, ensuring consistency across multiple images. Follow the steps below to create a fixed ratio or fixed size selection using the Marquee Tool:
1. Open an Image: Launch Adobe Photoshop and open the image you want to work with. You can do this by selecting “File” from the menu bar, then choosing “Open” and browsing for the desired image file on your computer.
2. Select the Marquee Tool: Locate the Marquee Tool in the Photoshop toolbar, represented by a rectangular icon. If it is not visible, click and hold on the currently active tool to reveal a fly-out menu. Select the Marquee Tool from the menu to activate it.
3. Configure the Marquee Tool Options: In the options bar at the top of the screen, choose either the “Fixed Ratio” or “Fixed Size” option, depending on your specific needs.
4. Set the Aspect Ratio or Size: If you chose the “Fixed Ratio” option, enter the desired aspect ratio (e.g., 1:1 for a square) in the aspect ratio fields present in the options bar. If you selected the “Fixed Size” option, specify the desired width and height for the selection.
5. Click and Drag to Create the Selection: Position the cursor at the starting point of the desired selection area. Click and hold the mouse button, then drag the cursor to define the size and shape of the selection, adhering to the fixed ratio or size specified.
6. Adjust the Selection: Once the initial fixed ratio or fixed size selection is made, you can fine-tune it by clicking and dragging the selection handles. Use these handles to resize or reposition the selection as needed.
7. Apply Edits or Effects: With the fixed ratio or fixed size selection in place, you can now perform various edits or apply effects exclusively to the selected area. This could include cropping the image, resizing the selected portion, or any other enhancements you want to make.
By utilizing the fixed ratio or fixed size options in the Marquee Tool, you can create selections that adhere to specific aspect ratios or dimensions. This is particularly useful when working on design projects, where consistency and uniformity are desired. Experiment with different aspect ratios or sizes to achieve your desired results and maintain visual harmony in your work.
Feathering the Selection with the Marquee Tool
Feathering the selection is a technique in Adobe Photoshop that creates a smooth transition between the selected and unselected areas, resulting in a more natural and seamless blending effect. The Marquee Tool offers the option to feather the selection, allowing you to achieve soft edges and subtle fade-outs. Here’s how you can feather the selection using the Marquee Tool:
1. Open an Image: Launch Adobe Photoshop and open the image you want to work with. If you don’t have an image open, go to “File” > “Open” and navigate to the desired image file on your computer.
2. Select the Marquee Tool: Locate the Marquee Tool in the Photoshop toolbar, represented by a rectangular icon. If it is not visible, click and hold on the currently active tool to reveal a fly-out menu. From the menu, select the Marquee Tool to activate it.
3. Create a Selection: Use the Marquee Tool to create the desired selection by clicking and dragging over the area you want to select. You can create rectangular, circular, or any other type of selection using the Marquee Tool.
4. Configure the Feather Option: In the options bar at the top of the screen, you will find the feather option. Enter a value in pixels for the amount of feathering you want to apply to the selection. A higher value will result in a more gradual fade-out effect.
5. Apply Feathering to the Selection: After setting the feather value, press Enter or return to apply the feathering effect to the selection. The edges of the selection will now appear smoother and more blended with the background.
6. Apply Edits or Effects: With the feathered selection in place, you can proceed to apply various adjustments, edits, or effects to the selected area. The feathering effect will help create a more natural transition between the modified and unmodified parts of the image.
Feathering the selection using the Marquee Tool is a powerful technique that can greatly enhance your image editing results. It allows for seamless blends, smoother transitions, and a more professional finish. Experiment with different feather values to achieve the desired effect and bring a professional touch to your Photoshop projects.
Adding to or Subtracting from an Existing Selection
When working with selections in Adobe Photoshop, there may be instances where you need to make adjustments or refine an existing selection. The Marquee Tool provides options to add to or subtract from an existing selection, giving you precise control over the areas you want to include or exclude. Here’s how you can add to or subtract from an existing selection using the Marquee Tool:
1. Open an Image: Launch Adobe Photoshop and open the image you want to work with. If you don’t have an image open, go to “File” > “Open” and navigate to the desired image file on your computer.
2. Select the Marquee Tool: Locate the Marquee Tool in the Photoshop toolbar, represented by a rectangular icon. If it is not visible, click and hold on the currently active tool to reveal a fly-out menu. From the menu, select the Marquee Tool to activate it.
3. Create an Initial Selection: Use the Marquee Tool to create an initial selection by clicking and dragging over the desired area. This can be a rectangular, circular, or any other type of selection you want to start with.
4. Add to the Selection: To add to the existing selection, hold down the Shift key on your keyboard. With the Shift key held down, use the Marquee Tool to click and drag over the additional areas you want to include in the selection. These areas will be added to the existing selection.
5. Subtract from the Selection: To subtract from the existing selection, hold down the Alt/Option key on your keyboard. With the Alt/Option key held down, use the Marquee Tool to click and drag over the areas you want to remove from the selection. These areas will be subtracted from the existing selection.
6. Refine the Selection: After adding or subtracting from the selection, you can refine it further by resizing or repositioning the selection using the selection handles. This will help ensure that the selection accurately encompasses the desired areas.
7. Apply Edits or Effects: With the selection finalized, you can now apply various edits, adjustments, or effects to the selected area. The added or subtracted portions of the selection give you precise control over where these modifications will be applied.
Adding to or subtracting from an existing selection using the Marquee Tool provides you with the flexibility to fine-tune your selections and achieve the desired level of precision in your image editing. Practice using these selection techniques to efficiently isolate specific areas and make targeted edits in Adobe Photoshop.
Transforming and Moving the Marquee Selection
Once you have created a selection using the Marquee Tool in Adobe Photoshop, you may find the need to transform or move the selection to better fit your desired composition. The Marquee Tool allows for easy transformation and movement of selections, giving you the flexibility and control over the selected area. Here’s how you can transform and move the Marquee selection:
1. Open an Image: Launch Adobe Photoshop and open the image you want to work with. If you don’t have an image open, go to “File” > “Open” and navigate to the desired image file on your computer.
2. Select the Marquee Tool: Locate the Marquee Tool in the Photoshop toolbar, represented by a rectangular icon. If it is not visible, click and hold on the currently active tool to reveal a fly-out menu. From the menu, select the Marquee Tool to activate it.
3. Create a Selection: Use the Marquee Tool to create the initial selection by clicking and dragging over the desired area. This can be a rectangular, circular, or any other type of selection you want to start with.
4. Transform the Selection: To transform the selection, go to “Edit” > “Transform” from the menu. From the submenu, select the transformation option you require, such as scale, rotate, skew, or distort. Click and drag the transformation handles to adjust the selection according to your needs. Press Enter or return to apply the transformation.
5. Move the Selection: To move the selection, simply click and drag inside the selection area. This allows you to reposition the selection to a different location within the image. Release the mouse button when you have placed the selection in the desired position.
6. Fine-Tune the Selection: After transforming or moving the selection, you may need to fine-tune its size or position. You can do this by clicking and dragging the selection handles located along the edges of the selection. Use the handles to resize or reshape the selection as needed.
7. Apply Edits or Effects: With the transformed or moved selection in place, you can now apply various edits, adjustments, or effects to the selected area. This enables you to precisely target and modify specific parts of the image.
The ability to transform and move the Marquee selection gives you the freedom to adjust and position the selected area exactly as you envision. This flexibility allows for precise control over the composition of your image, ensuring your edits and enhancements are applied in the right places and create a harmonious result.
Copying and Pasting the Marquee Selection
Copying and pasting a Marquee selection in Adobe Photoshop allows you to duplicate specific areas of an image and use them in different locations or in separate layers. This feature is handy when you want to create repetitive patterns, composite images, or make precise adjustments in various parts of the image. Here’s how you can copy and paste a Marquee selection:
1. Open an Image: Launch Adobe Photoshop and open the image you want to work with. If you don’t have an image open, go to “File” > “Open” and navigate to the desired image file on your computer.
2. Select the Marquee Tool: Locate the Marquee Tool in the Photoshop toolbar, represented by a rectangular icon. If it is not visible, click and hold on the currently active tool to reveal a fly-out menu. From the menu, select the Marquee Tool to activate it.
3. Create a Selection: Use the Marquee Tool to create the desired selection by clicking and dragging over the area you want to copy. This can be a rectangular, circular, or any other type of selection you require.
4. Copy the Selection: Once the selection is made, go to “Edit” > “Copy” from the menu, or simply use the keyboard shortcut Ctrl+C (Windows) or Cmd+C (Mac) to copy the selection to the clipboard.
5. Paste the Selection: To paste the copied selection, go to “Edit” > “Paste” from the menu, or use the keyboard shortcut Ctrl+V (Windows) or Cmd+V (Mac). The selection will be pasted as a new layer on top of the current image.
6. Adjust and Position the Pasted Selection: After pasting the selection, you can resize, transform, or move it as needed. Use the transformation handles and click and drag inside the selection to achieve the desired adjustments and positioning.
7. Apply Edits or Effects: With the pasted selection in place, you can now apply various edits, adjustments, or effects to the selected portion. This allows you to make specific modifications on the pasted content without affecting the rest of the image.
Copying and pasting a Marquee selection gives you the ability to duplicate and utilize specific portions of an image, providing greater flexibility and control over your editing process. Experiment with this feature to create unique compositions, composite images, or achieve consistent adjustments across different parts of your artwork.
Deleting or Clearing the Marquee Selection
Deleting or clearing a Marquee selection in Adobe Photoshop allows you to remove the selected area from the image or reset the selection, giving you a clean canvas to work with. This feature is particularly useful when you want to start fresh or remove unwanted portions of the image. Here’s how you can delete or clear the Marquee selection:
1. Open an Image: Launch Adobe Photoshop and open the image you want to work with. If you don’t have an image open, go to “File” > “Open” and navigate to the desired image file on your computer.
2. Select the Marquee Tool: Locate the Marquee Tool in the Photoshop toolbar, represented by a rectangular icon. If it is not visible, click and hold on the currently active tool to reveal a fly-out menu. From the menu, select the Marquee Tool to activate it.
3. Create a Selection: Use the Marquee Tool to create the desired selection by clicking and dragging over the area you want to delete or clear. This can be a rectangular, circular, or any other type of selection you require.
4. Delete or Clear the Selection: To delete or clear the selection, go to “Edit” > “Clear” from the menu, or use the keyboard shortcut Del (Windows) or Backspace (Mac). This will remove the selected area, leaving a transparent background or the underlying image visible.
5. Reset the Selection: If you want to reset the selection entirely without deleting any part of the image, go to “Select” > “Deselect” from the menu, or use the keyboard shortcut Ctrl+D (Windows) or Cmd+D (Mac). This will remove the selection outline and deselect the area.
6. Continue Editing: After deleting or clearing the Marquee selection, you can proceed to apply further edits or adjustments to the image. With the unwanted or cleared area removed, you have a fresh canvas to work with, allowing you to focus on the desired elements of the image.
Deleting or clearing a Marquee selection provides you with the ability to remove unwanted or unnecessary portions of an image, enabling you to refine your composition and achieve the desired visual impact. Practice using this feature to tidy up your image and create clean and purposeful visuals in Adobe Photoshop.
Using the Marquee Tool with other Photoshop Tools and Features
The Marquee Tool in Adobe Photoshop can be seamlessly integrated with other tools and features to enhance your image editing workflow. By combining the Marquee Tool with various Photoshop functionalities, you can achieve more complex and precise selections, make intricate adjustments, and unleash your creativity. Here are some ways to use the Marquee Tool with other Photoshop tools and features:
1. Layer Masks: Layer masks allow you to control the visibility of different parts of a layer. By using the Marquee Tool to create selections and applying layer masks, you can non-destructively conceal or reveal specific areas of a layer, offering great flexibility and control over your edits.
2. Adjustment Layers: Adjustment layers in Photoshop enable you to apply various adjustments selectively to specific areas of an image. You can use the Marquee Tool to create selections and apply adjustment layers only to those selected regions, allowing for targeted and localized modifications.
3. Filters and Effects: Photoshop offers a wide range of filters and effects that can enhance your images. By using the Marquee Tool to isolate specific areas, you can apply these filters and effects precisely where you want them, creating artistic and eye-catching visuals.
4. Clone Stamp Tool: The Clone Stamp Tool allows you to duplicate or clone pixels from one part of an image to another. By combining the Marquee Tool with the Clone Stamp Tool, you can select a portion of an image and clone it to a different area, giving you greater control over duplicating elements or removing unwanted objects.
5. Content-Aware Fill: Content-Aware Fill is a powerful feature in Photoshop that automatically fills in selected areas with generated content. By using the Marquee Tool to select an area, you can utilize Content-Aware Fill to intelligently replace the selected region with visually matching content, providing seamless edits and retouching.
6. Transformation Tools: Photoshop offers various transformation tools, such as Scale, Rotate, Skew, and Perspective. By combining the Marquee Tool with these transformation tools, you can precisely reshape, resize, or reposition specific areas of an image, allowing for more precise edits and adjustments.
By integrating the Marquee Tool with other Photoshop tools and features, you can unlock a whole new level of creative possibilities. Experiment with different combinations to achieve unique effects, make intricate adjustments, and create stunning visuals that bring your artistic vision to life.
Tips and Tricks for Using the Marquee Tool
The Marquee Tool in Adobe Photoshop is a versatile selection tool that can greatly enhance your image editing workflow. To make the most out of this powerful tool, consider the following tips and tricks:
1. Combine Selection Types: The Marquee Tool offers various selection types, such as rectangular, elliptical, single row/column, fixed ratio, and custom shape. Don’t limit yourself to one type—experiment with combining different selection types to create unique and complex selections that suit your editing needs.
2. Utilize Keyboard Shortcuts: Photoshop provides keyboard shortcuts to streamline your workflow. Learn and utilize keyboard shortcuts for actions like selecting the Marquee Tool (M), duplicating selections (Ctrl+J or Cmd+J), or deselecting selections (Ctrl+D or Cmd+D). This will save you time and boost your productivity.
3. Use Guides and Grids: Guides and grids are invaluable tools for aligning and positioning selections accurately. Enable the grid (View > Show > Grid) or create guides (View > New Guide) to assist you in creating precise selections and maintaining symmetry in your composition.
4. Adjust Feathering: Feathering the selection helps create smooth transitions between selected and unselected areas. Experiment with different feather values to achieve the desired effect. Remember that higher feather values result in softer, more diffuse edges, while lower values provide crisper edges.
5. Combine with Quick Mask Mode: Quick Mask Mode is a powerful feature in Photoshop that enables you to create selections using painting tools. Activate Quick Mask Mode by pressing Q or by clicking the Quick Mask Mode button in the toolbar. Combining the Marquee Tool with Quick Mask Mode allows for more precise and detailed selections.
6. Refine Edges: When making intricate selections, utilize the Refine Edge feature (Select > Refine Edge) to improve the selection’s accuracy and smoothness. This feature provides advanced options for refining the selection’s edges, including adjusting edge detection, feathering, and adding a mask or converting it to a new layer.
7. Experiment with Selection Options: In the options bar, you’ll find additional selection options like anti-aliasing, fixed size style, and subtract from selection. Explore these options to customize your selections and achieve the desired results for your image editing projects.
8. Save and Load Selections: If you need to reuse a selection in different Photoshop sessions, save it for later use. Use the Select > Save Selection option to store selections as alpha channels, which can be loaded and applied to other images or projects.
By incorporating these tips and tricks into your workflow, you can maximize the potential of the Marquee Tool and achieve precise and professional-quality selections in Adobe Photoshop. Practice and experiment to develop your own techniques and workflows that suit your specific editing preferences and projects.