
Why Write Zeros to a Hard Drive?
When it comes to disposing of or reusing a hard drive, it’s important to ensure that your sensitive data is completely erased. Simply deleting files or formatting the drive may not be enough to prevent data recovery, as there are specialized tools that can recover deleted or formatted data. This is where the “Format” command with the option to write zeros to the drive comes in handy.
Writing zeros to a hard drive, also known as zero-filling or zeroing out, involves overwriting all the data on the drive with zeros. This process not only helps in permanently removing your confidential information but also serves as a great way to prepare a hard drive for a fresh installation of an operating system.
By writing zeros to a hard drive, you eliminate the chances of any residual data being recovered. This is especially crucial if you are planning to sell or donate the drive, as it safeguards your personal information from falling into the wrong hands. Additionally, zero-filling a hard drive can also optimize its performance by resolving any potential disk errors or bad sectors.
Moreover, some computer forensics experts recommend writing zeros to a hard drive multiple times to ensure complete data eradication. While a single zero-fill pass is generally considered sufficient for most individuals, multiple passes add an extra layer of security against sophisticated data recovery techniques.
By following the steps outlined in this guide, you can effectively use the Format command to write zeros to a hard drive and achieve peace of mind knowing that your confidential data is beyond recovery.
Understanding the Format Command
The Format command is a built-in utility in operating systems like Windows that allows you to create a new file system on a storage device, such as a hard drive or a USB flash drive. It provides an easy way to erase existing data, partition the drive, and prepare it for use.
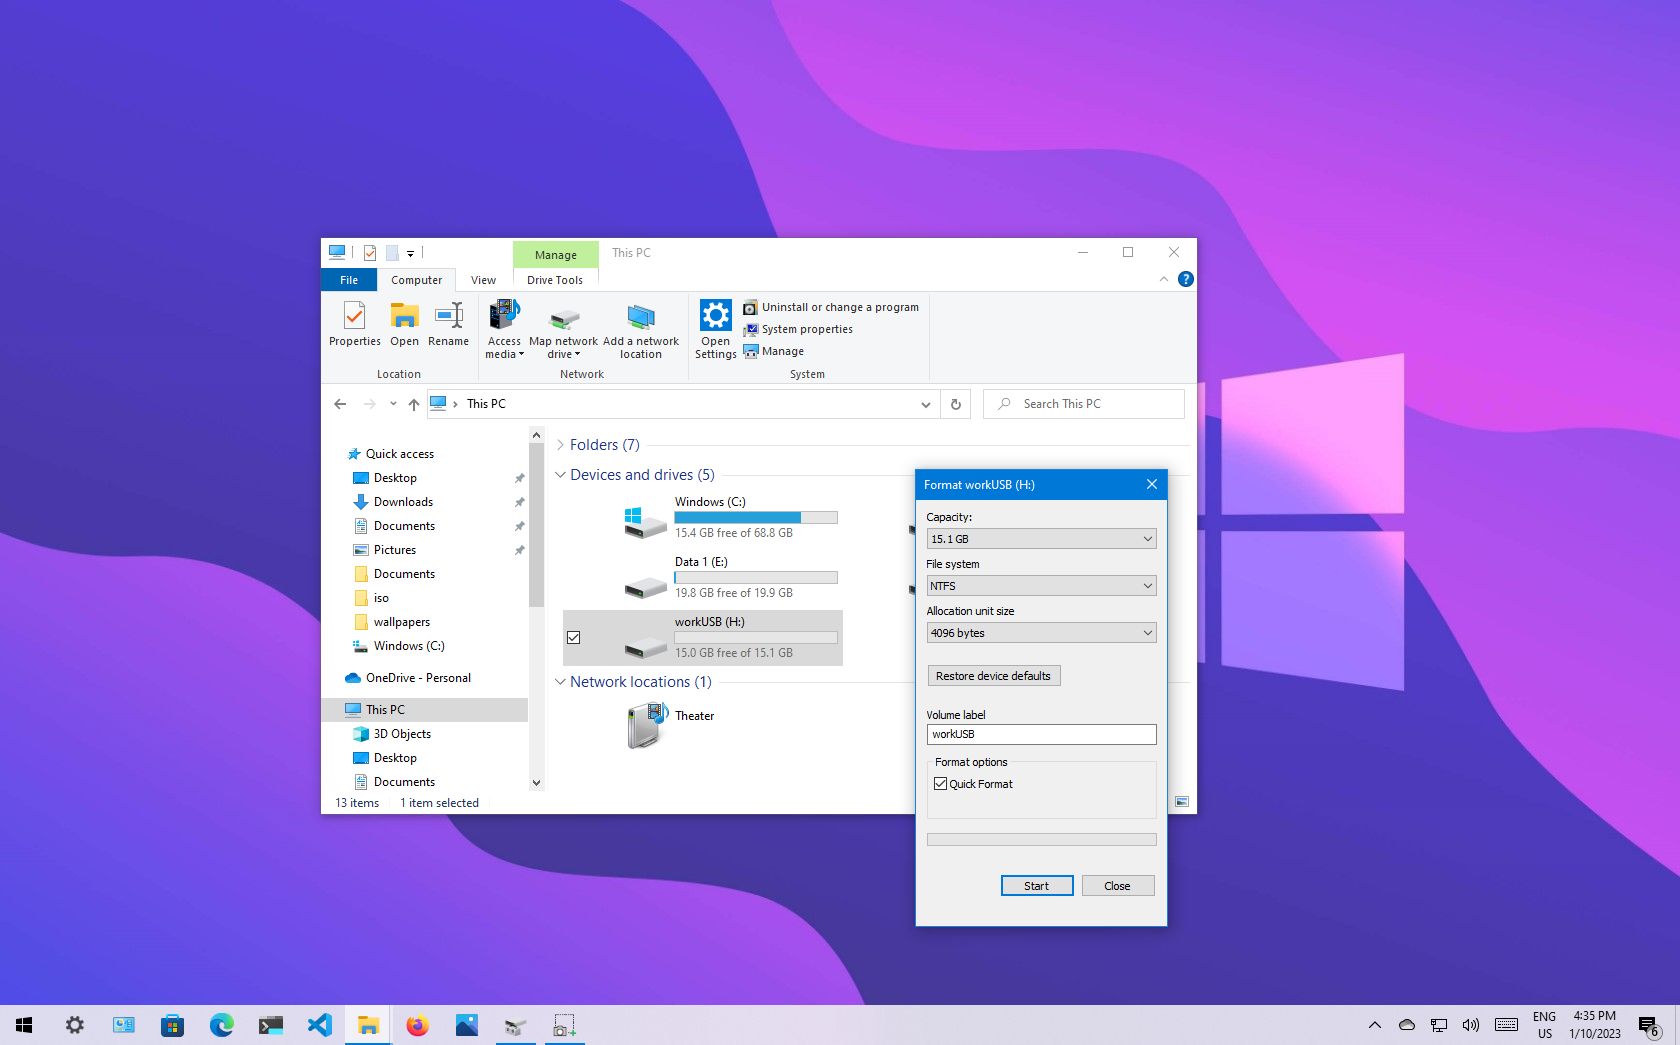
When using the Format command, you have the option to specify the file system to be used, such as FAT32 or NTFS. You can also choose whether to perform a quick format or a full format. However, if you’re looking to write zeros to the hard drive, you’ll need to go beyond the quick format option.
Performing a quick format simply removes the file allocation table (FAT), which keeps track of the files and their locations on the drive. This method is faster but does not completely erase the data. On the other hand, a full format not only removes the file system but also scans the entire drive and writes zeros to every sector, effectively wiping out all the data.
It’s essential to note that the Format command is irreversible. Once you initiate the format process, all the data on the drive will be permanently deleted. Therefore, it’s crucial to ensure that you have a backup of any important files or documents before proceeding with the format.
Furthermore, it’s worth mentioning that the Format command may not be available for all storage devices. In some cases, the option to format may be disabled for system drives or drives with active partitions. If you encounter any limitations or errors while attempting to format a drive, it’s advisable to consult your operating system’s documentation or seek assistance from a professional.
Now that you have a better understanding of the Format command and its implications, let’s move on to the step-by-step process of using the command to write zeros to a hard drive and ensure complete data erasure.
Step 1: Opening Command Prompt
To begin the process of writing zeros to a hard drive using the Format command, you first need to open the Command Prompt on your computer. Command Prompt is a command-line interpreter in Windows that allows you to execute various commands and perform system tasks.
There are several ways to open Command Prompt, depending on your operating system version:
- Windows 10: Press the Windows key + X to open the Power User menu, then select “Command Prompt” or “Command Prompt (Admin)”.
- Windows 8/8.1: Press the Windows key + X and choose “Command Prompt” or “Command Prompt (Admin)” from the menu.
- Windows 7/Vista: Go to the Start menu and type “Command Prompt” in the search bar. Click on the Command Prompt program listed in the results.
- Windows XP: Go to the Start menu, click on “Run,” then type “cmd” in the Run dialog box and press Enter.
After following one of these methods, the Command Prompt window should open, displaying a black background with white text. Make sure you have administrative privileges or are logged in as an administrator to perform the necessary operations.
Keep the Command Prompt window open for the subsequent steps, as we will be executing the Format command from this window.
Now that you have successfully opened the Command Prompt, you are ready to proceed to the next step, which involves selecting the drive to format.
Step 2: Choosing the Drive to Format
Once you have the Command Prompt open, the next step is to select the specific hard drive that you want to format and write zeros to. It’s crucial to identify the correct drive to avoid accidentally formatting the wrong one and losing important data.
To determine the drive letter assigned to the target hard drive, you can use the Disk Management tool, which provides a visual representation of all the drives connected to your computer. Here’s how you can access Disk Management:
- Type “Disk Management” in the search bar on the taskbar, then select “Create and format hard disk partitions” from the search results.
- Alternatively, you can go to the Control Panel, click on “Administrative Tools,” and then select “Computer Management.” In the Computer Management window, click on “Disk Management” under the “Storage” category.
In Disk Management, you will see a list of all the drives connected to your computer. Locate the drive that you want to format and take note of its corresponding drive letter (e.g., C:, D:, E:).
Now, return to the Command Prompt window and enter the following command:
format [drive letter]: /fs:ntfs
Replace “[drive letter]” with the actual drive letter of the target hard drive. For example, if you want to format drive D:, your command would be:
format D: /fs:ntfs
The “/fs:ntfs” option specifies the file system to be used. In this case, NTFS is recommended as it offers better performance and security features compared to older file systems like FAT32.
Once you have entered the command, press Enter. A warning message will appear, informing you that all existing data on the drive will be lost. Verify that you have selected the correct drive and type “Y” to confirm the formatting process.
With the drive selected for formatting, you can move on to the next step, which involves choosing the format type.
Step 3: Choosing the Format Type
After selecting the drive to format in the previous step, it’s time to decide on the format type. The format type determines the organization and structure of the new file system that will be created on the hard drive. Common format types include FAT32 and NTFS.
To determine the most suitable format type, consider the following:
- FAT32: This format type is compatible with various operating systems, including older versions of Windows, macOS, and Linux. It has a maximum file size limit of 4GB and a maximum partition size limit of 32GB. If you plan to use the drive with devices that don’t support NTFS, such as game consoles or media players, FAT32 may be the better option.
- NTFS: NTFS is the default and recommended format type for modern Windows operating systems. It provides improved security and performance features compared to FAT32. NTFS has no practical file size limit and supports larger partition sizes. If you primarily use the drive with Windows-based devices and don’t require compatibility with older systems, NTFS is the preferred choice.
To format the drive with the desired format type, return to the Command Prompt window and enter the previously used Format command with the “/fs” option and the appropriate value:
format [drive letter]: /fs:[format type]
Replace “[drive letter]” with the actual drive letter of the target hard drive and “[format type]” with either “FAT32” or “NTFS”. For example, to format drive D: with NTFS, your command would be:
format D: /fs:ntfs
After entering the command, press Enter to initiate the format process. The Command Prompt will display the formatting progress, which may take a while depending on the size of the drive.
Once the format is complete, you can proceed to the next step, where we will discuss writing zeros to the hard drive.
Step 4: Writing Zeros to the Drive
Now that you have chosen the format type for the drive, the next step is to write zeros to the hard drive. This process involves overwriting all the existing data on the drive with zeros to ensure complete data erasure.
In the Command Prompt window, you can modify the format command to include the “/p” parameter, followed by the number of passes you want to perform to write zeros.
format [drive letter]: /p:[number of passes]
Replace “[drive letter]” with the actual drive letter of the target hard drive and “[number of passes]” with the desired number of passes. For example, if you want to perform a single zero-fill pass on drive D:, your command would be:
format D: /p:1
Keep in mind that the more passes you specify, the longer it will take to complete the process. While a single pass is generally sufficient for most individuals, multiple passes can provide an added layer of security against advanced data recovery techniques.
After entering the command, press Enter to initiate the zero-filling process. The Command Prompt will display the progress for each pass being performed. Once the process completes, you will be prompted to confirm the operation.
Note that the writing zeros process is irreversible and will permanently erase all data on the drive. Make sure you have backed up any important files or documents before proceeding.
With the zeros written to the drive, you can proceed to the next step, where we will discuss confirming the operation.
Step 5: Confirming the Operation
After writing zeros to the hard drive, it’s essential to confirm the success of the operation before proceeding further. This step ensures that the drive has been effectively zero-filled and that the data is irretrievable.
Once the zero-filling process is complete, the Command Prompt will display a message indicating that the operation was successful. However, this message alone does not guarantee that the zeros were written to every sector of the drive.
To verify the effectiveness of the zero-filling process, you can use specialized disk-wiping software or data recovery tools. These tools can perform a scan of the hard drive to determine if any residual data remains. If the scan reveals no trace of the previous data, then you can be confident that the zeros have been successfully written to the drive.
There are several reputable disk-wiping software programs available that offer advanced data erasure features. These programs can provide a more thorough and comprehensive assessment of the zero-filling process, ensuring the complete eradication of data.
It’s important to note that verifying the success of the zero-filling process is optional, but recommended if you are dealing with sensitive data or have specific requirements for data eradication.
With the confirmation of the operation, you can proceed to the next step, where we will discuss waiting for the process to finish.
Step 6: Waiting for the Process to Finish
After confirming the operation, it’s essential to allow sufficient time for the zero-filling process to complete. The duration of this process depends on several factors, including the size of the hard drive, the speed of the computer, and the number of passes specified.
During this step, it’s crucial to avoid interrupting the process or turning off the computer, as this may result in incomplete data erasure and potential damage to the hard drive.
The Command Prompt window will display the progress of the format and zero-filling process. You can monitor the status to get an estimate of the time remaining. However, it’s important to remember that the progress may not always be displayed accurately, as the time remaining may vary depending on the internal operations of the computer.
It’s advisable to allocate an ample amount of time for the complete process, especially if you have specified multiple passes for writing zeros. This ensures that all sectors of the hard drive are thoroughly zero-filled, providing a higher level of data eradication.
While waiting for the process to finish, you can engage in other activities or tasks on your computer. However, it’s recommended to avoid any disk-intensive operations, such as copying or moving large files, to prevent potential conflicts or slowdowns in the zero-filling process.
Once the zero-filling process has been successfully completed, you can proceed to the next step, where we will discuss verifying the zeros written to the hard drive.
Step 7: Verifying the Zeros are Written
After the zero-filling process is complete, it’s important to verify that the zeros have been successfully written to the hard drive. This step ensures that the data eradication was effective and that any previous information is irrecoverable.
There are a few methods you can use to verify the presence of zeros on the hard drive:
- File Recovery Software: Use data recovery software to scan the drive and check if any previous files or data can be recovered. If the software does not detect any recoverable data, it indicates that the zero-filling process was successful.
- Binary File Inspection: Inspect the binary content of random files on the hard drive using a text editor or hex editor. If the majority of the file consists of zeros, it indicates that the zero-filling process was successful.
- Data Comparison: If you have a backup of the previous data, compare the backed-up files with the current state of the hard drive. If the files on the hard drive contain only zeros or are significantly different from the backed-up files, it indicates that the zero-filling process was successful.
By utilizing one or more of these methods, you can verify that the zeros have been written to the hard drive and that any previous data is effectively erased. This provides peace of mind knowing that your confidential information cannot be recovered.
If the verification process confirms the successful zero-filling, you can proceed to the final step, where we will discuss the options for reusing or disposing of the hard drive.
Step 8: Reusing or Disposing of the Drive
After completing the zero-filling process and ensuring the effective erasure of data, you can now make a decision on how to proceed with the hard drive. Depending on your requirements and circumstances, you have options for reusing or disposing of the drive.
If you plan to reuse the hard drive, you can proceed with setting up a new file system and installing an operating system. Ensure that you follow the necessary steps to create partitions, format the drive with the desired file system, and install the operating system of your choice.
Before reused, it is important to thoroughly test the hard drive for any potential errors or issues. You can use diagnostic tools provided by the manufacturer or third-party software to perform a comprehensive check and ensure the drive’s reliability.
However, if you no longer need the hard drive or it is damaged beyond repair, it’s important to dispose of it properly. Improper disposal can lead to environmental contamination and potential security risks if sensitive data is still recoverable.
To dispose of the hard drive securely, you have a few options:
- Professional Data Destruction: Engage the services of a professional data destruction company that specializes in securely erasing data from storage devices. They will ensure that the hard drive is physically destroyed or undergoes secure data erasure, rendering the data unrecoverable.
- Manufacturer Recycling Programs: Some hard drive manufacturers offer recycling or disposal programs for their products. Check the manufacturer’s website or contact their support to inquire about any available programs and follow their instructions for safe disposal.
- Electronic Waste Recycling Facilities: Locate a reputable electronic waste recycling facility in your area where you can drop off the hard drive. These facilities have processes in place to handle the proper disposal and recycling of electronic devices, including hard drives.
By following the appropriate steps for reusing or disposing of the hard drive, you can ensure that your data is secure and that you are making an environmentally responsible choice.
Congratulations! You have now successfully completed the process of writing zeros to a hard drive and have the knowledge to make an informed decision regarding its reuse or disposal.