
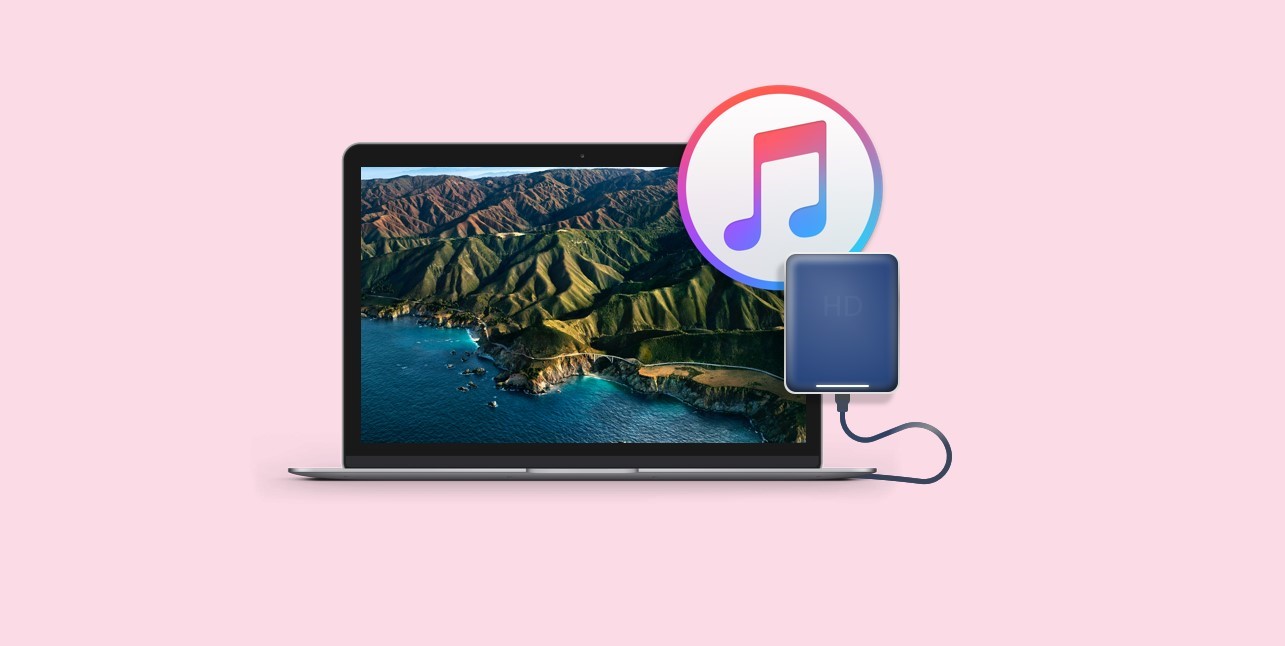
Overview
Do you have a large iTunes library that is eating up valuable space on your computer’s hard drive? Don’t worry, there’s a solution. By transferring your iTunes library to an external hard drive, you can free up space on your computer and still enjoy all your favorite music, movies, and podcasts.
In this guide, we will walk you through the steps to effectively use iTunes on an external hard drive. Whether you’re running out of storage or simply want to keep your media library organized, this process will help you seamlessly access your iTunes content without compromising on performance or convenience.
Before we dive into the steps, it’s important to ensure that you have a compatible external hard drive. Make sure it has enough storage capacity to accommodate your entire iTunes library, as well as a USB or Thunderbolt connection to connect it to your computer. Once you have all the necessary hardware, you can follow the steps outlined below to get started.
Please note that the specific steps might vary slightly depending on your operating system (Windows or macOS) and the version of iTunes you’re using. However, the general principles remain the same.
Now, let’s get started and learn how to use iTunes on an external hard drive.
Step 1: Preparing Your External Hard Drive
The first step in using iTunes on an external hard drive is to prepare the hard drive itself. Start by connecting the external hard drive to your computer using the appropriate cable. Once connected, make sure that the hard drive is recognized by your computer.
If the external hard drive is new or empty, you will need to format it to be compatible with your computer. Please note that formatting will erase all existing data on the hard drive, so make sure to back up any important files before proceeding. To format the external hard drive, simply right-click on its icon in your computer’s file explorer or desktop, select “Format,” and follow the on-screen instructions.
On the other hand, if the external hard drive already contains data, you can either create a separate partition for your iTunes library or use the existing partition, depending on your preference. Creating a separate partition allows you to keep your iTunes library separate from other data on the drive, which can streamline organization and improve performance.
Once the formatting is complete, give your external hard drive a recognizable name. This will make it easier for you to identify it when configuring iTunes settings. Right-click on the hard drive’s icon and select “Rename.” Choose a name that is descriptive and easy to remember.
After preparing your external hard drive, you are ready to proceed with the next steps in using iTunes on your newly formatted device. In the upcoming steps, we will guide you through the process of creating an iTunes media folder, changing iTunes settings, and transferring your library to the external hard drive.
Step 2: Creating an iTunes Media Folder
Now that your external hard drive is prepared, the next step is to create an iTunes media folder where your music, movies, and other media files will be stored. This will ensure that all your iTunes content is stored directly on the external hard drive and not on your computer’s internal storage.
To create an iTunes media folder, open iTunes on your computer and go to “Preferences.” On macOS, you can find it in the iTunes menu. On Windows, go to “Edit” and then select “Preferences.” Once in the Preferences menu, click on the “Advanced” tab.
In the Advanced tab, you will see an option to change the iTunes media folder location. Click on the “Change” button next to it. A window will appear, allowing you to browse and select the destination folder on your external hard drive.
Select the folder on your external hard drive where you want to store your iTunes media. It’s recommended to create a new folder specifically for your iTunes library to keep it organized. Name the folder something like “iTunes Media” or “Music Library” to easily identify it later.
After choosing the folder, click on the “Choose” or “Open” button to confirm the selection. iTunes will then create the media folder on your external hard drive and set it as the default location for storing your media files.
Keep in mind that once you have set the iTunes media folder to your external hard drive, all new content, including music, movies, and TV shows, will be downloaded and stored directly in this location. This will effectively free up space on your computer’s internal storage.
Now that you have created an iTunes media folder on your external hard drive, you are ready to move on to the next step: changing iTunes settings to ensure that new content is automatically saved in this location.
Step 3: Changing iTunes Settings
After creating an iTunes media folder on your external hard drive, the next step is to change the iTunes settings to ensure that new content is automatically saved in the designated folder.
To access the iTunes settings, open iTunes on your computer and go to “Preferences.” On macOS, you can find it in the iTunes menu. On Windows, go to “Edit” and then select “Preferences.” Once in the Preferences menu, click on the “Advanced” tab.
In the Advanced tab, you will see an option called “Copy files to iTunes Media folder when adding to library.” Make sure this option is checked. This setting ensures that any new media files you add to iTunes are automatically copied and saved in the iTunes media folder on your external hard drive.
Additionally, you can choose whether you want iTunes to organize your media files within the folder. If you enable this option, iTunes will create separate folders for each type of media (e.g., Music, Movies, TV Shows) within the iTunes media folder. This can help keep your library organized and easily accessible.
After making the desired changes in the iTunes settings, click on the “OK” or “Apply” button to save the changes. iTunes will now automatically save new media files in the designated media folder on your external hard drive.
It’s important to note that changing these settings will only affect new content added to iTunes. Existing media files in your iTunes library will remain in their current locations on your computer unless you manually move them to the new iTunes media folder.
With the iTunes settings updated, you have successfully configured iTunes to save all new content in the designated media folder on your external hard drive. The next step is to consolidate your iTunes library and ensure that all media files are stored in a single location.
Step 4: Consolidating Your iTunes Library
Now that you have set up the iTunes media folder on your external hard drive and adjusted the necessary settings, it’s time to consolidate your iTunes library to ensure that all your media files are stored in a single location.
Consolidating your iTunes library will make sure that all the media files you have imported into iTunes are copied and organized within the iTunes media folder on your external hard drive, rather than scattered across different locations on your computer.
To consolidate your iTunes library, open iTunes on your computer and go to the “File” menu. From the drop-down menu, select “Library” and then choose “Organize Library.”
A pop-up window will appear with the option to “Consolidate files.” Make sure this option is checked and click on the “OK” button. iTunes will then begin the process of copying and organizing your media files into the designated iTunes media folder on your external hard drive.
Depending on the size of your iTunes library, this process may take some time. It’s important to keep your computer connected to the external hard drive throughout the consolidation process to ensure that all files are properly moved to the designated location.
Once the consolidation process is complete, you can verify that your iTunes library has been successfully consolidated by exploring the iTunes media folder on your external hard drive. You should see all your media files neatly organized within the appropriate subfolders (e.g., Music, Movies, TV Shows).
By consolidating your iTunes library, you have taken a crucial step in ensuring that all your media files are stored in a single location on your external hard drive. Next, we will guide you through the process of transferring your iTunes library to the external hard drive to fully optimize your storage space and accessibility.
Step 5: Transferring Your iTunes Library to the External Hard Drive
With your iTunes library consolidated and organized within the iTunes media folder on your external hard drive, it’s time to transfer your entire library to the external hard drive to optimize your storage space and ensure easy access to your media files.
To transfer your iTunes library to the external hard drive, follow these steps:
- Close iTunes on your computer.
- Locate the iTunes folder on your computer. For macOS, it is typically found in the Music folder, while in Windows, it is usually located in the Music folder within your user directory.
- Copy the entire iTunes folder and paste it into the desired location on your external hard drive.
Please note that transferring the iTunes folder may take some time, especially if you have a large library with many media files. It’s important to ensure that the external hard drive is connected to your computer throughout the transfer process to avoid any interruptions.
Once the transfer is complete, open iTunes on your computer while holding down the “Option” key (Mac) or the “Shift” key (Windows). A window will appear prompting you to choose the iTunes library location.
Click on the “Choose Library” button and navigate to the iTunes folder on your external hard drive. Select the “iTunes Library.itl” file and click on the “Open” button.
iTunes will then open with your entire library now linked to the iTunes media folder on your external hard drive. All your media files, playlists, and preferences should remain intact and accessible as before.
By transferring your iTunes library to the external hard drive, you have successfully offloaded your media files from your computer’s internal storage and improved your overall storage capacity. The next step is to update the iTunes library location within iTunes itself to ensure seamless access to your media files.
Step 6: Updating iTunes Library Location
After transferring your iTunes library to the external hard drive, it’s important to update the iTunes library location within the software itself. This will ensure that iTunes knows where to find your media files and maintain a seamless connection to your library.
To update the iTunes library location, follow these steps:
- Open iTunes on your computer.
- Go to “Preferences” by clicking on the “iTunes” menu (Mac) or the “Edit” menu (Windows) and selecting “Preferences.”
- In the Preferences window, click on the “Advanced” tab.
- Look for the “iTunes Media folder location” option and click on the “Change” button next to it.
- A window will appear asking you to select the new iTunes media folder location. Browse your external hard drive and select the iTunes media folder that you created earlier.
- Click on the “Choose” or “Open” button to confirm the selection.
By updating the iTunes library location, you are telling iTunes to look for your media files in the new location on your external hard drive instead of the default location on your computer’s internal storage.
After updating the iTunes library location, it’s a good idea to restart iTunes to ensure that the changes take effect. Once you relaunch iTunes, your library will be linked to the external hard drive, and you can start enjoying your favorite music, movies, and other media seamlessly.
It’s worth noting that when adding new media files to your iTunes library, either by downloading purchases or importing them, make sure to do so while your external hard drive is connected to your computer. This will ensure that they are directly saved in the designated iTunes media folder on the external hard drive.
Updating the iTunes library location is a crucial step in ensuring that iTunes recognizes the new location of your media files. By doing so, you have successfully completed the process of configuring iTunes to use your external hard drive as the primary storage location for your media library.
Step 7: Disconnecting and Reconnecting the External Hard DriveNow that you have set up and configured iTunes to use your external hard drive, it’s important to know how to properly disconnect and reconnect the hard drive to your computer to avoid any data loss or corruption.
When disconnecting your external hard drive, follow these steps:
- Close iTunes on your computer to ensure that no files are being accessed or transferred.
- Eject the external hard drive by either right-clicking on its icon and selecting “Eject” (Mac) or using the “Safely Remove Hardware” option (Windows).
- Wait for the confirmation that it is safe to disconnect your external hard drive.
- Disconnect the USB or Thunderbolt cable from your computer.
By following these steps, you can safely remove your external hard drive from your computer without risking any data loss or corruption.
When reconnecting your external hard drive, follow these steps:
- Make sure your computer is turned on and running.
- Connect the USB or Thunderbolt cable from your external hard drive to your computer.
- Wait for your computer to recognize the external hard drive and mount it.
- If prompted, provide any necessary permissions for your computer to access the external hard drive.
Once your external hard drive is connected and recognized by your computer, you can launch iTunes, and it should automatically detect and access your iTunes library on the external hard drive.
It’s important to note that when disconnecting or reconnecting your external hard drive, avoid disconnecting it while iTunes is open or while files are being accessed or transferred. This can cause data corruption or loss.
By correctly disconnecting and reconnecting your external hard drive, you can ensure a smooth and uninterrupted experience when using iTunes on the external storage device.
Now that you know how to safely handle your external hard drive, let’s move on to the final step where we cover common troubleshooting tips and solutions for any issues you may encounter while using iTunes on your external hard drive.
Step 8: Troubleshooting Common Issues
While using iTunes on an external hard drive can provide numerous benefits, you may encounter some common issues that can hinder your experience. In this step, we will discuss potential problems and their solutions to help you troubleshoot and resolve any issues you may face.
Issue 1: iTunes cannot locate your media files
If iTunes is unable to locate your media files after transferring your library to the external hard drive, ensure that the iTunes media folder location is correctly set within the iTunes preferences. Double-check that your external hard drive is properly connected and recognized by your computer.
If you accidentally moved or renamed any files within the iTunes media folder, you may need to manually locate and relink them within iTunes. Right-click on any missing file in iTunes and select “Get Info.” In the Info window, click on the “Locate” or “Find” button and navigate to the correct file on your external hard drive.
Issue 2: Slow performance or freezing
If you experience slow performance or freezing while using iTunes on the external hard drive, ensure that your hard drive has sufficient free space and is not experiencing any technical issues. You may also need to optimize the storage of your computer to improve overall performance.
Check if there are any background processes or applications consuming system resources and close or disable them while using iTunes. Additionally, regularly update both iTunes and the operating system to ensure compatibility and access any performance improvements or bug fixes.
Issue 3: External hard drive disconnects frequently
If your external hard drive frequently disconnects while using iTunes, try connecting it to a different USB or Thunderbolt port on your computer. Faulty ports or cable connections can cause intermittent disconnections.
Also, check the power management settings of your computer and ensure that it is not set to power off or disconnect USB devices after a certain period of inactivity. Adjust the settings to prevent your external hard drive from being abruptly disconnected.
Issue 4: Compatibility issues
In some cases, compatibility issues may arise between iTunes, your operating system, and your external hard drive. Make sure that you are using the latest version of iTunes, which is compatible with your operating system.
Check the manufacturer’s website for any firmware updates for your external hard drive. Updating the firmware can address compatibility issues and improve overall performance and stability.
If you have followed all the troubleshooting steps and are still experiencing issues, consider seeking assistance from Apple support or the support forums, where you can find solutions tailored to your specific situation.
By troubleshooting and resolving common issues, you can enjoy a seamless and efficient experience while using iTunes on your external hard drive, maximizing your storage space and convenience.