
Enabling Autofill in the Opera Browser
Autofill is a convenient feature that can save you time when filling out online forms. With Opera Browser, you can easily enable the autofill feature and let it do the typing for you. Whether you’re entering your name, address, or email, Opera can automatically fill in the information with just a few clicks. Here’s how to enable autofill in the Opera Browser:
- Open the Opera Browser on your device.
- Click on the Opera menu icon in the top left corner of the browser window. It looks like a red “O”.
- From the menu that appears, select “Settings”.
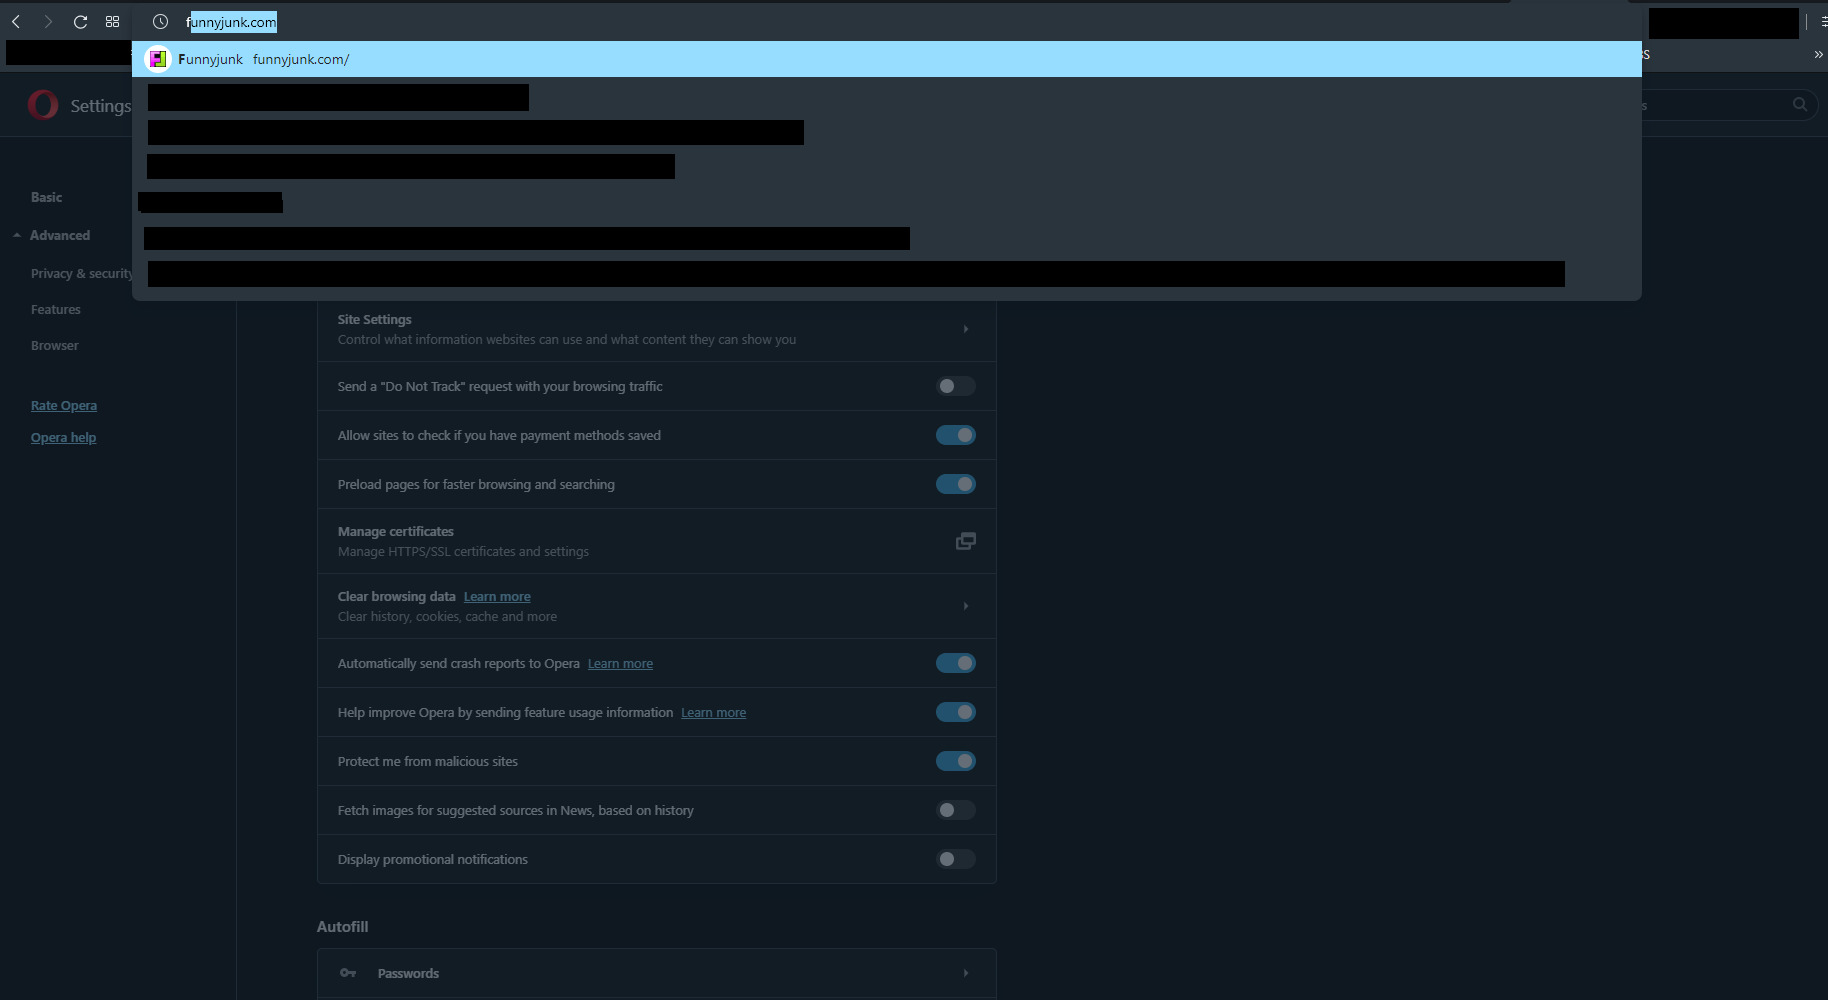
- In the Settings page, scroll down to the “Privacy & security” section.
- Under the “Autofill” heading, make sure the toggle switch next to “Enable Autofill” is turned on.
- Once enabled, you can choose the types of information you want Opera to save and autofill, such as addresses, credit card details, and passwords.
- Click on the “Manage autofill settings” button to further customize your autofill preferences.
That’s it! You have successfully enabled the autofill feature in the Opera Browser. Now, whenever you encounter an online form, Opera will automatically suggest relevant information to fill in, saving you the hassle of typing it out manually.
Enabling autofill in the Opera Browser not only saves you time but also improves your browsing experience. Whether you’re signing up for a new account, making an online purchase, or filling out a contact form, Opera’s autofill feature can significantly streamline the process for you.
Managing Autofill Data in Opera
Once you’ve enabled autofill in the Opera Browser, you might want to take control of the saved data and ensure its accuracy. Opera provides an easy way to manage and edit your autofill data. Here’s how you can do it:
- Open the Opera Browser and click on the Opera menu icon in the top left corner.
- From the menu, select “Settings”.
- In the Settings page, scroll down to the “Privacy & security” section.
- Under the “Autofill” heading, click on the “Manage autofill settings” button.
- A new tab will open, displaying all your saved autofill data.
- To edit an entry, simply click on it and make the necessary changes.
- If you want to remove an entry, click on the “X” button next to it.
- If you want to add a new entry, click on the “Add new address” or “Add new card” button, depending on the type of information you want to add.
- Fill in the required details in the provided fields and click “Save”.
By managing your autofill data, you can ensure that your information is up to date and accurate. It’s especially useful if you’ve recently changed your address or replaced an old credit card.
Additionally, Opera allows you to import and export your autofill data. This feature is beneficial if you switch devices or want to back up your data. To import or export your autofill data, follow these steps:
- Open the Opera menu and select “Settings”.
- In the Settings page, go to the “Advanced” section and click on “Advanced” again.
- Under the “Privacy and security” heading, click on “Passwords and forms”.
- Scroll down to the “Autofill” section and click on “Manage Autofill settings”.
- In the Autofill settings tab, click on the “Import” or “Export” button, depending on your preference.
- Follow the prompts to import or export your autofill data.
Managing your autofill data in Opera gives you full control over your saved information. Whether you need to edit or remove outdated entries or import and export your data, Opera makes it easy to customize your autofill experience.
Adding and Editing Autocomplete Suggestions in Opera
Autocomplete suggestions can be incredibly helpful when you’re searching for information or typing in URLs. With Opera Browser, you have the ability to add and edit autocomplete suggestions to make your browsing experience even more efficient. Here’s how you can do it:
- Open the Opera Browser and click on the settings icon in the top left corner.
- Select “Settings” from the menu that appears.
- In the Settings page, go to the “Advanced” section and click on “Advanced” again.
- Scroll down to the “Privacy and security” section.
- Under the “Autofill” heading, click on “Manage autocomplete settings”.
- In the Autocomplete settings tab, you’ll see a list of your existing suggestions.
- To add a new suggestion, click on the “Add” button and enter the desired suggestion in the provided field.
- To edit an existing suggestion, click on it and modify the text.
- You can also reorder the suggestions by dragging them up or down in the list.
By adding and editing autocomplete suggestions, you can customize Opera Browser to fit your specific needs. For example, if you often visit a particular website, you can add its URL as a suggestion so that it appears when you start typing in the address bar.
Furthermore, Opera allows you to import and export your autocomplete suggestions. This feature is particularly useful if you want to transfer your suggestions to another device or create a backup. To import or export your autocomplete suggestions, follow these steps:
- Open the Opera menu and select “Settings”.
- In the Settings page, go to the “Advanced” section and click on “Advanced” again.
- Under the “Privacy and security” heading, click on “Passwords and forms”.
- Scroll down to the “Autofill” section and click on “Manage autocomplete settings”.
- In the Autocomplete settings tab, click on the “Import” or “Export” button, depending on your preference.
- Follow the prompts to import or export your autocomplete suggestions.
Adding and editing autocomplete suggestions in Opera gives you the ability to tailor your browsing experience to your specific preferences. Whether it’s adding frequently visited websites or editing existing suggestions, Opera Browser empowers you to take control of your autocomplete feature.
Customizing Autofill Settings in Opera
Opera Browser offers various customization options to help you personalize the autofill feature according to your needs. By adjusting the autofill settings, you can control what information Opera saves, how it suggests autofill entries, and more. Here’s how you can customize the autofill settings in Opera:
- Open the Opera Browser and click on the settings icon in the top left corner.
- Select “Settings” from the menu that appears.
- In the Settings page, scroll down to the “Privacy and security” section.
- Under the “Autofill” heading, click on “Manage autofill settings”.
- In the Autofill settings tab, you will find various customization options.
- Toggle the switches next to each category, such as addresses, credit cards, or passwords, to enable or disable autofill for that specific category.
- You can also click on each category to view and manage the saved data within it.
- Additionally, you can choose whether Opera asks to save your passwords by toggling the switch next to “Ask to save passwords”.
- Further down the page, you will find the option to enable or disable autofill suggestions in the address bar by toggling the switch next to “Autofill in address bar”.
- If you want Opera to suggest autofill entries based on your browsing history, toggle the switch next to “Use browsing history to suggest autocompletions”.
Customizing the autofill settings in Opera allows you to tailor the feature to your liking. You can choose which types of information Opera saves, whether to enable password saving prompts, and whether to show autofill suggestions based on your browsing history. This level of customization ensures that the autofill feature matches your preferences and provides a seamless browsing experience.
Using the Autofill Feature in Opera Mobile
Opera Mobile, the mobile version of the Opera Browser, also offers the convenient autofill feature to help you save time and streamline your browsing experience on your smartphone or tablet. Here’s how you can use the autofill feature in Opera Mobile:
- Open the Opera Mobile app on your device.
- Tap on the Opera menu icon in the bottom right corner of the screen. It looks like a red “O”.
- In the menu that appears, tap on “Settings”.
- In the Settings page, scroll down to find the “Autofill” section.
- Tap on “Autofill” to access the autofill settings.
- Toggle the switches next to the types of information you want Opera Mobile to save and autofill, such as addresses, credit card details, or passwords.
- You can also tap on “Addresses” or “Cards” to manage the saved data within each category.
- To edit or remove an autofill entry, simply tap on it in the respective category and make the necessary changes or tap the delete icon.
- With autofill enabled, Opera Mobile will automatically suggest relevant information when you encounter online forms or need to enter payment details.
- Tap on the suggested autofill entry to fill in the required fields instantly.
With the autofill feature in Opera Mobile, entering information on your mobile device becomes effortless. Whether you’re signing up for a new account, making a purchase, or filling out contact forms, Opera Mobile can save you time and eliminate the need for manual typing.
Please note that the autofill feature in Opera Mobile works seamlessly with the autofill feature in the desktop version of Opera. The saved data and preferences will be synchronized across devices, ensuring a consistent experience no matter where you browse.
Troubleshooting Autofill Issues in Opera
While the autofill feature in Opera is designed to make browsing easier, you may encounter occasional issues. Fortunately, there are some troubleshooting steps you can take to resolve common autofill problems. Here are a few tips to help you troubleshoot autofill issues in Opera:
- Ensure that autofill is enabled: Check if the autofill feature is enabled in the Opera settings. Open the Opera menu, go to “Settings”, and make sure the toggle switch next to “Enable Autofill” is turned on.
- Clear browsing data: Sometimes, an accumulation of cache and cookies can interfere with the autofill feature. To clear browsing data, go to the Opera menu, select “Settings”, scroll down to “Privacy & security”, and click on “Clear browsing data”. Choose the relevant time range and select the data types you want to clear, including “Autofill data”.
- Check saved autofill data: Go to Opera’s autofill settings and review the saved data for accuracy. Remove any outdated or incorrect entries that may be causing issues.
- Disable incompatible extensions: Occasionally, browser extensions can conflict with the autofill feature. Try disabling extensions one by one to identify if any of them are causing the issue. Open the Opera menu, go to “Extensions”, and toggle off extensions until the problem is resolved.
- Update Opera: Make sure you have the latest version of Opera installed on your device. Outdated software can sometimes lead to compatibility issues. To update Opera, go to the Opera menu, select “About Opera”, and follow the instructions to check for updates.
- Restart Opera: Quit the Opera browser completely and relaunch it. This simple step can often resolve minor technical glitches.
If the above troubleshooting steps do not resolve the autofill issues in Opera, you may need to seek further assistance. Consider reaching out to Opera’s support team for more specific guidance related to your particular issue.
By following these troubleshooting tips, you can overcome common autofill issues and continue enjoying the convenience of this time-saving feature in Opera. Remember to keep your browser updated and periodically review your autofill settings to ensure optimal performance.