
Installing Audacity
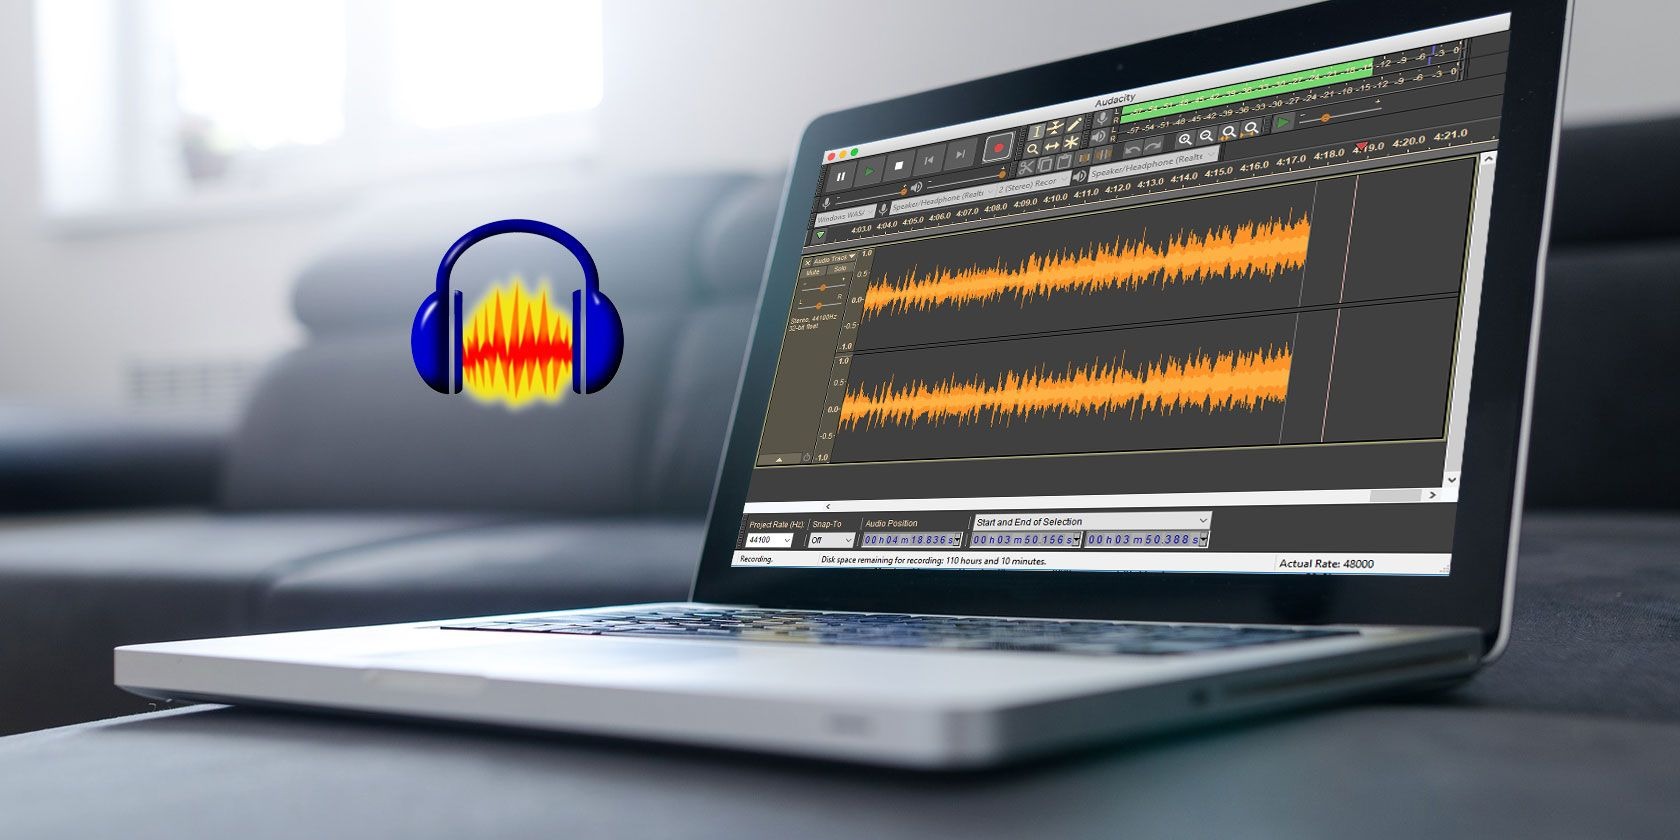
If you’re new to podcasting, Audacity is a popular audio editing software that is free and open-source. It’s cross-platform, meaning it can be used on Windows, Mac, and Linux operating systems. Here’s a step-by-step guide on how to install Audacity on your computer.
1. Visit the official Audacity website at www.audacityteam.org.
2. Navigate to the “Downloads” section of the website. You will see options for different operating systems. Choose the appropriate version for your computer and click on the download link.
3. Once the download is complete, locate the downloaded file and double-click on it to start the installation process.
4. Follow the on-screen instructions to install Audacity. You can choose the destination folder where you want to install the software, but you can also leave the default settings as they are.
5. After the installation is complete, launch Audacity by double-clicking on the program icon.
That’s it! You now have Audacity installed on your computer and are ready to start editing your podcast episodes. Make sure to check for any updates regularly to benefit from the latest features and bug fixes.
Remember, Audacity is just the first step in your podcasting journey. In the upcoming sections, we will explore how to set up your audio devices, import and edit audio files, apply effects, mix tracks, and ultimately export your completed podcast episodes.
Let’s dive into the next section to get started!
Setting up your audio devices
Before you start recording and editing your podcast, it’s important to properly set up your audio devices in Audacity. This ensures that you capture high-quality audio and have seamless playback during editing. Follow these steps to configure your audio devices:
1. Launch Audacity on your computer.
2. Go to the “Edit” menu and select “Preferences” (Windows) or “Audacity” and then “Preferences” (Mac).
3. In the Preferences window, click on the “Devices” tab.
4. Under the “Recording” section, select your preferred audio input device from the dropdown menu. This can be a microphone, USB audio interface, or any other device you are using to record your podcast.
5. Adjust the recording volume by moving the slider next to “Recording Volume.” Aim for a level that is loud enough to capture your voice clearly, but not too loud that it distorts or clips.
6. If you are using an external USB audio interface, make sure it is selected as the “Playback” device under the “Playback” section. This ensures that you can monitor your audio as you edit.
7. Click the “OK” button to apply the changes and close the Preferences window.
Now, your audio devices are set up and ready to use with Audacity. If you experience any issues with recording or playback, you can revisit the Preferences window to troubleshoot the settings.
It’s worth noting that the specific steps may vary depending on your operating system and the audio devices you are using. Refer to the official Audacity documentation or seek technical support if you encounter any difficulties.
With your audio devices properly configured, you can now move on to creating a new project in Audacity and start recording your podcast episodes.
Creating a new project
Once you have Audacity installed and your audio devices set up, it’s time to create a new project and get ready to start recording your podcast episodes. Follow these steps to create a new project in Audacity:
1. Launch Audacity on your computer if it’s not already open.
2. Go to the “File” menu and select “New” to create a new project.
3. In the New Project dialog box, you can specify various settings for your project:
- Sample Rate: Choose the sample rate for your project. The standard sample rate for podcasting is 44.1kHz.
- Channels: Decide whether you want to record and edit in mono (one channel) or stereo (two channels).
- Recording Format: Select the recording format, usually WAV or AIFF for high-quality audio.
- Bit Depth: Determine the bit depth for your project. 16-bit is the industry standard for podcasting.
- Initial Tempo: If you are working with music or pre-recorded elements, you can set the initial tempo of the project. This is optional for most podcasting projects.
4. Once you have configured the settings, click the “OK” button to create the new project. A blank Audacity workspace will open, ready for you to start recording and editing.
5. Take a moment to familiarize yourself with the Audacity workspace. You will see multiple tracks where you can arrange and edit your audio. The toolbar at the top contains various tools and functions that you will use during the editing process.
Now that you have created a new project in Audacity, you can begin recording your podcast episodes or import existing audio files to start editing. In the next sections, we will explore how to import and edit audio files, apply effects, adjust the volume, and more.
Importing and editing audio files
One of the key tasks in podcast editing is importing and editing audio files in Audacity. Whether you’re adding intros, outros, or conducting interviews, here’s how you can import and edit audio files seamlessly:
1. To import an audio file, go to the “File” menu and select “Import.” You can choose to import audio from various sources:
- Import Audio…: Select this option to import audio files saved on your local computer.
- Import MIDI…: Use this option to import MIDI files if you’re working with music.
- Import Raw Data…: Advanced users can import raw audio data using this option.
2. Browse your computer’s files and select the audio file you want to import. Click the “Open” button to import it into your Audacity project.
3. Once the audio file is imported, it will appear as a new track in your Audacity project. You can see the waveform representation of the audio file in the track.
4. To edit the audio file, you can use various tools in Audacity:
- Selection Tool: The default tool allows you to select and delete portions of the audio file.
- Envelope Tool: Use this tool to adjust the volume levels and create fades in and out of the audio.
- Time Shift Tool: This tool allows you to move the audio file along the timeline.
- Trim Audio: Use the trim function to remove any unwanted portions at the beginning or end of the audio file.
5. To make precise edits, zoom in on the waveform by using the zoom controls on the toolbar or the keyboard shortcuts.
6. Continue importing and editing audio files as needed to build your podcast episode. You can import multiple audio files and arrange them on separate tracks to create your desired podcast episode flow.
Remember to save your project regularly to avoid losing any edits or changes. Audacity allows you to save projects in its native format, which preserves all the separate tracks and editing information.
Now that you know how to import and edit audio files in Audacity, you can move on to explore the various basic editing tools, apply effects and filters, adjust the volume levels, and enhance your podcast’s overall audio quality.
Using the basic editing tools
When it comes to podcast editing in Audacity, familiarizing yourself with the basic editing tools is essential. These tools allow you to make precise edits, trim audio, and create seamless transitions. Let’s explore the basic editing tools in Audacity:
1. Selection Tool: This is the default tool in Audacity and is represented by an “i” icon. Use this tool to select and highlight specific portions of the audio that you want to edit.
2. Envelope Tool: The envelope tool is used to adjust the volume levels of specific sections of your audio. When selected, it shows control points on the waveform that can be moved up or down to increase or decrease the volume respectively. This tool is useful for creating fades in and out of audio.
3. Time Shift Tool: The time shift tool allows you to move audio along the timeline. You can use this tool to adjust the timing of different parts of your podcast, ensuring smooth transitions between segments.
4. Trim Audio: To remove any unwanted sections from your audio, use the trim function. Simply click and drag over the section you want to remove and press the delete key on your keyboard. This tool helps to clean up your podcast and eliminate any mistakes or unnecessary content.
5. Split and Join: The split tool enables you to divide audio tracks into separate sections. This is useful when you want to isolate a specific part of your podcast for editing or rearranging. Conversely, the join function allows you to merge multiple sections of audio into a single track.
6. Label Tracks: Audacity also allows you to create label tracks, which are useful for marking different sections of your podcast. You can label segments such as introductions, interviews, or sponsor ads, making it easier to navigate through your podcast during the editing process.
By utilizing these basic editing tools, you can effectively refine your podcast episodes, ensuring a smooth and professional listening experience for your audience. Experiment with the different tools and techniques available to find your preferred editing workflow in Audacity.
Next, let’s explore how to apply effects and filters to enhance your podcast audio quality and make it stand out from the rest.
Applying effects and filters
One of the advantages of using Audacity for podcast editing is the ability to apply various effects and filters to enhance your audio. These effects can help improve the overall sound quality and create a professional and polished podcast. Here are some common effects and filters you can apply in Audacity:
1. Equalization: The equalization effect allows you to adjust the frequency balance of your audio. By boosting or cutting specific frequencies, you can enhance the clarity and tonal balance of voices or music in your podcast.
2. Compression: Compression is used to even out the volume levels of your audio. It reduces the dynamic range by bringing louder parts down and boosting quieter parts, resulting in a more consistent and balanced sound.
3. Noise Reduction: When recording, background noise can be present. The noise reduction effect helps reduce or eliminate unwanted background noise, such as hums, hisses, or air conditioning sounds. This greatly improves the overall audio quality.
4. Reverb: The reverb effect adds artificial reverberation to the audio, giving it a sense of space and depth. This effect can be useful if you want to create a more immersive listening experience for your audience.
5. Normalize: The normalize effect adjusts the volume levels of your audio to a consistent level, bringing the loudest peak to a specified level. This is useful for ensuring consistent volume across all segments of your podcast.
6. Pitch and Tempo: With Audacity, you can change the pitch of your audio to make it higher or lower. Similarly, you can adjust the tempo of the audio without changing the pitch. These effects can be particularly useful if you want to alter the speed or tone of a voice or music segment.
Remember to use effects and filters sparingly and purposefully, as excessive use can lead to unnatural or artificial-sounding audio. It’s always a good practice to listen to your podcast with headphones to ensure the changes made through effects and filters enhance the overall quality of the audio.
By applying these effects and filters effectively, you can elevate the audio quality of your podcast, ensuring an engaging and immersive experience for your listeners. Experiment with different effects and find the right balance to achieve the desired sound for your podcast.
Next, let’s explore how to adjust the volume levels, add fades, and remove background noise to further enhance your podcast episodes.
Adjusting the volume and adding fades
Volume adjustments and fades are essential elements in podcast editing that can enhance the audio flow and create smooth transitions between different segments. With Audacity, you have the flexibility to easily adjust the volume levels and add fades. Here’s how:
1. Adjusting Volume: To adjust the volume of a specific section, select the area in the waveform using the Selection Tool. Then, go to the “Effect” menu, choose “Amplify”, and set the desired amplification value. This allows you to increase or decrease the volume of the selected section without impacting the rest of the audio.
2. Adding Fades: Fades help to fade in or fade out audio at the beginning or end of a segment, creating smooth transitions. To add a fade-in effect, select the beginning of the audio waveform, go to the “Effect” menu, choose “Fade In”, and adjust the duration of the fade. Similarly, to add a fade-out effect at the end of the audio, select the desired portion, go to the “Effect” menu, choose “Fade Out”, and adjust the duration.
3. Crossfades: When transitioning between two audio clips or tracks, you can add a crossfade effect to blend them seamlessly. Select the overlapping portions of the audio tracks, go to the “Tracks” menu, choose “Mix” and then “Crossfade Clips”. Adjust the duration of the crossfade to achieve a smooth transition between the two segments.
4. Envelope Tool for Volume Automation: For more precise volume adjustments, you can use the Envelope Tool. Select the track you want to adjust, switch to the Envelope Tool, and create control points on the waveform to modify the volume levels at different points. This tool is useful for creating gradual volume changes within a segment or across multiple tracks.
By adjusting the volume levels and adding fades, you can ensure that your podcast episodes have a consistent volume and smooth transitions between different sections. These techniques help maintain an optimal listening experience for your audience and elevate the overall quality of your content.
Next, let’s explore how to remove background noise and clean up your podcast audio for a more professional sound.
Removing background noise
Background noise can be a common challenge in podcasting, but with Audacity, you can effectively reduce or remove unwanted noise to improve the overall audio quality. Here’s how you can remove background noise from your podcast:
1. Select a Noise Profile: Audacity’s noise reduction tool requires you to first select a portion of the audio that only contains the background noise. Choose a section where no speech or desired audio is present, and go to the “Effect” menu, select “Noise Reduction”, and click on “Get Noise Profile”. This step helps Audacity analyze the noise characteristics.
2. Apply Noise Reduction: Once you have selected the noise profile, select the entire audio track or the specific part with background noise. Go back to the “Effect” menu, choose “Noise Reduction” again, and adjust the sliders for “Noise Reduction”, “Sensitivity”, and “Frequency Smoothing” to eliminate the background noise. Use the “Preview” button to hear the changes and find the right balance between noise reduction and preserving the desired audio quality.
3. Dealing with Persistent Noise: In some cases, background noise might be persistent or vary throughout the recording. In such instances, you can make additional adjustments using the equalization effect or apply multiple rounds of noise reduction with different settings. Experimentation and careful listening are crucial to achieving the desired result.
4. Use a Noise Gate: Another option to minimize background noise is to utilize a noise gate. This effect helps to automatically reduce or mute audio below a certain threshold, effectively eliminating low-level background noise when no speech or desired audio is present. Depending on your recording environment, adjusting the noise gate’s threshold and attack/release settings can significantly reduce persistent background noise.
Remember, removing background noise is a delicate process, and it’s important to strike a balance between noise reduction and preserving the desired audio quality. Excessive noise reduction can result in an unnatural sound or artifacts, so be attentive when applying these effects.
By effectively reducing or removing background noise, you can greatly enhance the clarity and professionalism of your podcast episodes. Your listeners will be able to focus on your content without being distracted by unwanted sounds.
Next, let’s explore how Audacity allows you to add and edit tracks, enabling you to incorporate music, interviews, and other audio elements into your podcast episodes.
Adding and editing tracks
Adding and editing tracks in Audacity allows you to incorporate music, interviews, and other audio elements into your podcast episodes. By utilizing multiple tracks, you can layer different audio sources and precisely arrange your podcast’s content. Here’s how you can add and edit tracks in Audacity:
1. Adding Tracks: To add a new track, go to the “Tracks” menu and select “Add New” or use the shortcut Ctrl + Shift + N (Windows) or Command + Shift + N (Mac). You can add as many tracks as you need for your podcast, allowing you to separate different audio elements for easy organization and editing.
2. Arranging Tracks: Once you have added multiple tracks, you can rearrange their order by clicking and dragging them up or down. This enables you to control the layering of different audio segments, such as voice recordings, music, and sound effects.
3. Editing Tracks: Each track in Audacity has its own waveform representation, allowing you to apply specific edits independently. You can select and cut portions of a track, move segments along the timeline, or resize them to adjust their duration.
4. Managing Track Volume: To control the volume of a specific track, use the Gain/Envelopes feature. Click on the track’s header and access the dropdown menu to adjust the track’s volume, pan (left or right positioning), or apply automation envelopes for volume modulation throughout the track.
5. Syncing Tracks: When working with multiple tracks, synchronization is crucial. You can align tracks by zooming in to the waveform display and visually matching specific points to ensure proper timing and alignment between different tracks.
6. Labeling Tracks: To keep your project organized, label your tracks by right-clicking on the track’s header and selecting “Name…” Enter a descriptive title or identifier for each track, such as “Intro,” “Interview,” or “Background Music.”
By adding and editing tracks in Audacity, you have full control over your podcast’s audio elements. This allows you to create a dynamic and engaging listening experience for your audience.
Next, let’s explore how to work with multiple tracks and mix your podcast’s audio for optimal balance and clarity.
Working with multiple tracks
Working with multiple tracks in Audacity enables you to combine different audio elements, such as music, voice recordings, and sound effects, to create a cohesive and engaging podcast episode. Here’s how you can effectively work with multiple tracks in Audacity:
1. Importing Additional Tracks: To add more audio tracks to your project, go to the “Tracks” menu, select “Add New” or use the shortcut Ctrl + Shift + N (Windows) or Command + Shift + N (Mac). Repeat this step to add as many tracks as you need for your podcast.
2. Layering Audio Elements: Once you have added multiple tracks, you can drag and drop audio files onto each track to layer different audio elements. For example, you can have a track for your voice recordings, another track for background music, and additional tracks for sound effects or guest interviews.
3. Adjusting Track Volume: Each track in Audacity has its own volume control. You can adjust the volume of each individual track to ensure a proper balance between different audio elements. Click on the track’s header, navigate to the “Track Dropdown Menu”, and adjust the volume slider to your desired level.
4. Aligning Tracks: It is essential to ensure that different tracks are properly aligned for a seamless listening experience. You can zoom in to the waveform display to sync tracks visually. Align key audio elements, such as the beginning of phrases or beats, to maintain synchronization throughout your podcast episode.
5. Crossfading Tracks: To create smooth transitions between different audio elements, you can use crossfades. Select the overlapping sections of two tracks, go to the “Tracks” menu, and choose “Mix” and then “Crossfade Clips”. Adjust the duration of the crossfade to your preference. This technique can help avoid abrupt cuts and improve the overall flow of your podcast.
6. Managing Track Envelopes: Use track envelopes to automate changes in volume, panning, or other effect parameters over time for specific tracks. This allows you to add gradual fades or dynamic shifts in volume or other effects for a more engaging listening experience.
By working with multiple tracks, you have the ability to create a multi-layered audio composition and fine-tune the balance and timing of different audio elements in your podcast. This enables you to craft a more professional and immersive experience for your audience.
Next, let’s explore how to mix and balance your podcast’s audio for a polished final product.
Mixing and balancing audio
Mixing and balancing audio is a critical step in podcast production that ensures all elements of your podcast, such as voice recordings, background music, and sound effects, blend harmoniously. Achieving a well-balanced mix enhances clarity and engagement for your listeners. Here’s how you can mix and balance audio in Audacity:
1. Adjusting Track Volume: Start by adjusting the volume levels of each track to achieve a balanced mix. To do this, click on the track’s header, navigate to the “Track Dropdown Menu,” and use the volume slider to increase or decrease the track’s volume. The goal is to ensure that no individual track overpowers the others, creating a cohesive audio experience.
2. Panning: Panning allows you to position audio elements across the stereo field, creating a sense of spaciousness and dimension in your podcast. Adjust the pan control for each track to position it either to the left, right, or center of the stereo spectrum. This technique can help separate audio elements and provide a more immersive listening experience.
3. Equalization (EQ): EQ helps balance the frequency content of different audio elements. Pay attention to any frequency clashes or muddiness in your podcast. Use the equalization effect to boost or cut specific frequencies for each track, ensuring clarity and avoiding any masking of important audio elements.
4. Compressing: Compression ensures a consistent volume level across your podcast. Apply compression to tracks with varying volume levels or dynamic range issues. This helps even out the audio and maintains a balanced overall mix. Adjust the threshold, ratio, attack, and release settings to control the dynamics of each track, creating a professional and cohesive sound.
5. Using Automation Envelopes: Automation envelopes allow you to make automated changes to track parameters over time. For example, you can automate volume adjustments during specific sections or fade in/out certain tracks. This technique adds a dynamic element to your podcast and helps control the balance and emphasis of various audio elements.
6. Mixing Down: Once you’re satisfied with the mix, it’s time to prepare your final podcast audio. Go to the “File” menu, select “Export”, and choose the appropriate file format and settings for your podcast. Make sure to listen to the exported file to ensure that the mix translates well to different listening platforms.
The process of mixing and balancing audio requires careful attention to detail and frequent listening to achieve the desired results. Experiment with different techniques and tools available in Audacity to consistently improve the quality of your podcast’s audio mix.
Now that you have a well-mixed and balanced audio, it’s time to export your podcast and share it with your audience. Let’s explore how to export your completed podcast episodes in the next section.
Exporting your podcast
Once you have completed editing and mixing your podcast in Audacity, it’s time to export your project into a format that can be shared with your audience. Here’s how you can export your podcast using Audacity:
1. Select the desired format: Go to the “File” menu and choose “Export”. You will be presented with various file format options, including MP3, WAV, FLAC, and more. Select the format that is compatible with your podcast hosting platform or the desired distribution platform.
2. Choose the destination folder: Select the folder or directory where you want to save the exported podcast file. Choose a location that is easily accessible and organized for future reference.
3. Set the file name: Enter a descriptive and recognizable name for your podcast episode. Consider including the episode number and title in the file name to make it easier for your listeners to identify.
4. Configure the export settings: Depending on the chosen file format, you may have additional configuration options to adjust the quality and attributes of your exported podcast. Make sure to review and set these options according to your preferences and the specifications of your podcast hosting or distribution platform.
5. Check the track selection: Confirm that all tracks you want to include in your exported podcast are selected for export. You can enable or disable tracks based on your editing and mixing preferences.
6. Export the podcast: Once you have reviewed all the settings, click the “Export” button to initiate the export process. Audacity will process the audio and generate the podcast file in the specified format.
7. Listen to the exported file: After the export is complete, take a moment to listen to the exported file to ensure that everything sounds as intended. Pay attention to the volume levels, overall audio quality, and any last-minute adjustments that may need to be made.
By exporting your podcast in a suitable format, you are ready to share your podcast with the world. Remember to keep a backup of the exported files for future reference and make sure to follow the platform-specific guidelines for uploading and distributing your podcast episodes.
Congratulations on completing your podcast editing journey with Audacity! Your hard work and dedication will now pay off as you publish and share your podcast with your audience.