
What is Ark?
Ark is a blockchain platform that aims to bridge different cryptocurrencies, allowing for seamless communication and transfer of value between different blockchains. It provides a decentralized ecosystem that enables developers to create and deploy their own blockchain applications. Ark’s goal is to foster interoperability and collaboration among various blockchain networks, ultimately creating a more connected and efficient ecosystem.
One of the key features of Ark is its SmartBridge technology, which facilitates communication between different blockchains without the need for complex coding or extensive modifications. This allows for the transfer of information and assets across multiple blockchains, expanding the possibilities for users and developers.
Additionally, Ark implements a Delegated Proof of Stake (DPoS) consensus mechanism, which ensures fast and secure transactions on the platform. DPoS involves a select group of delegates who are elected by Ark token holders to validate transactions and secure the network. This consensus algorithm prioritizes speed and efficiency, making Ark an attractive choice for businesses and individuals looking for quick and reliable blockchain solutions.
Furthermore, Ark offers a user-friendly wallet interface that allows users to easily manage their Ark tokens and interact with the Ark ecosystem. With features like wallet encryption, multi-language support, and a sleek interface, the Ark wallet provides a seamless and secure experience for users.
As a blockchain platform, Ark holds great potential for various industries, including finance, supply chain management, and decentralized applications. Its focus on interoperability and user-friendly experience sets it apart from other blockchain solutions, making it an exciting project in the crypto space.
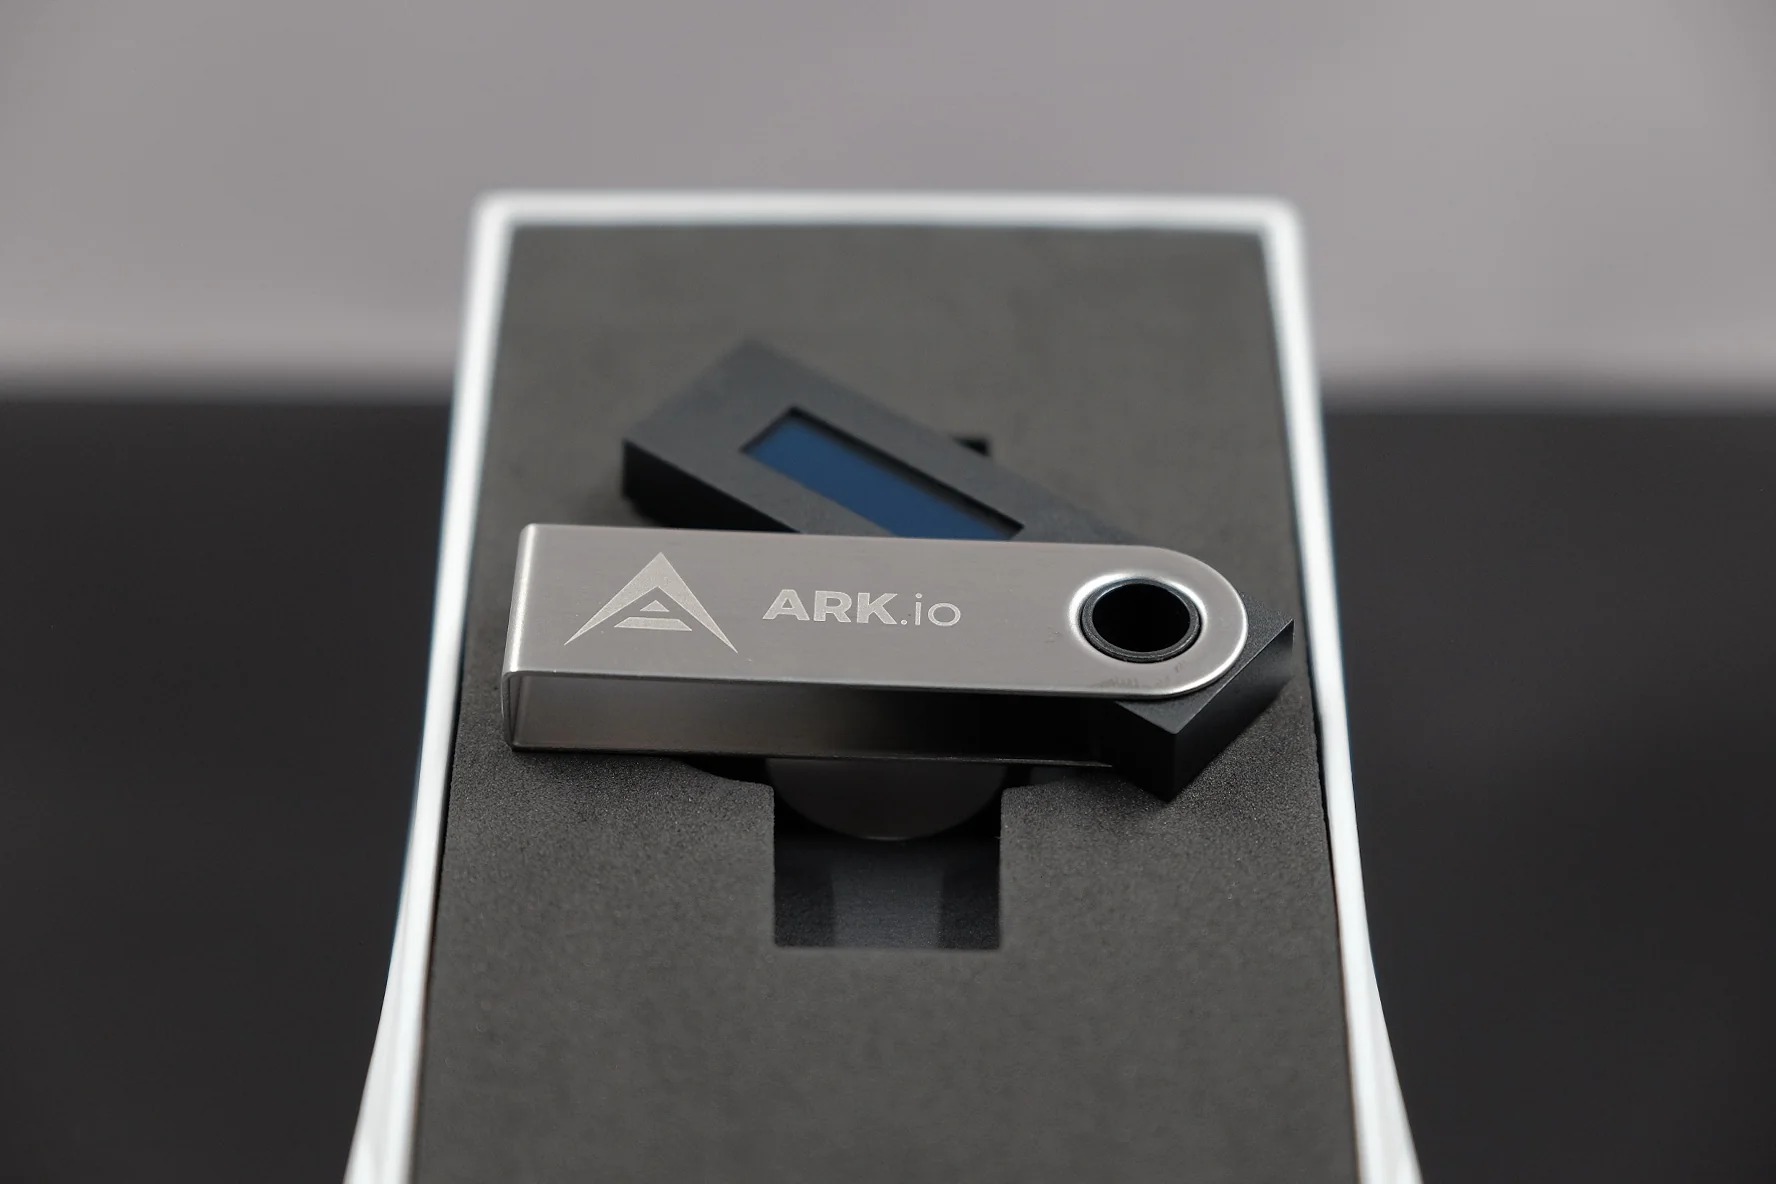
What is a Ledger Nano S?
A Ledger Nano S is a hardware wallet that provides a secure and convenient way to store and manage your cryptocurrencies. It is a compact device that resembles a USB drive, but it offers robust security features to ensure the safety of your digital assets.
Unlike software wallets or online exchanges, a Ledger Nano S keeps your private keys offline, making it immune to hacking attempts and malware. It utilizes a secure element chip to store and protect your private keys, ensuring that they never leave the device. This significantly reduces the risk of unauthorized access and theft.
The Ledger Nano S supports a wide range of cryptocurrencies, including popular ones like Bitcoin, Ethereum, and Litecoin. It allows you to manage multiple accounts for different cryptocurrencies, giving you full control over your digital assets in one device.
Setting up and using a Ledger Nano S is a straightforward process. It comes with a user-friendly interface and clear instructions, making it accessible even for beginners. To use the device, you simply connect it to your computer or mobile device via a USB cable, enter your PIN, and follow the on-screen instructions to access and manage your cryptocurrencies.
In addition to storing and managing your cryptocurrencies, the Ledger Nano S can also be used to securely authorize transactions. When you initiate a transaction, you will be prompted to verify and approve it using the device’s physical buttons. This provides an extra layer of security by ensuring that all transactions are authorized by the device owner.
Overall, a Ledger Nano S offers a secure and convenient solution for storing and managing your cryptocurrencies. Its offline storage, robust security features, and user-friendly interface make it an ideal choice for individuals who prioritize the safety of their digital assets.
Preparing Your Ledger Nano S
Before you begin using your Ledger Nano S, there are a few steps you need to follow to ensure that it is properly prepared for use:
- Unboxing: Start by unboxing your Ledger Nano S and familiarize yourself with its contents. It should include the device itself, a USB cable, a lanyard, a keychain, and a recovery sheet. Keep these items safely as they are important for the setup and recovery of your device.
- Checking for tampering: Inspect the device for any signs of tampering or damage. If you notice any abnormalities, refrain from using it and contact Ledger’s customer support immediately.
- Updating the firmware: It is crucial to check if your Ledger Nano S has the latest firmware installed. Connect the device to your computer and follow the instructions provided on the Ledger website to update the firmware if necessary. Keeping your firmware up to date ensures that you have the latest security patches and features for your device.
- Choosing a secure PIN: When you power on your Ledger Nano S, you will be prompted to set up a PIN. Choose a PIN that is unique, secure, and easy for you to remember. Avoid using obvious combinations like birthdates or sequential numbers. Make sure to take your time and enter the PIN correctly as you will need it to access your device and authorize transactions in the future.
- Creating a recovery phrase: During the initial setup, you will be provided with a recovery phrase, also known as a seed phrase. This phrase consists of a series of words that serve as a backup for your device. Write down these words on the recovery sheet that came with your device and store it in a safe place. This recovery phrase is crucial in the event that your Ledger Nano S is lost, stolen, or damaged, as it allows you to recover your funds and restore access to your accounts.
- Installing the Ledger Live software: Ledger Live is the official software interface for managing your Ledger Nano S. Install the Ledger Live application on your computer by following the instructions provided on the Ledger website. This software allows you to update the firmware, install and manage cryptocurrency wallets, and perform various operations with your Ledger Nano S.
By following these steps, you can ensure that your Ledger Nano S is properly prepared for use and that your cryptocurrencies are stored securely. Taking the time to set up your device correctly and understanding the necessary precautions will help safeguard your digital assets and provide peace of mind.
Installing the Ark App on Your Ledger Nano S
To start using Ark on your Ledger Nano S, you will need to install the Ark app on the device:
- Connect your Ledger Nano S: Use the provided USB cable to connect your Ledger Nano S to your computer.
- Unlock your Ledger Nano S: Enter your PIN on the Ledger Nano S device to unlock it.
- Open Ledger Live: Launch the Ledger Live software on your computer. If you don’t have it installed, make sure to install it first as mentioned in the previous section.
- Go to Manager: In the Ledger Live interface, click on the “Manager” tab located at the bottom of the screen.
- Search for Ark: In the search bar of the Manager, type “Ark” and select the Ark app from the list of available apps.
- Install the Ark app: Click on the “Install” button next to the Ark app. Ledger Live will then proceed to install the Ark app onto your Ledger Nano S.
- Confirmation on Ledger Nano S: On your Ledger Nano S device, you will be prompted to confirm the installation of the Ark app. Use the device’s physical buttons to navigate and press the right button to confirm.
- Wait for installation: Once confirmed, Ledger Live will install the Ark app on your Ledger Nano S. Wait for the installation to complete.
- App installed: Once the installation is finished, you will see a confirmation message on Ledger Live stating that the Ark app has been successfully installed on your Ledger Nano S.
Congratulations! You have now successfully installed the Ark app on your Ledger Nano S. This app allows you to securely manage your Ark tokens directly from your hardware wallet, providing an extra layer of protection for your digital assets.
With the Ark app installed on your Ledger Nano S, you can proceed to set up a PIN for your device, create an Ark account, send and receive Ark, and perform various other operations using your Ledger Nano S. Enjoy the enhanced security and convenience that comes with using Ark on your Ledger hardware wallet.
Installing the Ark Wallet on Your Computer
To start managing your Ark tokens on your computer, you need to install the Ark wallet. Here’s how you can do it:
- Go to the Ark website: Open your preferred web browser and navigate to the official Ark website at https://ark.io/.
- Download the wallet: Once you’re on the Ark website, locate the “Wallets” section and click on it. You will be presented with different options for downloading the Ark wallet. Choose the version appropriate for your operating system (Windows, Mac, or Linux) and download it.
- Install the wallet: Once the download is complete, open the installer file and follow the instructions provided to install the Ark wallet on your computer.
- Launch the wallet: After the installation is finished, you can launch the Ark wallet. It may take a few moments to synchronize with the Ark network.
- Create a new wallet: On the Ark wallet’s main screen, click on the “Create New Wallet” option. You will be guided through the process of setting up a new wallet, including generating a unique passphrase and encrypting it with a password. Make sure to write down your passphrase and keep it in a safe place, as it is crucial for accessing your wallet and recovering your funds.
- Access your wallet: Once your new wallet is created, you can log in by entering your passphrase and the password you previously set. After successful authentication, you will have access to your Ark wallet’s dashboard.
- Connect your Ledger Nano S: To link your Ledger Nano S with the Ark wallet, connect your device to your computer using the USB cable.
- Select Ledger Nano S as a hardware wallet: On the Ark wallet dashboard, click on the “Access Wallet” option and select the “Ledger Nano S” as the hardware wallet type.
- Authorize on Ledger Nano S: On your Ledger Nano S device, you will need to navigate through the menu and confirm the connection with the Ark wallet. Follow the instructions on the Ledger Nano S screen and use the device’s physical buttons to authorize the connection.
- Manage your Ark tokens: Once the connection is established, you can now manage your Ark tokens directly from your computer by using the Ark wallet. You can view your balance, send and receive Ark, and explore various features and functionalities offered by the wallet.
By installing and setting up the Ark wallet on your computer, you can conveniently manage your Ark tokens and access the full range of features provided by the Ark ecosystem. Enjoy the user-friendly interface and secure environment for your Ark token management.
Connecting Your Ledger Nano S to Your Computer
To begin using your Ledger Nano S and accessing its features, you need to connect it to your computer. Follow these steps to establish the connection:
- Locate the USB cable: Find the USB cable included with your Ledger Nano S. It has two ends: a standard USB connector and a micro USB connector.
- Connect the USB cable to your Ledger Nano S: Take the micro USB end of the cable and insert it into the corresponding port on your Ledger Nano S. Ensure that the connector is properly inserted and secured.
- Connect the USB cable to your computer: Take the standard USB end of the cable and insert it into an available USB port on your computer. Ensure a secure connection is established.
- Unlock your Ledger Nano S: On your Ledger Nano S, select the PIN code to enter your secure PIN. Use the device’s physical buttons to enter the correct PIN and confirm the selection with the designated button.
- Access the Ledger Live software: If you haven’t already, open the Ledger Live software on your computer. The Ledger Live application serves as the interface between your Ledger Nano S and your computer.
- Connect your Ledger Nano S to Ledger Live: In the Ledger Live interface, click on the “Manager” tab located at the bottom of the screen. The software will automatically detect your connected Ledger Nano S device.
- Allow Ledger Live to manage your device: On your Ledger Nano S, you will see a prompt asking if you want to allow the Ledger Live software to manage your device. Use the device’s buttons to navigate and press the right button to confirm.
- Access your Ledger Nano S accounts: Once the connection is established, you will be able to access your Ledger Nano S accounts within the Ledger Live interface. You can view account balances, manage cryptocurrencies, and perform various operations using your Ledger Nano S.
By following these steps, you can successfully connect your Ledger Nano S to your computer and establish the link with the Ledger Live software. This connection allows you to securely manage your cryptocurrencies, access account information, and initiate transactions using your Ledger Nano S hardware wallet.
Remember to keep your Ledger Nano S and USB cable in a safe place when not in use to ensure the security of your digital assets. Regularly update the firmware and Ledger Live software to benefit from the latest security patches and features offered by Ledger.
Accessing the Ark App on Your Ledger Nano S
Once you have installed the Ark app on your Ledger Nano S, you can easily access it and begin using it to manage your Ark tokens. Follow these steps to access the Ark app:
- Connect your Ledger Nano S: Use the USB cable provided to connect your Ledger Nano S to your computer.
- Unlock your Ledger Nano S: On your Ledger Nano S device, enter your PIN code using the device’s physical buttons to unlock it.
- Open the Ark app: Launch the Ark app on your Ledger Nano S by navigating through the menu. Use the device’s buttons to scroll to the Ark app and press the right button to select and open it.
- Confirmation on device: After selecting the Ark app, your Ledger Nano S will display a prompt asking for confirmation. Verify that the displayed app name matches Ark, and use the device’s buttons to confirm and open the app.
- Access the Ark app on your computer: Open the Ark wallet software on your computer. If you haven’t installed it yet, follow the instructions mentioned earlier in this guide.
- Connect your Ledger Nano S to the Ark wallet: In the Ark wallet, look for an option to connect with a hardware wallet. Select the option to connect using a Ledger Nano S.
- Authorize the connection: On your Ledger Nano S, you will see a prompt asking if you want to authorize the connection with the Ark wallet. Use the device’s buttons to navigate and press the right button to confirm and allow the connection.
- Wait for the connection: The Ark wallet on your computer will establish a connection with your Ledger Nano S. Wait for the connection to be established, it may take a few moments.
- Access your Ark account: Once the connection is established, you will be able to access your Ark account within the Ark wallet interface. From here, you can view your Ark balance, send and receive tokens, and explore other features of the Ark ecosystem.
By following these steps, you can easily access the Ark app on your Ledger Nano S and connect it to the Ark wallet on your computer. This connection allows you to securely manage your Ark tokens using the hardware wallet’s enhanced security features and the user-friendly interface of the Ark wallet.
Remember to keep your Ledger Nano S and PIN code secure at all times and verify the integrity of the device before entering sensitive information. Regularly update the firmware and Ark app on your Ledger Nano S to ensure you have the latest security updates and improvements.
Setting Up a PIN for Your Ledger Nano S
Setting up a PIN for your Ledger Nano S is an essential step in securing your device and protecting your digital assets. Follow these steps to set up a PIN:
- Power on your Ledger Nano S: Connect your Ledger Nano S to your computer using the USB cable provided. The device will start up automatically.
- Navigate to the PIN setup: Using the device’s physical buttons, navigate through the menu on your Ledger Nano S. Locate and select the option to set up a new PIN.
- Enter the new PIN: On the device screen, you will be prompted to enter a new PIN. Use the physical buttons to enter the desired PIN of your choice. Ensure that the PIN is at least four digits long and easy for you to remember.
- Confirm the PIN: Once you have entered the new PIN, you will be asked to confirm it. Ensure that you enter the same PIN as before to confirm and validate the setup process.
- Completed setup: Once the confirmation is successful, your Ledger Nano S will display a message indicating that the PIN setup is complete. Your device is now secured with the newly set PIN.
It is important to choose a PIN that is unique and known only to you. Avoid using easily guessable patterns like sequential numbers or repeated digits. Consider using a combination of numbers that is meaningful to you but difficult for others to guess.
By setting up a PIN, you add another layer of security to your Ledger Nano S. The PIN is required every time you want to access your device, authorize transactions, or perform any other actions using your Ledger Nano S. This helps protect your digital assets from unauthorized access even if your device falls into the wrong hands.
Remember to keep your PIN confidential and do not share it with anyone. Also, make sure to memorize your PIN or keep it in a secure place that is separate from your Ledger Nano S device.
Creating an Ark Account on Your Ledger Nano S
Creating an Ark account on your Ledger Nano S allows you to securely store and manage your Ark tokens. Follow these steps to create an Ark account:
- Access the Ark app on your Ledger Nano S: Connect your Ledger Nano S to your computer and unlock it using your PIN. Navigate through the menu on your Ledger Nano S and open the Ark app.
- Open the Ark wallet on your computer: Open the Ark wallet software on your computer. If you haven’t installed it yet, download and install it following the instructions provided earlier in this guide.
- Connect your Ledger Nano S to the Ark wallet: In the Ark wallet interface, look for an option to connect a hardware wallet. Select the option to connect using a Ledger Nano S.
- Authorize the connection: On your Ledger Nano S, you will see a prompt asking if you want to authorize the connection with the Ark wallet. Use the device’s buttons to navigate and press the right button to confirm and allow the connection.
- Create a new account: In the Ark wallet interface, click on the option to create a new account. Follow the instructions provided on-screen to generate a new account.
- Confirm the account creation: Once you have generated a new account, the Ark wallet will display a unique address associated with your new account. Verify the address and confirm that you want to create the account.
- Backup and secure your account: After creating the account, you will be provided with a passphrase. Take note of this passphrase and keep it in a safe and secure place. The passphrase is essential for accessing and restoring your account in the future.
- Access and manage your Ark account: Once the account creation is complete, you can now access and manage your newly created Ark account within the Ark wallet. From here, you can view your Ark balance, send and receive tokens, and explore other features offered by the wallet.
By creating an Ark account on your Ledger Nano S, you can securely store and manage your Ark tokens without the risk of exposing your private keys. The hardware wallet provides an extra layer of security, ensuring that your digital assets are safely stored and protected.
Remember to regularly back up your account passphrase and store it in a secure and offline location. This allows you to recover your account in case you lose access to your Ledger Nano S or encounter any other issues.
Sending Ark Using Your Ledger Nano S
With your Ledger Nano S and the Ark app set up, you can easily send Ark tokens securely. Follow these steps to send Ark using your Ledger Nano S:
- Access the Ark app on your Ledger Nano S: Connect your Ledger Nano S to your computer and enter your PIN to unlock it. Navigate through the device menu and open the Ark app.
- Open the Ark wallet on your computer: Launch the Ark wallet software on your computer. If you haven’t installed it yet, download and install it by following the instructions provided earlier in this guide.
- Connect your Ledger Nano S to the Ark wallet: In the Ark wallet interface, find the option to connect a hardware wallet. Select the option to connect using a Ledger Nano S.
- Authorize the connection: On your Ledger Nano S, you will see a prompt to authorize the connection with the Ark wallet. Use the device’s buttons to navigate and press the right button to confirm and allow the connection.
- Select the account: In the Ark wallet interface, choose the Ark account from which you want to send tokens. Make sure it is the account associated with your Ledger Nano S.
- Enter the recipient’s address: Provide the recipient’s Ark wallet address in the designated field. Double-check the address to ensure accuracy and prevent any mistakes.
- Specify the amount: Enter the number of Ark tokens you want to send to the recipient. Ensure the amount is correct to avoid any unintended transactions.
- Confirm the transaction: Review the transaction details, including the recipient’s address and the amount to be sent. Confirm the transaction on your Ledger Nano S by verifying the details and pressing the right button to proceed.
- Approve the transaction: On your Ledger Nano S, you will be prompted to approve the transaction. Review the details displayed on the device screen and use the device’s buttons to authorize the transaction.
- Wait for confirmation: Once the transaction is approved, the Ark network will process it. Wait for the transaction to be confirmed by the network, which can take some time depending on the network congestion.
- Transaction confirmation: Once the transaction is confirmed, you will see a confirmation message on your Ledger Nano S and through the Ark wallet interface. The Ark tokens have been successfully sent to the recipient’s address.
By following these steps, you can easily send Ark tokens using your Ledger Nano S hardware wallet. The Ledger Nano S provides a secure environment for signing transactions, ensuring your private keys remain protected.
Always double-check the recipient’s address before sending any transactions to avoid any accidental or irreversible transfers. Additionally, be patient and allow sufficient time for the transaction to be confirmed on the Ark network.
Receiving Ark Using Your Ledger Nano S
With your Ledger Nano S and the Ark app set up, you can easily receive Ark tokens securely. Follow these steps to receive Ark using your Ledger Nano S:
- Access the Ark app on your Ledger Nano S: Connect your Ledger Nano S to your computer and enter your PIN to unlock it. Navigate through the device menu and open the Ark app.
- Open the Ark wallet on your computer: Launch the Ark wallet software on your computer. If you haven’t installed it yet, download and install it by following the instructions provided earlier in this guide.
- Connect your Ledger Nano S to the Ark wallet: In the Ark wallet interface, find the option to connect a hardware wallet. Select the option to connect using a Ledger Nano S.
- Authorize the connection: On your Ledger Nano S, you will see a prompt to authorize the connection with the Ark wallet. Use the device’s buttons to navigate and press the right button to confirm and allow the connection.
- Copy your Ark address: In the Ark wallet interface, locate your Ark address. It should be displayed prominently along with a QR code. You can either copy the address manually or use the QR code for mobile transactions.
- Share your Ark address: Provide your Ark address to the sender, whether it is through a text message, email, or any other means of communication. Make sure to double-check the accuracy of the address to avoid any issues with receiving the tokens.
- Verify the transaction: Once the sender initiates the transfer, you can verify the transaction in the Ark wallet interface. The Ark wallet will display incoming transactions along with the corresponding amount of Ark tokens received.
- Check your balance: After the transaction is confirmed and included in a block on the Ark network, the Ark tokens will appear in your account balance. You can view your updated balance and transaction history within the Ark wallet interface.
By following these steps, you can easily receive Ark tokens using your Ledger Nano S hardware wallet. The Ledger Nano S provides a secure environment for receiving and storing your Ark tokens, ensuring your private keys remain protected.
Always share your Ark address with caution and double-check the address before receiving any transactions to avoid any unintended transfers. Additionally, ensure that the sender is using the correct Ark network and has the required funds in their wallet to initiate the transfer.
Checking Your Ark Balance on Your Ledger Nano S
Checking your Ark token balance on your Ledger Nano S is a simple and straightforward process. Follow these steps to view your Ark balance:
- Access the Ark app on your Ledger Nano S: Connect your Ledger Nano S to your computer and enter your PIN to unlock it. Navigate through the device menu and open the Ark app.
- Open the Ark wallet on your computer: Launch the Ark wallet software on your computer. If you haven’t installed it yet, download and install it by following the instructions provided earlier in this guide.
- Connect your Ledger Nano S to the Ark wallet: Find the option to connect a hardware wallet within the Ark wallet interface. Select the option to connect using a Ledger Nano S.
- Authorize the connection: On your Ledger Nano S, you will see a prompt to authorize the connection with the Ark wallet. Use the device’s buttons to navigate and press the right button to confirm and allow the connection.
- Access your Ark account: Once the connection is established, you will see your Ark account within the Ark wallet interface. Click on your account to access the details and options associated with it.
- Check your Ark balance: In the Ark wallet interface, you will be able to view your current Ark balance. The balance is typically displayed prominently along with other account information or in a dedicated section.
- Refresh if necessary: If your balance is not updated, click on the refresh or sync button within the wallet interface to fetch the latest data from the Ark blockchain. This will ensure that you have the most recent information about your Ark token balance.
By following these steps, you can easily check your Ark token balance using your Ledger Nano S hardware wallet. The Ledger Nano S provides a secure and convenient way to monitor and manage your Ark tokens, ensuring the safety of your digital assets.
Regularly monitor your Ark token balance to stay informed about incoming transactions, spending, and overall account activity. This allows you to have a clear understanding of your holdings and make informed decisions regarding your Ark tokens.
Updating the Ark App on Your Ledger Nano S
Updating the Ark app on your Ledger Nano S ensures that you have the latest features, bug fixes, and security enhancements. Follow these steps to update the Ark app on your Ledger Nano S:
- Connect your Ledger Nano S: Use the USB cable provided to connect your Ledger Nano S to your computer.
- Unlock your Ledger Nano S: Enter your PIN on the Ledger Nano S device to unlock it.
- Open the Ledger Live software: Launch the Ledger Live software on your computer. If you don’t have it installed, make sure to install it first as mentioned in a previous section.
- Go to Manager: In the Ledger Live interface, click on the “Manager” tab located at the bottom of the screen.
- Connect your Ledger Nano S to Ledger Live: On the Manager screen, Ledger Live will automatically detect your connected Ledger Nano S device.
- Check for available updates: In the Manager interface, Ledger Live will display a list of installed apps on your Ledger Nano S. Look for the Ark app and check if there is an available update.
- Update the Ark app: If there is an available update for the Ark app, click on the update button next to the Ark app in the Manager interface. Ledger Live will then proceed to update the Ark app on your Ledger Nano S.
- Confirmation on Ledger Nano S: On your Ledger Nano S device, you will be prompted to confirm the update of the Ark app. Use the device’s physical buttons to navigate and press the right button to confirm the update.
- Wait for the update: Once confirmed, Ledger Live will update the Ark app on your Ledger Nano S. Wait for the update process to complete.
- App updated: Once the update is finished, you will see a confirmation message on Ledger Live stating that the Ark app has been successfully updated on your Ledger Nano S.
By regularly updating the Ark app on your Ledger Nano S, you can benefit from the latest improvements and security enhancements. Keeping your apps up to date is crucial for maintaining the optimal performance and security of your hardware wallet.
Remember to always download updates from official sources and verify the authenticity of any prompts or notifications on your Ledger Nano S before confirming an update. This helps ensure that you are installing legitimate updates and protecting your device from potential security risks.
Troubleshooting Common Issues
While using your Ledger Nano S and the Ark app, you may encounter some common issues. Here are some troubleshooting steps to help resolve these issues:
- Connection Issues: If you’re having trouble connecting your Ledger Nano S to your computer or the Ark wallet, ensure that you have a stable USB connection. Try using a different USB cable or a different USB port on your computer. Also, make sure that you have the latest firmware installed on your Ledger Nano S.
- App Not Opening: If the Ark app is not opening on your Ledger Nano S, try closing and reopening the Ark wallet software on your computer. Make sure that your Ledger Nano S is properly connected and unlocked. If the issue persists, uninstall and reinstall the Ark app on your Ledger Nano S.
- Syncing Issues: If your Ark wallet is not syncing or displaying an accurate balance, try refreshing or syncing the wallet. In the Ark wallet software, look for an option to resynchronize the wallet with the Ark blockchain. This may take some time depending on the network congestion and your internet connection.
- Transaction Errors: If you encounter errors or failures when sending or receiving Ark tokens, double-check the recipient’s address or the amount you are trying to transact. Make sure that you have a sufficient balance in your account to cover the transaction fees. If the problem persists, seek assistance from the Ark community or contact the Ark support team.
- Device Not Recognized: If your Ledger Nano S is not recognized by your computer or the Ark wallet software, ensure that you have the latest version of the Ledger Live software installed on your computer. Also, try restarting your computer, reconnecting the Ledger Nano S, and reopening the Ark wallet software.
- Forging Issues: If you are experiencing problems with forging or delegate-related activities on the Ark network, ensure that you have chosen a reliable delegate and that your Ledger Nano S is connected to a stable internet connection. Double-check your delegate’s settings and consult the Ark community or official resources for further assistance.
- Resetting Your Ledger Nano S: If you encounter persistent issues that cannot be resolved through troubleshooting, you may need to consider resetting your Ledger Nano S to its factory settings. However, be aware that this process will erase all data and tokens stored on your device. Make sure to have a valid backup of your recovery phrase before proceeding.
If you continue to experience issues or need further assistance, it is recommended to consult official documentation, user forums, or reach out to the Ark community for additional guidance. The Ark team and community are usually helpful in resolving technical issues and providing support.
Remember to always exercise caution and verify the authenticity of any instructions or sources before taking any actions related to your hardware wallet or cryptocurrencies.