
Checking AirPods Software Version
Before updating the software on your AirPods, it’s important to know the current version they are running. Checking the software version is a simple process that can be done using your iPhone, iPad, iPod touch, or Mac. Follow the steps below to check the AirPods software version:
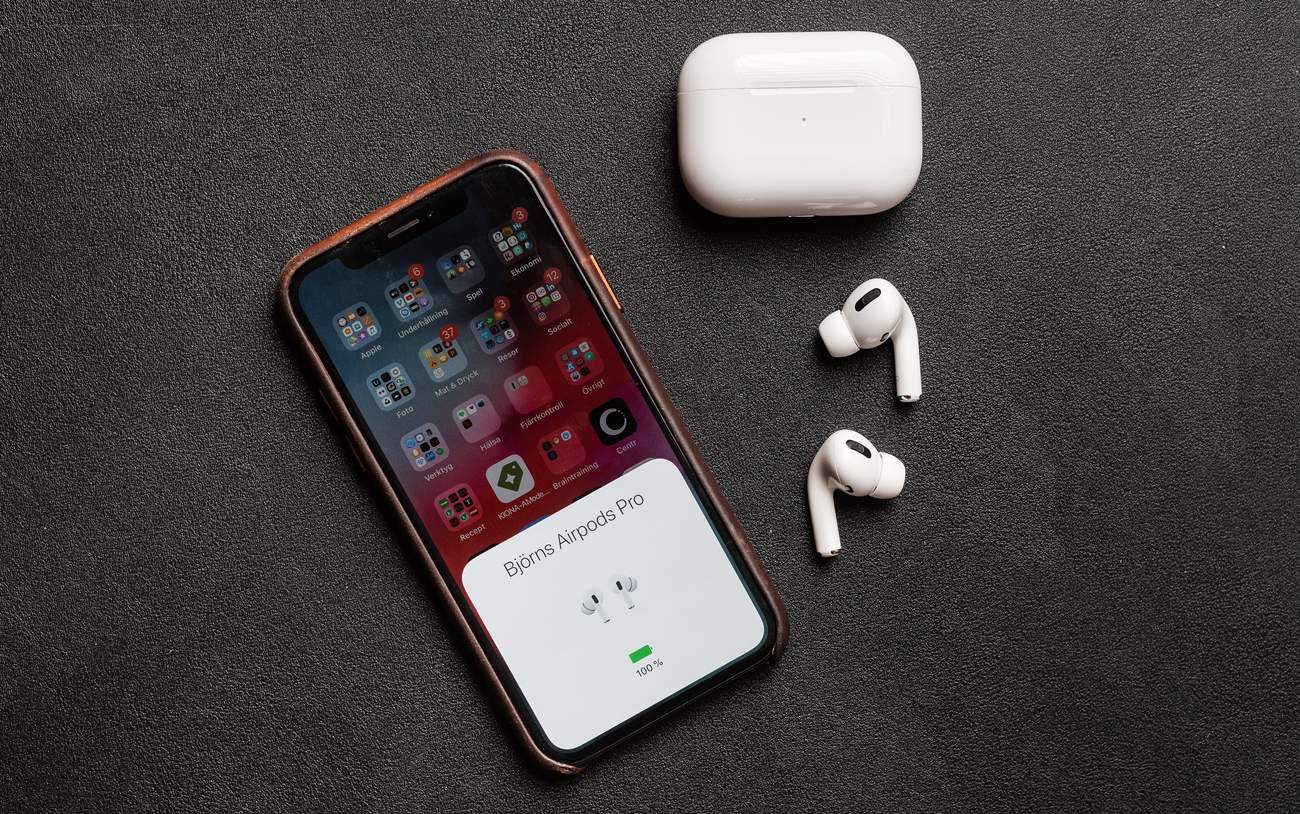
- Using iPhone: Make sure your AirPods are connected to your iPhone. Open the Settings app and tap on Bluetooth. Look for your AirPods in the list of connected devices. Tap the “i” icon next to your AirPods’ name. The firmware version will be displayed next to “Version”.
- Using iPad: Ensure your AirPods are connected to your iPad. Open the Settings app and select Bluetooth. Locate your AirPods in the list of connected devices. Tap the “i” icon next to your AirPods’ name. The firmware version will be shown next to “Version”.
- Using iPod touch: Connect your AirPods to your iPod touch. Go to the Settings app and select Bluetooth. Find your AirPods in the list of connected devices. Tap the “i” icon next to your AirPods’ name. The firmware version will be displayed next to “Version”.
- Using Mac: Ensure your AirPods are connected to your Mac. Click on the Apple menu and select System Preferences. Choose Bluetooth from the preferences window. Look for your AirPods in the list of connected devices. The firmware version will be shown next to “Version”.
By following these steps, you will be able to easily check the software version of your AirPods. Remember, it is crucial to keep the software up to date to benefit from the latest features and enhancements. Now that you know how to check the software version, let’s move on to updating the AirPods software.
Updating AirPods Software Using iPhone
Updating the software on your AirPods using your iPhone is a straightforward process. Apple periodically releases firmware updates that bring new features, bug fixes, and improvements to your AirPods. To update the AirPods software using your iPhone, follow the steps below:
- Make sure your AirPods are connected to your iPhone via Bluetooth.
- Ensure that your iPhone is connected to a stable Wi-Fi network.
- Place your AirPods in their charging case and keep the lid open.
- With your iPhone unlocked, open the lid of the AirPods charging case.
- A pop-up notification will appear on your iPhone’s screen, indicating that an update for your AirPods is available.
- Tap “Update” to start the software update process. Make sure your AirPods and iPhone are in close proximity to each other during the update.
Once the update begins, a progress bar will appear on your iPhone’s screen, showing the status of the software update. It is essential not to close the lid of the AirPods charging case or move your AirPods out of range while the update is in progress.
Once the update is complete, you’ll see a notification on your iPhone confirming the successful update. Your AirPods will now be running the latest software version, providing you with enhanced functionality and improved performance.
It is recommended to keep your AirPods updated regularly to enjoy the latest features and enhancements. The software updates also help improve the connectivity and overall user experience of your AirPods.
Now that you know how to update the AirPods software using your iPhone, let’s explore how to update the software using an iPad.
Updating AirPods Software Using iPad
If you prefer using your iPad to update the software on your AirPods, you’re in luck! The process is similar to updating with an iPhone. Follow the steps below to update your AirPods software using an iPad:
- Ensure your AirPods are connected to your iPad via Bluetooth.
- Make sure your iPad is connected to a stable Wi-Fi network.
- Place your AirPods in their charging case with the lid open.
- Unlock your iPad and open the lid of the AirPods charging case.
- Look for a pop-up notification on your iPad’s display, indicating that a software update is available for your AirPods.
- Tap “Update” to initiate the software update process. It’s important to keep your AirPods and iPad within close proximity during the update.
During the update, a progress bar will appear on your iPad screen, indicating the status of the update. It’s important to keep the lid of the AirPods charging case open and ensure that your AirPods remain within range of your iPad during the update process.
Once the update is complete, you’ll receive a notification on your iPad confirming the successful update. Your AirPods will now be running the latest software version, giving you access to the latest features and enhancements.
Remember to regularly update your AirPods software to enjoy the best possible performance and functionality. Keeping your AirPods up to date ensures that you can take full advantage of any new features and bug fixes provided by Apple.
Next, we’ll explore how to update the AirPods software using an iPod touch.
Updating AirPods Software Using iPod touch
If you own an iPod touch and want to update the software on your AirPods, you’re in luck! Updating the software on your AirPods using an iPod touch is a simple process. Just follow the steps below:
- Ensure your AirPods are connected to your iPod touch via Bluetooth.
- Make sure your iPod touch is connected to a stable Wi-Fi network.
- Place your AirPods in their charging case with the lid open.
- Unlock your iPod touch and open the lid of the AirPods charging case.
- Look for a pop-up notification on your iPod touch’s screen, indicating that a software update is available for your AirPods.
- Tap “Update” to initiate the software update process. Keep your AirPods and iPod touch nearby during the update.
During the update, you will see a progress bar on your iPod touch’s screen, showing the status of the update. Be sure to keep the lid of the AirPods charging case open and make sure your AirPods remain within range of your iPod touch throughout the update process.
Once the update is complete, you will receive a notification on your iPod touch confirming the successful update. Your AirPods will now be running the latest software version, providing you with the latest features and improvements.
Remember to regularly update your AirPods software to ensure optimal performance and access to new features. Software updates also help improve the overall connectivity and user experience of your AirPods.
Now that you know how to update the AirPods software using an iPod touch, let’s see how you can update it with a Mac computer.
Updating AirPods Software Using Mac
If you prefer to use your Mac computer to update the software on your AirPods, you can easily do so. Updating the AirPods software using a Mac is a convenient option for those who want to manage their AirPods updates from their computer. Follow the steps below to update your AirPods software using a Mac:
- Ensure your AirPods are connected to your Mac via Bluetooth.
- Click on the Apple menu in the top-left corner of your Mac’s screen and select “System Preferences”.
- In the System Preferences window, choose “Bluetooth”.
- Locate your AirPods in the list of connected devices and click on the “Options” button next to them.
- A new window will appear displaying the firmware version of your AirPods.
- Click “Check for Update” to see if there is an available software update for your AirPods.
- If an update is available, follow the on-screen instructions to initiate the update process.
During the update, it’s essential to keep your AirPods and Mac in close proximity to ensure a stable connection. Avoid closing the lid of the AirPods charging case or moving your AirPods out of range during the update process.
Once the update is complete, you will receive a notification confirming the successful update. Your AirPods will now be running the latest software version, providing you with improved features and performance.
Remember to regularly check for software updates for your AirPods using your Mac to ensure you have the latest firmware installed. This will allow you to enjoy the latest features and enhancements provided by Apple.
Next, let’s explore how you can update the AirPods software using an Apple Watch.
Updating AirPods Software Using Apple Watch
If you own an Apple Watch, you can also update the software on your AirPods directly from your wrist. Updating the AirPods software using an Apple Watch is a convenient option for those who want to manage their AirPods updates on the go. Follow the steps below to update your AirPods software using an Apple Watch:
- Ensure your AirPods are connected to your Apple Watch via Bluetooth.
- On your Apple Watch, open the Settings app by tapping on the icon on the home screen.
- Scroll down and tap on “Bluetooth”.
- Locate your AirPods in the list of connected devices.
- If an update is available for your AirPods, you will see a “Software Update” option. Tap on it.
- Follow the on-screen instructions to initiate the update process.
During the update, make sure your AirPods and Apple Watch are in close proximity and maintain a stable Bluetooth connection. Avoid separating your AirPods from your Apple Watch during the update process.
Once the update is complete, you will receive a notification confirming the successful software update. Your AirPods will now be running the latest software version, providing you with enhanced functionality and improved performance.
Regularly checking for software updates on both your Apple Watch and AirPods ensures that you have access to the latest features and improvements. These updates help maintain the compatibility and overall performance of your AirPods.
Now that you know how to update the AirPods software using an Apple Watch, let’s move on to troubleshooting common issues with AirPods software updates.
Troubleshooting Common Issues with AirPods Software Updates
While updating the software on your AirPods is usually a smooth process, you may encounter some common issues along the way. Here are a few troubleshooting tips to help you resolve these issues:
- Ensure a stable connection: Make sure that your AirPods have a stable Bluetooth connection to the device you are using for the update. Unstable or weak connections can lead to update failures or interruptions.
- Restart your devices: If you encounter issues during the update process, try restarting your iPhone, iPad, iPod touch, Mac, or Apple Watch. This can help resolve any temporary glitches that may be affecting the update.
- Charge your AirPods: Ensure that your AirPods are sufficiently charged before initiating the software update. Low battery levels can sometimes cause issues during the update process.
- Reset your AirPods: If you are experiencing persistent issues with the update, you can try resetting your AirPods. To do this, open the Settings app on your device, navigate to Bluetooth, and tap on the “i” icon next to your AirPods’ name. Select “Forget This Device” and then reconnect your AirPods and try the update again.
- Contact Apple Support: If none of the above troubleshooting steps work, it’s best to reach out to Apple Support for further assistance. They can provide personalized guidance and help resolve any specific issues you may be experiencing.
It’s important to note that software updates for AirPods are typically released by Apple and are designed to improve performance, fix bugs, and provide additional features. It’s always recommended to keep your AirPods software up to date to benefit from these enhancements.
By following these troubleshooting tips, you should be able to resolve any common issues that may arise during the AirPods software update process. Now you can enjoy the latest software version and take full advantage of the capabilities of your AirPods.