
Reasons to Uninstall Kingsoft Internet Security
Kingsoft Internet Security has been a popular antivirus software choice for many users, offering protection against online threats and malware. However, there may be several reasons why you may want to consider uninstalling Kingsoft Internet Security from your computer.
1. Performance Issues: Over time, antivirus software can slow down your system. If you notice that your computer is running slower than usual or experiencing frequent crashes, it could be due to Kingsoft Internet Security consuming too many system resources. Uninstalling the software can help improve the performance and speed of your computer.
2. Compatibility Issues: Sometimes, antivirus software can conflict with other programs installed on your computer, leading to compatibility issues. If you have encountered problems with certain applications or experienced frequent freezes or errors, it might be worth uninstalling Kingsoft Internet Security to resolve these compatibility issues.
3. Limited Features: While Kingsoft Internet Security offers basic protection against malware and online threats, it may lack some advanced features that you may require. If you find that the software does not meet your specific needs or lacks certain functionalities, uninstalling it allows you to explore alternative antivirus solutions that better suit your requirements.
4. Subscription Costs: Kingsoft Internet Security is a paid antivirus software that requires a subscription to access all its features and updates. If you no longer wish to pay for the software or have found a free alternative that meets your needs, uninstalling Kingsoft Internet Security can help you avoid unnecessary subscription costs.
5. Software Preference: Personal preferences and user experience play a crucial role in choosing antivirus software. If you have tried Kingsoft Internet Security and found another antivirus program that you prefer or are more comfortable using, uninstalling Kingsoft Internet Security allows you to switch to your preferred software.
It is essential to note that uninstalling Kingsoft Internet Security should be done carefully to ensure a smooth transition. Make sure to follow the proper steps and take necessary precautions to avoid any potential issues during the uninstallation process.
Precautions before Uninstalling Kingsoft Internet Security
Before proceeding with the uninstallation of Kingsoft Internet Security, it is important to take certain precautions to ensure a seamless process. These precautions will help minimize any potential risks or issues that may arise during the uninstallation. Here are some essential precautions to consider:
1. Create a System Restore Point: Before uninstalling any software, including Kingsoft Internet Security, it is recommended to create a system restore point. This allows you to revert your computer’s settings back to a previous state in case any problems occur during or after the uninstallation process.
2. Backup Important Files: It is good practice to back up any important files or documents before uninstalling Kingsoft Internet Security. This precaution ensures that you do not accidentally lose any critical data during the uninstallation process.
3. Check for Updates: Before uninstalling Kingsoft Internet Security, make sure to check if there are any pending updates for the software. Installing the latest updates ensures that you have the most recent version of the software and helps prevent any compatibility issues with other applications.
4. Disable Real-Time Protection: Before proceeding with the uninstallation, disable the real-time protection feature of Kingsoft Internet Security. This includes disabling the antivirus scanning and firewall functions. Disabling real-time protection prevents the software from interfering during the uninstallation process.
5. Disconnect from the Internet: To ensure a smooth uninstallation process, it is recommended to disconnect your computer from the internet. This prevents any interference from online threats during the uninstallation and helps avoid potential conflicts with the software.
6. Take Note of License Information: If you have a valid license for Kingsoft Internet Security, make sure to take note of the license key or any other license information. This will be useful if you decide to reinstall the software in the future or if you need to transfer the license to another computer.
By following these precautions, you can minimize the chances of encountering any issues or disruptions during the uninstallation process of Kingsoft Internet Security. It is always better to be prepared and take necessary steps to ensure a seamless transition.
Step 1: Close All Running Programs and Save Your Work
Before you start uninstalling Kingsoft Internet Security, it is crucial to close all running programs and save any ongoing work. This ensures that no unsaved data is lost during the uninstallation process and prevents any potential conflicts or errors that may arise if programs are not properly closed.
Here is a step-by-step guide on how to close all running programs and save your work:
- Save Your Work: Prioritize saving any unsaved work in the applications you have open. This includes documents, spreadsheets, presentations, and any other files that you are currently working on. Double-check that everything is saved and closed properly before proceeding.
- Close Applications: Open the taskbar or task manager on your computer by pressing Ctrl+Shift+Esc or by right-clicking on the taskbar and selecting “Task Manager.” This will display a list of all the applications and processes that are currently running on your system.
- End Task: Go through the list of running applications and processes and close each one individually. To do this, select the application/process and click on the “End Task” or “End Process” button at the bottom right corner of the task manager window. Make sure to close all unnecessary applications to free up system resources.
- Confirm Closure: After closing each application/process, double-check that all programs have been successfully closed. You can verify this by checking the taskbar or task manager to ensure that no running applications are left.
Once all running programs have been closed, you can proceed to the next steps of uninstalling Kingsoft Internet Security. It is important to note that some applications may prompt you to save your work before closing, so always be attentive to any prompts that may appear during the closure process.
By following this initial step of closing all running programs and saving your work, you can prevent any data loss and ensure a smooth uninstallation process for Kingsoft Internet Security. Take the time to properly close applications and verify that everything is saved before moving forward to the next steps.
Step 2: Disable Kingsoft Internet Security
Before proceeding with the uninstallation of Kingsoft Internet Security, it is important to disable the software to prevent any potential conflicts or interference during the process. Disabling Kingsoft Internet Security ensures that the antivirus program is not actively running in the background, allowing for a smoother uninstallation.
Here is a step-by-step guide on how to disable Kingsoft Internet Security:
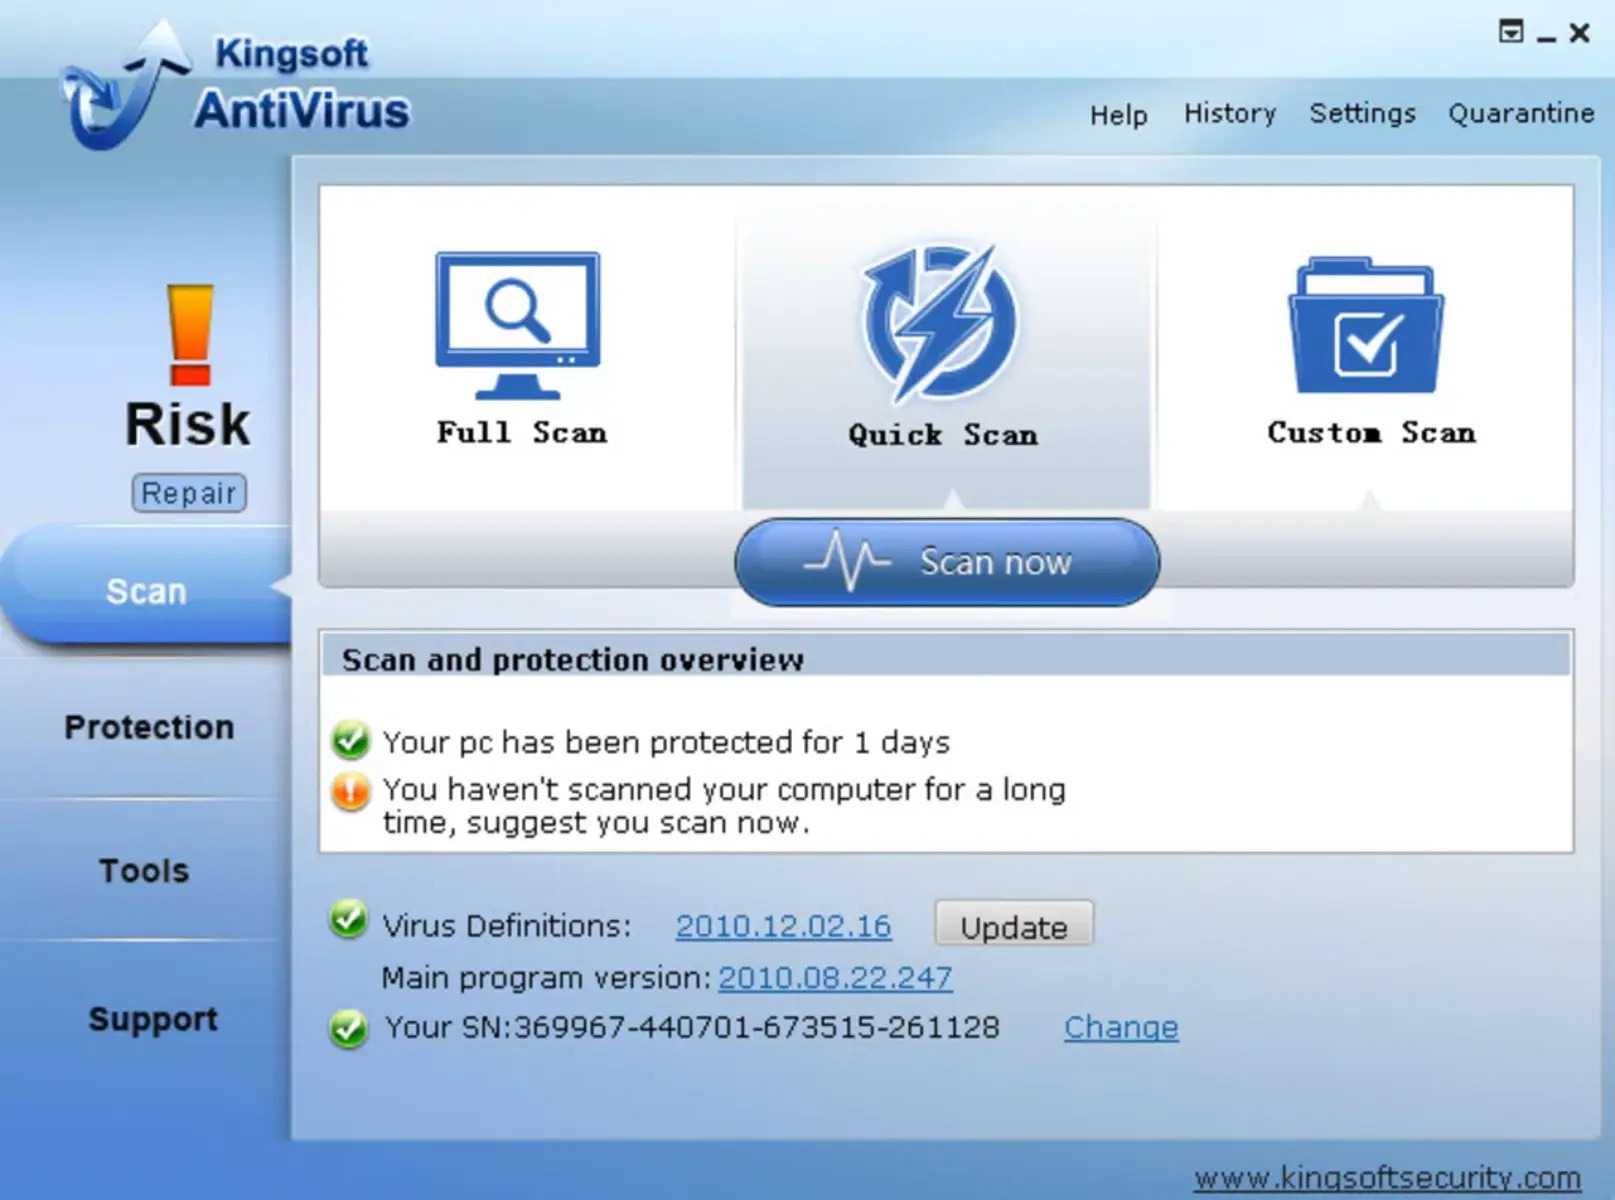
- Open Kingsoft Internet Security: Locate the Kingsoft Internet Security program on your computer. You can usually find it in the system tray, near the clock, or in the list of installed programs in the Start menu.
- Access Settings: Once you have opened Kingsoft Internet Security, look for the settings or preferences section. This can usually be found by clicking on the gear icon or a similar symbol.
- Disable Real-Time Protection: Within the settings or preferences section, find the option to disable real-time protection. This may be labeled as “Real-Time Scanning,” “Real-Time Protection,” or a similar term. Uncheck or toggle off this option to disable the active protection of Kingsoft Internet Security.
- Disable Firewall (Optional): If Kingsoft Internet Security includes a firewall component, you may also want to disable it. Look for the firewall settings or preferences and disable the firewall to ensure that it is not actively blocking any uninstallation processes.
- Confirm Disablement: After disabling the real-time protection and, if applicable, the firewall, check to ensure that the changes have been applied. Verify that the status of Kingsoft Internet Security shows as “disabled” or “inactive.”
By disabling Kingsoft Internet Security before proceeding with the uninstallation, you minimize the chances of any software conflicts or unwanted interruptions. This step ensures a smoother uninstallation process and allows you to proceed with the subsequent steps confidently.
It is important to remember that once Kingsoft Internet Security is disabled, your computer may be temporarily vulnerable to potential threats. Therefore, it is essential to complete the uninstallation process promptly and consider alternative security options to protect your system.
Step 3: Uninstall Kingsoft Internet Security using Control Panel
Uninstalling Kingsoft Internet Security is typically done through the Control Panel on your Windows computer. This step-by-step guide will walk you through the process of uninstalling Kingsoft Internet Security using the Control Panel:
- Open Control Panel: Click on the “Start” button or press the Windows key, then search for “Control Panel.” Open the Control Panel when it appears in the search results.
- Access Programs and Features: In the Control Panel, look for the “Programs” or “Programs and Features” option and click on it. This will open a list of all the programs installed on your computer.
- Locate Kingsoft Internet Security: Scroll through the list of installed programs and find “Kingsoft Internet Security.” It may also be listed as “Kingsoft Antivirus” or a similar name. Click on it to select it.
- Uninstall Kingsoft Internet Security: Once you have selected Kingsoft Internet Security, click on the “Uninstall” or “Change/Remove” button at the top of the programs list. This will initiate the uninstallation process.
- Follow Uninstallation Wizard: A window or wizard will appear, guiding you through the uninstallation process. Follow the instructions provided, which may include confirming the uninstallation, selecting additional features to remove, or providing feedback on the uninstallation experience.
- Complete Uninstallation: Once the uninstallation process is complete, you will typically receive a confirmation message. Click on “Finish” or “Close” to exit the uninstallation wizard.
After completing these steps, Kingsoft Internet Security should be successfully uninstalled from your computer. It is important to restart your computer after the uninstallation process to ensure that any remaining files and registry entries associated with the software are completely removed.
If you encounter any issues during the uninstallation process or if Kingsoft Internet Security remains on your computer after following these steps, you may consider using a dedicated uninstallation tool or seeking assistance from the software’s support resources.
Step 4: Remove Leftover Files and Registry Entries
After uninstalling Kingsoft Internet Security using the Control Panel, there may still be leftover files and registry entries on your computer. Removing these remnants is crucial to ensure a clean uninstallation and prevent any potential conflicts or issues in the future. Follow these steps to remove leftover files and registry entries:
- Use Disk Cleanup: Open the “Search” or “Run” dialog by pressing the Windows key + R, then type “cleanmgr” and hit Enter. Select the drive where Kingsoft Internet Security was installed, typically the C: drive, and click “OK” to initiate Disk Cleanup. Select the files associated with Kingsoft Internet Security, such as temporary files and system cleanup, then click “OK” to remove them.
- Delete Program Folder: Open Windows Explorer or File Explorer and navigate to the folder where Kingsoft Internet Security was installed. Typically, this will be in the “Program Files” or “Program Files (x86)” directory. Locate the Kingsoft Internet Security folder, right-click on it, and select “Delete” to remove the folder and its contents. Note: Be cautious while deleting folders, as deleting the wrong files can cause problems.
- Remove Registry Entries: Press the Windows key + R to open the “Run” dialog, then type “regedit” and hit Enter to open the Registry Editor. Backup your registry before making any changes by clicking on “File” in the menu bar, then selecting “Export.” Navigate to the following locations in the Registry Editor and delete any associated entries:
- HKEY_CURRENT_USER\Software\Kingsoft
- HKEY_LOCAL_MACHINE\SOFTWARE\Kingsoft
To delete an entry, right-click on it and select “Delete.” Exercise caution while making changes in the Registry Editor, as improper modifications can cause system instability.
- Empty Recycle Bin: After deleting the leftover files and registry entries, empty the Recycle Bin to permanently remove them from your computer. Right-click on the Recycle Bin icon on your desktop and select “Empty Recycle Bin” to complete the process.
Remember to exercise caution while performing these steps, as deleting the wrong files or making incorrect changes in the registry can harm your system. If you are uncomfortable editing the registry or unsure about the files to remove, it is advisable to seek assistance from a knowledgeable individual or utilize a dedicated software uninstaller tool.
By following these steps to remove leftover files and registry entries, you can ensure a thorough uninstallation of Kingsoft Internet Security and maintain a clean and optimized system environment.
Step 5: Restart Your Computer
After completing the uninstallation of Kingsoft Internet Security and removing any leftover files or registry entries, it is important to restart your computer. Restarting your computer allows any remaining system changes to take effect and ensures a fresh start without any remnants of the uninstalled software.
Here are the steps to restart your computer:
- Save and Close: Make sure to save any open documents or ongoing work in your applications. Close all programs and ensure that no work is left unsaved before proceeding to restart your computer.
- Click on Start: Click on the “Start” button in the bottom left corner of your screen or press the Windows key on your keyboard.
- Choose Restart: In the Start menu, select the “Restart” option. Alternatively, you can click on the power icon and choose the “Restart” option from the dropdown menu.
- Confirm Restart: A confirmation prompt will appear, asking if you want to restart your computer. Click on “Restart” to continue with the restart process.
- Wait for Restart: Your computer will now begin the restart process. This may take a few moments, so be patient and wait for your computer to fully shut down and start up again.
- Login: Once your computer has restarted, it will take you to the login screen. Enter your login credentials, such as your username and password, to access your computer.
Restarting your computer after uninstalling Kingsoft Internet Security is important because it allows your system to fully apply any changes made during the uninstallation process. It helps ensure that any remnants or temporary files associated with the software are completely cleared and that your computer starts fresh without any lingering effects of the uninstalled software.
By following this final step of restarting your computer, you can fully complete the process of uninstalling Kingsoft Internet Security and ensure that your system is ready for future use without any conflicts or traces of the software remaining.