
Check the Physical Connection
When troubleshooting a webcam, the first step is to ensure that the physical connection is properly established. Follow these steps to check the physical connection:
- 1. Check the USB Connection: Ensure that the USB cable connecting the webcam to the computer is securely plugged in. Try connecting the webcam to a different USB port to rule out any issues with the current port.
- 2. Inspect the Webcam Cable: Examine the webcam cable for any signs of damage or wear. If you notice any frayed wires or broken connections, it may indicate a faulty cable that needs to be replaced.
- 3. Verify Power Supply (if applicable): If your webcam requires a power source, such as an external power adapter or batteries, check if it is properly connected and functioning. Replace the batteries or power adapter if necessary.
- 4. Ensure Proper Placement: Make sure that the webcam is positioned correctly and securely attached to your computer or monitor. If it is a standalone webcam, ensure that it is placed on a stable surface.
Checking the physical connection is a crucial step as even a loose or faulty cable can cause issues with the webcam’s performance. Once you have verified the physical connection, move on to the next steps to further troubleshoot and test your webcam.
Update Webcam Drivers
Outdated or malfunctioning webcam drivers can often result in webcam issues. To ensure that your webcam is running smoothly, follow these steps to update the webcam drivers:
- 1. Identify the Webcam Make and Model: Determine the make and model of your webcam. This information can usually be found on the webcam itself or in the user manual.
- 2. Visit the Manufacturer’s Website: Go to the official website of the webcam manufacturer. Navigate to the support or downloads section of the website.
- 3. Download the Latest Drivers: Look for the latest drivers available for your webcam model. Download the appropriate drivers for your operating system (Windows, Mac, etc.).
- 4. Install the Drivers: Once the drivers are downloaded, double-click the installation file and follow the on-screen instructions to install them.
- 5. Restart Your Computer: After the installation is complete, restart your computer. This allows the updated drivers to take effect.
Updating the webcam drivers can often resolve compatibility issues and improve the overall performance of the webcam. It is also advisable to periodically check for driver updates to ensure that your webcam continues to function optimally.
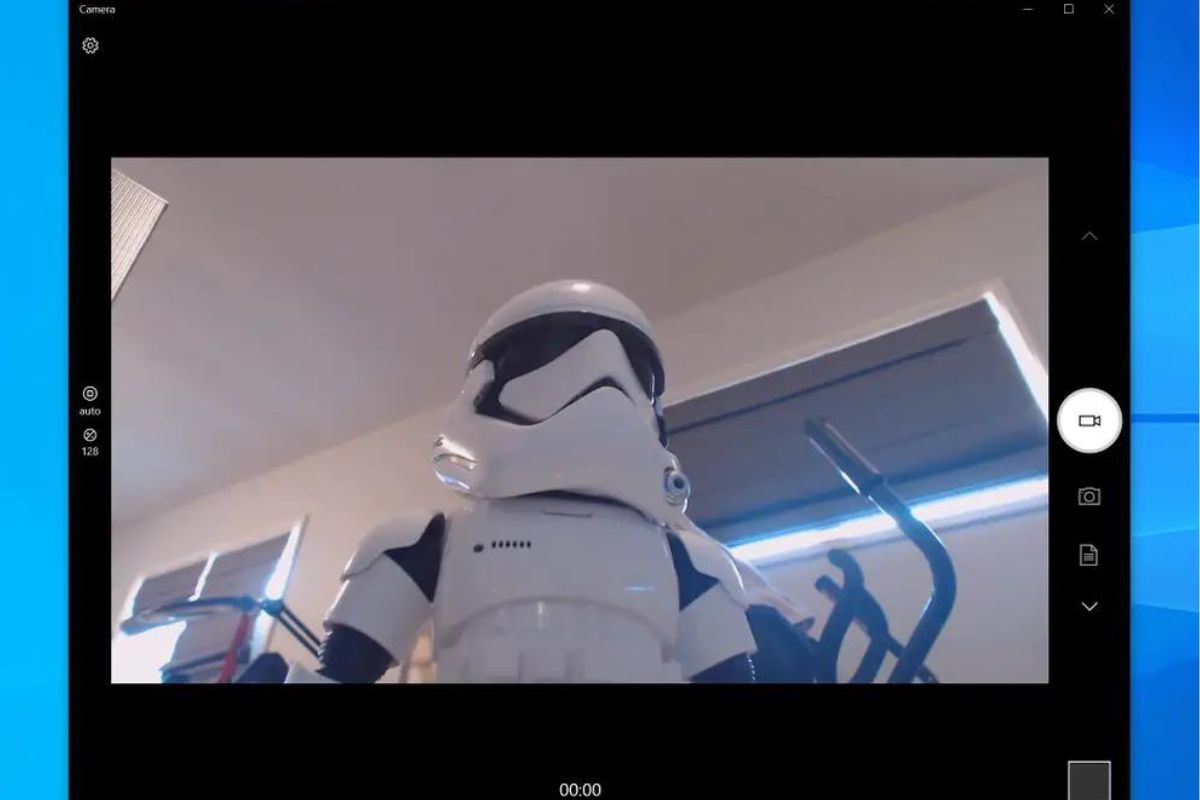
Test the Webcam with Online Tools or Software
Once you have checked the physical connection and updated the webcam drivers, the next step is to test the webcam using online tools or software. This will help you determine if the webcam is functioning properly. Here’s how to do it:
- 1. Use Online Webcam Testing Tools: There are several websites that offer free webcam testing tools. Examples include Webcamtests.com, Testwebcam.com, or Webcam.io. Simply visit one of these sites and follow the on-screen instructions to test your webcam.
- 2. Check Webcam Settings: Most online testing tools allow you to adjust webcam settings such as brightness, contrast, and resolution. Experiment with these settings to see if there is an improvement in the webcam’s performance.
- 3. Test with Software: Alternatively, you can use video chat applications or software that utilize webcams. Popular options include Skype, Zoom, or Google Meet. Launch the software and initiate a video call or enable the webcam feature to test your webcam’s functionality.
By using online testing tools and software, you can assess if the webcam is capturing video and audio accurately. If the webcam works fine with these tools, it indicates that the hardware and drivers are functioning properly. If there are still issues, proceed to the next steps for further troubleshooting.
Adjust Webcam Settings
Sometimes, adjusting the webcam settings can greatly improve its performance. If you are experiencing issues with your webcam, try the following methods to adjust its settings:
- 1. Access Webcam Settings: Most webcams come with their own software or settings panel. Look for the webcam software installed on your computer or check the manufacturer’s website for the appropriate software to download and install.
- 2. Adjust Brightness and Contrast: Experiment with the brightness and contrast settings to achieve the optimal video quality. Depending on the lighting conditions, tweaking these settings can significantly enhance the visibility of the video.
- 3. Modify Resolution: Lowering the resolution can sometimes improve the webcam’s performance, especially if you are experiencing lag or choppiness in the video output. Test different resolutions to find the best balance between video quality and performance.
- 4. Configure Zoom and Focus: Some webcams have manual zoom and focus controls. If your webcam offers these options, adjust them accordingly to achieve a clear and focused image.
- 5. Enable Auto Adjustments (if available): Many webcams have an option to enable auto adjustments for features like exposure, white balance, and color correction. Check if these options are available and enable them to ensure the webcam adjusts to the surrounding environment automatically.
By adjusting the webcam settings, you can customize the video output based on your preferences and optimize it for different lighting conditions. Take the time to explore the settings and experiment with different configurations to achieve the best possible results.
Check Webcam Compatibility with Different Applications
If you’re experiencing issues with your webcam, it’s essential to check its compatibility with different applications. Some webcams may work flawlessly with certain software but encounter problems with others. Here’s how you can ensure compatibility with different applications:
- 1. Test the Webcam with Different Video Calling Apps: Use popular video calling applications like Skype, Zoom, or Microsoft Teams to test your webcam’s compatibility. Initiate video calls or video conferences to see if the webcam works smoothly with each application.
- 2. Check for Application-Specific Webcam Settings: Some applications have specific webcam settings that can impact performance. Access the settings within each application and look for webcam-related options, such as video resolution, frame rate, or microphone settings.
- 3. Ensure Software Compatibility: Verify that the webcam’s software is compatible with your operating system. Check the manufacturer’s website for any software updates or compatibility information.
- 4. Update Application and System Software: Keeping your applications and system software up to date can resolve compatibility issues. Check for any updates for the applications you’re using and install them to ensure optimal functionality.
- 5. Check Device and Driver Compatibility: If you’re using an external webcam, ensure that it is compatible with your computer or device. Check the webcam’s specifications for compatibility details, and update your device drivers if necessary.
By testing your webcam’s compatibility with different applications, you can identify if the issues are specific to certain software or if the webcam has broader compatibility concerns. This information will help you troubleshoot and find solutions tailored to your specific situation.
Test the Video Quality
One of the crucial aspects to consider when troubleshooting a webcam is the video quality it delivers. Testing the video quality will help you identify any issues and make necessary adjustments. Here’s how you can test the video quality of your webcam:
- 1. Choose a Well-lit Environment: Ensure that the area where you are testing the webcam has sufficient lighting. Natural daylight or well-positioned artificial lights can significantly enhance the video quality.
- 2. Launch Webcam Testing Tools: Utilize online webcam testing tools or webcam-specific software to assess the video quality. These tools often provide features to record or capture snapshots during the test.
- 3. Inspect Clarity and Sharpness: During the video test, pay attention to the clarity and sharpness of the image. The video should present a clear, crisp, and detailed picture without any blurriness or distortion.
- 4. Check for Smooth Video Playback: Observe if the video playback is smooth or if there are any sudden lags or stutters during the recording. Smooth playback indicates that the webcam is capturing and transmitting the video stream effectively.
- 5. Assess Color Accuracy: Evaluate if the colors displayed in the video are accurate and true to life. The colors should not appear washed out or overly saturated.
- 6. Review Frame Rate: Examine the frame rate of the recorded video. A higher frame rate, typically measured in frames per second (fps), ensures smoother and more fluid video playback.
By thoroughly testing the video quality, you can identify any issues with the clarity, smoothness, or color accuracy of the webcam output. If you notice any shortcomings, consider adjusting the camera settings or exploring other troubleshooting steps to enhance the video quality.
Check the Audio Quality
In addition to video, it’s crucial to pay attention to the audio quality when testing your webcam. Poor audio can impede communication and lead to a frustrating experience. Follow these steps to check the audio quality of your webcam:
- 1. Select an Appropriate Recording Environment: Find a quiet area where you can record audio without background noise or distractions. This will help you accurately assess the audio quality.
- 2. Launch Webcam Testing Tools: Use online webcam testing tools or webcam-specific software that includes audio testing capabilities. These tools typically allow you to record audio and play it back for evaluation.
- 3. Record and Playback Audio: Begin recording and speak into the microphone of your webcam. Make sure to enunciate clearly and speak at a normal volume. Playback the recorded audio to evaluate its quality.
- 4. Assess Clarity and Volume: Pay attention to the clarity of the audio. It should be crisp and devoid of any distortion or muffled sounds. Additionally, ensure that the audio is sufficiently loud and does not require excessive volume adjustments.
- 5. Check for Background Noise: Listen for any background noise or static that may be present in the audio recording. Background noise can negatively impact the overall quality and intelligibility of the audio.
- 6. Test Microphone Sensitivity: Experiment with different speaking distances and volumes to assess how well the microphone picks up sound. It should adequately capture your voice even when you are not directly in front of the webcam.
Checking the audio quality of your webcam ensures that your voice is clear and audible during video calls or recordings. If you encounter any issues, consider adjusting the microphone settings, checking for software updates, or exploring other troubleshooting steps to improve the audio quality.
Test Video Recording
To fully assess the capabilities of your webcam, it’s essential to test its video recording functionality. By recording videos, you can evaluate the quality, stability, and performance of the webcam in various scenarios. Follow these steps to test video recording with your webcam:
- 1. Select a Recording Software: Choose a video recording software or application that is compatible with your webcam. Some common options include Windows Camera, QuickTime Player (for Mac users), or third-party software like OBS Studio or Camtasia.
- 2. Adjust Video and Audio Settings: Configure the video resolution, frame rate, and audio settings before starting the recording. These settings can be adjusted within the recording software or the webcam’s settings panel.
- 3. Choose a Test Scenario: Decide on the type of recording you want to make. You can record yourself speaking, capture a specific activity, or test the webcam under different lighting conditions.
- 4. Start Recording: Begin the video recording and perform the desired action or speak into the microphone. Make sure to position yourself within the webcam’s frame and maintain a steady hand or use a tripod for stability.
- 5. Review the Recorded Video: Once you have finished the recording, play back the video to assess its quality. Check for clarity, smoothness, and any issues like video lag, stuttering, or pixelation.
- 6. Test Different Recording Scenarios: Repeat the recording process in various scenarios to evaluate how well the webcam performs in different lighting conditions, environments, or audio setups.
By testing video recording, you can effectively gauge the performance of your webcam in real-world situations. Analyze the recorded videos and make adjustments as necessary to achieve the desired video quality and stability.
Test Webcam with Video Conferencing Services
Testing your webcam with video conferencing services is crucial to ensure that it functions properly during important meetings, interviews, or virtual collaborations. By testing with different platforms, you can identify and resolve any compatibility or performance issues. Follow these steps to test your webcam with video conferencing services:
- 1. Select Video Conferencing Platforms: Choose popular video conferencing services such as Zoom, Microsoft Teams, Google Meet, or Skype. These platforms are widely used and provide a variety of features for online meetings and video calls.
- 2. Create Test Meetings or Calls: Set up test meetings or calls with a trusted colleague or friend who can provide feedback on the webcam’s performance. Use the webcam to join these sessions and evaluate its functionality.
- 3. Check Video and Audio Quality: During the video call, assess the video and audio quality. Look for smooth video playback, clear audio, and ensure that there are no connectivity issues or interruptions.
- 4. Experiment with Different Features: Explore various features offered by the video conferencing service, such as screen sharing, virtual backgrounds, or participant management tools. Test these features to ensure the webcam integrates seamlessly with the platform.
- 5. Verify Compatibility with Multiple Devices: Test the webcam on different devices like laptops, desktops, or mobile devices. Verify that the webcam is recognized and functions correctly across various operating systems and platforms.
- 6. Ask for Feedback: After the test meetings or calls, ask the participants for their feedback on the audio and video quality, as well as any other observations or concerns they may have regarding the webcam’s performance.
Testing your webcam with video conferencing services allows you to ensure that it performs well in real-time communication scenarios. Addressing any issues or concerns ahead of time will help you feel confident and prepared for important online meetings or virtual collaborations.
Test Webcam on Different Devices
When troubleshooting your webcam, it’s essential to test it on different devices to ensure compatibility and functionality across various platforms. By testing your webcam on different devices, you can identify any device-specific issues and troubleshoot accordingly. Here’s how to test your webcam on different devices:
- 1. Desktop Computers: Connect your webcam to different desktop computers running various operating systems such as Windows, macOS, or Linux. Verify that the webcam is recognized by the system and functions properly across different platforms.
- 2. Laptops: Test your webcam on different laptops to ensure compatibility. Connect the webcam to both Windows and Mac laptops to verify that it functions correctly on both platforms.
- 3. Mobile Devices: If your webcam supports mobile device connectivity, test it on smartphones and tablets. Connect the webcam to different models and operating systems (iOS or Android) to ensure compatibility and proper functionality.
- 4. Smart TVs or Monitors: Some smart TVs or monitors have built-in webcam support. If you have a smart TV or monitor with a webcam, test the webcam on these devices to check compatibility and performance.
- 5. Video Conferencing Devices: If you have dedicated video conferencing equipment like web conferencing cameras or systems, test your webcam on these devices as well. This ensures that the webcam works seamlessly with specialized video conferencing solutions.
By testing your webcam on different devices, you can identify any device-specific compatibility issues and troubleshoot accordingly. Ensure that the webcam functions properly across a range of devices to ensure smooth performance and maximize its usability in various scenarios.