
Choosing the Right Webcam
When it comes to choosing a webcam for your PC, there are a few factors to consider. The right webcam can make a significant difference in the quality of your video calls, online meetings, and video recordings. Here are some key points to keep in mind when selecting a webcam:
- Resolution: The resolution of a webcam determines the clarity of the image it produces. Look for a webcam that offers at least 720p (HD) resolution for a crisp and clear video.
- Frame Rate: The frame rate determines how smoothly the video appears. A higher frame rate, typically 30 frames per second (fps), ensures a smoother video playback.
- Field of View (FOV): The FOV refers to the width of the image captured by the webcam. A wider FOV allows you to include more people or objects in the frame.
- Low Light Performance: If you intend to use the webcam in dimly lit environments, consider one with good low light performance. Look for features like low light correction or built-in LED lights.
- Connectivity: Most webcams connect to your PC via USB. Ensure that the webcam you choose is compatible with your computer’s USB ports.
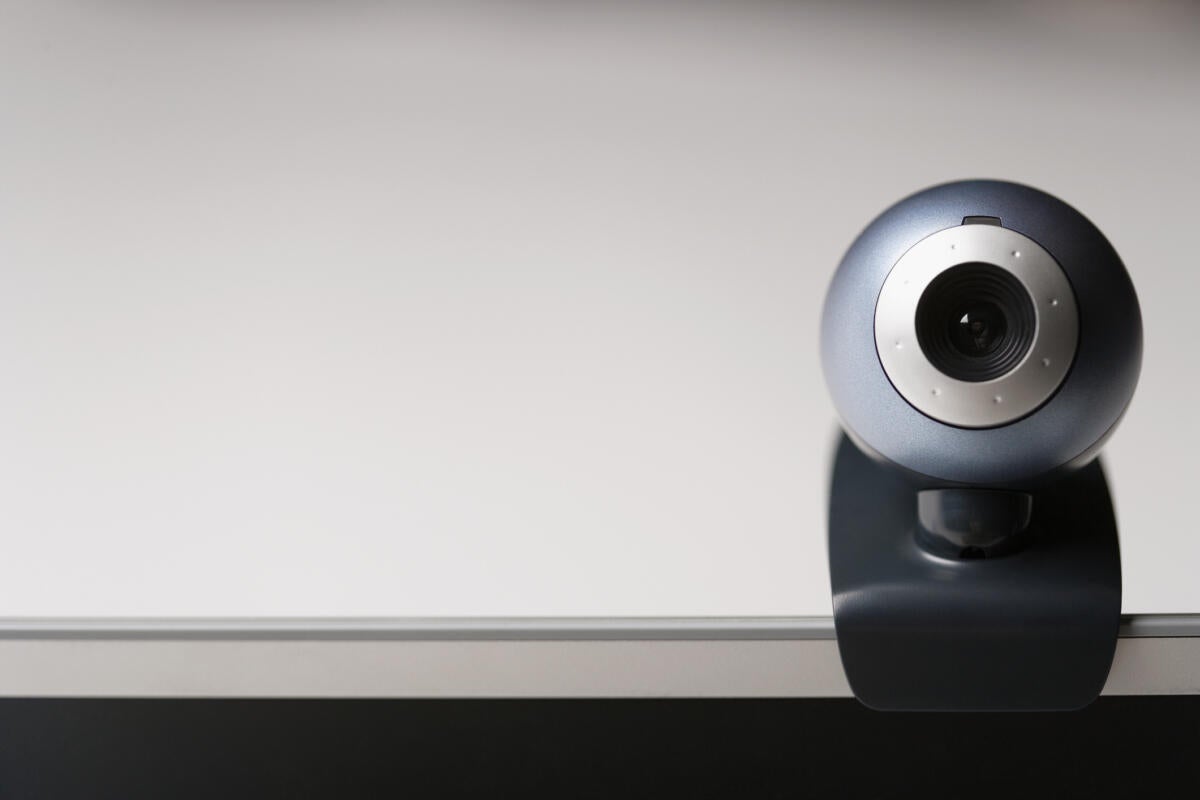
- Mounting Options: Consider how you plan to position the webcam. Some webcams come with built-in clips, while others may require a tripod or stand for stability.
- Additional Features: Some webcams offer additional features like autofocus, noise cancellation, and built-in microphones. Think about your specific needs and look for webcams with relevant features.
Before making a purchase, read customer reviews and compare different models to find the best webcam that fits your requirements and budget. Choosing a high-quality webcam will ensure that you have a seamless and enjoyable video chatting experience.
Checking System Requirements
Before installing a webcam on your PC, it’s essential to ensure that your computer meets the necessary system requirements. Here are the key aspects to consider:
- Operating System: Make sure your PC is running a compatible operating system. Most webcams are designed to work with Windows, macOS, or Linux systems. Check the webcam’s documentation or the manufacturer’s website for specific compatibility information.
- Processor and RAM: A webcam requires a certain level of processing power and memory to function properly. Verify that your computer’s processor meets the minimum requirements recommended by the webcam manufacturer. Additionally, having sufficient RAM ensures smooth video streaming and recording.
- Available USB Ports: Check the number of available USB ports on your computer. Most webcams use USB 2.0 or USB 3.0 connections. Ensure that you have an open USB port compatible with the webcam’s connection type.
- Internet Connection: While not directly related to system requirements, a stable internet connection is essential for video calls and online meetings. Ensure that your internet speed is adequate for seamless video streaming.
- System Updates: It’s crucial to keep your operating system and drivers up to date. Regularly check for system updates to ensure compatibility with the webcam and to benefit from the latest security patches and performance enhancements.
By verifying that your computer meets these system requirements, you can avoid compatibility issues and ensure the smooth installation and operation of your webcam.
Installing the Webcam Hardware
Once you have chosen the right webcam and confirmed that your computer meets the necessary system requirements, it’s time to install the hardware. Follow these steps to install your webcam:
- Read the Manual: Before proceeding, carefully read the user manual provided with your webcam. It will contain specific instructions and precautions for your particular model.
- Locate an Ideal Position: Determine where you want to place your webcam. Make sure it has a clear line of sight and is positioned at eye level for optimal video quality.
- Attach the Webcam: If your webcam comes with a built-in clip, attach it securely to the top of your computer monitor or laptop screen. Alternatively, use a tripod or stand if required.
- Connect the Webcam: Connect the webcam to an available USB port on your computer. Ensure that the connection is secure.
- Adjust the Viewing Angle: Once connected, adjust the webcam’s viewing angle to frame yourself or the desired subject properly. Most webcams allow you to tilt or rotate the camera to achieve the desired position.
- Secure the Cables: To prevent any accidental disconnections, secure the webcam’s cable by routing it neatly and avoiding any sharp bends or tangling.
- Power Up: Some webcams draw power directly from the USB port, while others may require an additional power source. Follow the instructions provided with your webcam to power it up.
Once you have completed these steps, your webcam is now physically installed and ready to be connected to your computer.
Connecting the Webcam to Your PC
Now that you have installed the webcam hardware, the next step is to connect it to your PC. Follow these steps to establish the connection:
- Plug in the USB Connector: Insert the USB connector of the webcam into an available USB port on your computer. Ensure that the connection is secure.
- Wait for Recognition: Your computer should automatically recognize the webcam and begin installing the necessary drivers. Wait for the installation process to complete. If prompted, follow any on-screen instructions to complete the driver installation.
- Verify Connection: Once the installation is complete, open your preferred video conferencing or webcam software to verify that the webcam is recognized and functioning correctly. You should see a live video feed from the webcam.
- Test the Webcam: To ensure everything is working correctly, perform a test run. Make a video call or use the webcam software’s testing features to record a short video clip and play it back. Verify that the video and audio are clear and synced.
If your computer does not automatically recognize the webcam or if you encounter any connectivity issues, try the following troubleshooting steps:
- Disconnect and reconnect the webcam to the USB port.
- Restart your computer and try reconnecting the webcam.
- Check for any driver updates for your webcam by visiting the manufacturer’s website.
- If the issue persists, try connecting the webcam to a different USB port on your computer.
By following these steps, you should be able to successfully connect your webcam to your PC and ensure that it is recognized and functioning properly.
Installing Webcam Software
After connecting the webcam to your PC, the next step is to install the necessary webcam software. Webcam software provides you with additional features and settings to enhance your video calling and recording experience. Here’s how to install the software:
- Check the Webcam Package: The webcam may come with a CD containing the software installation files. Begin by checking if the software is included in the package.
- Visit the Manufacturer’s Website: If the software is not included or you prefer to have the latest version, visit the manufacturer’s website. Look for the support or downloads section and locate the appropriate software for your webcam model and operating system.
- Download the Software: Download the webcam software from the manufacturer’s website. Ensure that you are downloading the correct version compatible with your operating system.
- Run the Installation Wizard: Locate the downloaded software file and run the installation wizard. Follow the on-screen instructions to complete the installation process.
- Configure Settings: Once the software is installed, open it and configure any necessary settings. This may include adjusting video quality, audio settings, and other preferences according to your needs and preferences.
- Test the Software: To ensure that the software is functioning correctly, test it by making a video call or recording a short video clip. Verify that you are able to access the desired features and that the video and audio quality meet your expectations.
If you encounter any issues during the installation process or while using the webcam software, refer to the software’s documentation or visit the manufacturer’s support website for troubleshooting assistance.
By following these steps, you can successfully install and configure the webcam software, allowing you to make the most of your webcam’s features and functionality.
Adjusting Webcam Settings
After installing the webcam software, it’s important to adjust the webcam settings to optimize the video quality and customize the experience according to your preferences. Here are the key settings you can adjust:
- Video Resolution: Most webcam software allows you to adjust the video resolution. Choose the highest resolution that your webcam and internet connection can support for the best video quality.
- Frame Rate: Adjust the frame rate to ensure smooth video playback. A higher frame rate, typically 30 frames per second (fps), provides a more fluid and natural appearance.
- Exposure and Brightness: Experiment with the exposure and brightness settings to improve the overall lighting in your video. Adjust these settings to achieve a well-lit and balanced appearance.
- Focus: If your webcam has an autofocus feature, ensure that it is enabled. You can also manually adjust the focus, especially if you want to highlight specific subjects or objects in your video.
- White Balance: White balance settings help in adjusting the color temperature of your video feed. Experiment with these settings to ensure that the colors appear accurate and natural.
- Audio Settings: If your webcam includes a built-in microphone, adjust the audio settings to enhance the sound quality. You can adjust the microphone sensitivity, volume, and noise cancellation settings as needed.
- Privacy and Security: Some webcam software provides options to control privacy and security settings. Ensure that you have configured the appropriate settings to protect your privacy and prevent unauthorized access.
Take some time to experiment with these settings to find the perfect balance for your video calls, online meetings, or recordings. Additionally, refer to the webcam software’s documentation or online resources for further guidance on adjusting specific settings.
Remember to regularly check and update your webcam software to access the latest features and improvements. By adjusting the webcam settings, you can enhance the overall video and audio quality, creating a more professional and enjoyable experience for yourself and your audience.
Troubleshooting Common Webcam Issues
While webcams are generally reliable, you may encounter certain issues along the way. Here are some common problems and troubleshooting steps to help you resolve them:
- No Video or Image: If you cannot see any video or image from your webcam, ensure that the lens is not blocked. Check the webcam’s connection to the USB port and try reconnecting it. Restart your computer and try again. If the issue persists, update your webcam drivers or reinstall the webcam software.
- Poor Video Quality: If your video appears pixelated, blurry, or low in quality, check your internet connection speed. Ensure that you have enough bandwidth to support higher video resolutions. Adjust the camera settings, such as resolution and frame rate, to improve video quality. If lighting conditions are poor, consider using external lighting or enabling low-light correction features if available.
- Audio Issues: If the audio from your webcam is distorted, low, or not working at all, check the microphone settings in the webcam software. Make sure the microphone is not muted and that the volume is set correctly. If using built-in speakers, check your computer’s audio settings and ensure they are not muted or turned down too low.
- Compatibility Problems: If your webcam is not compatible with your operating system, check the manufacturer’s website for available driver updates or software patches. In some cases, you may need to purchase a different webcam that is compatible with your system.
- Privacy and Security Concerns: To protect your privacy, always cover your webcam when not in use. Ensure that you have configured the webcam software to require permission or authorization before accessing the camera. Regularly update your webcam software to stay protected against potential security vulnerabilities.
- Interference or Conflicts: Other devices or software running on your computer may interfere with the operation of your webcam. Close any unnecessary applications or processes that might be using the webcam. If possible, disconnect any other USB devices that may be causing conflicts.
- Hardware or Cable Issues: Check the cables connecting your webcam to your PC for any damage or loose connections. Try using a different USB cable or port to isolate any potential hardware issues.
If you have exhausted these troubleshooting steps and the issue still persists, it may be necessary to contact the webcam manufacturer’s technical support or seek professional assistance for further diagnosis and resolution.
By understanding these common webcam issues and following the troubleshooting steps, you can address potential problems and ensure a smooth and trouble-free experience with your webcam.