
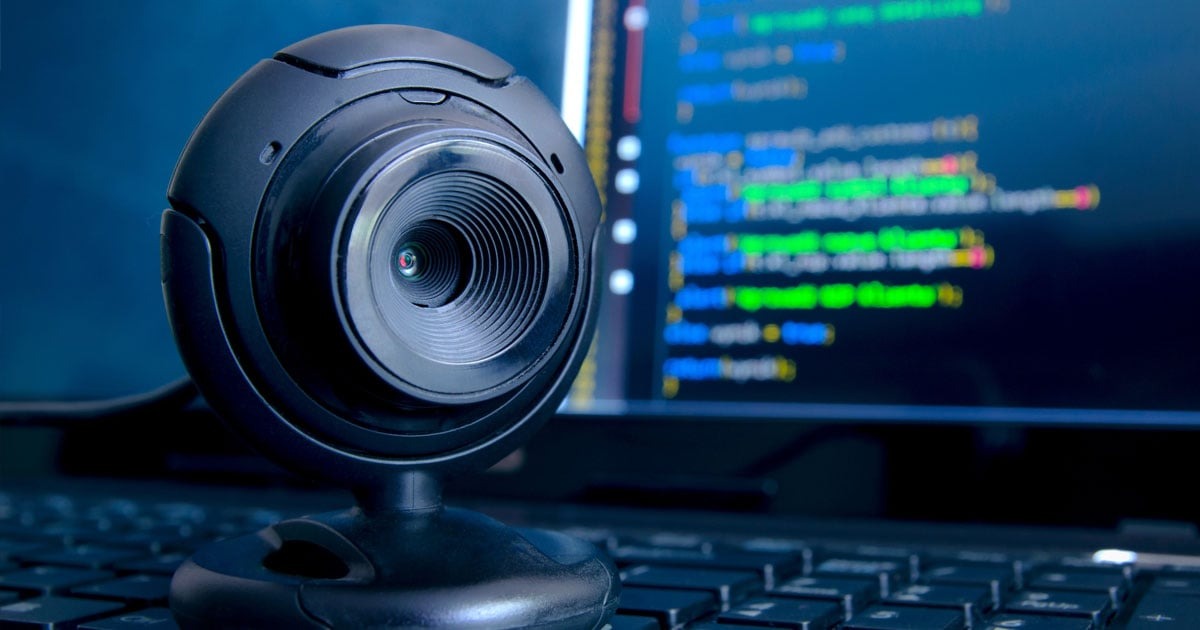
Check if your Webcam is Compatible with Your Device
Before trying to activate your webcam, it is crucial to ensure that your device is compatible with it. Here are some steps to help you determine if your webcam is compatible:
- Check the system requirements: Start by reviewing the system requirements for your webcam. These requirements can usually be found on the manufacturer’s website or in the product documentation. Look for information on the operating system, processor speed, RAM, and available USB ports.
- Verify the connection type: Different webcams use different connection types, such as USB, HDMI, or wireless. Make sure that the connection type of your webcam matches the ports available on your device. If you’re using a USB webcam, ensure that you have an available USB port.
- Check for software compatibility: Some webcams require specific software or drivers to function properly. Visit the manufacturer’s website and search for your webcam model to confirm if any additional software or drivers are needed. Ensure that the software is compatible with your operating system.
- Confirm compatibility with your applications: If you plan to use your webcam with specific applications, such as video conferencing software or video chat platforms, check the system requirements and compatibility information for those applications as well. Some applications may have specific requirements or may not support certain webcam models.
By following these steps, you can verify the compatibility of your webcam with your device. If your webcam is not compatible, consider looking for alternative models or upgrading your device to meet the necessary requirements.
Update Your Webcam Drivers
In order to activate your webcam and ensure its proper functioning, it is essential to keep your webcam drivers up to date. Webcam drivers are software components that allow your device to communicate with the webcam hardware. Here’s how you can update your webcam drivers:
- Visit the manufacturer’s website: Go to the website of your webcam manufacturer and look for the “Support” or “Downloads” section. Navigate to the drivers or software section and search for the latest drivers for your specific webcam model. Download the appropriate driver for your operating system.
- Automatic driver update: Some webcam manufacturers provide software utilities that can automatically detect and update outdated drivers. Check if your webcam manufacturer offers such a tool and follow the instructions on their website to download and run the software. This can simplify the process and ensure that you have the latest drivers installed.
- Update through Device Manager (Windows): On Windows devices, you can update webcam drivers through the Device Manager. Press the Windows key + X and select “Device Manager” from the menu. Expand the “Imaging devices” or “Cameras” category, right-click on your webcam, and choose “Update driver.” Select the option to search for updated drivers automatically. Windows will search online and install any available updates for your webcam.
- Update through System Preferences (Mac): On Mac devices, you can update webcam drivers through the System Preferences. Click on the Apple menu and select “System Preferences.” Choose “Software Update” and let your Mac search for any available driver updates. If there is an update available for your webcam, click “Install” to update the driver.
Updating your webcam drivers can resolve compatibility issues, improve performance, and enhance the functionality of your webcam. Regularly checking for driver updates will ensure that you have the latest software required to activate your webcam and achieve optimal results.
Enable Your Webcam Through Your Device’s Settings
Once you have verified the compatibility and updated the drivers for your webcam, the next step is to enable it through your device’s settings. Enabling your webcam will allow applications and software to recognize and access the camera. Here’s how you can enable your webcam:
- Windows: On Windows devices, you can enable your webcam through the Camera app settings. Press the Windows key + I to open the Settings menu. Select “Privacy” and then choose “Camera” from the left-hand menu. Make sure the toggle switch under “Allow apps to access your camera” is turned on. Scroll down to the list of apps and ensure that the toggle switch next to each app that requires the camera is also turned on.
- Mac: On Mac devices, you can enable your webcam through the System Preferences. Click on the Apple menu and select “System Preferences.” Choose “Security & Privacy” and select the “Privacy” tab. Click on the lock icon at the bottom left of the window and enter your administrator password. In the left-hand menu, select “Camera” and make sure the checkbox next to each app that requires the camera is checked.
- Mobile Devices: On mobile devices, enabling the camera may vary depending on the operating system and device model. Generally, you can go to the device’s Settings app, look for “Camera” or “Privacy,” and make sure the camera access is granted to the desired apps.
By enabling your webcam through your device’s settings, you allow applications and software to utilize the camera for various purposes such as video conferencing, live streaming, or taking photos. Ensure that you have granted camera access to the desired apps to fully activate and utilize your webcam’s capabilities.
Check if Your Webcam is Blocked by an Application or Antivirus Program
If your webcam is not activating, it may be blocked by an application or antivirus program. Sometimes, these programs can prevent your webcam from functioning properly for security reasons. Here are some steps to check if your webcam is being blocked:
- Scan for antivirus software: Run a scan with your antivirus software to check for any potential threats or suspicious activity. Sometimes, antivirus programs may mistakenly flag your webcam as a security risk. If any threats are detected, follow the instructions provided by your antivirus software to resolve them.
- Check application settings: Some applications, such as video conferencing tools or communication platforms, have settings that allow you to grant or deny access to your webcam. Open the settings or preferences menu of the specific application you are using, and make sure that your webcam is enabled and given the necessary permissions.
- Disable conflicting applications: If you have multiple applications running that might be using the webcam simultaneously, they can conflict with each other and prevent the webcam from activating. Close any unnecessary applications and try activating the webcam again.
- Temporarily disable antivirus software: To check if your antivirus software is blocking your webcam, temporarily disable it. Keep in mind that this should only be done for testing purposes and you should re-enable the antivirus software once the test is complete.
- Check firewall settings: Firewalls can also block your webcam’s access to the internet, causing activation issues. Review your firewall settings and ensure that your webcam is allowed to communicate through the firewall.
By following these steps, you can determine whether your webcam is being blocked by an application or antivirus program. Fixing any blocks or conflicts can help you activate your webcam and use it smoothly for video calls, conferences, or other purposes.
Restart Your Device
If you are experiencing problems activating your webcam, a simple yet effective troubleshooting step is to restart your device. Restarting your device can help resolve temporary software glitches or conflicts that may be preventing your webcam from working properly. Here’s how you can restart your device:
- Windows: On a Windows device, click on the Start menu and select the Power icon. Choose the “Restart” option and wait for your device to shut down and restart.
- Mac: On a Mac device, click on the Apple menu in the top-left corner of the screen and select “Restart” from the drop-down menu. Wait for your Mac to shut down and restart.
- Mobile Devices: On mobile devices, the process may vary depending on the operating system and device model. Generally, you can press and hold the power button until the power options appear. Choose the “Restart” option and wait for your device to restart.
Restarting your device can refresh the system processes, clear temporary files, and reset any conflicting settings that may be affecting your webcam. After the restart, try activating your webcam again and check if the issue is resolved.
If restarting your device doesn’t solve the problem, proceed to the next troubleshooting steps to further diagnose and fix any potential issues with your webcam.
Troubleshoot Common Webcam Activation Problems
If your webcam is still not activating after following the previous steps, there may be specific issues causing the problem. Troubleshooting common webcam activation problems can help identify and resolve these issues. Here are some troubleshooting steps you can try:
- Check webcam cables and connections: Ensure that all cables connecting your webcam to your device are securely plugged in. If you are using a USB webcam, try using a different USB port to rule out any potential port or cable issues.
- Verify webcam status in Device Manager: Open the Device Manager on your Windows device and expand the “Imaging devices” or “Cameras” category. Check if your webcam is listed and if there are any warning icons or error messages. Right-click on your webcam and select “Properties” to view more details and troubleshoot any driver-related issues.
- Check for software conflicts: Sometimes, other software or applications on your device can conflict with your webcam hardware. Try closing other applications or restarting your device to eliminate any potential conflicts.
- Run a hardware troubleshooter: Both Windows and Mac devices have built-in hardware troubleshooting tools that can help identify and fix issues with your webcam. Search for “troubleshoot” or “hardware troubleshooter” in your device’s search bar and follow the instructions to run the troubleshooter for your webcam.
- Update or reinstall webcam software: If you are using specific webcam software, check for any available updates and install them. If the software is already up to date, consider uninstalling and reinstalling it to ensure a clean installation.
- Consider hardware or driver conflicts: In some cases, conflicts between webcam drivers and other hardware drivers on your device can prevent the webcam from activating. If you have recently installed new hardware or updated drivers, try rolling back the changes or contacting the manufacturer for assistance.
By troubleshooting common webcam activation problems, you can identify and resolve specific issues that may be preventing your webcam from working. If the problem persists, it may be necessary to seek further assistance from the webcam manufacturer’s support team or a professional technician.
Test Your Webcam to Ensure It Is Working Properly
After going through the troubleshooting steps, it is important to test your webcam to ensure that it is working properly. Testing will help you determine if the activation issues have been resolved and if your webcam is functioning as intended. Follow these steps to test your webcam:
- Use the default camera application: Most devices come with a default camera application that allows you to take photos and videos using your webcam. Open the camera application on your device and check if the webcam feed is displayed. Use the camera controls to capture a photo or record a short video to verify the functionality.
- Use online webcam testing tools: There are several online tools available that allow you to test your webcam’s functionality. These tools provide a live preview of your webcam’s video feed and allow you to capture test photos or record test videos. Search for “webcam test” in a search engine and choose a reputable and reliable webcam testing website to perform the test.
- Test with video conferencing or communication applications: Use video conferencing or communication applications, such as Zoom, Skype, or Microsoft Teams, to check if your webcam is working during a video call. Initiate a test call or video chat with a trusted contact and verify if your webcam video is being transmitted properly.
- Check the image quality and settings: During the webcam test, pay attention to the image quality, including factors like clarity, brightness, and color accuracy. Adjust the webcam settings in the camera application or the video conferencing software to optimize the image quality if necessary.
By testing your webcam, you can confirm that it is functioning correctly after resolving any activation issues. If you encounter any issues during the test or if the webcam is still not working as expected, it may be necessary to seek further assistance from technical support or consult the webcam manufacturer’s website for additional troubleshooting steps.
Adjust Your Webcam Settings for Optimal Performance
To get the best performance from your webcam and enhance the quality of your video recordings or video calls, it’s important to adjust the settings according to your preferences. Fine-tuning your webcam settings can help optimize the image and audio quality to provide a more immersive and professional experience. Here are some settings you can adjust:
- Resolution: Adjust the resolution of your webcam to the desired level. Higher resolutions provide sharper and more detailed images, but they might require more bandwidth and processing power. Find the resolution settings either in the webcam software or in the settings menu of the video conferencing application you are using.
- Frame rate: The frame rate determines how many frames per second are captured by your webcam. Higher frame rates result in smoother video playback. Experiment with frame rate settings to find the right balance between smoothness and performance.
- Exposure and white balance: Adjust the exposure and white balance settings to ensure a well-lit and properly balanced image. These settings can help improve visibility in different lighting conditions and correct color temperature issues.
- Focus and zoom: If your webcam supports autofocus, ensure that it is enabled and set to the appropriate mode. If you prefer manual focus, adjust the focus ring on your webcam to get clear and sharp images. Some webcams also have zoom capabilities, allowing you to zoom in or out as needed.
- Microphone settings: If your webcam has a built-in microphone, adjust its settings to optimize audio quality. Ensure that the microphone input level is set correctly, mute any background noise suppression features if necessary, and position the webcam and microphone in an optimal location for capturing your voice clearly.
- Background and effects: Some webcam software or video conferencing applications offer background replacement or effects features. Explore these options to change your background, add filters, or apply fun effects to make your video experience more engaging and entertaining.
By adjusting your webcam settings, you can enhance the visual and audio quality of your webcam recordings or video calls. Experiment with different settings to find the configuration that best suits your needs and the specific requirements of each situation. Remember to save your settings once you are satisfied with the adjustments to ensure consistent performance in future webcam sessions.