
Reasons to temporarily disable Norton Internet Security
Norton Internet Security is a powerful antivirus software that provides comprehensive protection against various online threats. However, there might be situations where you need to temporarily disable Norton Internet Security. Here are some common reasons why you might choose to do so:
- Installing legitimate software: During the installation of some legitimate software or certain system updates, you might encounter compatibility issues with Norton Internet Security. Temporarily disabling the software can help you proceed with the installation smoothly.
- Troubleshooting network connectivity: Sometimes, network-related issues can arise due to Norton Internet Security settings. Disabling the software can help identify whether it is causing the connection problem and find a solution.
- Running specific applications: Certain applications, especially those with high system requirements or complex configurations, might conflict with Norton Internet Security. Temporarily disabling the software can ensure that these applications run without any interruptions.
- Performing system maintenance: When performing system maintenance tasks like disk cleanup or defragmentation, disabling Norton Internet Security can speed up the process and prevent unnecessary scans or notifications.
- Troubleshooting false positives: Norton Internet Security occasionally detects legitimate files or applications as threats. By temporarily disabling the software, you can determine if the detected item is a false positive and take appropriate action.
- Fixing software conflicts: In rare cases, another security software or firewall may conflict with Norton Internet Security. Temporarily disabling it can help identify and resolve these conflicts to ensure a smooth operation of the system.
- Running system backup and restore: During a system backup or restoration process, you might encounter issues with Norton Internet Security interfering with the process or causing delays. Disabling the software temporarily can help avoid such complications.
Remember, these are just some common scenarios where you may need to temporarily disable Norton Internet Security. It is essential to exercise caution and re-enable the software as soon as your task is complete to ensure the continuous protection of your system.
How to disable Norton Internet Security temporarily from the System Tray
If you need to quickly disable Norton Internet Security without completely turning off your computer’s protection, you can do so directly from the System Tray. Follow these steps:
- Locate the Norton icon in the System Tray, typically found in the bottom-right corner of the screen.
- Right-click on the Norton icon to open the context menu.
- In the context menu, select “Disable Auto-Protect.”
- A confirmation dialog will appear. Select the desired time period for the Norton Auto-Protect feature to remain disabled. You can choose options like 15 minutes, 1 hour, 5 hours, or until system restart.
- Click “OK” to apply the changes and temporarily disable Norton Internet Security’s Auto-Protect feature.
Once the specified time period has elapsed, or if you want to re-enable the protection before that, right-click on the Norton icon again, select “Enable Auto-Protect,” and the software will resume its protective functionality.
Remember, while Norton Internet Security’s Auto-Protect is temporarily disabled, your system will be vulnerable to threats. It is essential to exercise caution while browsing the internet or downloading files during this time and re-enable the protection as soon as your task is complete.
How to disable all Norton Internet Security features temporarily
If you need to disable all the features of Norton Internet Security temporarily, such as antivirus, firewall, and other security components, follow these steps:
- Open the Norton Internet Security application on your computer. You can usually find it by double-clicking the Norton icon on your desktop or searching for “Norton Internet Security” in the Start menu.
- In the Norton main window, locate and click on the “Settings” option.
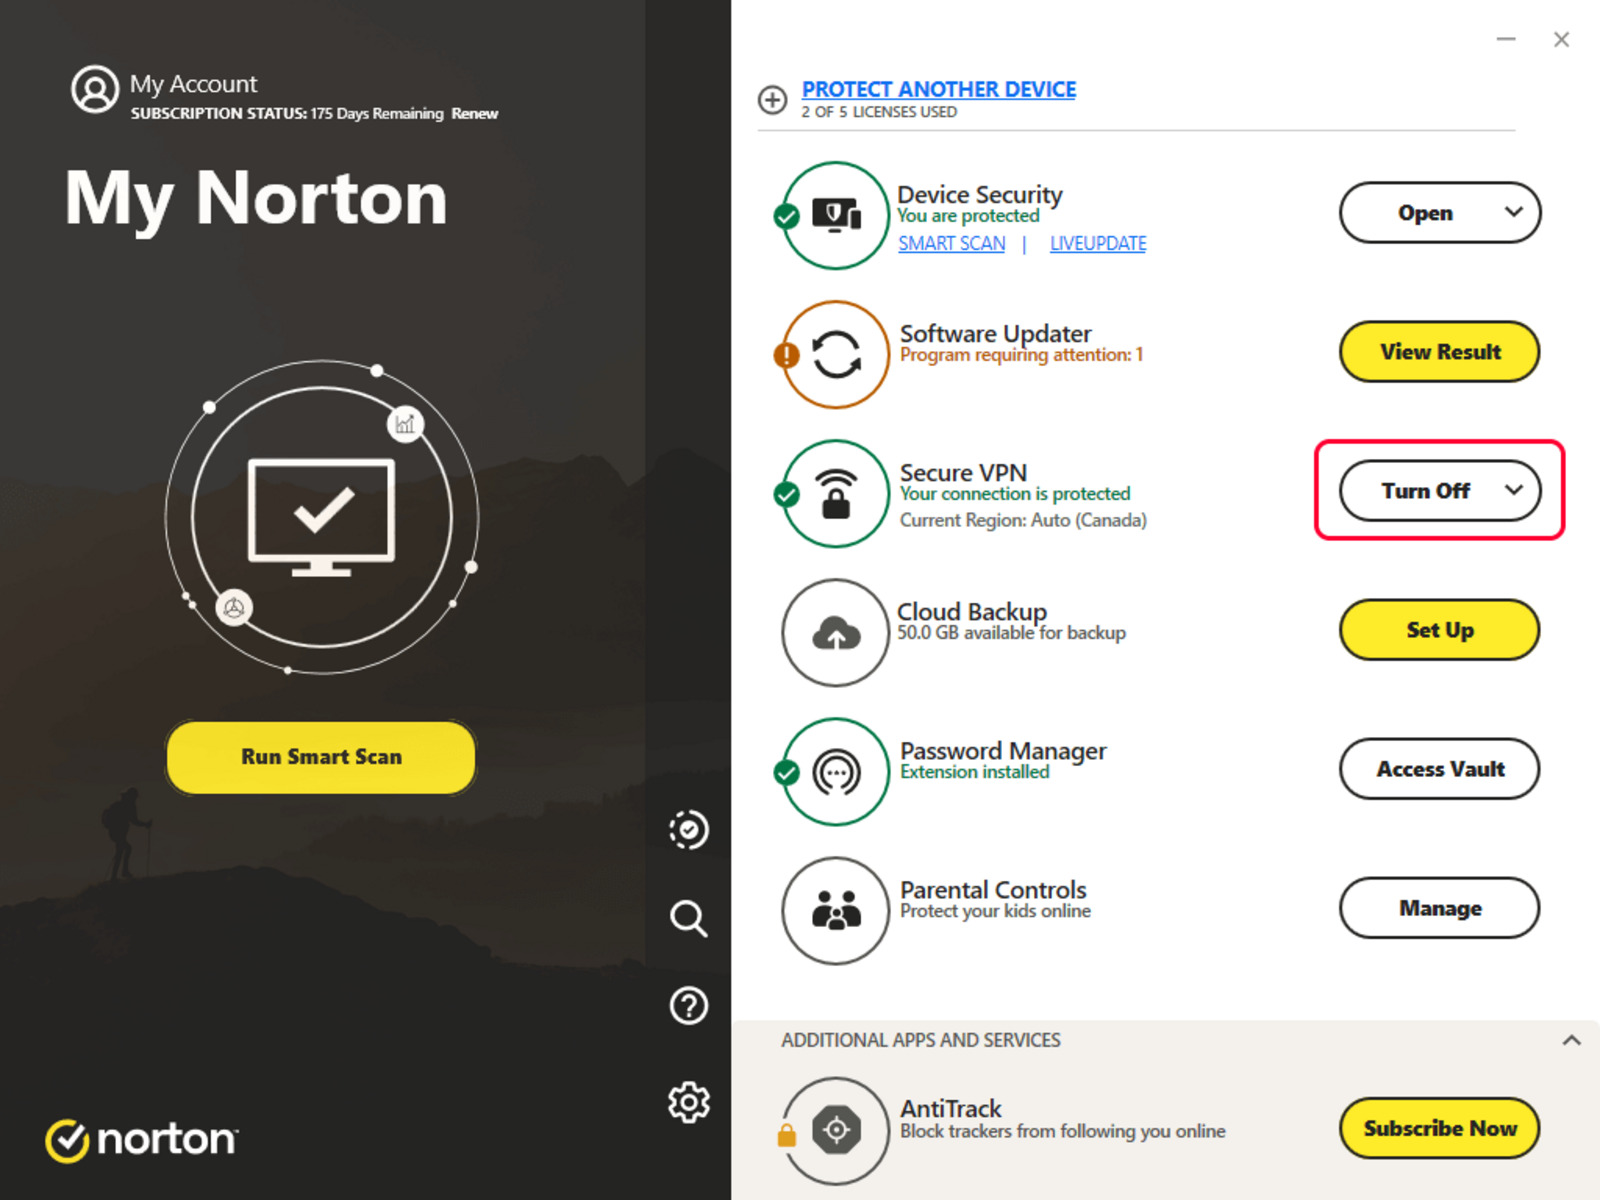
- In the Settings window, click on the “Firewall” or “Antivirus” tab, depending on which component you want to disable.
- Look for the toggle or switch that allows you to disable the selected feature. It is usually labeled as “Turn Off,” “Disable,” or something similar.
- Click on the toggle to disable the selected feature. A confirmation prompt may appear, asking you to confirm the action. Follow the prompts to proceed with disabling the feature.
- Repeat the process for any other Norton Internet Security features you wish to disable temporarily.
Once you have disabled all the desired features, Norton Internet Security will stop providing protection until you re-enable them.
To re-enable the features, follow the same steps but toggle the switches or options to turn them back on. Remember to promptly re-enable the features after completing the task for which you disabled them to ensure the continued security of your system.
How to disable specific Norton Internet Security features temporarily
If you want to disable specific features of Norton Internet Security temporarily while keeping other components active, follow these steps:
- Open the Norton Internet Security application on your computer by double-clicking the Norton icon on your desktop or searching for “Norton Internet Security” in the Start menu.
- In the Norton main window, click on the “Settings” option.
- In the Settings window, look for the section that lists the different features or components of Norton Internet Security, such as antivirus, firewall, or spam protection.
- Find the feature that you want to disable temporarily and click on it to access its specific settings.
- Within the feature settings, locate a toggle switch or option that allows you to disable that particular feature.
- Toggle the switch or click on the option to disable the feature temporarily. Depending on the feature, you may be prompted with a confirmation dialog; follow the instructions to proceed with the disablement.
- Repeat this process for any other features that you want to disable temporarily.
By selectively disabling specific features, you can customize the level of protection provided by Norton Internet Security to suit your needs.
To re-enable the features, follow the same steps and toggle the switches or options to turn them back on. It is crucial to remember to re-enable the features promptly after you have completed the task for which you disabled them.
By temporarily disabling specific features, you can still benefit from the overall protection offered by Norton Internet Security while having greater control over the individual components during specific scenarios or tasks.
How to set a time period for Norton Internet Security to remain disabled
If you need to disable Norton Internet Security for a specific duration and want it to automatically enable itself after that time period, you can utilize the built-in timer feature. Follow these steps to set a time period for Norton Internet Security to remain disabled:
- Open the Norton Internet Security application on your computer. You can find it by double-clicking the Norton icon on your desktop or searching for “Norton Internet Security” in the Start menu.
- In the Norton main window, click on the “Settings” option.
- Look for the section that mentions “Automatic Protection.” Here, you will find an option labeled “Temporary Disable.” Click on it.
- In the “Temporary Disable” dialog box, you can choose the duration for which you want Norton Internet Security to remain disabled. You can select pre-defined time intervals, such as 15 minutes, 1 hour, 5 hours, or customize a specific time frame.
- Select the desired time period or specify a custom duration by entering the start and end times.
- Click on the “Apply” or “OK” button to save the changes.
Once the specified time period elapses, Norton Internet Security will automatically re-enable itself and provide protection for your system.
It is important to note that setting the time period for Norton Internet Security to remain disabled is a convenient option for temporary disablement. However, exercise caution and ensure that you re-enable the software promptly after completing the task for which you disabled it.
This feature provides an added level of control and convenience, allowing you to schedule temporary disablement without worrying about re-enabling Norton Internet Security manually.
How to temporarily disable Norton Internet Security during a specific action
If you need to temporarily disable Norton Internet Security for a specific action or task, follow these steps:
- Open the Norton Internet Security application on your computer by double-clicking the Norton icon on your desktop or searching for “Norton Internet Security” in the Start menu.
- In the Norton main window, click on the “Settings” option.
- Look for the section that mentions “Smart Firewall” or “Auto-Protect.” The exact wording may vary depending on the version of Norton you are using.
- Within the Smart Firewall or Auto-Protect settings, find the option to “Disable temporarily” or “Turn off temporarily.”
- Click on the disable or turn off option and confirm any prompts that appear.
- Perform the specific action or task that requires Norton Internet Security to be temporarily disabled.
- Once you have completed the action, go back to the Norton settings and locate the option to “Enable” or “Turn on” the feature that you disabled earlier.
- Click on the enable or turn on option to re-enable Norton Internet Security and restore its protection on your system.
It is critical to note that during the period when Norton Internet Security is disabled, your system is susceptible to online threats. Therefore, ensure that you only disable it when necessary and promptly re-enable it after completing the specific action or task.
By temporarily disabling Norton Internet Security during a specific action, you can resolve compatibility issues, troubleshoot network connectivity problems, or perform other tasks that require the software to be turned off temporarily. Once you have completed the task, don’t forget to re-enable Norton to maintain the protection of your system.
How to enable Norton Internet Security after disabling it temporarily
If you have temporarily disabled Norton Internet Security and want to enable it again to restore the protection on your system, follow these steps:
- Locate the Norton Internet Security application on your computer. You can typically access it by double-clicking the Norton icon on your desktop or searching for “Norton Internet Security” in the Start menu.
- Open the Norton main window by clicking on the Norton icon.
- In the Norton main window, look for the “Settings” option and click on it.
- Within the Settings window, navigate to the section that corresponds to the feature or component that you had previously disabled.
- Find the switch or option that allows you to enable the feature. It is usually labeled as “Enable,” “Turn On,” or something similar.
- Toggle the switch or click on the option to enable the feature.
- Review the settings for the enabled feature to ensure they meet your desired preferences.
- Click “Apply” or “OK” to save the changes and enable Norton Internet Security.
Once you have completed these steps, Norton Internet Security will be re-enabled and provide protection for your system as per your configured settings.
Remember, it is crucial to promptly re-enable Norton Internet Security after disabling it temporarily. Keeping your antivirus software enabled at all times is essential for maintaining the security and integrity of your system.
By following these steps to enable Norton Internet Security, you can ensure continuous protection against online threats and enjoy the peace of mind that comes with a robust security solution.
Tips and precautions for temporarily disabling Norton Internet Security
While temporarily disabling Norton Internet Security can be necessary in certain situations, it’s important to follow some tips and take precautions to ensure the security and stability of your system. Here are some key considerations:
- Disable only when necessary: Only disable Norton Internet Security when you encounter specific situations that require its temporary disablement. Keeping it enabled at all other times ensures ongoing protection against online threats.
- Choose the right level of disablement: If possible, disable only the specific feature or component that is causing the issue, rather than completely turning off all Norton Internet Security features. This helps maintain a level of protection while resolving the specific problem.
- Enable as soon as the task is complete: Once you have finished the action or task that required Norton Internet Security to be temporarily disabled, re-enable it immediately. Leaving it disabled for an extended period increases the risk of malware and other security threats.
- Stay cautious during disablement: While Norton Internet Security is disabled, exercise caution when browsing the internet, downloading files, or opening email attachments. Be aware that your system may be vulnerable to potential threats during this period.
- Keep software up to date: Ensure that Norton Internet Security and other security software on your system are always updated with the latest patches and definitions. This helps maintain protection levels and addresses any security vulnerabilities.
- Be aware of false positives: Norton Internet Security may occasionally flag legitimate files or applications as threats. Before disabling the software, verify if the detected item is a false positive by conducting thorough research or seeking support from Norton’s official channels.
- Regularly scan your system: Perform regular system scans with Norton Internet Security to detect and remove any potential threats that may have entered your system during the period of temporary disablement.
By following these tips and taking precautions, you can ensure the safety of your system even during temporarily disabled periods of Norton Internet Security. Remember, the primary goal is to balance the need for convenience with the importance of maintaining robust security measures.