
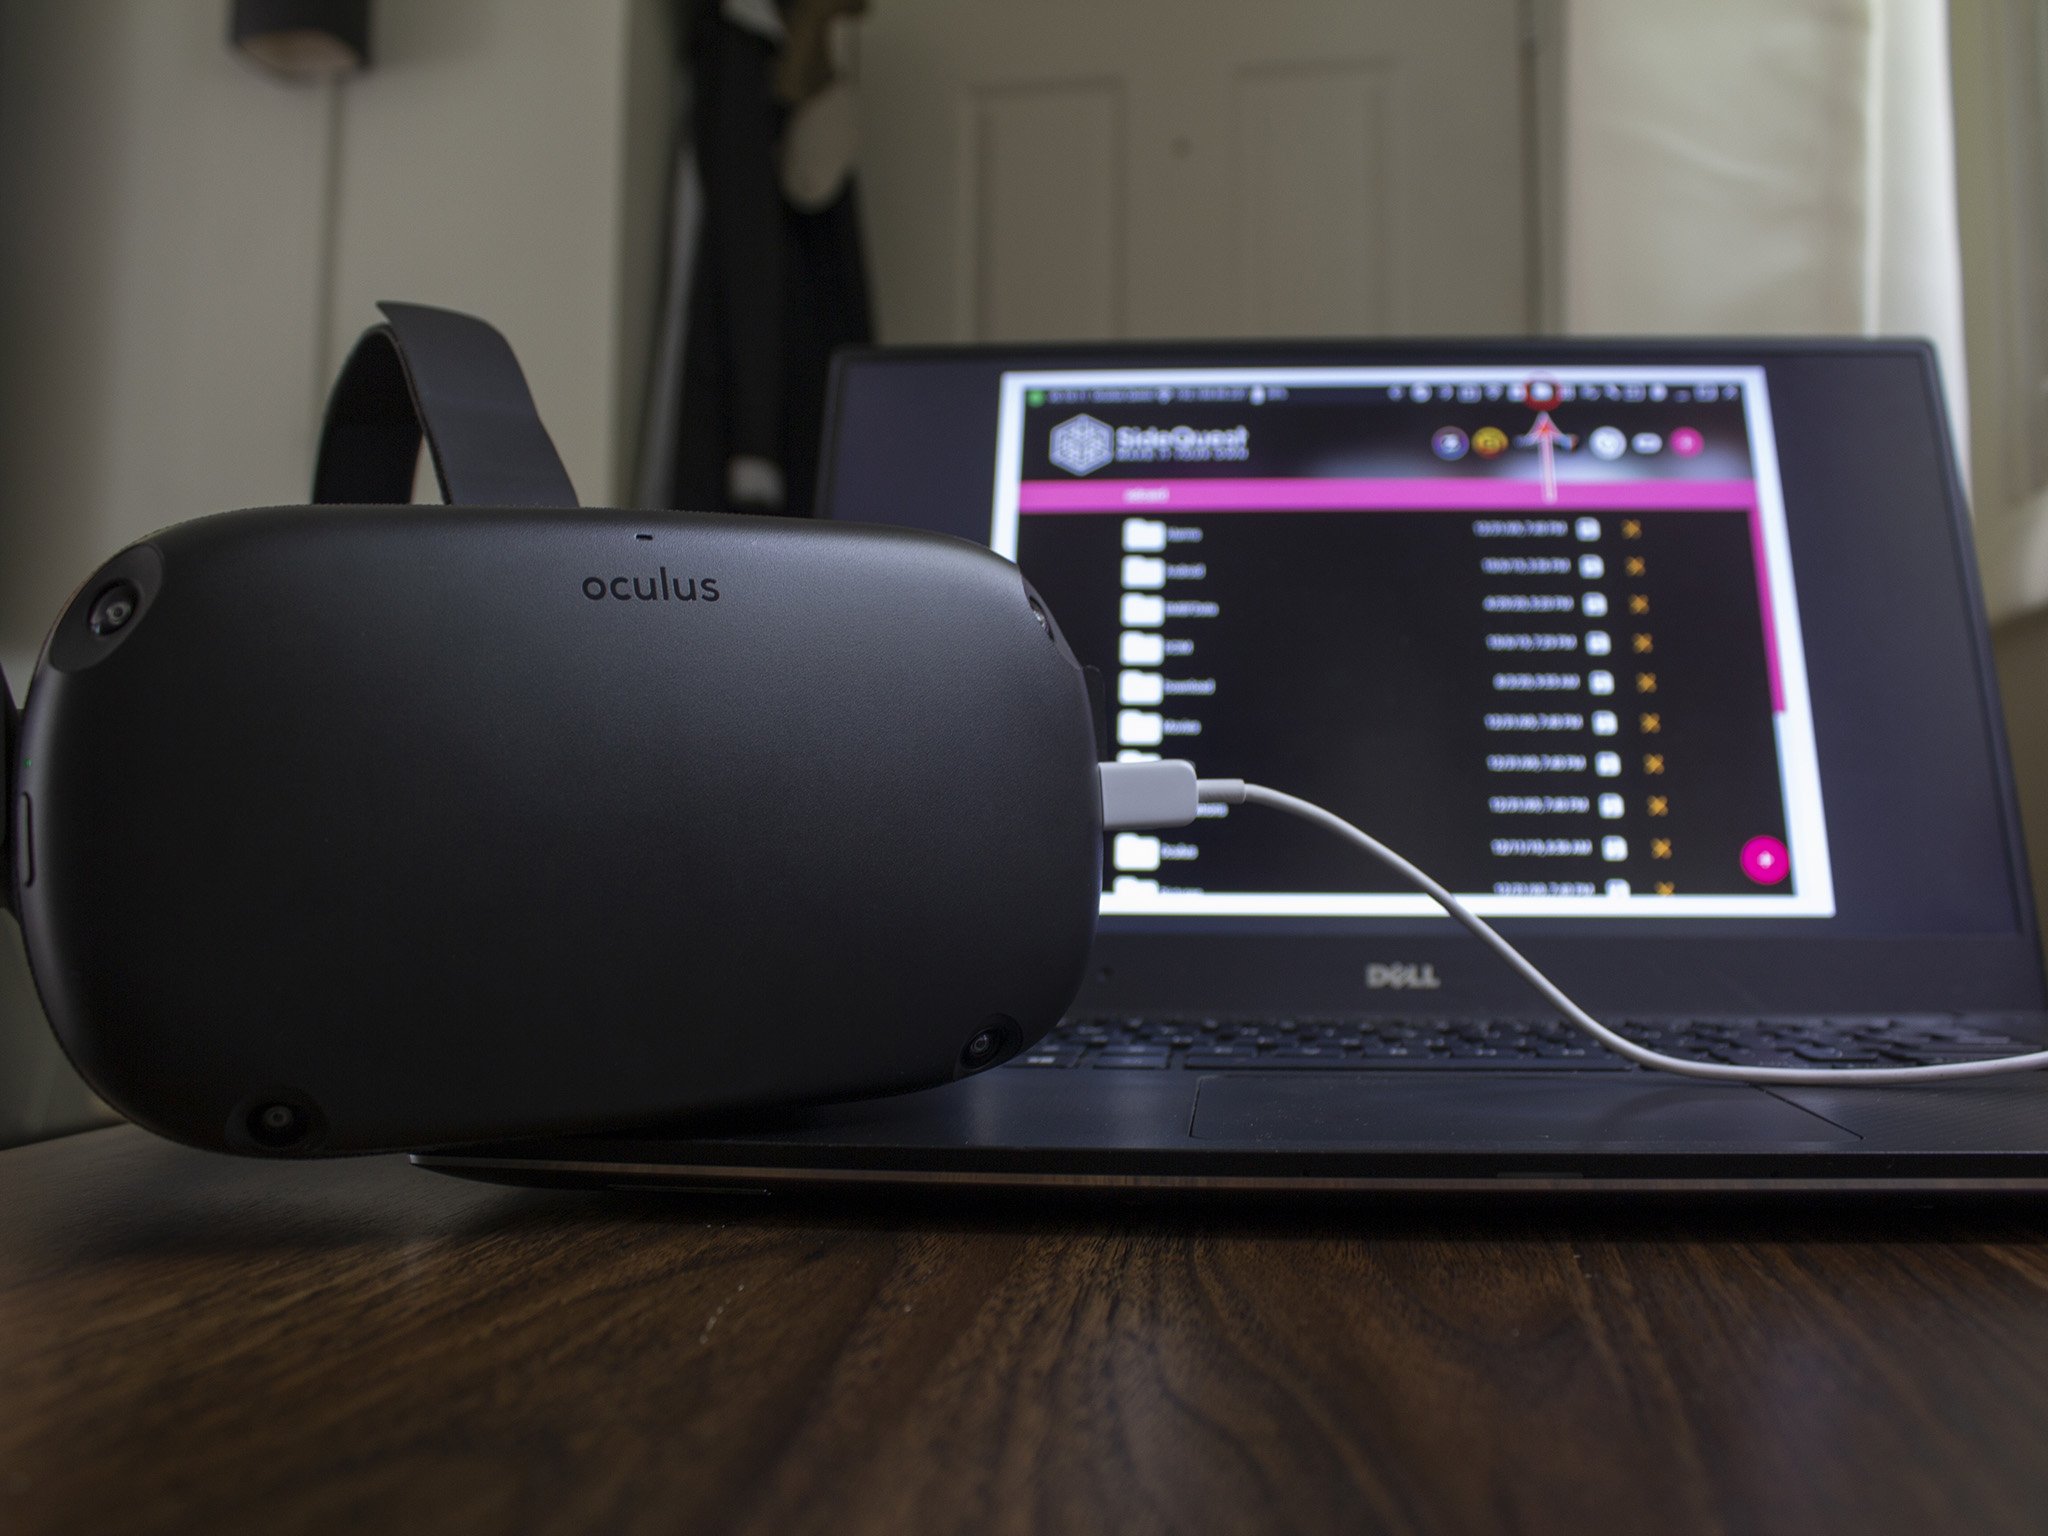
Why Change the Download Folder on Oculus Rift
The ability to change the download folder on your Oculus Rift can greatly enhance your virtual reality experience. By default, the Oculus software automatically saves all downloaded games, apps, and updates to a specific folder on your computer’s hard drive. However, this default location may not always be ideal for various reasons.
One reason you may want to change the download folder is to free up space on your main hard drive. VR games and applications can be quite large, taking up a significant amount of storage. By setting a new download folder on a different drive or partition with more available space, you can avoid running out of storage on your primary drive.
Another reason to change the download folder is for organizational purposes. If you have multiple drives or partitions on your computer, it can be helpful to keep all your VR content in a dedicated folder. This allows for easier management and access to your virtual reality library, especially when you have a large collection of games and apps.
Additionally, changing the download folder can be useful if you prefer to store your Oculus content separately from your other files. This way, you can easily locate and manage your VR content without it getting mixed up with other files and folders.
Overall, changing the download folder on Oculus Rift gives you greater control over where your VR content is stored and allows for a more organized and efficient experience. Whether you want to optimize storage space, keep your VR library separate, or simply have more flexibility in managing your downloads, changing the download folder is a straightforward solution.
Step 1: Locating the Default Download Folder
Before you can change the download folder on your Oculus Rift, you first need to locate the default download folder where the Oculus software saves all the downloaded content. Here’s how you can find it:
- Launch the Oculus software on your computer.
- Click on the ‘Settings’ tab at the bottom of the window.
- In the settings menu, select ‘General’ from the left-hand panel.
- Scroll down to the ‘Downloads’ section.
- Under ‘Library Locations’, you will see the default download folder labeled ‘Download Location’ with the file path.
Take note of the file path displayed, as you will need it later when creating the new download folder.
Please note that the default download folder location may vary depending on your operating system. If you are using Windows, it is typically in the ‘C:\Program Files\Oculus\Software’ directory. For Mac users, it is usually found in the ‘Applications’ folder.
By locating the default download folder, you now have the necessary information to proceed with creating a new download folder.
Step 2: Creating a New Download Folder
Now that you know the location of the default download folder on your Oculus Rift, it’s time to create a new folder where you want your downloads to be stored. Follow these simple steps:
- Open a file explorer window on your computer.
- Navigate to the location where you want to create the new download folder. This can be on a different drive or partition than the default folder.
- Right-click on an empty space in the file explorer window and select ‘New’ from the context menu.
- Choose ‘Folder’ from the sub-menu. A new folder will be created.
- Give the new folder a descriptive name that will help you easily identify it as your Oculus Rift download folder.
Once you have created the new download folder, you are ready to adjust the Oculus software settings to point to this location as the default download folder.
Keep in mind that the new download folder can be created anywhere on your computer, as long as you have write access to that location. You can choose to create it within your existing file structure or on a separate drive altogether.
With the new download folder in place, you can now proceed to the next step of adjusting the Oculus software settings.
Step 3: Adjusting the Oculus Software Settings
Now that you have created a new download folder, it’s time to adjust the settings in the Oculus software to recognize and use this folder as the default location for your downloads. Here’s how you can do it:
- Launch the Oculus software on your computer.
- Click on the ‘Settings’ tab at the bottom of the window.
- In the settings menu, select ‘General’ from the left-hand panel.
- Scroll down to the ‘Downloads’ section.
- Click on the ‘Browse’ button next to the ‘Download Location’ field.
- A file explorer window will open. Navigate to the location where you created the new download folder.
- Select the new download folder and click on the ‘OK’ button.
Once you have selected the new download folder, the Oculus software will now use this location as the default folder for all your downloads.
It is worth noting that changing the download folder does not automatically move any existing files from the old folder to the new one. Only new downloads will be saved to the new location. If you want to move your existing files to the new folder, you will need to manually do so using your file explorer.
With the Oculus software settings adjusted, you are now ready to move on to the next step of setting the new download folder as the default.
Step 4: Setting the New Download Folder as the Default
Now that you have adjusted the Oculus software settings to recognize the new download folder, it’s time to set it as the default location for all your Oculus Rift downloads. Follow these steps:
- Launch the Oculus software on your computer.
- Click on the ‘Settings’ tab at the bottom of the window.
- In the settings menu, select ‘General’ from the left-hand panel.
- Scroll down to the ‘Downloads’ section.
- Make sure that the ‘Automatically download updates and purchases’ option is enabled.
- Next to the ‘Download Location’ field, you will see the path to the new download folder you selected earlier.
- Click on the checkbox labeled ‘Set as Default’ next to the download location path.
Once you have checked the ‘Set as Default’ option, the Oculus software will use the new download folder as the default location for all future downloads. This ensures that any new games, apps, or updates you download from the Oculus store will be saved to the new folder.
Remember, if you ever want to change the download folder again in the future, you can repeat these steps and choose a new location.
With the new download folder set as the default, you are now ready to verify that the new folder is being recognized by the Oculus software.
Step 5: Verifying the New Download Folder
After setting the new download folder as the default in the Oculus software, it’s important to verify that the changes have taken effect and that the Oculus Rift is saving downloads to the correct location. Here’s how you can verify the new download folder:
- Launch the Oculus software on your computer.
- Navigate to the Oculus Store and find a game, app, or update that you want to download.
- Click on the ‘Download’ or ‘Update’ button for the desired item.
- During the download process, pay attention to the download progress bar.
- If the progress bar fills up and the download is successfully completed, it indicates that the Oculus software is saving the content to the new download folder.
- To further confirm, you can open the file explorer on your computer and navigate to the new download folder.
- Check for any newly downloaded files or folders related to the content you just downloaded or updated.
If you can see the downloaded files or folders in the new download folder, it means that the Oculus Rift is saving the content to the correct location. This confirms that the changes you made to the download folder have been successfully implemented.
On the other hand, if you don’t find any downloaded files or folders in the new download folder, double-check the settings in the Oculus software and make sure that the new download folder is set as the default location.
By verifying the new download folder, you can ensure that your Oculus Rift downloads are being saved to the correct location and have successfully migrated from the default folder.
Tips and Troubleshooting
While changing the download folder on your Oculus Rift is a relatively straightforward process, there are a few tips and troubleshooting steps to keep in mind:
1. Choose a location with ample storage: When selecting a new download folder, make sure it has enough space to accommodate your VR content, especially if you have a large library of games and apps.
2. Use a separate drive or partition: If possible, consider using a separate drive or partition for your Oculus Rift downloads. This helps keep your VR content organized and prevents it from filling up your primary drive.
3. Verify write permissions: Ensure that you have the necessary permissions to create a new folder and write files to the chosen location. Without write permissions, the Oculus software will not be able to save downloads to the new folder successfully.
4. Double-check Oculus software settings: If you’re not seeing downloads in the new folder after adjusting the settings, go back and verify that the new download folder is correctly set as the default location in the Oculus software’s settings menu.
5. Move existing files manually: Remember that changing the download folder does not automatically move existing files. If you wish to transfer your previously downloaded games or apps to the new folder, you will need to do so manually using your file explorer.
6. Reinstall Oculus software (if necessary): In some rare cases, you may encounter issues with the Oculus software recognizing the new download folder. If troubleshooting steps don’t resolve the issue, consider reinstalling the Oculus software, ensuring you’ve backed up any necessary files beforehand.
By following these tips and troubleshooting steps, you can ensure a smooth transition to the new download folder and optimize your Oculus Rift experience.