
What You Will Need
To show your phone screen on your Windows computer, you will need a few essential items:
- A smartphone: Ensure that you have a smartphone with a functioning screen and a suitable operating system. This method works with both Android and iOS devices.
- A Windows computer: You’ll need a Windows-based computer to connect and mirror your phone’s screen. Make sure it meets the necessary system requirements for the software you’ll be using.
- A USB cable or air connection: Depending on the method you choose, you may require a USB cable to physically connect your phone to the computer. Alternatively, if your phone and computer are on the same Wi-Fi network, you can use wireless screen mirroring.
- Screen mirroring software: You’ll need to install screen mirroring software on your Windows computer to establish a connection with your phone. There are various options available, both free and paid, each with its own set of features and compatibility.
With these essentials in place, you’ll be ready to show your phone’s screen on your Windows computer effortlessly. Ensure that your phone is fully charged or connected to a power source to prevent any interruptions during the mirroring process.
Setting Up Your Phone
Before you can start mirroring your phone screen on your Windows computer, you need to make sure your phone is set up correctly. Follow these simple steps to prepare your phone:
- Update your phone: Check for any software updates and ensure that your phone is running the latest version of its operating system. This helps improve compatibility with screen mirroring software and ensures optimal performance.
- Enable USB debugging: If you plan to connect your phone to your computer using a USB cable, you need to enable USB debugging. This option is typically found in the developer options section of your phone’s settings. To access the developer options, go to Settings > About phone and tap on the Build number multiple times until you see a message confirming developer mode.
- Connect to a Wi-Fi network: If you prefer to use wireless screen mirroring, make sure your phone and computer are connected to the same Wi-Fi network. This ensures a stable and seamless connection.
- Turn on screen sharing: Some phones have a built-in screen sharing or screen mirroring option in their settings. Look for this feature in your phone’s settings and enable it. If your phone doesn’t have this option, don’t worry; you can still use third-party screen mirroring apps.
By following these simple setup steps, you’ll have your phone ready to connect and mirror its screen on your Windows computer. Whether you choose to use a USB cable or opt for wireless screen mirroring, ensuring that your phone is properly set up is essential for a smooth mirroring experience.
Connecting Your Phone to Your Computer
Once you have set up your phone, it’s time to connect it to your Windows computer. Follow these steps to establish a connection:
- USB cable connection: If you prefer a wired connection, connect your phone to your computer using a compatible USB cable. Ensure that the cable is properly inserted into both the phone and computer’s USB ports.
- Wireless connection: If you prefer a wireless connection, ensure that both your phone and computer are connected to the same Wi-Fi network. Some screen mirroring apps might require you to initiate the connection process on your computer first.
- Authorizing the connection: Depending on your phone and computer settings, you may be prompted to authorize the connection between your phone and computer. Follow the on-screen instructions to grant the necessary permissions for screen mirroring.
- Establishing the connection: Once the connection is established, you should see your phone screen mirrored on your Windows computer. You can then interact with your phone’s screen through your computer, providing a convenient method to navigate and control your phone’s functions.
Whether you choose a wired or wireless connection, the process to connect your phone to your Windows computer is straightforward. If you encounter any issues during the connection, refer to the troubleshooting tips section or consult the documentation provided with your screen mirroring software.
Installing Screen Mirroring Software
To successfully mirror your phone screen on your Windows computer, you’ll need to install screen mirroring software. Here’s how to do it:
- Research available options: There are numerous screen mirroring software programs available, ranging from free to paid options. Take some time to research and compare the features and compatibility of different software to find the one that best suits your needs.
- Download and install the software: Once you’ve decided on a screen mirroring software, visit the official website or app store to download it. Follow the installation instructions provided by the software to complete the installation process.
- Launch the software: After installation, launch the screen mirroring software on your Windows computer. Depending on the software, you may be required to create an account or log in to access all the features.
- Familiarize yourself with the interface: Take some time to explore the software’s interface and settings. Familiarize yourself with the available options, such as resolution settings, display preferences, and input control.
Once the screen mirroring software is properly installed and set up on your Windows computer, you’re ready to connect and mirror your phone screen. Proceed to the next section to learn how to connect your phone screen to your Windows computer using the installed software.
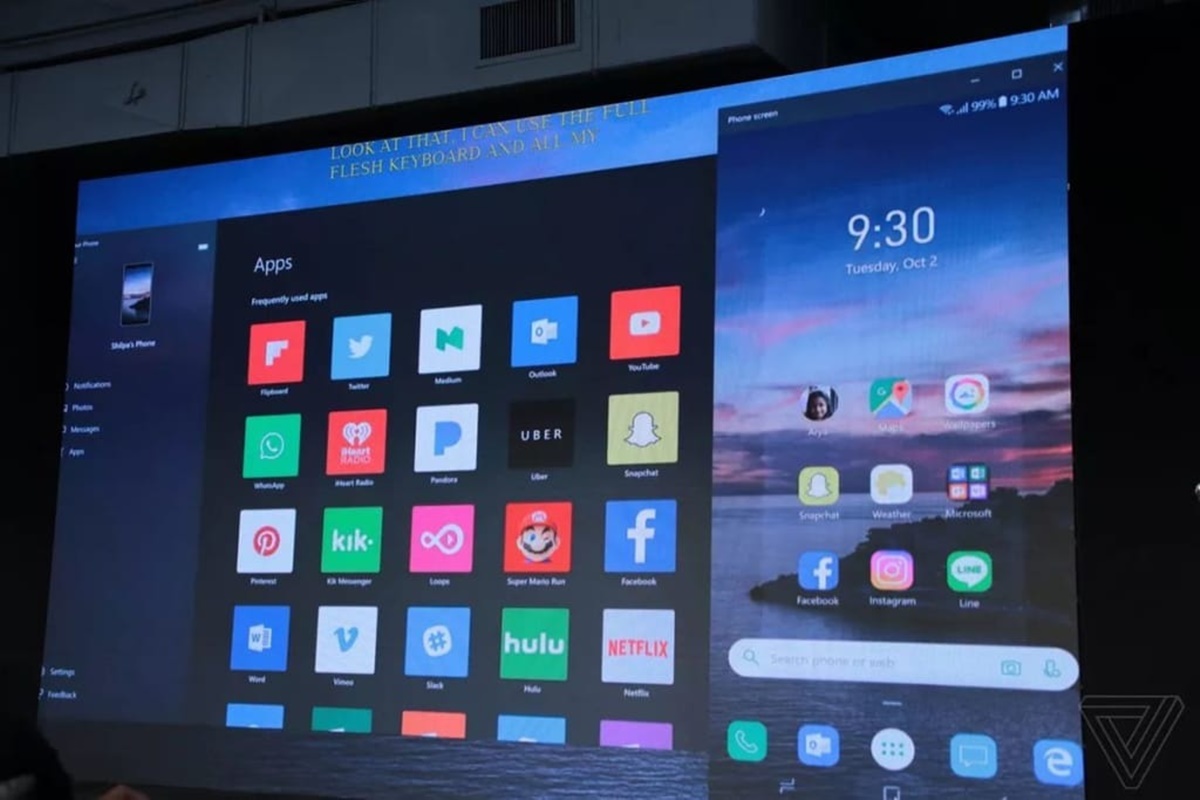
Connecting your Phone Screen to Your Windows Computer
Now that you have the necessary software installed on your Windows computer, it’s time to connect your phone screen. Here’s how to do it:
- Launch the screen mirroring software: Start the screen mirroring software on your Windows computer. Make sure it is running and ready to establish a connection.
- Select your phone: Within the screen mirroring software, look for the option to select your phone. The software should display a list of available devices to connect with.
- Connect via USB or network: Depending on the software and your preferences, you can choose to connect your phone via a USB cable or over the network. Follow the software’s instructions for the specific connection method you choose.
- Establish the connection: Once you have selected your phone and chosen the connection method, initiate the connection process. The screen mirroring software will begin establishing a connection between your phone and Windows computer.
- Confirm connection on your phone: On your phone, you may be prompted to confirm the connection request from the screen mirroring software. Grant the necessary permissions to allow the connection.
- Enjoy your phone screen on your computer: After successfully connecting, you should see your phone screen mirrored on your Windows computer. You can now access and control your phone’s screen using your computer’s mouse and keyboard.
Once connected, you can use your Windows computer to navigate through your phone’s apps, view media content, and perform various tasks as if you were interacting directly with your phone’s screen. Enjoy the convenience and expanded functionality of having your phone screen on your Windows computer!
Adjusting Screen Settings
Once you have successfully connected your phone screen to your Windows computer, you may need to adjust some screen settings for optimal viewing and usability. Here are some settings you can consider adjusting:
- Resolution: Depending on your screen mirroring software, you may have the option to adjust the screen resolution. Higher resolutions provide sharper images but may require more processing power.
- Orientation: If your phone screen appears in the wrong orientation on your Windows computer, you can adjust the screen rotation within the screen mirroring software. This ensures that the screen is displayed correctly.
- Display mode: Some screen mirroring software offers different display modes, such as fullscreen or windowed. Choose the mode that suits your preferences and allows for comfortable viewing.
- Audio settings: If you wish to hear the audio from your phone on your Windows computer, ensure that the audio settings are properly configured. Some software may require you to enable audio mirroring separately.
- Input control: Explore the screen mirroring software options to see if you can control your phone’s screen using your computer’s keyboard and mouse. This feature can provide a more seamless and convenient experience.
By adjusting these screen settings, you can fine-tune your phone screen mirroring experience on your Windows computer. Find the settings that work best for you, taking into consideration factors such as your computer’s capabilities, personal preferences, and intended usage.
Troubleshooting Tips
While connecting and mirroring your phone screen on your Windows computer is usually a straightforward process, you may encounter some issues along the way. Here are some troubleshooting tips to help you resolve common problems:
- Ensure proper connection: Double-check your cable connections or Wi-Fi network settings to ensure that your phone and computer are properly connected. In the case of a wired connection, try using a different USB cable or port.
- Restart devices: Sometimes, a simple restart can solve connectivity issues. Restart both your phone and Windows computer, and then attempt to establish the connection again.
- Check software compatibility: Verify that the screen mirroring software you installed is fully compatible with your phone’s operating system and your Windows computer. Update the software to the latest version if necessary.
- Disable battery saving mode: If your phone is in battery saving mode, it may restrict certain features or connections. Disable battery saving mode before attempting to connect and mirror your phone screen.
- Grant necessary permissions: Make sure you have granted the required permissions for the screen mirroring software on your phone. Check the settings on your phone to ensure that the app has access to the necessary features.
- Try a different software: If you are experiencing persistent issues with one screen mirroring software, consider trying a different one. Not all software works perfectly with every phone and computer combination.
- Update drivers: Ensure that you have the latest drivers installed for your phone and computer. Outdated drivers can sometimes cause connectivity issues.
- Restart screen mirroring software: If the connection fails or the software freezes, try closing and reopening the screen mirroring software. This can help resolve minor glitches and re-establish the connection.
If you continue to experience difficulties, refer to the documentation provided with your screen mirroring software or seek support from the software’s official website. They may have additional troubleshooting tips or dedicated support channels to help you overcome any issues you encounter during the phone screen mirroring process.