
Downloading and Installing WhatsApp
WhatsApp has become one of the most popular messaging apps worldwide, allowing users to send messages, make calls, and share media easily. If you’re an iPhone user looking to join the WhatsApp community, here’s a step-by-step guide to help you download and install the app on your device.
1. Visit the App Store: Open the App Store on your iPhone and search for “WhatsApp.” Tap on the app that appears in the search results.
2. Tap “Get” and Install: Once you’re on the WhatsApp app page, tap the “Get” button. The button will then change to “Install.” Tap “Install” and enter your Apple ID password or use Touch ID/Face ID to confirm the download.
3. Wait for the Download: The app will start downloading, and you’ll see a progress bar. Depending on your internet connection speed, the download may take a moment to complete.
4. Open WhatsApp: Once the download is complete, the app will automatically install on your iPhone’s home screen. Tap on the WhatsApp icon to open the app.
5. Agree to Terms and Conditions: On the welcome screen, you’ll be prompted to agree to WhatsApp’s terms and conditions. Read through the terms and tap “Agree & Continue” at the bottom of the screen to proceed.
6. Verify Your Phone Number: WhatsApp uses your phone number as your unique identifier. Enter your phone number and tap “Next.” WhatsApp will send a verification code to the number you provided.
7. Enter the Verification Code: Check your messages for the verification code. If you don’t receive the code via SMS, you can choose the “Call Me” option to get the code through a phone call. Enter the code in the WhatsApp verification screen.
8. Set Up Your Profile: After verifying your number, you can set up your profile by entering your name and optionally adding a profile picture. Tap “Next” to continue.
9. Import Contacts: WhatsApp will automatically prompt you to grant access to your contacts. This step is crucial for finding and messaging your existing contacts on WhatsApp. Tap “Continue” to allow access.
10. Start Chatting: Congratulations! You’re now ready to start using WhatsApp. The app will display your chats screen, where you can start messaging with your contacts. You can also explore other features, such as sending photos, making calls, or joining WhatsApp groups.
WhatsApp provides a seamless and user-friendly experience for iPhone users. By following these simple steps, you’ll be able to download, install, and set up WhatsApp on your iPhone in no time, and join the millions of people around the world who enjoy the convenience of this messaging platform.
Setting Up WhatsApp Account
Once you have downloaded and installed WhatsApp on your iPhone, the next step is to set up your account. Setting up your WhatsApp account involves a few simple steps to ensure your account is personalized and ready to use. Here’s a guide to help you set up your WhatsApp account:
1. Verification: After opening WhatsApp, you will be prompted to verify your phone number. WhatsApp uses your phone number as the primary identifier for your account. Follow the on-screen instructions to verify your phone number by entering the verification code sent to you via SMS or phone call.
2. Profile Setup: Once your phone number is verified, you will be prompted to set up your profile. This includes adding a profile photo and entering your name. You can choose a photo from your gallery or take a new one using your iPhone’s camera. Adding a profile photo helps your contacts identify you, and it personalizes your WhatsApp experience.
3. Status: After setting up your profile, you have the option to set a status. WhatsApp provides default status options like “Available,” “Busy,” or “At work.” Alternatively, you can customize your status and set a unique message that reflects your mood or current activity. You can change your status at any time to keep your contacts updated.
4. Privacy Settings: WhatsApp allows you to control your privacy settings to maintain your desired level of confidentiality. You can choose who can see your profile information, including your profile photo, status, and “Last Seen” timestamp. Options include “Everyone,” “My Contacts,” or “Nobody.” Select the privacy settings that align with your preferences and level of comfort.
5. Account Settings: Explore the Account Settings menu to customize your WhatsApp experience further. You can add a description to your profile, which acts as a short bio or introduction. Additionally, you can manage your two-step verification settings, change your phone number, and access other account-related features.
6. Chat Backup: WhatsApp offers the convenience of backing up your chats to ensure you don’t lose your messages. You can set up automatic backups to iCloud or Google Drive, depending on your device. This feature allows you to restore your chats if you switch to a new iPhone or reinstall WhatsApp.
Setting up your WhatsApp account on your iPhone is a quick and straightforward process. By following these steps, you can personalize your profile, control your privacy settings, and ensure that your chats are backed up for added convenience. Once your account is set up, you can start using WhatsApp to connect with friends, family, and colleagues effortlessly.
Importing Contacts
One of the key features of WhatsApp is the ability to connect and message your contacts. To make the most of your WhatsApp experience, it’s important to import your existing contacts into the app. Here’s a guide on how to import your contacts on WhatsApp for iPhone:
1. Grant Access to Contacts: When you first set up WhatsApp, the app will request access to your contacts. Ensure that you grant permission for WhatsApp to access your contacts. This allows the app to sync your phone’s contact list with your WhatsApp account.
2. Importing Contacts Automatically: Once you’ve granted access to your contacts, WhatsApp will automatically import any contacts who have a WhatsApp account associated with their phone number. These contacts will appear in your WhatsApp contacts list, ready for you to start messaging.
3. Manually Adding Contacts: In some cases, you may have contacts who haven’t registered their WhatsApp accounts with their phone numbers. To add these contacts manually, open WhatsApp and go to the “Chats” tab. Tap on the “New Chat” button, usually represented by a pencil and paper icon. In the search bar, start typing the name or phone number of the contact you want to add. WhatsApp will show you matching contacts from your phone’s address book. Simply tap on the contact you want to add, and they will be added to your WhatsApp contacts list.
4. Organizing Contacts: To help you manage your contacts efficiently, WhatsApp allows you to organize them into custom contact lists or groups. You can create contact lists for different purposes, such as friends, family, or work. Open the WhatsApp app, go to the “Chats” tab, and tap on the “New Chat” button. From there, you can create a new contact list and add contacts to it.
5. Updating Contacts: If any changes occur in your phone’s contact list, such as a new phone number or an updated name, WhatsApp will automatically update your contacts accordingly. However, it’s always a good idea to periodically review and update your contacts within the app to ensure accuracy.
Importing your contacts into WhatsApp allows you to seamlessly connect with your existing network. Whether you import them automatically or add them manually, having your contacts conveniently accessible within the app simplifies the process of connecting and messaging. Make sure to stay organized by creating contact lists and regularly updating your contacts to make the most of your WhatsApp experience.
Customizing Your Profile
WhatsApp offers various customization options to personalize your profile and make it reflect your identity. Customizing your profile allows you to express yourself creatively and make your WhatsApp experience more enjoyable. Here are some ways to customize your profile on WhatsApp for iPhone:
1. Profile Photo: Your profile photo is the first thing that others see when they interact with you on WhatsApp. You can choose to display a photo that represents you or a picture that reflects your interests. To set or change your profile photo, open WhatsApp, go to the “Settings” tab, select “Profile,” and tap on your profile photo to edit or change it.
2. Name: Your name on WhatsApp is the primary way your contacts will identify you. You can customize your name to include your full name, a nickname, or any other name that best represents you. To edit your name, go to the “Settings” tab, select “Profile,” and tap on your name to make changes.
3. About: The “About” section provides an opportunity to share a brief description or status update with your contacts. You can write a creative bio, a quote, or a personal message that reflects your mood or personality. To update your “About” section, go to the “Settings” tab, select “Profile,” and tap on the “About” field to edit or enter a new message.
4. Status: WhatsApp allows you to set a status to let your contacts know what you’re up to or how you’re feeling. You can choose from predefined options like “Available,” “Busy,” or “At work,” or you can create a custom status message. To update your status, open WhatsApp, go to the “Chats” tab, and tap on the “Status” tab. From there, you can select an existing status or create a new one.
5. Privacy Settings: WhatsApp provides privacy settings that allow you to control who can view your profile information and status updates. You can choose to share your profile photo, “Last Seen” status, and “About” section with everyone, only your contacts, or specific individuals. To access privacy settings, go to the “Settings” tab, select “Account,” and navigate to “Privacy.”
Creating a personalized profile on WhatsApp allows you to showcase your unique identity and make meaningful connections. By setting a profile photo, customizing your name and about section, and updating your status regularly, you can express yourself and make your WhatsApp experience more engaging. Remember to review and adjust your privacy settings to ensure that you are comfortable with who can see your profile information.
Understanding WhatsApp Settings
WhatsApp offers a wide range of settings that allow you to customize your messaging experience and tailor it to your preferences. Understanding these settings empowers you to use WhatsApp in a way that suits your needs. Here’s a breakdown of some key settings on WhatsApp for iPhone:
1. Notifications: WhatsApp allows you to customize your notification settings to control how you receive alerts for new messages and calls. You can choose to enable or disable message previews, set custom notification sounds, and decide whether to show or hide notifications on the lock screen. To access notification settings, go to the “Settings” tab and select “Notifications.”
2. Account: The account settings include options to manage your WhatsApp account, such as changing your phone number, deleting your account, or exporting your data. Additionally, you can set up two-step verification to add an extra layer of security to your account. To access account settings, go to the “Settings” tab and select “Account.”
3. Chats: The chats settings allow you to customize your messaging experience. You can change the chat wallpaper, enable or disable media visibility, customize chat backup settings, and manage your chat history. Additionally, you can set a default font size and enable automatic download of photos, videos, and documents. To access chat settings, go to the “Settings” tab and select “Chats.”
4. Privacy: WhatsApp provides privacy settings to control who can see your profile information, status updates, and “Last Seen” timestamp. You can specify whether everyone, only your contacts, or specific individuals can view these details. Additionally, you can block contacts, manage blocked contacts, and control your read receipt settings. To access privacy settings, go to the “Settings” tab and select “Account,” then navigate to “Privacy.”
5. Data and Storage Usage: WhatsApp allows you to manage your data usage and optimize storage on your device. You can control the automatic download of media, specify whether to use cellular data for media downloads, and view storage usage to delete unnecessary files. To access data and storage usage settings, go to the “Settings” tab, select “Storage and Data,” and then “Storage Usage.”
Understanding and customizing WhatsApp settings gives you the flexibility to use the app in a way that aligns with your preferences. Whether it’s adjusting notification settings, managing privacy options, or optimizing data usage, exploring and personalizing these settings allows you to have a tailored and convenient messaging experience on WhatsApp.
Sending and Receiving Messages
WhatsApp allows you to send and receive messages quickly and easily, making it a convenient platform for communication. Understanding the various features and options available for sending and receiving messages can enhance your overall messaging experience. Here’s a guide on how to send and receive messages on WhatsApp for iPhone:
1. Sending Messages: To send a message, open WhatsApp and tap on the “Chats” tab. Tap on the chat window of the person or group you want to message. Type your message in the text input field at the bottom of the screen, and then tap the send button (usually represented by a paper airplane icon). Your message will be sent, and the recipient will receive it instantly.
2. Read Receipts: When someone sends you a message on WhatsApp, read receipts indicate whether you have seen their message or not. A single gray tick indicates that the message has been sent, while double gray ticks indicate that the message has been delivered to the recipient’s device. When the double gray ticks turn blue, it means that the recipient has read your message.
3. Group Chats: WhatsApp allows you to create and participate in group chats with multiple contacts. To create a group chat, open WhatsApp and go to the “Chats” tab. Tap on the “New Chat” button, then select “New Group.” Add participants from your contacts list and give the group a name. Once the group is created, you can send and receive messages within the group, and all participants can view and respond to the messages.
4. Media and Attachments: WhatsApp enables you to send not only text messages but also various types of media and attachments. You can send photos, videos, voice messages, documents, and contacts to your contacts or groups. To send a media file or attachment, tap on the attach icon (usually represented by a paperclip) in the chat window and choose the file or media you want to send.
5. Voice Messages: WhatsApp allows you to send voice messages as an alternative to typing out a text message. To send a voice message, open the chat window of the person or group you want to message. Tap and hold the microphone icon next to the text input field and start speaking. Release the microphone icon when you’re finished recording your message. The voice message will be sent instantly.
6. Reply and Forward Messages: WhatsApp allows you to reply to specific messages within a conversation, which helps to maintain context and clarity. To reply to a message, swipe right on the message, and the text input field will automatically include the selected message. You can also forward messages to other contacts or groups by tapping and holding the message until the options appear, then select the “Forward” option and choose the desired recipient or group.
Sending and receiving messages on WhatsApp is simple and efficient. By utilizing the various features available, such as group chats, media sharing, and voice messages, you can enhance your communication and make the most out of your WhatsApp messaging experience.
Sending Voice Messages
WhatsApp offers the convenience of sending voice messages, allowing you to communicate in a more personal and expressive way. Whether you want to quickly convey a message or simply prefer speaking over typing, sending voice messages on WhatsApp is easy. Here’s how to send voice messages on WhatsApp for iPhone:
1. Open a Chat: Start by opening the chat window of the person or group you want to send a voice message to. Tap on the chat to open the conversation.
2. Locate the Microphone Icon: In the chat window, look for the microphone icon located to the right of the text input field. It should be in the shape of a small microphone icon.
3. Record Your Message: To start recording your voice message, tap and hold the microphone icon. While holding the icon, speak clearly into your device’s microphone to record your message. You can release the microphone icon when you’re finished recording.
4. Review and Cancel: After recording your message, you can review it by tapping the play button next to the message box. If you’re not satisfied with the recording, you can cancel it by swiping to the left on the message or tapping the “X” button.
5. Sending the Voice Message: Once you’re happy with the recording, release the microphone icon. WhatsApp will automatically send the voice message to the recipient. You can see the voice message in the chat as a voice memo or audio file, depending on the recipient’s device.
6. Hands-Free Recording: If you prefer to record voice messages without holding down the microphone icon, WhatsApp provides a convenient hands-free recording feature. Pull up the chat window and swipe up on the microphone icon. This will lock the recording, allowing you to record hands-free. To stop the recording, tap on the stop button or the send button when you’re ready to send the voice message.
7. Reply, Forward, and Deleting Voice Messages: After sending a voice message, you can easily reply to it by swiping right on the message and entering your response. You can also forward the voice message to other contacts or groups by tapping and holding the message until the options appear, then selecting the “Forward” option. To delete a voice message, simply tap and hold on the message, and then tap the trash bin icon that appears.
Sending voice messages on WhatsApp allows you to communicate with a personal touch. Whether it’s a quick voice note or a longer message, you can conveniently record and send voice messages to your contacts or groups, ensuring efficient and effective communication.
Making Voice and Video Calls
WhatsApp offers the ability to make voice and video calls, allowing you to connect with your contacts in real-time. Whether you want to have a quick voice conversation or engage in a face-to-face video call, WhatsApp provides a convenient platform to communicate with your loved ones. Here’s how to make voice and video calls on WhatsApp for iPhone:
1. Voice Calls:
– Open WhatsApp and go to the “Chats” tab.
– Tap on the chat of the person you want to call.
– At the top-right corner of the chat screen, tap the phone icon to initiate a voice call.
– Wait for the recipient to accept the call. Once they do, you can start conversing through the voice call.
2. Video Calls:
– Open WhatsApp and go to the “Chats” tab.
– Tap on the chat of the person you want to call.
– At the top-right corner of the chat screen, tap the video camera icon to initiate a video call.
– Wait for the recipient to accept the call. Once they do, you can have a face-to-face conversation through the video call.
During both voice and video calls, WhatsApp provides additional features to enhance your calling experience:
– Speakerphone: Tap the speaker icon on the call screen to switch to speakerphone mode, allowing you to talk hands-free or share the call with others in the room.
– Mute: Tap the microphone icon on the call screen to mute your microphone, disabling your audio while still being able to hear the other person.
– Switch Cameras: During a video call, tap the camera icon to switch between your front and rear cameras, offering different perspectives or showing the person you’re talking to your surroundings.
– Add Participants: While on a voice or video call, you can add more participants to transform it into a group call. Tap the “+” icon in the top-right corner and select the contacts you want to add to the call.
WhatsApp’s voice and video calling features allow you to connect with your contacts in a more personal and interactive way. Whether it’s a voice call or a face-to-face video conversation, you can use these features to stay connected with friends, family, and colleagues, no matter the distance between you.
Adding and Managing WhatsApp Groups
WhatsApp groups provide a platform for multiple people to communicate and interact in a single chat environment. Whether you want to create a group for family members, friends, or work colleagues, WhatsApp makes it easy to add and manage groups. Here’s how to add and manage WhatsApp groups on your iPhone:
1. Creating a Group:
– Open WhatsApp and go to the “Chats” tab.
– Tap on the “New Chat” button, usually represented by a pencil and paper icon.
– Select “New Group.”
– Add participants from your contacts list by selecting their names.
– Tap on the checkmark icon to create the group.
2. Group Information:
– After creating the group, you can set a name for the group, add a group photo, and even assign group admins.
– To access the group information, open the group chat, tap on the name of the group at the top, and then tap on the “i” icon.
3. Adding Participants:
– To add more participants to an existing group, open the group chat and tap on the name of the group at the top.
– Tap on “Add Participant” and select the contacts you want to add to the group.
4. Managing Group Settings:
– As a group admin, you have additional settings and functionalities to manage the group.
– Open the group chat, tap on the name of the group, and then tap on the “i” icon.
– From there, you can edit the group name, change the group photo, and manage group participants.
– As an admin, you can also remove participants, promote or demote participants as admins, and even restrict participants from sending messages.
5. Leaving or Deleting a Group:
– If you no longer wish to be part of a group or want to remove a group entirely, you have the option to leave or delete the group.
– To leave a group, open the group chat, tap on the name, scroll down, and tap on “Exit Group.”
– If you’re the admin and want to delete the group, follow the same steps as above and tap on “Delete Group.”
WhatsApp groups provide a platform for easy communication and collaboration among a group of people. By understanding how to create groups, manage group settings, add participants, and leave or delete groups, you can make the most out of WhatsApp’s group functionality and enjoy seamless group communication with your contacts.
Sending Photos, Videos, and DocumentsWhatsApp makes it effortless to send and share photos, videos, and documents with your contacts. Whether you want to capture and share a memorable moment, send an important video, or share work-related documents, WhatsApp provides a user-friendly platform to quickly and easily exchange media files. Here’s how to send photos, videos, and documents on WhatsApp for iPhone:
1. Sending Photos:
– Open WhatsApp and go to the chat of the person or group you want to send a photo to.
– Tap on the attachment icon, usually represented by a paperclip or camera icon, located next to the text input field.
– Choose the “Photo & Video Library” option to select a photo from your iPhone’s gallery.
– Select the desired photo and tap the send button, usually represented by a paper airplane icon, to send it.
2. Sending Videos:
– Open WhatsApp and go to the chat of the person or group you want to send a video to.
– Tap on the attachment icon next to the text input field.
– Choose the “Photo & Video Library” option and select the video you want to send from your iPhone’s gallery.
– Tap the send button to share the video with your contact or group.
3. Sending Documents:
– Open WhatsApp and go to the chat of the person or group you want to send a document to.
– Tap on the attachment icon next to the text input field.
– Select the “Document” option.
– You can choose to send a document from your iCloud Drive, Google Drive, or another storage app on your iPhone.
– Select the desired document and tap the send button to share it.
4. Photo and Video Editing:
– Before sending a photo or video, you have the option to edit it within the WhatsApp app.
– After selecting the photo or video from your gallery, you can crop, rotate, add text, or draw on the media using the available editing tools.
– Once you’re satisfied with the edits, tap the send button to share the edited photo or video.
Sending photos, videos, and documents on WhatsApp allows you to share moments, information, and resources with your contacts quickly. By following these simple steps, you can effortlessly exchange media files, making your conversations more engaging and dynamic on WhatsApp.
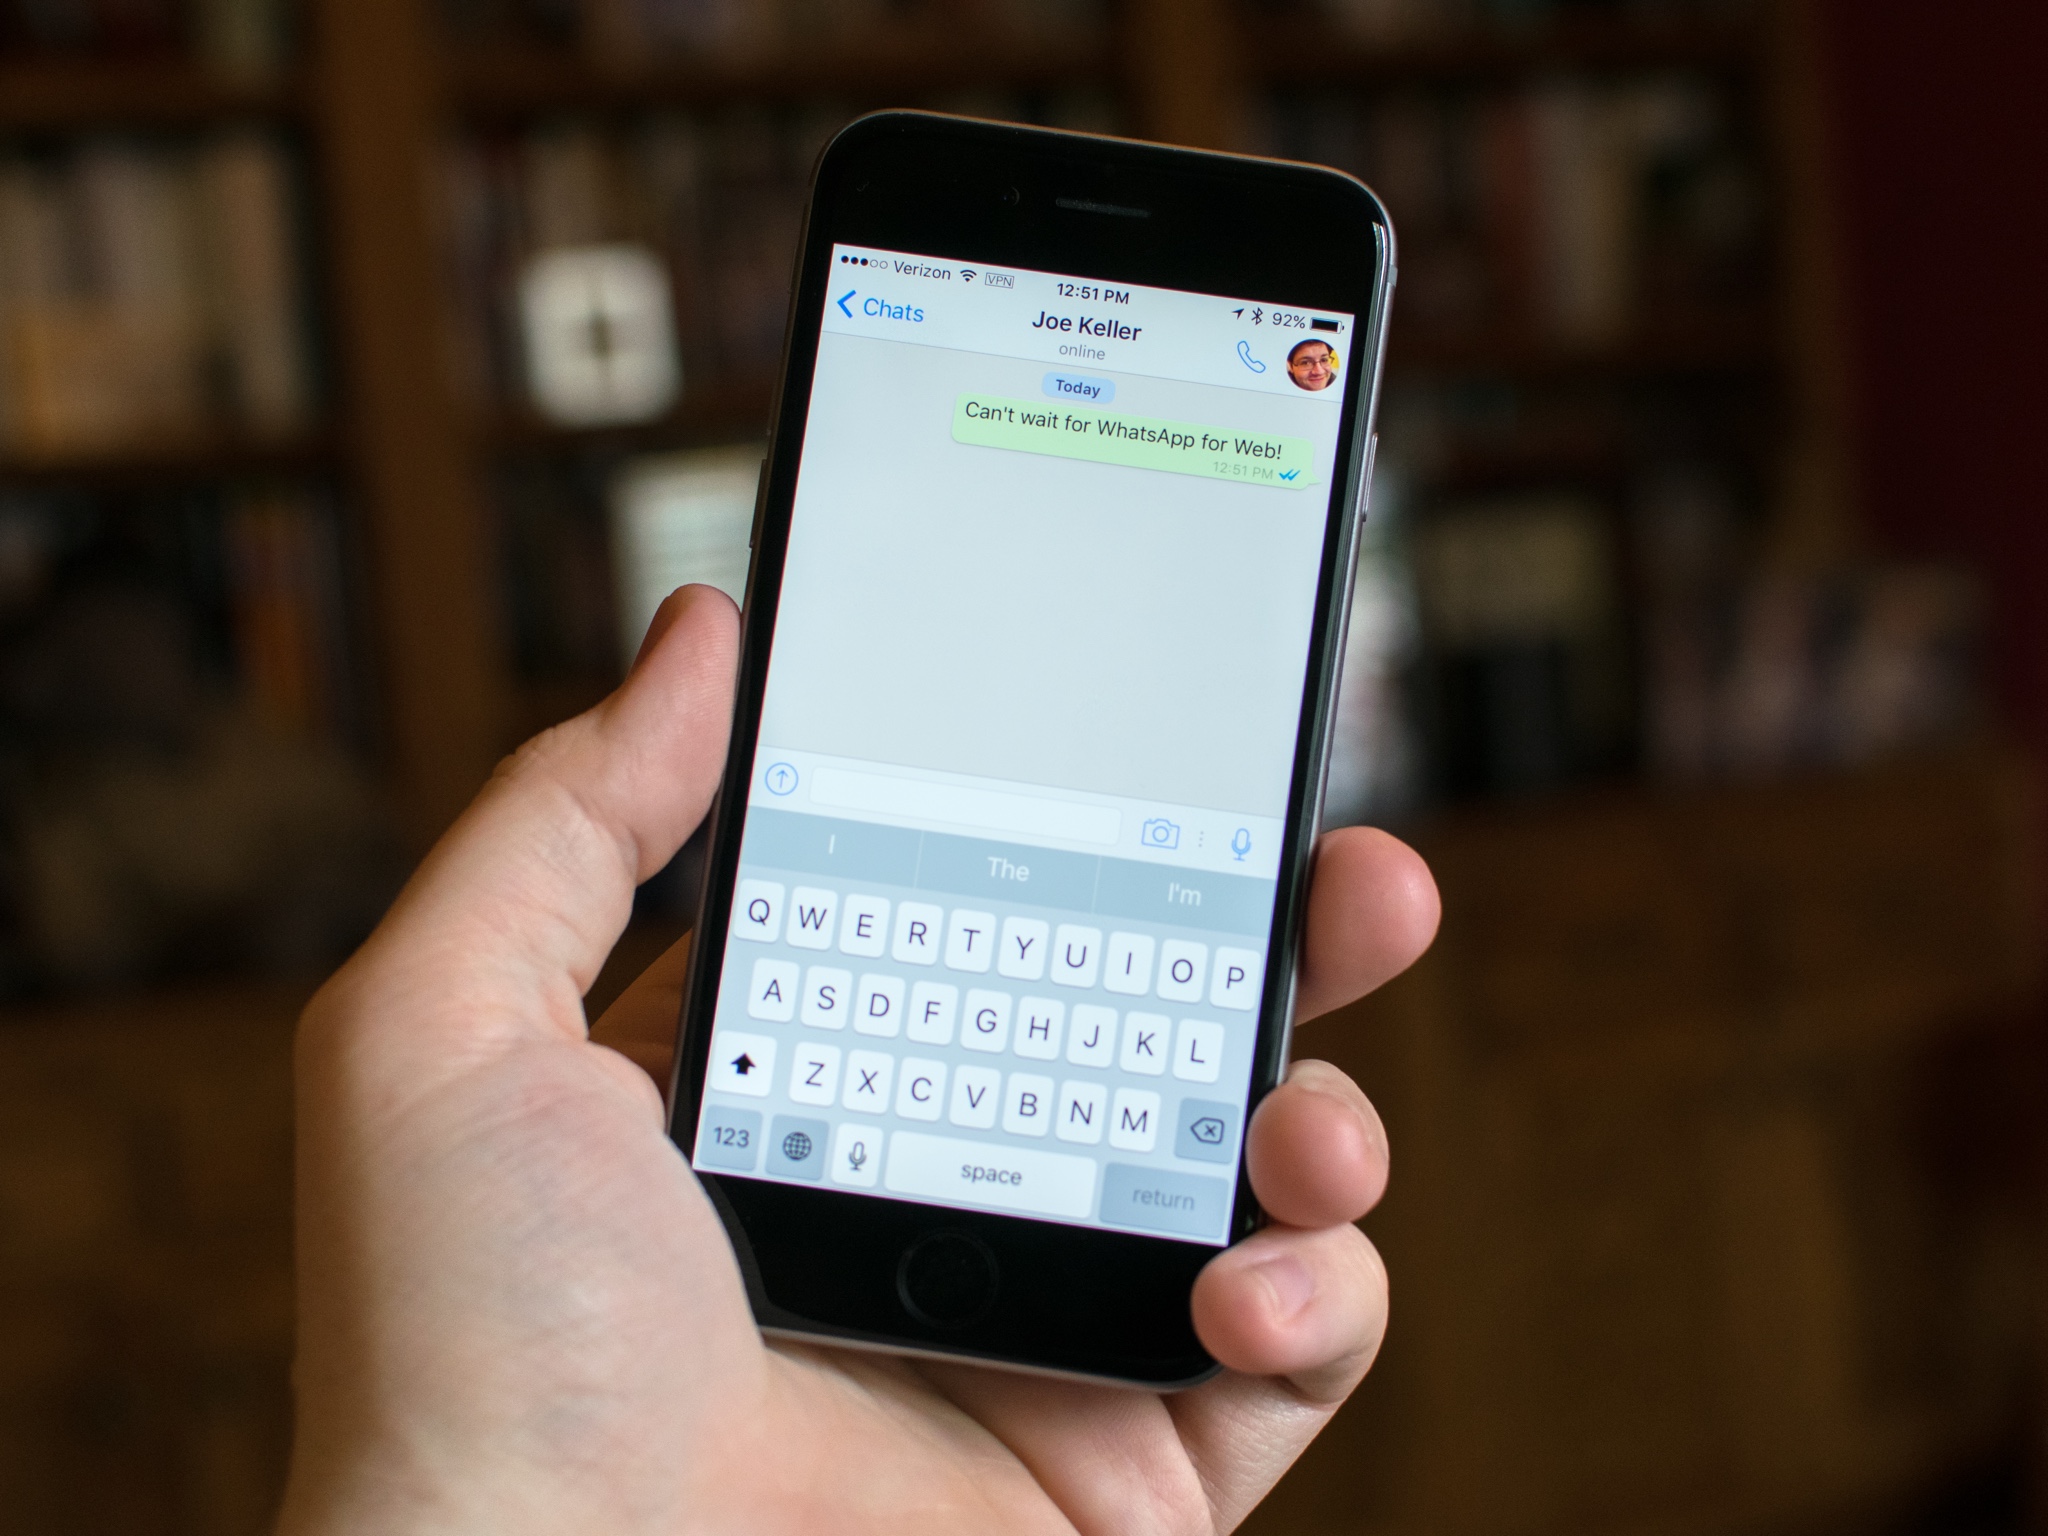
Using WhatsApp Web
WhatsApp Web is a feature that allows you to use WhatsApp on your computer, providing a convenient way to send and receive messages without having to access your phone. It syncs your WhatsApp account with a web browser, enabling you to continue your conversations seamlessly from your computer. Here’s how to use WhatsApp Web with your iPhone:
1. Setting Up WhatsApp Web:
– Open a web browser on your computer and visit the WhatsApp Web website (web.whatsapp.com).
– On your iPhone, open WhatsApp and tap on the “Settings” tab.
– Select “WhatsApp Web/Desktop” and scan the QR code on the web browser using your iPhone’s camera.
– Once the QR code is scanned, your WhatsApp account will be linked to WhatsApp Web, and you’ll be able to use it on your computer.
2. Accessing WhatsApp Conversations:
– After linking your WhatsApp account with WhatsApp Web, you’ll see your conversations displayed on the web browser.
– You can click on any chat to view and respond to messages, just as you would on your phone.
3. Sending Messages and Media:
– To send a message, click on the chat window and type your message using the computer keyboard.
– You can also send photos, videos, documents, and other files by clicking on the attachment icon in the chat window and selecting the file you want to send.
4. Notifications and Settings:
– WhatsApp Web provides push notifications on your computer, alerting you to new messages even if the web browser is not currently open.
– You can manage notification settings by clicking on your profile picture, located in the top-left corner of the WhatsApp Web screen.
– In the settings, you can customize various options, such as controlling sound notifications, desktop alerts, and message previews.
5. Ending WhatsApp Web Session:
– To end your WhatsApp Web session, click on your profile picture and select “Logout” from the drop-down menu.
– This will disconnect your WhatsApp account from the web browser, ensuring that your messages and conversations remain secure.
Using WhatsApp Web makes it convenient to stay connected and respond to messages from your computer. With a simple setup process and the ability to send messages, media, and documents, WhatsApp Web provides a seamless extension of the WhatsApp experience onto your desktop or laptop.
Backing Up and Restoring WhatsApp Data
Backing up and restoring WhatsApp data is essential to ensure that you don’t lose your important messages, photos, and videos. WhatsApp provides options to back up your data to the cloud and restore it when needed, making it convenient to transfer your conversations to a new device or recover data after reinstalling the app. Here’s a guide on how to back up and restore WhatsApp data on your iPhone:
1. Backing Up WhatsApp Data:
– Open WhatsApp and go to the “Settings” tab.
– Tap on “Chats” and select “Chat Backup.”
– Verify that “Auto Backup” is enabled to ensure your chats are backed up regularly.
– You can also tap “Back Up Now” to create an immediate backup of your chats.
– WhatsApp will back up your chats, photos, and videos to your iCloud account, preserving your data in the cloud.
2. Restoring WhatsApp Data:
– When setting up WhatsApp on a new device or after reinstalling the app, verify your phone number as usual.
– During the setup process, WhatsApp will prompt you to restore your chat history from the most recent backup available in your iCloud account.
– Tap on “Restore Chat History” to recover your messages, media, and other data from the backup.
– Depending on the size of your backup and the speed of your internet connection, the restoration process may take a few moments to complete.
3. Manual Backups:
– In addition to automatic backups, WhatsApp allows you to create manual backups as well.
– Open WhatsApp and go to the “Settings” tab, then select “Chats” and “Chat Backup.”
– Tap on “Back Up Now” to manually create a backup of your chats and media at any time.
– Manual backups are useful if you want to have an up-to-date copy of your conversations before performing a major phone update or transferring to a new device.
4. Local Backups:
– In addition to iCloud backups, WhatsApp also creates local backups on your iPhone’s internal storage.
– These backups are created every day at 2 AM and stored on your device’s internal memory.
– However, local backups are only accessible if you have sufficient free storage space on your iPhone.
Backing up and restoring WhatsApp data ensures that you can easily maintain and transfer your conversations across devices. By enabling automatic backups and utilizing the manual backup feature, you can safeguard your important messages and media, giving you peace of mind knowing that your WhatsApp data is secure and always within reach.
Blocking and Unblocking Contacts
WhatsApp provides the option to block and unblock contacts, allowing you to have control over who can communicate with you on the platform. Whether you want to prevent someone from messaging or calling you, or you have decided to give someone a second chance after blocking them, WhatsApp offers a straightforward process for managing blocked contacts. Here’s how to block and unblock contacts on WhatsApp for iPhone:
1. Blocking Contacts:
– Open WhatsApp and go to the chat of the person you want to block.
– Tap on the contact’s name at the top of the chat.
– Scroll to the bottom and tap on “Block Contact.”
– You will be prompted to confirm the action. Tap on “Block” to proceed.
– Once a contact is blocked, they will no longer be able to send you messages, call you, or see your profile information.
2. Unblocking Contacts:
– Open WhatsApp and go to the “Settings” tab.
– Select “Account” and then “Privacy.”
– Scroll down and tap on “Blocked Contacts.”
– You will see a list of contacts that you have blocked on WhatsApp.
– Find the contact you want to unblock and swipe left on their name or tap on the “Unblock” option.
– Confirm the action by tapping on “Unblock” when prompted.
– Once a contact is unblocked, they will be able to send you messages, call you, and see your profile information again.
3. Managing Blocked Contacts:
– If you want to view the list of contacts you have blocked, go to the “Settings” tab.
– Select “Account,” then “Privacy,” and scroll down to “Blocked Contacts.”
– In the “Blocked Contacts” section, you can add more contacts to the block list or unblock existing blocked contacts as necessary.
Blocking and unblocking contacts on WhatsApp allows you to control your communication experience and interact with the people you choose. Whether you want to maintain your privacy, avoid harassment, or manage your social interactions, WhatsApp’s block feature gives you the ability to decide who can reach out to you while using the platform.
Managing Notifications
WhatsApp provides a range of notification settings that allow you to customize how you receive alerts and stay informed about new messages and calls. Managing notifications can help you maintain control over your WhatsApp experience, ensuring that you are notified in a way that suits your preferences. Here’s how to manage notifications on WhatsApp for iPhone:
1. Accessing Notification Settings:
– Open WhatsApp and go to the “Settings” tab.
– Select “Notifications” to access the notification settings menu.
2. Message Notifications:
– In the “Message Notifications” section, you can customize how you receive notifications for individual chats and group chats.
– Options include enabling or disabling sound alerts, showing or hiding message previews, and choosing whether to show notifications on the lock screen.
3. Call Notifications:
– In the “Call Notifications” section, you can customize how you receive notifications for WhatsApp calls.
– Options include enabling or disabling sound alerts for incoming calls and receiving a notification banner when a call is in progress.
4. Group Notifications:
– In the “Group Notifications” section, you can customize the behavior of notifications specifically for group chats.
– Options include enabling or disabling sound alerts for group notifications and toggling off the notification previews for group messages.
5. Other Notification Settings:
– WhatsApp also offers additional notification settings that you can customize to your liking.
– You can choose whether to see a notification badge on the WhatsApp app icon when new messages are received.
– It’s also possible to manage the behavior of notifications when you are actively using WhatsApp, such as disabling pop-up notifications that appear while you’re already in the app.
WhatsApp’s notification settings give you the flexibility to tailor your alert preferences and stay informed about new messages and calls in a way that aligns with your needs. By customizing notification settings, you can stay in control of your communication experience and ensure that you’re only receiving notifications when and how you want them.