
How to Send Voice Messages with the Messages App
Sending voice messages can be a convenient way to communicate when you’re unable to type or express yourself through text. With the Messages app on your iPhone, you can easily send and receive voice messages to your friends and family. Here’s how:
1. Open the Messages app on your iPhone.
2. Select the conversation you want to send a voice message to.
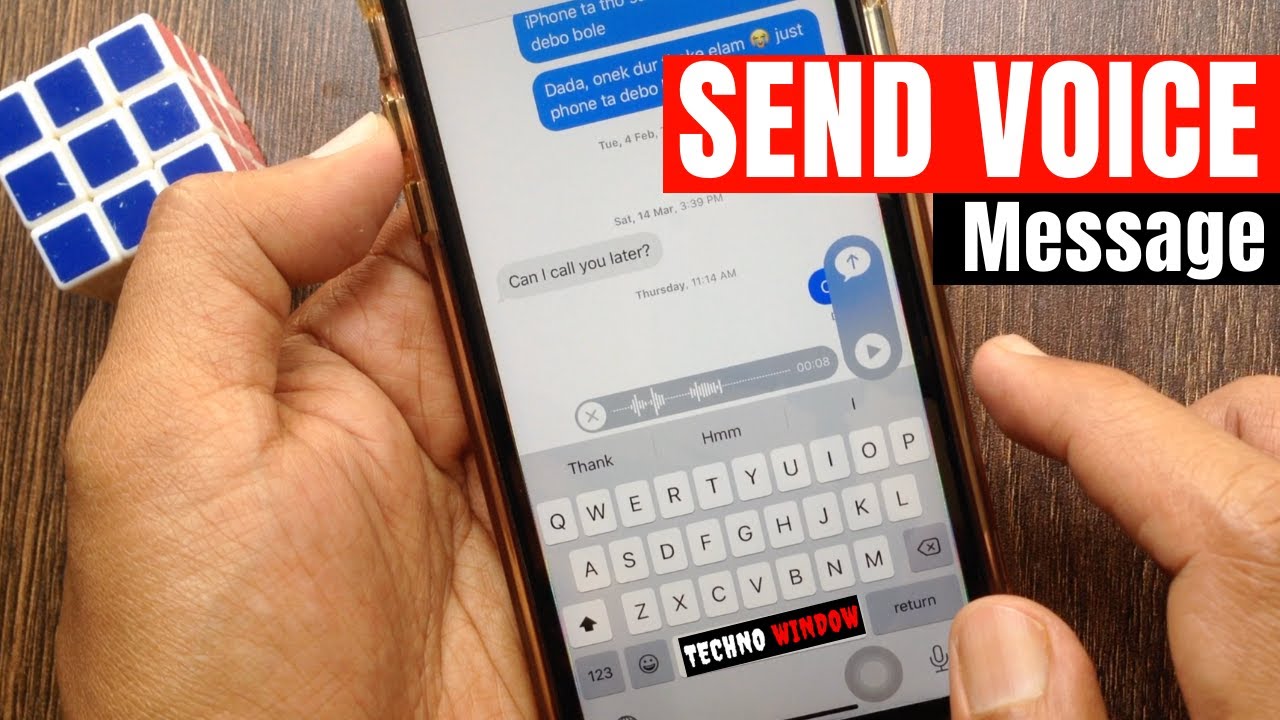
3. Tap and hold the microphone icon located to the right of the text input field.
4. While still holding the microphone icon, start speaking your message. You can begin recording your voice message once the recording indicator appears.
5. Release the microphone icon when you’re finished recording. Your voice message will automatically be sent to the recipient.
6. If you want to cancel the voice message before sending, swipe left on the recording indicator and tap “Delete”.
7. To listen to a received voice message, tap on it within the conversation. The voice message will play automatically.
8. If you want to reply to a voice message, tap and hold the microphone icon like in step 3 and start recording your response.
9. You can also send voice messages on iMessage by following the same steps as mentioned above.
10. Remember to keep your voice messages clear and concise for easy comprehension.
Sending voice messages using the Messages app provides a great alternative to traditional text-based communication. It allows you to convey tone and emotion in a more expressive way. So next time you’re in a hurry or need to add a personal touch, try sending a voice message with the Messages app on your iPhone.
Using the Voice Memo App to Send Messages
The Voice Memo app on your iPhone provides a convenient and straightforward way to send voice messages to your contacts. Whether you want to leave a quick voice note or send a longer message without typing, the Voice Memo app has got you covered. Here’s how you can use it:
1. Locate the Voice Memo app on your iPhone’s home screen and tap on it to open.
2. Tap the red record button to start recording your voice message. Hold the phone close to your mouth for clear audio capture.
3. Start speaking your message. You can pause and resume the recording as needed by pressing the red record button.
4. Once you’re done, tap the stop button to end the recording.
5. To listen to your recorded message, tap on the play button located next to the recording.
6. If you’re satisfied with the recording, tap on the “Done” button.
7. Now, you can choose to give your voice memo a name or leave it as it is.
8. Tap on the share button (the square with an arrow pointing up) to bring up the sharing options.
9. Select the messaging app you want to use to send your voice memo. It could be the default Messages app, WhatsApp, Facebook Messenger, or any other supported messaging platform.
10. Choose the recipient from your contacts or enter their phone number or username.
11. Finally, tap the send button to share your voice memo as a message.
Using the Voice Memo app to send messages offers greater flexibility and control over the length and content of your voice messages. It enables you to record messages at your own pace and send them via various messaging apps. So the next time you want to send a voice message, give the Voice Memo app a try and enjoy the convenience it provides.
Recording Voice Messages in the Messages App
The Messages app on your iPhone not only allows you to send text messages but also enables you to record and send voice messages to your contacts. Here’s how to record voice messages in the Messages app:
1. Open the Messages app on your iPhone.
2. Select the conversation with the recipient you want to send a voice message to.
3. To start recording, tap and hold the microphone icon located to the right of the text input field. A red recording indicator will appear.
4. While holding the microphone icon, speak your message. You can record your voice message for up to 2 minutes.
5. To pause the recording temporarily, slide your finger to the left without lifting it. The recording will be put on hold.
6. If you want to resume the recording, slide your finger back to the right and continue speaking.
7. To stop the recording, release your finger from the microphone icon. The voice message will be automatically sent to the recipient.
8. If you wish to cancel the voice message before sending, slide your finger to the left on the recording indicator and tap “Delete”.
9. You can also record voice messages by using the 3D Touch feature on supported iPhones. Firmly press and hold the microphone icon, and then select “Record Audio”. Speak your message and release the hold to send it.
10. Remember to speak clearly and at an audible volume to ensure your voice message is easily understood.
Recording voice messages in the Messages app provides a convenient way to communicate without the need for typing. It allows you to express yourself more effectively and convey your emotions through your voice. So next time you want to send a more personal message, give voice messages a try in the Messages app on your iPhone.
Editing Voice Messages in the Messages App
When sending voice messages in the Messages app on your iPhone, you may sometimes want to make small edits or adjustments before sending them off. Fortunately, the Messages app provides basic editing capabilities to help you refine your voice messages. Here’s how to edit voice messages in the Messages app:
1. Open the Messages app on your iPhone.
2. Select the conversation that contains the voice message you want to edit.
3. Locate the voice message within the conversation and tap on it to play it back.
4. While the voice message is playing, you can perform various editing actions:
- To pause or stop the playback, tap the pause or stop button.
- To skip forward or backward within the message, drag the playback indicator along the timeline.
- To adjust the volume, use the volume buttons on the side of your iPhone.
5. If you want to re-record the voice message entirely, tap and hold the microphone icon to start recording a new message. When you finish recording, release the icon to replace the existing voice message with the new one.
6. To trim or cut a specific part of the voice message, tap and hold the message while it’s playing. A waveform will appear, and you can drag the start and end points to select the desired section to keep. Once selected, tap “Trim” to save the edited version of the voice message.
7. After making any necessary edits, you can proceed to send the voice message as usual.
Editing voice messages in the Messages app allows you to refine your recordings and ensure that they convey your message effectively. Whether you need to make small adjustments or trim unnecessary portions, the editing features provided by the app make it easy to tailor your voice messages to your liking. Give it a try and make your voice messages even better before sending them off.
Sending Voice Messages in iMessage
iMessage, Apple’s built-in messaging service, allows users to send text messages, photos, videos, and even voice messages to other iPhone, iPad, and Mac users. Here’s how you can send voice messages in iMessage:
1. Open the Messages app on your iPhone.
2. Select the conversation where you want to send a voice message.
3. Tap the microphone icon located next to the text input field. This will start the recording.
4. Begin speaking your voice message while holding down the microphone icon.
5. Release the microphone icon when you are finished recording. The voice message will be automatically sent to the recipient.
6. If you want to cancel the voice message before sending, slide your finger to the left on the recording indicator and tap “Delete”.
7. The voice message will appear as a playable audio file within the conversation. Simply tap on it to listen to the message.
8. To reply to a voice message, tap and hold the microphone icon, and then start recording your response.
9. iMessage also supports interactive voice messages, where you can play, pause, and jump to specific parts of the recording by dragging the playback indicator along the timeline.
10. You can easily differentiate voice messages from text messages in iMessage, as voice messages are represented by a small waveform icon.
Sending voice messages in iMessage offers a more personal and expressive way to communicate with your contacts. It allows you to convey emotions, tones, and nuances that may be missing from plain text messages. So the next time you want to add a personal touch to your conversations, try sending a voice message through iMessage and enjoy a richer messaging experience.
Sending Voice Messages in WhatsApp
WhatsApp is a widely popular messaging app that not only allows you to send text messages, photos, and videos but also enables you to send voice messages to your contacts. Here’s how you can send voice messages in WhatsApp:
1. Open the WhatsApp app on your iPhone.
2. Select the chat or contact you want to send a voice message to.
3. Tap and hold the microphone icon located to the right of the text input field. This will start the recording.
4. Begin speaking your message while still holding down the microphone icon. WhatsApp allows you to record voice messages up to 2 minutes long.
5. Release the microphone icon when you finish recording. The voice message will be automatically sent to the recipient.
6. If you want to cancel the voice message before sending, slide your finger to the left on the recording indicator and tap “Cancel”.
7. The voice message will appear as an audio file within the conversation. To listen to it, simply tap on the play button.
8. WhatsApp also allows you to reply to a voice message by tapping and holding the microphone icon and recording your response.
9. If you wish to send multiple voice messages, you can continue recording by tapping and holding the microphone icon again. Each voice message will be sent as a separate audio file.
10. You can also send voice messages in WhatsApp groups by selecting the group chat and following the same steps as mentioned above.
Sending voice messages in WhatsApp provides a convenient way to communicate with your contacts, especially when you want to quickly share your thoughts or emotions without typing. It adds a more personal touch to your conversations and allows for clearer communication. So, next time you’re using WhatsApp, consider sending a voice message to enhance your messaging experience.
Sending Voice Messages in Facebook Messenger
Facebook Messenger, the messaging platform connected to the social media giant, not only allows you to send text messages and multimedia files but also enables you to send voice messages to your contacts. Here’s how you can send voice messages in Facebook Messenger:
1. Open the Facebook Messenger app on your iPhone.
2. Select the conversation or contact you want to send a voice message to.
3. Tap the microphone icon located to the right of the text input field. This will start the recording.
4. Begin speaking your message while holding down the microphone icon.
5. Release the microphone icon when you finish recording. The voice message will be automatically sent to the recipient.
6. If you want to cancel the voice message before sending, slide your finger to the left on the recording indicator and tap “Cancel Recording”.
7. The voice message will appear as an audio file within the conversation. To listen to it, simply tap on the play button.
8. To reply to a voice message, tap the microphone icon and start recording your response.
9. Facebook Messenger allows you to send multiple voice messages consecutively. Simply hold down the microphone icon for each consecutive recording.
10. You can also send voice messages in group chats by selecting the group and following the same steps as mentioned above.
Sending voice messages in Facebook Messenger provides a convenient and expressive way to communicate with your contacts. It allows for a more personal and nuanced conversation, enabling you to convey your emotions and tones more effectively. So next time you’re using Facebook Messenger, consider sending a voice message to enhance your messaging experience.
Sending Voice Messages in Telegram
Telegram is a feature-rich messaging app that offers a wide range of communication options, including the ability to send voice messages. Here’s how you can send voice messages in Telegram:
1. Open the Telegram app on your iPhone.
2. Select the chat or contact you want to send a voice message to.
3. Tap and hold the microphone icon located to the right of the text input field. This will start the recording.
4. Begin speaking your message while holding down the microphone icon.
5. Release the microphone icon when you finish recording. The voice message will be automatically sent to the recipient.
6. If you want to cancel the voice message before sending, slide your finger to the left on the recording indicator and tap “Cancel”.
7. The voice message will appear as an audio file within the conversation. To listen to it, simply tap on the play button.
8. Telegram allows you to send multiple voice messages in a row. Just hold down the microphone icon for each consecutive recording.
9. You can also reply to a voice message by tapping the microphone icon and recording your response.
10. Telegram also offers a voice chat feature, which allows you to have live voice conversations with your contacts or in group chats.
Sending voice messages in Telegram provides a convenient way to communicate with your contacts, allowing for a more expressive and personal conversation. Whether it’s a quick voice note or a longer message, voice messages can convey emotions and tones that may be difficult to express with text alone. So next time you’re using Telegram, consider sending a voice message to enhance your messaging experience.
Sending Voice Messages in WeChat
WeChat, a popular messaging app widely used in China and around the world, offers various features to enhance communication, including the ability to send voice messages. Here’s how you can send voice messages in WeChat:
1. Open the WeChat app on your iPhone.
2. Select the chat or contact you want to send a voice message to.
3. Locate the microphone icon located to the right of the text input field. Tap and hold the microphone icon to begin recording your voice message.
4. While holding the microphone icon, speak your message. You can continue recording for up to 60 seconds before it automatically stops.
5. Release the microphone icon when you finish recording. The voice message will be automatically sent to the recipient.
6. If you want to cancel the voice message before sending, slide your finger to the left on the recording indicator and tap “Cancel”.
7. The voice message will appear as an audio file within the conversation. To listen to it, simply tap on the play button.
8. WeChat also allows you to send multiple voice messages in succession. Just hold down the microphone icon for each consecutive recording.
9. You can reply to a voice message by tapping the microphone icon and recording your response.
10. WeChat also offers voice and video call features, allowing for real-time voice conversations with your contacts.
Sending voice messages in WeChat provides a convenient and efficient way to communicate with your contacts. It allows you to convey your thoughts, emotions, and messages more effectively, particularly when text might not suffice. Next time you’re using WeChat, consider using voice messages to enhance your communication and create a more personal connection with your contacts.
Managing and Deleting Voice Messages
After sending voice messages in various messaging apps, it’s important to know how to manage and delete them to keep your conversations organized. Here’s how you can manage and delete voice messages:
1. Open the messaging app that contains the voice message you want to manage or delete.
2. Locate the conversation or chat that contains the voice message.
3. To listen to a received voice message, tap on it within the conversation. The voice message will play automatically.
4. To manage or delete a voice message, look for the options available within the messaging app.
5. Some messaging apps allow you to save voice messages to your device by tapping on a file or save button. This can be useful if you want to keep important or sentimental voice messages for future reference.
6. If you want to delete a voice message, you can usually swipe left or tap and hold on the message to reveal options such as “Delete” or “Remove”. Select the appropriate option to delete the voice message.
7. In some messaging apps, there may be an option to delete voice messages in bulk. Look for a “Clear Chat” or “Delete All Messages” option to remove all voice messages within a conversation.
8. Keep in mind that deleting a voice message will permanently remove it from your device, and you won’t be able to retrieve it.
9. If you want to free up storage space on your device, consider regularly deleting voice messages that are no longer needed or important.
10. Remember to exercise caution when managing and deleting voice messages, as there is no undo option.
By effectively managing and deleting voice messages, you can keep your messaging app organized and free up storage space on your device. Take the time to review and remove unnecessary voice messages to maintain a clutter-free conversation history.