
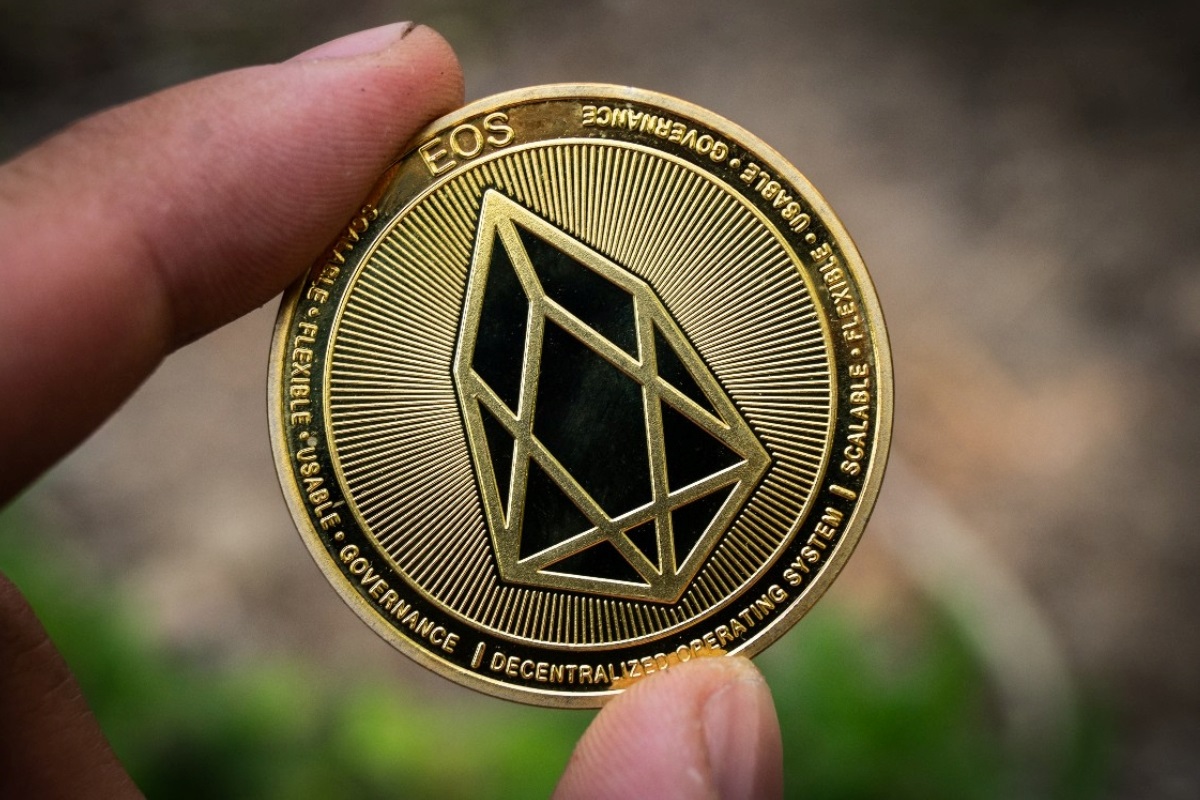
What is EOS?
EOS is a decentralized blockchain platform that enables the development and execution of decentralized applications (dApps). It aims to provide a scalable and user-friendly infrastructure for building and running high-performance applications.
One of the main advantages of EOS is its ability to handle a high volume of transactions with low transaction fees and fast confirmation times. This makes it an attractive option for developers and businesses seeking to build decentralized applications that require a high level of scalability.
EOS also offers additional features that set it apart from other blockchain platforms. It utilizes a delegated proof-of-stake (DPoS) consensus mechanism, which means that block validators, known as block producers, are elected by token holders. This design allows for faster transaction speeds and greater scalability compared to traditional proof-of-work consensus mechanisms.
Furthermore, EOS provides developers with tools and resources to make the development process smoother. The platform supports smart contracts written in various programming languages, including C++, allowing developers to leverage their existing skills and experience.
EOS also introduces the concept of “resource staking,” where users can stake their EOS tokens to acquire computational resources, such as CPU and bandwidth, for running their dApps. This resource model ensures that the network remains efficient and prevents malicious actors from impacting the system’s performance.
Overall, EOS offers a robust and scalable blockchain infrastructure for the development and deployment of decentralized applications. Its focus on performance, user-friendliness, and developer support has made it a popular choice among blockchain enthusiasts and businesses alike.
Why Use a Hardware Wallet like Trezor?
When it comes to securing your EOS and other cryptocurrency assets, a hardware wallet like Trezor offers several advantages over other storage methods. Here are the key reasons why you should consider using a hardware wallet:
- Enhanced Security: Hardware wallets provide the highest level of security for your EOS tokens. Unlike software wallets or exchanges, which are susceptible to hacking and malware attacks, hardware wallets store your private keys offline, isolated from potential threats. This significantly reduces the risk of unauthorized access to your funds.
- Offline Storage: By keeping your private keys offline, hardware wallets ensure that your EOS tokens are not vulnerable to online threats, such as phishing attacks or keyloggers. This offline storage also provides protection against computer viruses or compromised devices.
- User-Friendly Interface: Trezor and other hardware wallets are designed with user-friendliness in mind. They often come with intuitive interfaces and clear instructions, making it easy for both beginners and experienced users to manage their cryptocurrency assets.
- Multiple Cryptocurrency Support: In addition to EOS, hardware wallets like Trezor support a wide range of other cryptocurrencies. This means you can store and manage all your digital assets in one secure place, without the need for multiple wallets.
- Backup and Recovery: Hardware wallets provide backup and recovery options in case your device is lost, stolen, or damaged. With the backup seed phrase provided during the setup process, you can easily restore your wallet and regain access to your funds, ensuring peace of mind.
- Compatibility: Trezor wallets are compatible with various operating systems, including Windows, macOS, and Linux, as well as mobile devices running on iOS and Android. This allows you to manage your EOS tokens from different devices, further enhancing convenience and accessibility.
Setting Up Your Trezor Wallet for EOS
Setting up your Trezor wallet for EOS is a straightforward process that ensures the security and accessibility of your EOS tokens. Follow these steps to get started:
- Get a Trezor Wallet: Purchase a Trezor hardware wallet from the official website or a trusted retailer. Ensure that you only buy from authorized sources to avoid counterfeit devices.
- Initialize Your Trezor: Connect your Trezor wallet to your computer via the USB cable provided. Follow the instructions on the device’s screen to initialize and set a strong PIN.
- Install the Trezor Bridge: Visit the Trezor website and download the Trezor Bridge software. Install it on your computer to enable communication between your Trezor device and the EOS wallet interface.
- Access the Trezor Web Wallet: Open your preferred web browser and go to wallet.trezor.io. Connect your Trezor wallet to the computer using the USB cable. Follow the prompted steps to access the web wallet interface.
- Install and Configure the EOS App: In the web wallet interface, click on “Settings” and then “Experimental Features.” Enable the “Use Trezor Connect with experimental web features” option. This allows you to install the EOS app on your Trezor and access your EOS tokens.
- Install the EOS App on Trezor: On the web wallet interface, click on “Coins” and select “EOS” from the list. Follow the on-screen instructions to install the EOS app on your Trezor device.
- Manage Your EOS: Once the EOS app is installed, you can access and manage your EOS tokens directly from the Trezor web wallet interface. You can view your account balance, send and receive EOS, and interact with dApps securely.
By following these steps, you can ensure that your Trezor wallet is properly set up and ready to securely store and manage your EOS tokens. Remember to keep your Trezor device, PIN, and backup seed phrase in a safe and secure location. With your Trezor wallet, you can have peace of mind knowing that your EOS tokens are protected and easily accessible whenever you need them.
Creating an EOS Account on Trezor
To start using your EOS tokens on your Trezor wallet, you will need to create an EOS account. Follow these steps to create an EOS account on Trezor:
- Ensure Your Trezor is Initialized and Connected: Make sure your Trezor device is set up and connected to your computer or mobile device.
- Open the Trezor Wallet Interface: Open your preferred web browser and navigate to wallet.trezor.io. Connect your Trezor device to the computer or mobile device using the USB cable provided.
- Select the EOS App: On the Trezor wallet interface, click on “Coins” and select “EOS” from the list of available cryptocurrencies.
- Click on “Add Account”: In the EOS wallet interface, click on the “Add Account” button to create a new EOS account.
- Choose an Account Name: Enter the desired account name for your EOS account. Keep in mind that EOS account names must be 12 characters long and consist of lowercase letters and numbers only.
- Confirm the Transaction on Your Trezor: Follow the instructions on the Trezor device’s screen to confirm the account creation transaction. Make sure to review the details displayed on the Trezor device before proceeding.
- Wait for Confirmation: Once the transaction is confirmed on your Trezor device, you will need to wait for the transaction to be processed on the EOS network. This may take a few minutes.
- Account Creation Complete: After the transaction is processed, your EOS account will be successfully created. You can view the account details in the Trezor wallet interface, including your account name and the public key associated with the account.
By following these steps, you can create an EOS account on your Trezor wallet and have full control over your EOS tokens. Remember to keep your Trezor device, PIN, and backup seed phrase secure to protect your account from unauthorized access. With your newly created EOS account, you can easily send and receive EOS tokens, interact with EOS dApps, and manage your digital assets with peace of mind.
Transferring EOS to Your Trezor Wallet
Once you have set up your Trezor wallet and created an EOS account, you can transfer your EOS tokens to your Trezor for secure storage. Follow these steps to transfer EOS to your Trezor wallet:
- Ensure Your Trezor is Initialized and Connected: Make sure your Trezor device is set up and connected to your computer or mobile device.
- Open the Trezor Wallet Interface: Open your web browser and go to wallet.trezor.io. Connect your Trezor device to your computer or mobile device using the USB cable provided.
- Select the EOS App: On the Trezor wallet interface, click on “Coins” and select “EOS” from the list of available cryptocurrencies.
- Click on “Receive”: In the EOS wallet interface, click on the “Receive” button to generate an EOS address to receive your tokens.
- Copy the EOS Address: The Trezor wallet will display an EOS address that you can copy. Make sure to copy the address accurately.
- Send EOS to Your Trezor Address: Open your EOS wallet or exchange account where your EOS tokens are currently stored. Initiate a transfer of EOS tokens and paste the Trezor EOS address as the recipient address.
- Confirm the Transaction: Follow the instructions provided by your EOS wallet or exchange to confirm the transaction and send the EOS tokens to your Trezor wallet address.
- Wait for Confirmation: After initiating the transfer, you will need to wait for the transaction to be confirmed on the EOS network. This may take a few minutes.
- View Your EOS Balance: Once the transaction is confirmed, you can view your EOS balance in the Trezor wallet interface. Your transferred EOS tokens will be securely stored in your Trezor wallet.
It’s important to double-check the EOS address and transaction details to ensure the accuracy of the transfer. Transferring your EOS tokens to your Trezor wallet provides you with the highest level of security and control over your digital assets. With your EOS safely stored on your Trezor, you can confidently manage your tokens and engage with the EOS ecosystem.
Managing Multiple EOS Accounts on Trezor
If you have multiple EOS accounts, Trezor wallet provides a convenient solution for managing them securely. Here’s how you can manage multiple EOS accounts on your Trezor:
- Ensure Your Trezor is Initialized and Connected: Make sure your Trezor device is set up and connected to your computer or mobile device.
- Open the Trezor Wallet Interface: Open your web browser and go to wallet.trezor.io. Connect your Trezor device to your computer or mobile device using the USB cable provided.
- Select the EOS App: On the Trezor wallet interface, click on “Coins” and select “EOS” from the list of available cryptocurrencies.
- Access Existing EOS Accounts: On the EOS wallet interface, click on “Accounts” to view existing EOS accounts associated with your Trezor. You can switch between accounts by selecting the desired account from the list.
- Add New EOS Accounts: To add a new EOS account, click on the “+ Add Account” button. Follow the instructions on the Trezor device’s screen to confirm the account creation transaction. You can repeat this step to add multiple EOS accounts to your Trezor wallet.
- Manage Your EOS Accounts: Once you have multiple EOS accounts added to your Trezor, you can easily switch between them using the wallet interface. Each account will have its own unique EOS address and associated tokens.
- Receive and Send EOS: When receiving or sending EOS, make sure to select the correct EOS account from which you want to send or receive tokens. The Trezor wallet interface will provide you with the necessary options and details for each account.
- Track Balances and Transactions: The Trezor wallet interface allows you to monitor the balances and transaction history for each of your EOS accounts. This enables you to keep track of your EOS holdings and activity across multiple accounts.
Managing multiple EOS accounts on your Trezor wallet provides you with flexibility and security in organizing your EOS holdings. Whether you have separate accounts for personal and business use or for different projects, Trezor allows you to easily switch between accounts while keeping your private keys and tokens secure. Take advantage of this feature to streamline your EOS management and have complete control over your digital assets.
Signing Transactions with Trezor and EOS
Signing transactions is a crucial step in securely managing your EOS tokens, and with a Trezor wallet, you can easily sign transactions without exposing your private keys. Here’s how you can sign transactions with Trezor and EOS:
- Ensure Your Trezor is Initialized and Connected: Make sure your Trezor device is set up and connected to your computer or mobile device.
- Open the Trezor Wallet Interface: Open your web browser and go to wallet.trezor.io. Connect your Trezor device to your computer or mobile device using the USB cable provided.
- Select the EOS App: On the Trezor wallet interface, click on “Coins” and select “EOS” from the list of available cryptocurrencies.
- Authorize the Transaction: Initiate the transaction on your EOS wallet or dApp. This can include actions such as sending EOS, voting for block producers, or executing smart contracts.
- Confirm the Transaction on Your Trezor: A transaction prompt will appear on the Trezor device’s screen, displaying the details of the transaction. Review the transaction details carefully to ensure accuracy and then confirm the transaction by pressing the corresponding button on your Trezor device.
- Verify the Transaction Details: Once the transaction is confirmed on your Trezor, the wallet interface will display the transaction details. Verify that the transaction details on the screen match the intended transaction.
- Confirm the Transaction on the Device: If the transaction details displayed on the Trezor device’s screen match your expectations, confirm the transaction by pressing the designated button on your Trezor device.
- Wait for Transaction Confirmation: After confirming the transaction on your Trezor device, the transaction will be broadcast to the EOS network. Wait for the network to confirm the transaction, which may take some time depending on the network congestion.
- Transaction Complete: Once the transaction is confirmed on the EOS network, the transaction status will be updated on the Trezor wallet interface. You can view the transaction history and related information in the wallet interface.
By signing transactions with Trezor, you can ensure the security and integrity of your EOS transactions without exposing your private keys. Trezor’s hardware-based security and verification process provide an additional layer of protection, giving you peace of mind when managing your EOS tokens.
Recovering a Lost or Damaged Trezor Wallet and Restoring EOS
Losing or damaging your Trezor wallet can be a stressful experience, but there are steps you can take to recover your funds and restore your EOS tokens. Here’s what to do in the event of a lost or damaged Trezor wallet:
- Obtain a Replacement Trezor Device: Purchase a new Trezor device from the official website or a trusted retailer. It is essential to ensure that you only buy from authorized sources to avoid counterfeit or compromised devices.
- Initialize the New Trezor Wallet: Connect your new Trezor device to your computer or mobile device and follow the instructions on the device’s screen to initialize it. Set up a new PIN and write down the recovery seed provided during the setup process. Keep this seed in a safe and secure place.
- Install Necessary Software: Download and install the Trezor Bridge software and the EOS wallet interface on your computer or mobile device. This will ensure compatibility between your Trezor device and the EOS ecosystem.
- Recover Your EOS Account: On the EOS wallet interface, select the option to recover an existing account. Enter the recovery seed phrase from your lost or damaged Trezor wallet. This will restore your EOS account on the new Trezor device.
- Verify and Update Account Information: Once the account recovery process is complete, verify that your EOS account information, including account name and public key, is correct. You may need to update any linked accounts or dApps with your new Trezor EOS address.
- Access Your Restored EOS: Now that your EOS account is restored on the new Trezor device, you can access and manage your EOS tokens as before. Use the Trezor wallet interface to view your balance, send and receive EOS, and interact with dApps securely.
It’s important to note that during the recovery process, you must enter the correct recovery seed phrase to restore your EOS account and funds. Take extra precautions to keep your recovery seed secure, as anyone with access to it can potentially gain control over your funds.
In the unfortunate event that both your Trezor device and recovery seed phrase are lost or damaged, it may be challenging to recover your EOS tokens. In such cases, it is crucial to seek professional assistance or contact the Trezor support team for further guidance.
By following these steps, you can recover a lost or damaged Trezor wallet and restore access to your EOS tokens. Always prioritize the security of your Trezor device and recovery seed phrase to protect your digital assets and ensure a seamless recovery process.