
Exporting a Google Spreadsheet to CSV
If you want to export your Google Spreadsheet and save it as a CSV (Comma Separated Values) file, follow these simple steps:
- Open the Google Spreadsheet you want to export.
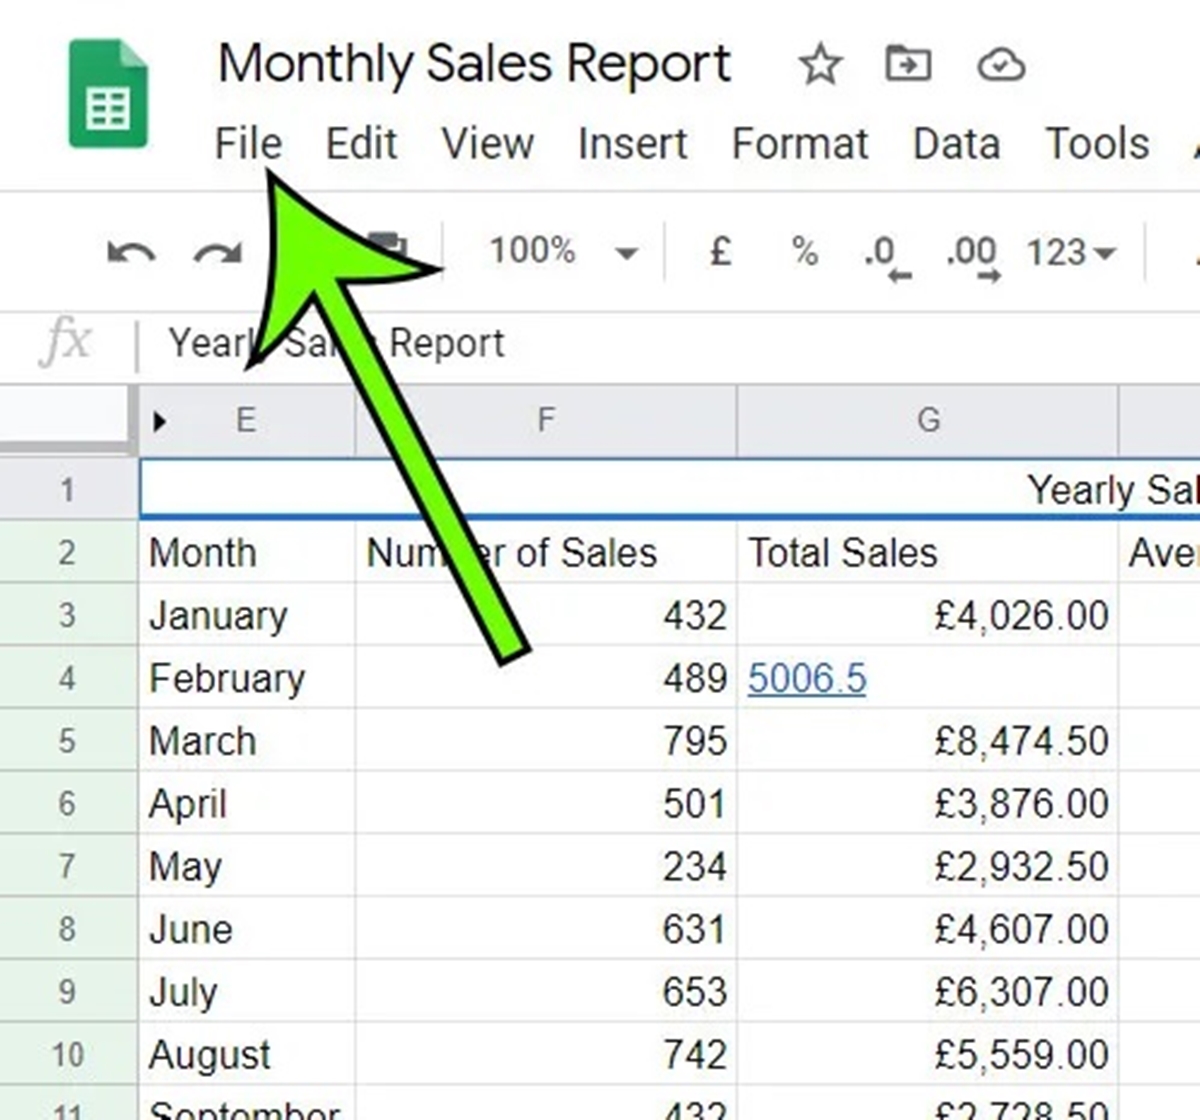
- Click on File in the menu bar.
- Select Download, and then choose Comma-separated values (.csv, current sheet).
- A pop-up window will appear, allowing you to choose where to save the CSV file on your computer. Select the desired location and click on Save.
- Your spreadsheet will be exported as a CSV file, which can be opened and edited by various spreadsheet programs, such as Microsoft Excel or Google Sheets.
Exporting a Google Spreadsheet to CSV is useful if you want to share the data with someone who does not have access to Google Sheets. CSV files are widely supported and can be easily imported into other applications for further analysis.
Remember to review the exported CSV file to ensure that the data is accurately formatted. Occasionally, certain formatting elements, such as cell colors or conditional formatting, may not be preserved in the CSV file.
By following these steps, you can conveniently export your Google Spreadsheet to a CSV file and access your data in other spreadsheet programs. It’s a simple and effective way to share and work with your spreadsheet data outside of Google Sheets.
Downloading a Google Spreadsheet as Excel
If you want to download your Google Spreadsheet as an Excel file, you can easily do so by following these steps:
- Open the Google Spreadsheet you want to download.
- Click on File in the menu bar.
- Select Download and then choose Microsoft Excel (.xlsx).
- A pop-up window will appear, allowing you to choose the location where you want to save the Excel file on your computer. Select the desired location and click on Save.
- Your Google Spreadsheet will be downloaded as an Excel file, with the .xlsx extension.
Downloading a Google Spreadsheet as an Excel file can be beneficial when you need to work with the data in Microsoft Excel or share it with others who primarily use Excel for their data analysis and manipulation.
It’s worth noting that some formatting elements or formulas in your Google Spreadsheet may not be fully compatible with Excel. Review the downloaded file to ensure that the data is displayed correctly and any formulas are still intact.
By downloading your Google Spreadsheet as an Excel file, you can seamlessly transition between Google Sheets and Excel, allowing you to leverage the features and functionalities of both applications to work with your data effectively.
Saving a Google Spreadsheet as a PDF
If you need to save your Google Spreadsheet as a PDF (Portable Document Format) file, you can easily do so by following these steps:
- Open the Google Spreadsheet you want to save as a PDF.
- Click on File in the menu bar.
- Select Download, and then choose PDF document (.pdf).
- A pop-up window will appear, allowing you to choose the location where you want to save the PDF file on your computer. Select the desired location and click on Save.
- Your Google Spreadsheet will be saved as a PDF file, retaining its formatting and layout.
Saving a Google Spreadsheet as a PDF is useful when you need to share data with others who may not have access to the original spreadsheet or when you want to preserve the formatting of your spreadsheet in a non-editable format.
When saving as a PDF, make sure to review the document before sharing it to ensure that the visual presentation is accurate, and any charts, tables, or images appear as intended.
By following these simple steps, you can easily save your Google Spreadsheet as a PDF file, making it easier to share and view your data in a universally readable format.
Converting a Google Spreadsheet to Microsoft Word
If you need to convert your Google Spreadsheet into a Microsoft Word document, you can achieve this by following these steps:
- Open the Google Spreadsheet you want to convert.
- Click on File in the menu bar.
- Select Download, and then choose Microsoft Word (.docx).
- A pop-up window will appear, allowing you to choose the location where you want to save the Word document on your computer. Select the desired location and click on Save.
- Your Google Spreadsheet will be converted into a Microsoft Word document.
Converting a Google Spreadsheet to Microsoft Word allows you to easily incorporate your spreadsheet data into a Word document for further editing or collaboration purposes.
After the conversion, it’s important to review the document to ensure that the formatting and layout are as desired. Certain complex spreadsheet elements such as formulas, charts, or conditional formatting may not be fully preserved in the converted document.
By following these simple steps, you can quickly convert your Google Spreadsheet into a Microsoft Word document and seamlessly integrate your spreadsheet data into your Word-based projects.
Exporting a Google Spreadsheet as HTML
If you want to export your Google Spreadsheet as an HTML (Hypertext Markup Language) file, follow these straightforward steps:
- Open the Google Spreadsheet you want to export.
- Click on File in the menu bar.
- Select Download, and then choose Web page (.html, zipped).
- A pop-up window will appear, allowing you to choose the location where you want to save the HTML file on your computer. Select the desired location and click on Save.
- Your Google Spreadsheet will be exported as an HTML file in a zipped folder.
- Extract the files from the zipped folder to access the HTML file.
Exporting a Google Spreadsheet as HTML is useful if you want to publish the data online or incorporate it into a website or blog. The HTML file will preserve the formatting and structure of your spreadsheet.
When exporting as HTML, it’s essential to review the file to ensure that the formatting is accurately displayed and any linked images or external resources are included.
By following these steps, you can easily export your Google Spreadsheet as HTML and leverage the file to share and showcase your data in an interactive online format.
Archiving a Google Spreadsheet in Google Drive
If you want to archive a Google Spreadsheet and keep it stored securely in your Google Drive, you can follow these steps:
- Open the Google Spreadsheet you want to archive.
- Click on File in the menu bar.
- Select Make a copy, and choose a name for the archived copy.
- The copy of the spreadsheet will open in a new tab.
- Click on File in the menu bar of the copied spreadsheet.
- Select Move to folder, and choose a folder in your Google Drive where you want to store the archived spreadsheet.
- The spreadsheet file will be moved to the selected folder, effectively archiving it.
Archiving a Google Spreadsheet in Google Drive is a great way to keep your data organized and safely stored for future reference. It allows you to declutter your main Drive and ensure important spreadsheets are easily accessible.
Remember that the archived copy will no longer sync with the original spreadsheet, so any changes made to the original spreadsheet will not be reflected in the archived version.
By archiving your Google Spreadsheet, you can maintain an organized and efficient Google Drive, making it easier to manage and locate specific spreadsheets when needed.
Emailing a Google Spreadsheet as an Attachment
If you need to share a Google Spreadsheet with others via email, you can easily do so by following these steps:
- Open the Google Spreadsheet you want to send.
- Click on File in the menu bar.
- Select Email collaborators.
- In the pop-up window, enter the email addresses of the recipients in the To field.
- You can also add a subject line and a message in the respective fields.
- Tick the box next to Attach as a Microsoft Excel (.xlsx) if you want to send the spreadsheet in Excel format. If you do not select this option, the spreadsheet will be sent in its original Google Sheets format.
- Click on the Send button to email the Google Spreadsheet as an attachment.
By following these steps, you can easily share a Google Spreadsheet with others via email, ensuring they have access to the most up-to-date version of the spreadsheet.
If you choose to send the spreadsheet as an Excel attachment, keep in mind that any changes made to the spreadsheet after sending the email will not be reflected in the attached file. The recipients will need to download the attachment and open it with compatible spreadsheet software, such as Microsoft Excel or Google Sheets, to view and further work with the data.
Emailing a Google Spreadsheet as an attachment provides a convenient way to collaborate and share data with others, allowing for easy file sharing and efficient communication.
Publishing a Google Spreadsheet Online
If you want to make your Google Spreadsheet accessible to a wider audience by publishing it online, you can follow these steps:
- Open the Google Spreadsheet you want to publish.
- Click on File in the menu bar.
- Select Publish to the web.
- In the pop-up window, click on the Embed tab.
- Review the settings to ensure you’re publishing the desired range of cells or the entire spreadsheet.
- Click on the Publish button.
- A link and an embed code will be provided. You can choose to share the link or embed the spreadsheet on a website or blog.
Publishing a Google Spreadsheet online allows others to view the data and interact with it in a read-only format. It’s an excellent option for sharing data publicly or collaborating with a larger audience.
Keep in mind that by publishing a spreadsheet, you are making it accessible to anyone with the link or those who visit the website or blog where it is embedded. Ensure that you are comfortable with sharing the information publicly before proceeding.
If you want to stop publishing the spreadsheet, you can revisit the Publish to the web option and click on the Stop publishing button.
By following these steps, you can easily publish your Google Spreadsheet online, making it accessible to others and enabling easy data sharing and collaboration.
Creating a Shortcut to a Google Spreadsheet on Desktop
If you want quick access to a specific Google Spreadsheet right from your desktop, you can create a shortcut by following these steps:
- Open Google Chrome or your preferred web browser.
- Go to drive.google.com and sign in to your Google account.
- Navigate to the Google Spreadsheet you want to create a shortcut for.
- Click on the three vertical dots in the top-right corner of the screen to access the menu.
- Select Create shortcut.
- A pop-up window will appear, confirming that the shortcut has been created and asking where you want to place it.
- Choose Desktop as the location and click on Create.
Once the shortcut is created, you will find it on your desktop as an icon. Double-clicking this shortcut will open the Google Spreadsheet in your web browser, allowing you to view and edit the file quickly.
It’s important to note that the shortcut links directly to the online Google Spreadsheet. Therefore, an internet connection is required to access and work on the file.
If you no longer need the shortcut, you can simply delete it from your desktop by right-clicking on the icon and selecting Delete.
By creating a shortcut to a Google Spreadsheet on your desktop, you can have instant access to the file, making it more convenient to work with and stay organized.
Syncing Google Spreadsheet with Desktop Applications
If you want to sync your Google Spreadsheet with desktop applications, such as Microsoft Excel or other spreadsheet software, you can accomplish this using the following methods:
Method 1: Using Google Drive sync applications:
- Install the Google Drive sync application for your operating system (Windows or Mac).
- Sign in to your Google account and set up the sync application.
- Select the Google Spreadsheet you want to sync and choose a folder on your desktop where you want to synchronize the file.
- The Google Spreadsheet will be automatically synced and saved in the selected folder on your desktop. Any changes made to the spreadsheet in Google Drive or on your desktop will be synced between the two.
Method 2: Using third-party integration apps:
- Explore third-party integration apps, such as Zapier or IFTTT, that offer integration between Google Drive and desktop applications.
- Set up the integration app and connect your Google Drive account.
- Select the Google Spreadsheet you want to sync and choose the desired desktop application as the destination.
- Configure the syncing options and settings to ensure a seamless synchronization between the Google Spreadsheet and the desktop application.
- The integration app will handle the synchronization process, ensuring that any changes made to the spreadsheet are reflected in the desktop application and vice versa.
Syncing your Google Spreadsheet with desktop applications allows you to access and work with your spreadsheet data across different platforms. It enables you to leverage the functionalities of both Google Sheets and desktop applications, enhancing your productivity and versatility.
It’s important to note that the syncing process may vary depending on the application or tool you choose. Make sure to follow the instructions provided by the sync application or integration app for the best results.
By utilizing these methods, you can easily sync your Google Spreadsheet with desktop applications, ensuring that your data is up to date and easily accessible, regardless of the platform you’re working on.