
Connect Your Kindle to a Power Source
Before you can reset your Kindle Paperwhite, it’s essential to ensure that it has enough power to complete the reset process. Connecting it to a power source will guarantee a stable power supply and prevent any interruptions during the reset.
To connect your Kindle Paperwhite to a power source, follow these simple steps:
- Locate the USB charging cable that came with your Kindle Paperwhite.
- Plug one end of the USB cable into the micro-USB port at the bottom of your Kindle Paperwhite.
- Plug the other end of the USB cable into a power adapter or a USB port on your computer.
- Ensure that the power adapter or computer is powered on and capable of providing a sufficient power supply.
- Once connected, you should see a lightning bolt symbol on the battery icon at the top right corner of your Kindle Paperwhite’s screen, indicating that it is charging.
- Leave your Kindle Paperwhite connected to the power source until it reaches a full charge. This typically takes a few hours.
By connecting your Kindle Paperwhite to a power source, you can ensure that it has enough battery power to complete the reset process. It’s important to have a full charge to avoid any interruptions during the reset, which could potentially cause issues with your device.
Now that your Kindle Paperwhite is connected to a power source and charging, you’re ready to proceed with the reset process. In the next section, we’ll cover how to restart your Kindle Paperwhite.
Restart Your Kindle
If you’re experiencing any minor issues with your Kindle Paperwhite, a simple restart can often resolve them. Restarting your device essentially turns it off and then back on again, refreshing the system and clearing any temporary glitches that may be causing problems.
To restart your Kindle Paperwhite, follow these steps:
- Press and hold the power button, located at the bottom of your Kindle Paperwhite, for about 7-10 seconds.
- After a few seconds, you will see a confirmation screen prompting you to shut down your Kindle.
- To confirm the restart, tap on the “Restart” option on the screen. If you change your mind and decide not to restart, you can select “Cancel.”
- Your Kindle Paperwhite will then power down and restart automatically.
Once your Kindle Paperwhite has restarted, you may notice that any minor issues or glitches you were experiencing have been resolved. This simple step can often clear temporary issues and refresh the system, allowing your device to function optimally again.
If restarting your Kindle Paperwhite doesn’t solve the problem, you may need to perform a force restart. In the next section, we’ll guide you on how to force restart your Kindle Paperwhite. This more intense restart can help resolve more stubborn issues that a regular restart may not fix.
Force Restart Your Kindle
If your Kindle Paperwhite is unresponsive or frozen, a force restart may be necessary to resolve the issue. This type of restart is a more intense form of rebooting that can help overcome stubborn software or system glitches that a regular restart cannot fix.
To force restart your Kindle Paperwhite, follow these steps:
- Locate the power button at the bottom of your Kindle Paperwhite.
- Press and hold the power button for about 20 seconds. You may need to use a timer or count in your head to ensure you reach the full 20 seconds.
- After 20 seconds, release the power button.
- Your Kindle Paperwhite will then power off and restart automatically.
When your Kindle Paperwhite restarts, it should respond normally and any unresponsive or frozen behavior should be resolved. This force restart allows the device to completely shut down and then start fresh, which can help clear any persistent software issues.
If a force restart doesn’t resolve the problem, you may need to consider resetting your Kindle Paperwhite to its factory settings. Keep in mind that resetting your device to factory settings will erase all the content and personalized settings on your Kindle Paperwhite. Therefore, it’s important to backup any crucial data before proceeding with a reset. We’ll discuss the factory reset process in the next section.
Reset Your Kindle to Factory Settings
If you’re facing persistent issues with your Kindle Paperwhite that haven’t been resolved through a regular restart or force restart, resetting your device to factory settings may be necessary. This process will restore your Kindle Paperwhite to its original state, erasing all content, settings, and personalization. It’s crucial to note that resetting your Kindle to factory settings should be considered as a last resort, as it will remove all data from your device.
To reset your Kindle Paperwhite to factory settings, follow these steps:
- From the home screen of your Kindle Paperwhite, tap on the “Menu” icon at the top-right corner of the screen. The icon resembles three vertical dots.
- In the menu options, select “Settings.”
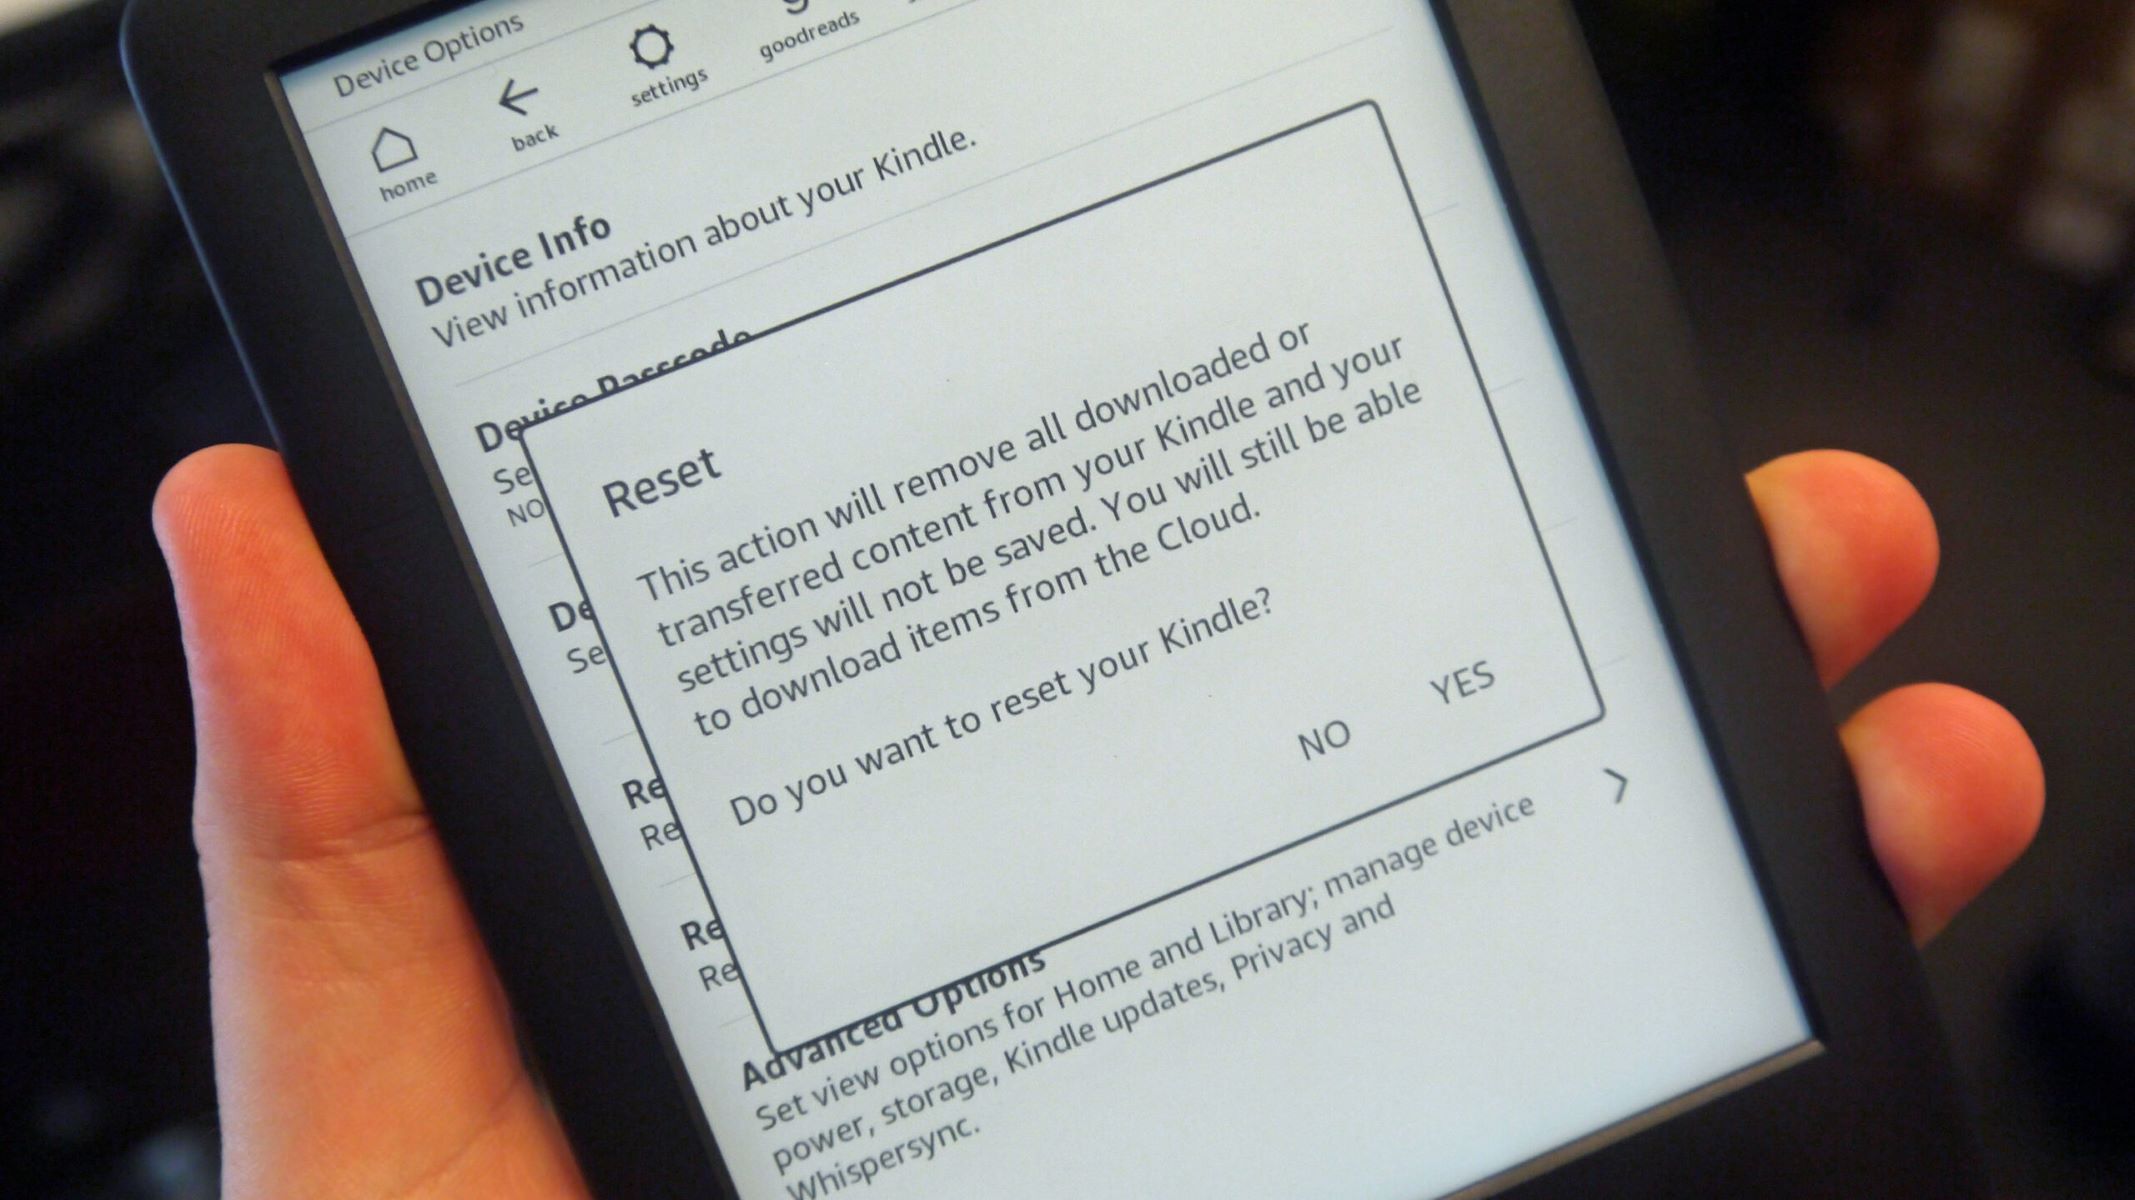
- Within the settings menu, scroll down and tap on “Device Options.”
- Under “Device Options,” tap on “Reset to Factory Defaults.”
- A confirmation pop-up will appear, warning you that the action will erase all content and settings on your Kindle Paperwhite. Read the warning carefully, and if you are willing to proceed, tap on “Reset” to confirm.
- Your Kindle Paperwhite will then begin the reset process, deleting all content and settings.
After the device restarts, you will need to go through the initial setup process, including connecting to Wi-Fi, signing in to your Amazon account, and re-downloading any previously purchased content.
Resetting your Kindle to factory settings can help resolve stubborn software issues but should only be done as a last resort when other troubleshooting methods have failed. Remember to back up any important data before performing a factory reset to prevent permanent loss of your files.
In the next section, we’ll guide you on how to set up your Kindle Paperwhite again after performing a reset.
Set Up Your Kindle Again
After resetting your Kindle Paperwhite to factory settings, you will need to set it up again to personalize and configure the device to your preferences. The setup process is fairly straightforward and involves connecting to a Wi-Fi network, signing in to your Amazon account, and optionally downloading any previously purchased content.
Follow these steps to set up your Kindle Paperwhite again:
- Turn on your Kindle Paperwhite by pressing the power button located at the bottom of the device.
- Choose your preferred language from the available options using the touchscreen.
- Select the Wi-Fi network you want to connect to from the list of available networks. If prompted, enter the password for the network.
- Once connected to Wi-Fi, enter your Amazon account credentials (email and password) to sign in or create a new Amazon account if you don’t have one.
- After signing in, you will have the option to set up parental controls, enable/disable Special Offers, adjust language preferences, and customize other settings according to your preferences.
- If you had previously purchased content, such as books or audiobooks, you can now download them to your Kindle Paperwhite again. Simply access the “Library” section of your Kindle and select the content you want to download.
- Once the setup is complete, you can start enjoying your Kindle Paperwhite and exploring the vast collection of books and features available.
By going through the setup process, you personalize your Kindle Paperwhite to your liking, allowing you to make the most out of your reading experience. Take your time to customize the settings and explore the various features available, such as adjusting font sizes, setting reading goals, and using the built-in dictionary.
Should you encounter any difficulties during the setup process or have further questions, refer to the Kindle Paperwhite user manual or reach out to Amazon support for assistance.