
Before You Begin
Changing the time on your Kindle Paperwhite is a straightforward process that can be done either automatically or manually. Whether you’re traveling to a different time zone or simply need to adjust the clock on your device, it’s important to ensure that you have a stable internet connection before proceeding with the time change.
Prior to changing the time, make sure that your Kindle Paperwhite is charged sufficiently. It’s also a good idea to have the latest software update installed to ensure optimal performance. If you haven’t updated your device recently, you can do so by connecting to Wi-Fi and checking for updates in the settings menu.
If you prefer to set the time automatically, your Kindle Paperwhite will synchronize its clock with the current time provided by Amazon’s servers. This method is particularly convenient if you frequently travel or move between time zones, as it eliminates the need for manual adjustments.
On the other hand, if you prefer to manually set the time on your Kindle Paperwhite, you have the flexibility to modify the clock as per your preference. This can be useful if you want to keep the time consistent regardless of time zone changes or if you prefer a different time format.
It’s important to note that adjusting the time zone on your Kindle Paperwhite may be necessary to ensure accurate time display. If you notice that the time on your device is not aligned with your local time, you can easily change the time zone settings to match your current location.
In the event that you encounter any issues when attempting to change the time on your Kindle Paperwhite, refer to the troubleshooting section at the end of this article for helpful tips and solutions.
Method 1: Setting the Time Automatically
To set the time on your Kindle Paperwhite automatically, follow these simple steps:
- Ensure that your Kindle Paperwhite is connected to a stable Wi-Fi network.
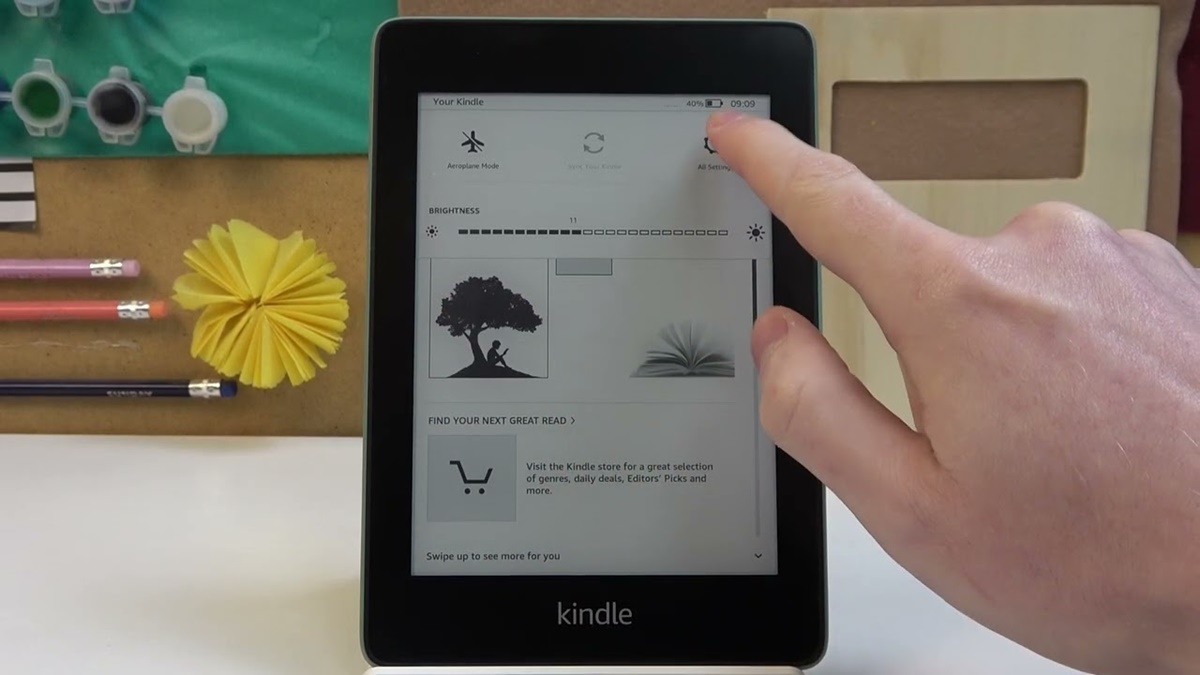
- Swipe down from the top of the screen to access the device’s Quick Actions menu.
- Select the “Settings” option, represented by a gear icon.
- In the settings menu, tap on “Device Options.”
- Tap on “Time Zone” and ensure that it is set to the correct location.
- Next, tap on “Device Time” and enable the “Automatic Time” option.
- Your Kindle Paperwhite will now automatically update its time based on Amazon’s servers.
By following this method, your device will stay synced with the current time, regardless of any time zone changes or daylight saving adjustments. This is particularly convenient if you frequently travel and want your Kindle Paperwhite to display the correct time without any manual intervention.
It’s worth noting that if you have previously manually set the time on your device, enabling the automatic time option will override the manual settings and synchronize with Amazon’s servers.
Remember to periodically check the time settings on your Kindle Paperwhite to ensure that automatic time updates are still enabled. This will help maintain accurate time display on your device.
Now that you have successfully set the time on your Kindle Paperwhite automatically, let’s explore an alternative method to manually adjust the time as per your preference.
Method 2: Manually Setting the Time
If you prefer to manually set the time on your Kindle Paperwhite, follow these steps:
- Make sure your Kindle Paperwhite is connected to a stable Wi-Fi network.
- Swipe down from the top of the screen to access the Quick Actions menu.
- Select the “Settings” option, displayed as a gear icon.
- In the settings menu, tap on “Device Options”.
- Select “Time Zone” and ensure that it is set to the correct location.
- Tap on “Device Time”.
- Disable the “Automatic Time” option.
- Now, you can manually adjust the time by tapping on the hour, minutes, and AM/PM fields.
- Once you have set the desired time, tap on the “Set Time” button to confirm.
By manually setting the time on your Kindle Paperwhite, you have the flexibility to customize the clock according to your preference. This is particularly useful if you want to keep a specific time format or if you live in an area with inconsistent internet connectivity.
Remember, if you choose to manually set the time, it’s important to periodically check and adjust the time on your Kindle Paperwhite, especially when there are changes related to daylight saving time or any other time adjustments.
Additionally, if you wish to revert to automatic time updates in the future, simply access the Device Time settings and enable the “Automatic Time” option.
Now that you have learned how to manually set the time on your Kindle Paperwhite, let’s move on to adjusting the time zone, which is essential for accurate time display.
Adjusting the Time Zone
In order to ensure accurate time display on your Kindle Paperwhite, it’s crucial to adjust the time zone setting to match your current location. Here’s how you can do it:
- Connect your Kindle Paperwhite to a stable Wi-Fi network.
- Swipe down from the top of the screen and select the Quick Actions menu.
- Tap on the “Settings” option, represented by a gear icon.
- In the settings menu, select “Device Options”.
- Tap on “Time Zone” to access the time zone settings.
- Scroll through the list and select the appropriate time zone for your location.
- Your Kindle Paperwhite will now display the correct time based on the selected time zone.
It’s important to note that when you travel to a different time zone, your Kindle Paperwhite can automatically update the time based on your new location. However, if you prefer to manually set the time, make sure to adjust the time zone accordingly.
By adjusting the time zone settings, you ensure that your Kindle Paperwhite accurately reflects the local time, which can be beneficial for tasks such as scheduling reminders, managing reading goals, or staying organized during your day-to-day activities.
Remember to check and adjust the time zone setting whenever you travel to a different location or if you notice any discrepancies in the displayed time.
Now that you have successfully adjusted the time zone on your Kindle Paperwhite, let’s explore some troubleshooting tips in case you encounter any issues with changing the time on your device.
Troubleshooting: Time Not Changing
If you are experiencing issues with the time not changing on your Kindle Paperwhite, try these troubleshooting steps:
- Ensure that your Kindle Paperwhite is connected to a stable Wi-Fi network. Without internet access, your device may not be able to synchronize the time.
- Verify that you have enabled the “Automatic Time” option if you want your device to update the time automatically. This option can be found in the Device Time settings menu.
- Check if there is a software update available for your Kindle Paperwhite. Outdated software can sometimes cause issues with time synchronization. To check for updates, connect to Wi-Fi and go to the settings menu to look for available updates.
- Restart your Kindle Paperwhite by holding the power button down for about 7 seconds and then releasing it. This simple reboot can resolve minor software glitches that may be affecting the time settings.
- If you have manually set the time on your device and it is not updating, try disabling the manual time setting and enabling the automatic time option. This will allow your Kindle Paperwhite to synchronize with Amazon’s servers and update the time accordingly.
- Double-check that the time zone setting on your Kindle Paperwhite is accurate. If it is set to the wrong time zone, the displayed time may not be correct. Adjust the time zone as described in the “Adjusting the Time Zone” section.
- If none of the above steps resolve the issue, consider resetting your Kindle Paperwhite to factory settings. Before performing a factory reset, make sure to back up any important data as it will be erased during the process.
If you continue to experience difficulties with changing the time on your Kindle Paperwhite, it may be necessary to contact Amazon support for further assistance. They can provide targeted troubleshooting steps or guide you through any necessary repairs or replacements.
Now that you have troubleshooting tips to address any time-related issues, you can make sure your Kindle Paperwhite displays the correct time for your location.