
Enable the lock screen on your Kindle Paperwhite
One of the great features of the Kindle Paperwhite is the ability to set a lock screen, which provides an extra layer of security for your device. Enabling the lock screen ensures that only authorized users can access your Kindle and its content. Here’s how you can enable the lock screen on your Kindle Paperwhite:
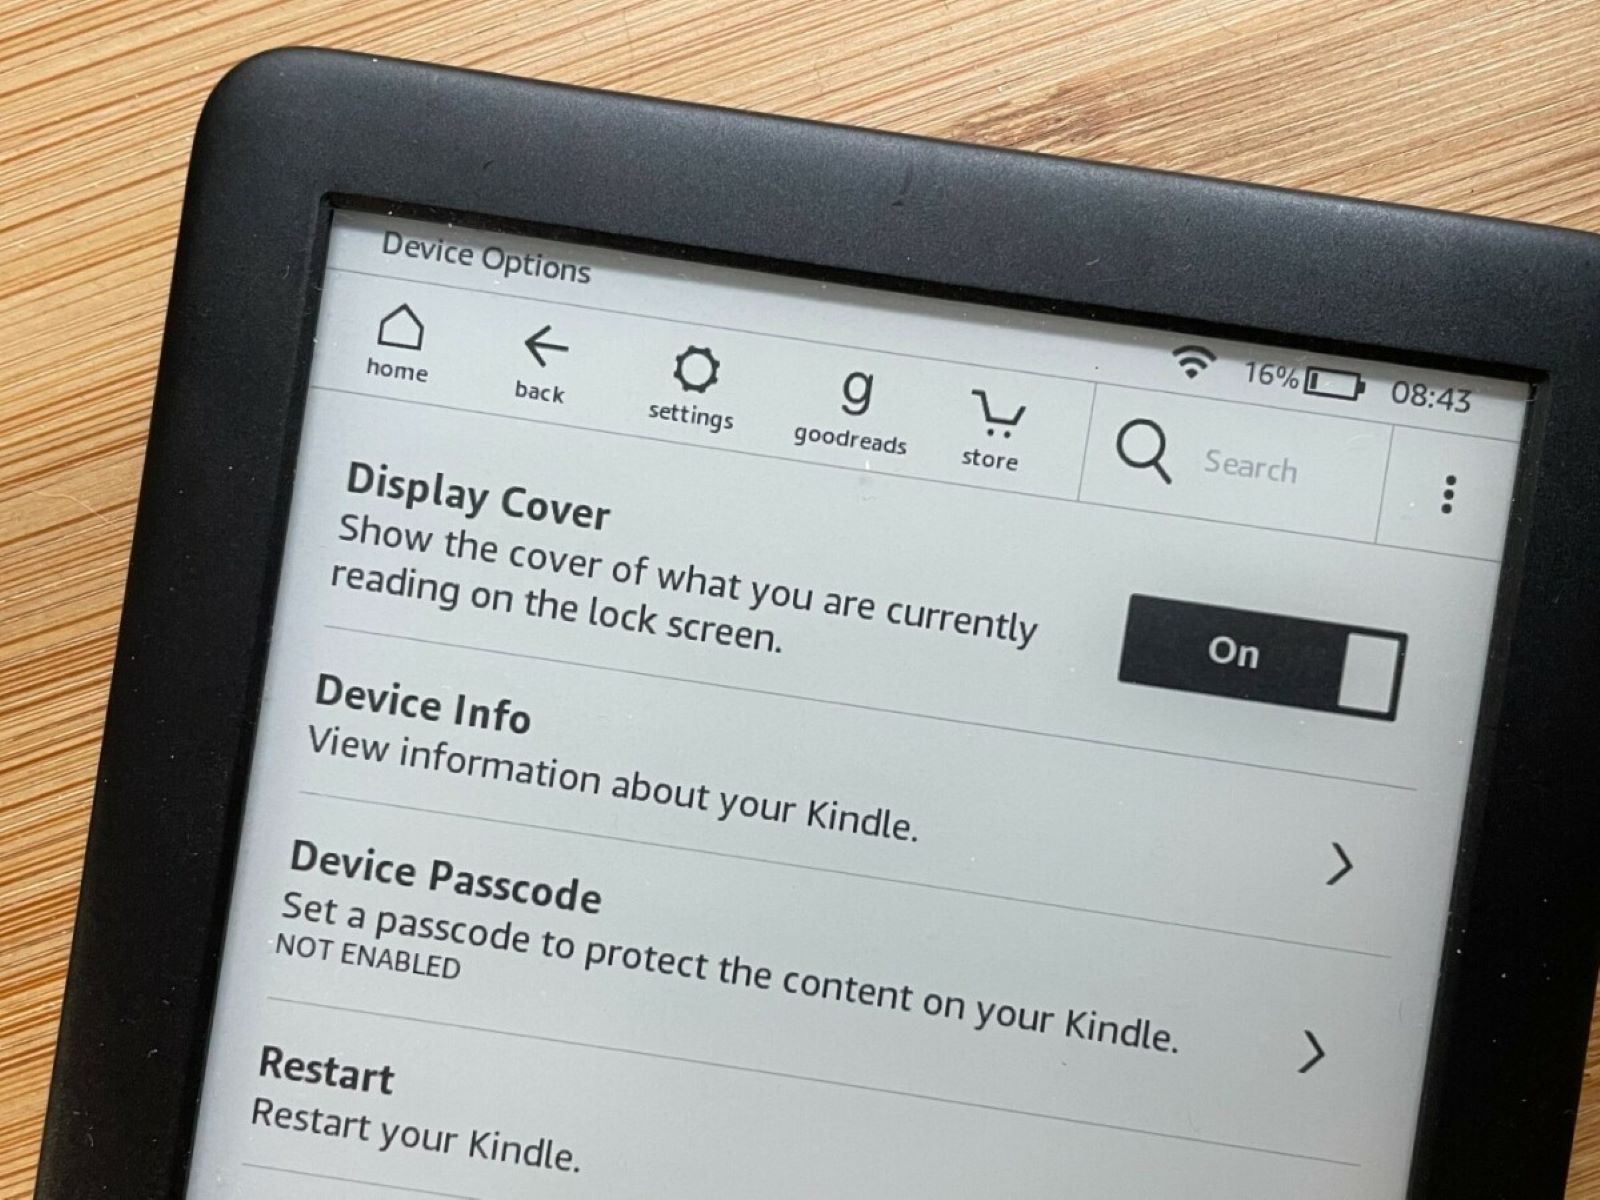
1. From the Home screen on your Kindle Paperwhite, tap the settings icon located at the top right corner of the screen. It looks like a gear.
2. In the settings menu, select “Device Options”.
3. Scroll down and tap on “Lock Screen”.
4. You will be presented with two options: “Password” and “PIN”. Choose the option that you prefer.
5. If you select “Password”, you will be prompted to enter a password with at least 4 characters. Make sure to choose a password that is easy for you to remember but difficult for others to guess.
6. If you select “PIN”, you will be prompted to enter a 4-digit PIN. Choose a PIN that you can easily remember without compromising its security.
7. Once you have set your desired lock screen option, tap “Save”.
Your lock screen is now enabled. From this point forward, whenever your Kindle Paperwhite goes to sleep or is powered off, you will be prompted to enter your password or PIN to unlock it.
Enabling the lock screen on your Kindle Paperwhite ensures that your device remains secure and protects your personal information and valuable content. It is a simple yet effective step towards preserving the privacy of your device.
Choose a lock screen image from your Kindle device
The lock screen on your Kindle Paperwhite doesn’t have to be boring. You can personalize it by choosing a lock screen image from your Kindle device. Here’s how you can do it:
1. On your Kindle Paperwhite, tap the settings icon on the top right corner of the Home screen to open the settings menu.
2. Scroll down and select “Device Options”.
3. Tap on “Lock Screen”.
4. In the lock screen settings menu, you will see the option “Change My Lock Screen“. Tap on it.
5. Your Kindle will display a set of pre-installed lock screen images to choose from. Scroll through the available options and select the image that you prefer.
6. Once you’ve selected the image, tap on “Update My Lock Screen“.
7. Your lock screen image will be changed to the one you selected. Now, whenever you lock or wake up your Kindle Paperwhite, you will see your chosen lock screen image.
Choosing a lock screen image from your Kindle device allows you to personalize your device and make it uniquely yours. You can choose from a range of stunning nature scenes, famous artworks, or even personal photos to make your lock screen visually appealing and reflective of your style and interests.
Remember, you can always change your lock screen image whenever you want by following the same steps mentioned above. So go ahead and explore the collection of lock screen images on your Kindle Paperwhite to find the perfect one that suits your taste.
Set a custom image as the lock screen on your Kindle Paperwhite
If you prefer a more personal touch, you can set a custom image as the lock screen on your Kindle Paperwhite. Here’s how:
1. Connect your Kindle Paperwhite to your computer using the USB cable that came with it. Make sure your Kindle is powered on.
2. On your computer, open the file explorer or finder and navigate to your Kindle device. It should appear as a removable drive.
3. Once you’ve opened your Kindle device, locate the “documents” folder. This is where you’ll be placing your custom lock screen image file.
4. Find or create an image file that you want to use as your lock screen. The supported file formats for lock screen images are JPEG (.jpg) and PNG (.png).
5. Copy the image file to the “documents” folder on your Kindle device.
6. Safely disconnect your Kindle from your computer by ejecting or safely removing the device.
7. On your Kindle Paperwhite, tap the settings icon on the top right corner of the Home screen.
8. Navigate to “Device Options” and select “Lock Screen”.
9. Tap “Change My Lock Screen“. Your custom image should now appear as an option alongside the pre-installed images.
10. Select your custom image from the list and tap “Update My Lock Screen“.
Your custom image has now been set as the lock screen on your Kindle Paperwhite. Whenever you lock or wake up your Kindle, you will see your chosen image displayed on the lock screen, adding a personal touch to your reading experience.
By setting a custom image as the lock screen, you can showcase your favorite photos, artwork, or any image that resonates with you. It’s a great way to personalize your Kindle Paperwhite and make it truly yours.
Set a custom image as the lock screen using Kindle Personal Documents Service
If you don’t have access to a computer or prefer a wireless method, you can set a custom image as the lock screen on your Kindle Paperwhite using the Kindle Personal Documents Service. Here’s how:
1. Open a web browser on your computer or mobile device and go to the Kindle Personal Documents Service website (https://www.amazon.com/mn/dcw/myx.html#/home/content/documents)
2. Sign in with the same Amazon account that is registered to your Kindle Paperwhite.
3. On the Kindle Personal Documents page, click on “Upload” or “Add a New Document“.
4. Choose the custom image file that you want to set as the lock screen from your computer or device.
5. Once the file is uploaded, select the document and click on “Actions“. Then, choose “Convert to Kindle Format“.
6. After the conversion is complete, click on “Actions” again and select “Deliver to My…“. In the drop-down menu, choose your Kindle Paperwhite device.
7. Open your Kindle Paperwhite and make sure that it is connected to a Wi-Fi network.
8. On your Kindle Paperwhite, tap the settings icon on the top right corner of the Home screen.
9. Navigate to “Device Options” and select “Lock Screen”.
10. Tap “Change My Lock Screen“. You should see the custom image that you uploaded through the Personal Documents Service.
11. Select your custom image from the list and tap “Update My Lock Screen“.
Your custom image will now be set as the lock screen on your Kindle Paperwhite. It may take a few moments for the image to synchronize and appear on your device.
Using the Kindle Personal Documents Service allows you to set a custom lock screen image without the need for a computer. It provides a convenient and wireless way to personalize your Kindle Paperwhite and make it reflect your unique style.
Set a custom image as the lock screen using Amazon Photos
If you are an Amazon Photos user, you can easily set a custom image as the lock screen on your Kindle Paperwhite using the Amazon Photos app or website. Here’s how you can do it:
1. Ensure that you have the Amazon Photos app installed on your mobile device or visit the Amazon Photos website (https://www.amazon.com/photos) on your computer.
2. Sign in with the same Amazon account that is linked to your Kindle Paperwhite.
3. Upload the image that you want to use as the lock screen to your Amazon Photos account. If you already have the image saved in your Amazon Photos library, skip this step.
4. Open your Kindle Paperwhite and make sure that it is connected to a Wi-Fi network.
5. On your Kindle Paperwhite, tap the settings icon on the top right corner of the Home screen.
6. Navigate to “Device Options” and select “Lock Screen”.
7. Tap “Change My Lock Screen“.
8. Select “Choose an image from Amazon Photos“.
9. Your Kindle Paperwhite will now display the albums and photos from your Amazon Photos account. Select the image that you want to set as the lock screen.
10. Tap “Update My Lock Screen“.
Your custom image from Amazon Photos is now set as the lock screen on your Kindle Paperwhite. Whenever you lock or wake up your Kindle, you will see your chosen image displayed, adding a personalized touch to your reading experience.
Using Amazon Photos to set a custom lock screen image provides a convenient way to access your personal photo collection and showcase your favorite memories. It’s a great option for those who use Amazon Photos as their primary photo storage service and want to personalize their Kindle Paperwhite with their own images.
Troubleshoot issues with changing the lock screen on your Kindle Paperwhite
If you are experiencing difficulties when trying to change the lock screen on your Kindle Paperwhite, don’t worry. There are a few troubleshooting steps you can take to resolve the issue. Here are some common issues and their solutions:
1. Locked image selection: When you tap on “Change My Lock Screen“, you may find that the lock screen options are locked or grayed out. This can happen when your Kindle Paperwhite is not connected to a Wi-Fi network. Ensure that your device is connected to a stable Wi-Fi network and try again.
2. Unsupported file format: The lock screen on your Kindle Paperwhite supports JPEG (.jpg) and PNG (.png) file formats. If you are trying to set a custom image that is in a different format, you may encounter issues. Use an image editing tool or converter to convert your image to a supported format and try again.
3. File size limit: The lock screen image on the Kindle Paperwhite has a file size limit. If your custom image exceeds this limit, it may not be able to be set as the lock screen. Use image editing software to reduce the file size of your image and try again.
4. Incompatible image resolution: The lock screen image should have a resolution that is compatible with the Kindle Paperwhite’s display. If the image resolution is too high or too low, it may not display properly as the lock screen. Resize your image to match the recommended resolution for the Kindle Paperwhite (1448 x 1072 pixels) and try again.
5. Device software update: Ensure that your Kindle Paperwhite has the latest software update installed. Outdated software may cause compatibility issues when changing the lock screen image. Go to the settings menu, select “Device Options”, and then tap on “Device Info”. If a software update is available, follow the on-screen prompts to install it.
If you have tried the above troubleshooting steps and are still unable to change the lock screen image on your Kindle Paperwhite, you may want to consider reaching out to Amazon customer support for further assistance. They will be able to guide you through additional troubleshooting steps or provide a solution specific to your device.
Remember, changing the lock screen image on your Kindle Paperwhite is a great way to personalize your device, so keep trying the troubleshooting steps until you find a resolution and can enjoy a customized lock screen.
Disable the lock screen on your Kindle Paperwhite
If you prefer not to have a lock screen on your Kindle Paperwhite and want to bypass the lock screen when accessing your device, you can disable it. Here’s how:
1. On your Kindle Paperwhite, tap the settings icon on the top right corner of the Home screen.
2. Navigate to “Device Options” and select “Lock Screen”.
3. In the lock screen settings menu, you will see the option to enable or disable the lock screen. By default, the lock screen is enabled.
4. To disable the lock screen, simply toggle the switch next to the “Lock Screen” option to the off position.
5. A confirmation message will appear, indicating that disabling the lock screen will remove the password or PIN you have set up. Confirm your choice by selecting “Yes”.
Your lock screen is now disabled, and the Kindle Paperwhite will no longer require you to enter a password or PIN to access the device. When you wake up your Kindle or power it on, you will be taken directly to the Home screen.
Disabling the lock screen can be convenient if you don’t want to go through the extra step of unlocking your Kindle each time you use it. However, keep in mind that this will also remove the added security that the lock screen provides. Make sure to weigh the convenience against the potential risk of unauthorized access to your device and personal content.
If you change your mind and want to re-enable the lock screen in the future, you can follow the same steps mentioned above and toggle the switch to the on position. You can then choose to set a password or PIN again, if desired.
Remember, the decision to enable or disable the lock screen on your Kindle Paperwhite is entirely up to you and your preferences. Disable it if convenience is your top priority, but always consider the security implications before making the decision.