
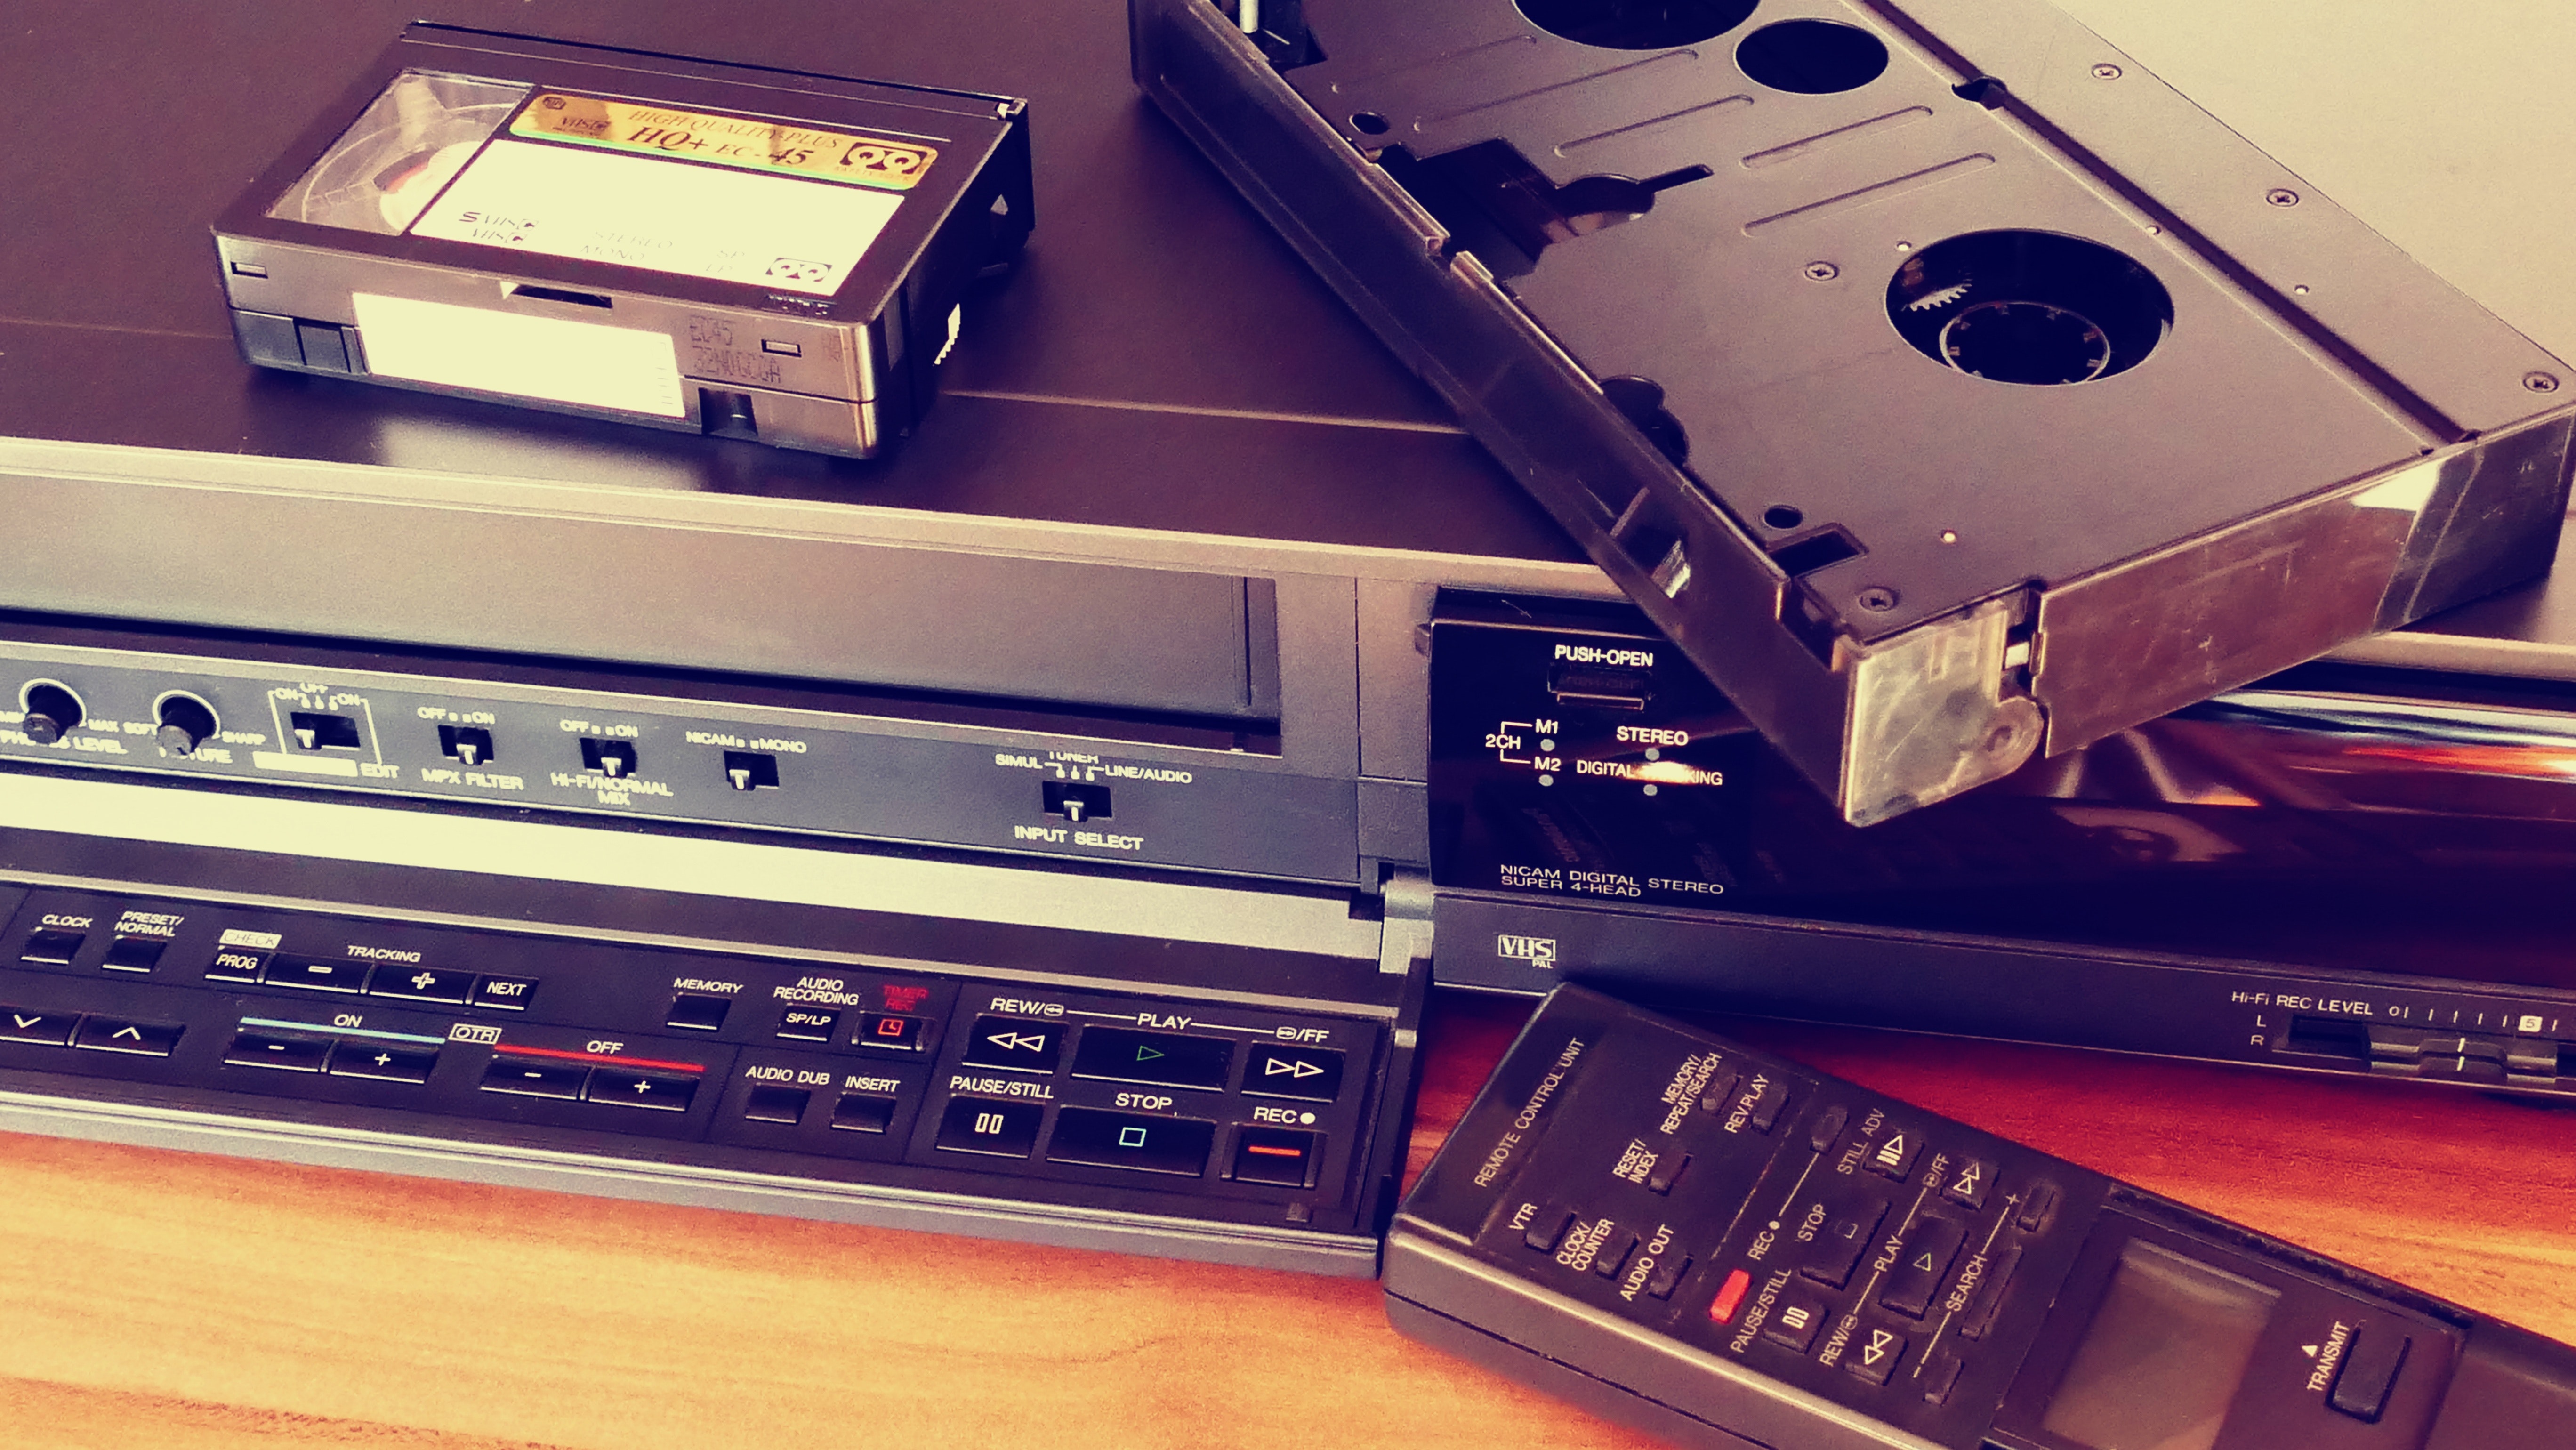
What You’ll Need
To record cable TV with a VCR, you will need the following:
- A VCR (Video Cassette Recorder)
- A cable box
- Coaxial cables
- A set of RCA cables (optional)
- A television
- A blank VHS tape
These items are essential for setting up your VCR and ensuring a successful recording of cable TV shows. Make sure you have all of them available before proceeding to the next steps.
The VCR will be the device that receives and records the cable TV signal, while the cable box is required to access the desired channels. The coaxial cables will be used to connect the cable box to the VCR and the VCR to the television.
Additionally, you can use RCA cables to improve the audio and video quality if your VCR and television have compatible RCA inputs and outputs. However, this step is optional and can be skipped if you don’t have RCA-compatible devices.
Lastly, don’t forget to have a blank VHS tape ready to record your favorite shows. Ensure that the tape is in good condition and has enough remaining recording time for the duration of your desired program.
With all of these items prepared, you’re ready to dive into the setup and recording process!
Step 1: Connect Your VCR to the Cable Box
Connecting your VCR to the cable box is the first step in recording cable TV. Follow these simple instructions to establish the connection:
- Locate the coaxial output port on your cable box. This is usually labeled as “RF Out” or “To TV.”
- Take one end of the coaxial cable and connect it to the output port of the cable box.
- Now, locate the coaxial input port on your VCR. It is typically labeled as “Antenna In” or “RF In.”
- Take the other end of the coaxial cable and connect it to the input port of the VCR.
- If you have RCA cables available, you can also use them for audio and video connections. Simply connect the corresponding color-coded cables (red, white, and yellow) from the RCA output ports on the cable box to the RCA input ports on the VCR. This will provide better audio and video quality.
- Take another set of coaxial cables and connect one end to the output port of the VCR.
- Finally, connect the other end of the coaxial cables to the input port of your television. Ensure that you are connecting to the “Antenna In” or “RF In” port.
Once you have completed these steps, your VCR will now be connected to the cable box and television. This connection will allow the cable TV signal to pass through the VCR and be recorded onto the VHS tape. In the next step, we will set up the VCR for recording.
Step 2: Set Up Your VCR
After connecting your VCR to the cable box, it’s time to set up the VCR for recording. Follow these instructions to configure the settings:
- Make sure your VCR is turned off. Locate the power button and switch it to the “off” position.
- Insert a blank VHS tape into the VCR’s cassette compartment. Ensure that the tape is inserted correctly with the safety tab facing outwards.
- Turn on your television and set it to the appropriate video input channel. This is usually labeled as “Video” or “Input” on your TV’s remote control. The channel number may vary depending on your TV model.
- Now, turn on your VCR by pressing the power button. You should see the VCR’s display or menu on your TV screen.
- Access the VCR’s menu or settings by pressing the “Menu” button on the VCR’s remote control. Consult the VCR’s user manual if you are unsure of how to access the menu.
- In the VCR’s menu, navigate to the “Setup” or “Configuration” section. You may need to use the arrow buttons on the remote control to scroll through the menu options.
- Within the setup options, locate the “Channel Setup” or “Auto Programming” feature. This function allows the VCR to scan for available channels.
- Select the “Channel Setup” or “Auto Programming” option and follow the on-screen instructions to initiate the channel scan. This process may take a few minutes as the VCR searches for the available channels.
- Once the channel scan is completed, the VCR should display a list of detected channels on your television screen. Use the arrow buttons on the remote control to set the desired channel for recording. Press the “Enter” or “OK” button to save the selection.
By completing these steps, you have successfully set up your VCR and configured the necessary settings for recording. In the next step, we will learn how to set the channel on your VCR for recording specific cable TV shows.
Step 3: Set the Channel on Your VCR
Now that you have set up your VCR, it’s time to specify the channel you want to record from your cable TV. Follow these steps to set the channel on your VCR:
- Ensure that your VCR is still turned on and that the television is set to the proper video input channel.
- Using the VCR’s remote control, locate the “Channel” or “Tuner” button. This button is usually labeled with a channel number or a “CH” abbreviation.
- Press the “Channel” or “Tuner” button to access the VCR’s channel selection mode.
- On the VCR’s display or menu, you will see options to increase or decrease the channel number. Use the arrow buttons or the numeric keypad on the VCR’s remote control to enter the desired channel number for recording.
- Confirm your selection by pressing the “Enter” or “OK” button on the VCR’s remote control.
- Verify that the correct channel is now displayed on your television screen. This ensures that the VCR is set to record the desired cable TV channel.
Setting the channel on your VCR is an important step as it determines which channel the VCR will record from your cable TV. Take note of the channel number you have selected for future reference.
It’s worth mentioning that if you want to record multiple shows from different channels, you will need to repeat this step each time you want to change the recording channel.
In the next step, we will learn how to set the timer on your VCR so that it starts recording at a specific time. This allows you to capture your favorite shows even if you are not available to manually start the recording.
Step 4: Set the Timer on Your VCR
Setting the timer on your VCR allows you to schedule when it will start recording your desired cable TV program. Follow these steps to set the timer:
- Make sure your VCR is turned on and the television is set to the appropriate video input channel.
- Locate the “Timer” or “Program” button on your VCR’s remote control. It is usually labeled with a clock or timer icon.
- Press the “Timer” or “Program” button to access the timer setting mode.
- In the timer settings, you will see options to set the date, start time, and end time for your recording. Use the arrow buttons or numeric keypad on the remote control to enter the desired values.
- Confirm each selection by pressing the “Enter” or “OK” button on the remote control.
- Once you have set the timer, the VCR will display the program information, including the channel, start time, and end time, on the screen.
- Double-check the timer settings to ensure accuracy. Pay attention to the proper weekday, date, and AM/PM indication for the start and end times.
- Save the timer setting by pressing the “Enter” or “OK” button on the remote control.
By setting the timer, you have scheduled the VCR to automatically start recording your selected cable TV program at the specified time. Make sure to double-check the timer settings before confirming to avoid any recording errors.
It’s important to note that your VCR must remain powered on during the scheduled recording time. If the VCR is turned off or experiences a power outage, the recording may be interrupted or not occur at all.
In the next step, we will learn how to start the recording manually if you prefer to have more control over the process.
Step 5: Start Recording
Once you have set up the timer on your VCR or if you prefer to start the recording manually, follow these steps to begin recording your cable TV program:
- Ensure that your VCR is turned on and the television is set to the correct video input channel.
- If you have set the timer for automated recording, simply wait for the designated start time. The VCR will automatically start recording at the scheduled time.
- If you want to start the recording manually, locate the “Record” or “Rec” button on your VCR’s remote control. This button is usually indicated by a red circle or a picture of a cassette tape.
- Press the “Record” or “Rec” button to start the recording. The VCR will begin capturing the cable TV program and saving it onto the inserted VHS tape.
- Make sure to monitor the recording progress to ensure that it is functioning properly. On some VCR models, a timer or recording indicator may display the elapsed time.
- If you encounter any issues during the recording, such as poor video quality or audio problems, consider checking the connections or adjusting the settings on your VCR.
- Once the recording is complete or when you wish to stop recording, press the “Stop” or “Stop/Eject” button on the VCR’s remote control. This will halt the recording process and finalize the recording onto the VHS tape.
Congratulations! You have successfully started recording your cable TV program using your VCR. Remember to properly label the recorded tape with the program’s information for future reference.
In the final step, we will explore how to watch the recorded shows on your VCR.
Step 6: Watch Your Recorded Shows
After successfully recording your cable TV shows on your VCR, it’s time to sit back, relax, and enjoy the recorded content. Follow these steps to watch your recorded shows:
- Ensure that your VCR is turned on and the television is set to the appropriate video input channel.
- Insert the recorded VHS tape into the VCR’s cassette compartment, making sure that the safety tab is facing outwards.
- Press the “Play” or “Play/Pause” button on the VCR’s remote control to start playing the recorded tape.
- On your television screen, you will be able to see the playback of the recorded program. Use the VCR’s remote control to control playback functions such as play, pause, rewind, and fast forward.
- Adjust the TV’s volume to your desired level using the television’s remote control or the VCR’s remote control, depending on how your audio output is set up.
- Enjoy watching your recorded cable TV shows with the comfort and convenience of your VCR playback capabilities.
- If you want to watch another recorded show or switch to live TV, simply eject the current tape from the VCR and insert a new one or tune the television to the desired live channel.
With these simple steps, you can easily watch your recorded shows on your VCR and relive your favorite moments at any time.
Remember to properly store your recorded VHS tapes in a cool, dry place to protect them from damage or deterioration. This will ensure that you can enjoy your recorded shows for years to come.
Congratulations on successfully recording and watching your cable TV shows using your VCR!