
Choosing the Right Equipment
When it comes to watching mini DV tapes, having the right equipment is essential. Here are some factors to consider when choosing the equipment you’ll need:
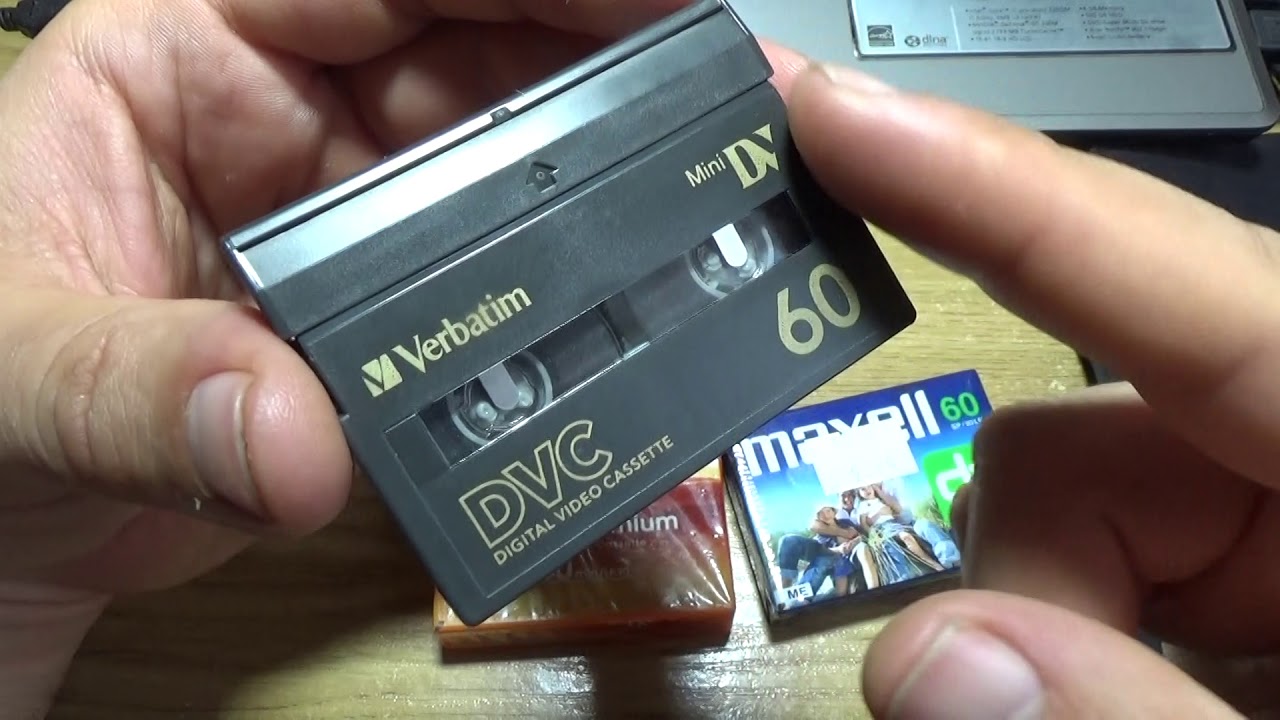
- Mini DV Camcorder: To watch mini DV tapes, you will need a mini DV camcorder. Look for one that is compatible with the type of tape you have, such as Mini DV or HDV. Consider the features you need, such as manual controls, image stabilization, and connectivity options.
- Computer: You’ll require a computer with a FireWire (IEEE 1394) port to connect the camcorder. Make sure your computer’s operating system is compatible with the camcorder’s software requirements.
- FireWire Cable: Purchase a FireWire cable that matches the ports on both your camcorder and computer. This cable allows for high-speed data transfer between the two devices.
- Video Capture Card: If your computer doesn’t have a built-in FireWire port, you may need a video capture card. This hardware device connects to your computer via USB or PCI and provides the necessary inputs for connecting the camcorder.
Remember to check the specifications and compatibility of each piece of equipment before making a purchase. Additionally, consider your budget and how often you plan to use the equipment. If you only intend to watch a few mini DV tapes, renting the equipment may be a more cost-effective option.
Once you have the right equipment, you’ll be ready to connect your mini DV camcorder to a computer and start watching and transferring your tapes.
Connecting Your Mini DV Camcorder to a Computer
To watch mini DV tapes on a computer, you’ll need to establish a connection between your mini DV camcorder and the computer. Follow these steps to connect the two devices:
- Power Off: Before connecting the camcorder, make sure both the camcorder and the computer are turned off. This will prevent any potential damage to the devices.
- Connect the FireWire Cable: Take one end of the FireWire cable and plug it into the FireWire port on your camcorder. Ensure it is inserted securely into the port.
- Connect the Other End: Plug the other end of the FireWire cable into the FireWire port on your computer. If your computer doesn’t have a FireWire port, connect the cable to the video capture card instead.
- Power On: Turn on your camcorder and set it to VCR or Playback mode. This mode allows the camcorder to transmit the video and audio content to the computer.
- Power On the Computer: Start your computer and wait for it to fully boot up. Ensure that the camcorder is recognized by the computer. The computer may prompt you to install any necessary drivers or software.
- Launch the Software: Once the connection is established, launch the video editing or capture software on your computer. This software will allow you to capture and transfer the mini DV tape content to your computer.
- Configure Settings: Within the software, configure the settings for capturing the video. You may need to specify the capture format, resolution, and other preferences based on your requirements.
Once you have completed these steps, your mini DV camcorder will be connected to the computer, and you’ll be ready to transfer the content from the mini DV tapes to your computer. The next section will cover the installation of the necessary software for this process.
Installing the Necessary Software
In order to transfer the content from your mini DV tapes to your computer, you’ll need to ensure that the necessary software is installed. Follow these steps to install the required software:
- Check Compatibility: Before installing any software, check the compatibility of your operating system with the software. Ensure that it supports your specific version of Windows or macOS.
- Download or Insert Disc: Depending on the software, you may need to download it from the manufacturer’s website or insert a disc that came with your camcorder. Follow the instructions provided by the manufacturer.
- Run the Installer: Locate the downloaded file or insert the installation disc and run the installer. This will begin the installation process.
- Follow Installation Wizard: The installation process will guide you through the necessary steps. Follow the instructions provided by the installer, such as selecting the installation location and agreeing to the terms and conditions.
- Customize Settings (Optional): During the installation, you may have the option to customize certain settings. For example, you can choose the default folder for storing captured video files or specify additional components to be installed.
- Complete the Installation: Once the installation is finished, click “Finish” or a similar button to complete the process. Some software may require a system restart before it can be used.
- Update and Activate: After installation, check for any available updates for the software. It is important to keep the software up to date for optimal performance. If necessary, activate the software using any provided license keys or serial numbers.
With the necessary software installed, you’re now ready to proceed with transferring the content from your mini DV tapes to your computer. The following section will guide you through this process.
Transferring Mini DV Tapes to a Computer
Now that you have your mini DV camcorder connected to your computer and the necessary software installed, you can begin the process of transferring the content from your mini DV tapes to your computer. Follow these steps to transfer your mini DV tapes:
- Launch the Software: Start the video editing or capture software that you installed in the previous section. Ensure that your mini DV camcorder is still connected to your computer.
- Play the Mini DV Tape: Insert the mini DV tape you wish to transfer into your camcorder. Set the camcorder to VCR or Playback mode, and press play to start playback of the tape.
- Capture the Video: Within the video editing or capture software, locate the option to capture video or import footage. Start capturing the video by following the software’s instructions. You may need to specify the duration or sections of the tape you want to capture.
- Monitor the Transfer: During the transfer process, keep an eye on the software’s progress indicator. It will show you the status of the transfer, such as the time elapsed and the remaining time.
- Review and Edit (Optional): Once the transfer is complete, you can review the captured footage within the software. If desired, you can make edits, trim the video, or add effects and transitions to enhance the final result.
- Save the Captured Video: After reviewing or editing the captured footage, save the video file to your computer. You can choose the desired file format and location to store the video file.
- Repeat for Other Tapes: If you have more mini DV tapes to transfer, repeat the above steps for each tape, ensuring that you have enough storage space on your computer.
By following these steps, you’ll be able to transfer the content from your mini DV tapes to your computer. This process allows you to store and watch your mini DV videos digitally, ensuring their preservation for years to come. The next section will cover how to play mini DV tapes on a TV.
Playing Mini DV Tapes on a TV
If you want to enjoy your mini DV tapes on a larger screen, you can easily play them on a TV. Follow these steps to play mini DV tapes on a TV:
- Check TV Inputs: Examine your TV to determine what types of inputs it has available. Look for composite or component video inputs, which are usually labeled as AV or RCA inputs.
- Connect the Camcorder: Take the appropriate cables for your TV’s input and connect them to the video output of your camcorder. For composite video, use a yellow RCA cable, and for component video, use red, green, and blue RCA cables. Plug the cables into the matching inputs on the TV.
- Switch to Input: Use your TV’s remote control or on-screen menu to select the input to which you have connected your camcorder. It may be labeled as AV, RCA, or a specific input number.
- Play the Mini DV Tape: Insert the mini DV tape into your camcorder, and set it to VCR or Playback mode. Press play on the camcorder to start playing the tape.
- Watch on TV: The video from the mini DV tape should now be playing on your TV screen. Adjust the volume and picture settings on the TV for optimal viewing experience.
By following these steps, you can enjoy your mini DV tapes on a TV and share your precious memories with friends and family. Remember that the quality of the playback depends on the resolution and capabilities of your camcorder and TV. Additionally, make sure to handle your tapes with care to avoid any damage or loss of footage.
In case you encounter any issues while playing your mini DV tapes on a TV, refer to the next section for troubleshooting suggestions.
Troubleshooting Common Issues
While watching mini DV tapes or transferring them to your computer, you may encounter some common issues. Here are a few troubleshooting steps to help you resolve these problems:
- No Video Signal: If you are unable to see any video signal on your computer or TV while playing the mini DV tape, ensure that the camcorder is set to the correct mode (VCR or Playback). Check the connections between the camcorder and the computer/TV, ensuring all cables are securely plugged in.
- Poor Video Quality: If the video quality is grainy or distorted, check the playback settings on your camcorder and adjust them if needed. Additionally, make sure the tape is clean and free from dust or debris. If necessary, clean the tape heads using a mini DV head cleaning cassette.
- Transfer Failure: If you’re having trouble transferring the content from the mini DV tape to your computer, double-check the cable connections and make sure the camcorder is properly recognized by the computer. Restart both devices and try a different FireWire cable if possible.
- Playback Issues on TV: If you’re experiencing playback issues on your TV, ensure that you have selected the correct input and that the camcorder is in VCR or Playback mode. Try adjusting the video output settings on the camcorder and the display settings on the TV.
- No Sound: If you do not hear any sound while playing the mini DV tape, check the audio settings on both the camcorder and the computer/TV. Make sure the volume is turned up and not muted. If the issue persists, try playing a different tape or using headphones to determine if it’s a tape-specific problem.
- Software Compatibility: If you are having trouble installing or running the software for transferring mini DV tapes, ensure that your computer meets the system requirements specified by the software manufacturer. Update your operating system, install any necessary drivers, and make sure you are using the latest version of the software.
If you continue to experience issues despite troubleshooting, consult the user manual of your camcorder or seek assistance from the manufacturer’s customer support. They can provide specific guidance and solutions based on the model of your camcorder and software.
In the next section, we’ll share some tips for preserving your mini DV tapes and ensuring their longevity.
Tips for Preserving Mini DV Tapes
Mini DV tapes store precious memories, so it’s important to take proper care of them to ensure their longevity. Here are some tips to help you preserve your mini DV tapes:
- Store Tapes Properly: Keep your mini DV tapes in a cool and dry environment, away from direct sunlight, extreme temperatures, and humidity. Store them in a protective case or sleeve to prevent damage from dust, moisture, or accidental drops.
- Handle with Care: When handling mini DV tapes, avoid touching the exposed tape or the metal parts. Hold the tapes by the edges and ensure your hands are clean and dry. This helps prevent fingerprint marks and contaminants from transferring onto the tape surface.
- Keep Tapes Clean: Before inserting a tape into your camcorder, make sure it is clean and free from any debris. If necessary, use a mini DV head cleaner cassette to remove any buildup on the tape heads. Avoid using abrasive materials or alcohol-based cleaners, as they can damage the tapes.
- Avoid Rewriting: Repeatedly recording and erasing on the same mini DV tape can degrade the quality over time. Whenever possible, use new tapes for important recordings to maintain optimal playback quality.
- Backup Your Tapes: Consider making backups of your mini DV tapes by transferring them to a computer or external storage device. This provides an extra layer of protection against loss or damage to the original tapes. Store the backups in a separate location for added security.
- Regularly Play Tapes: Even if you have transferred the content to digital formats, it’s a good practice to periodically play your mini DV tapes in your camcorder. This helps keep the tape mechanisms moving and prevents them from becoming stuck or damaged due to disuse.
- Migrate to Digital Formats: Over time, magnetic tapes can degrade, and playback devices may become obsolete. Consider digitizing your mini DV tapes by transferring them to digital formats like MP4 or AVI. This allows for easier access, editing, and sharing of the content.
- Consult Professionals: If your mini DV tapes show signs of deterioration, such as dropouts, color shifts, or audio distortion, it’s advisable to seek professional assistance. There are companies specializing in video tape restoration that can salvage damaged tapes and improve their quality.
By following these tips, you can prolong the lifespan of your mini DV tapes and ensure that your cherished memories are preserved for years to come. Take the necessary precautions and handle your tapes and equipment with care to maintain the quality of the recorded content.
With these guidelines in mind, you can confidently enjoy and preserve the memories captured on your mini DV tapes. Experiment with the playback options, explore the editing features of your software, and relive those precious moments recorded on mini DV tapes.