
Setting up your Ledger Nano S
The Ledger Nano S is a popular hardware wallet that provides a secure way to store your cryptocurrency. If you’ve just acquired a Ledger Nano S and want to set it up to store your ICX (ICON) tokens, follow the steps below to get started.
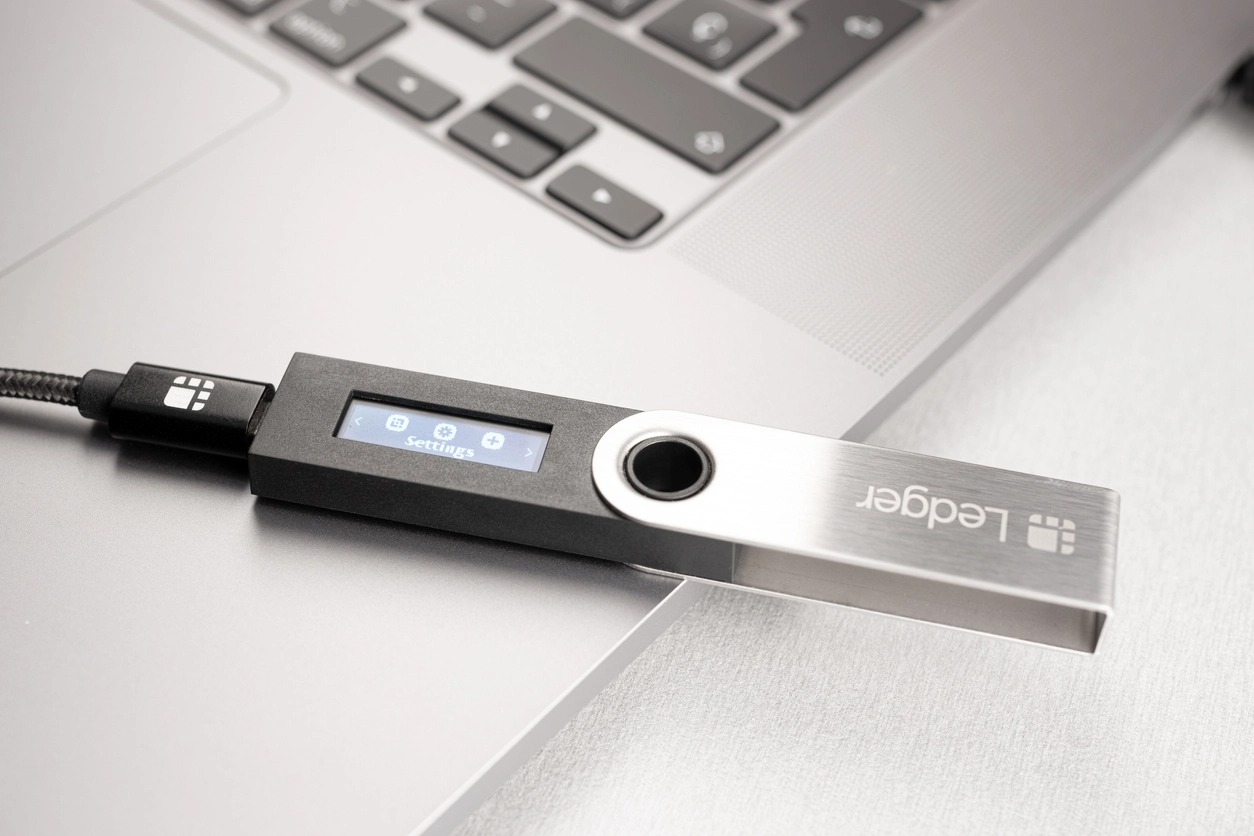
1. Start by unpacking your Ledger Nano S and connecting it to your computer using the provided USB cable.
2. Once connected, your Ledger Nano S will display a welcome screen. Use the buttons on the device to navigate and select options.
3. On the welcome screen, select “Initialize as new device.” This will initiate the setup process for your Ledger Nano S.
4. The device will then ask you to choose a PIN code. Use the buttons on the device to enter a secure PIN code of your choice. Make sure to choose a PIN code that is easy for you to remember but difficult for others to guess.
5. After setting up your PIN code, the device will generate a recovery seed. This is a mnemonic phrase consisting of 24 words that can be used to recover your wallet in case the device is lost or damaged. Note down the recovery seed carefully and keep it in a safe place.
6. Next, the Ledger Nano S will ask you to confirm your recovery seed by selecting the words in the correct order. This is done to ensure that you have correctly noted down the recovery seed.
7. Once you have confirmed your recovery seed, the device will display a message indicating that the setup process is complete. Your Ledger Nano S is now ready to be used.
Congratulations! You have successfully set up your Ledger Nano S. In the next section, we will guide you through the process of installing the ICON app on your Ledger Nano S.
Installing the ICON app on your Ledger Nano S
In order to manage your ICX tokens on your Ledger Nano S, you’ll need to install the ICON app on the device. Follow the step-by-step instructions below to successfully install the ICON app.
1. Unlock your Ledger Nano S using your PIN code and navigate to the main menu.
2. Open the Ledger Live application on your computer and make sure your Ledger Nano S is connected.
3. In the Ledger Live application, click on the “Manager” tab located at the top of the screen.
4. You will see a list of available apps. Search for the ICON app using the search bar or scroll down until you find it.
5. Once you locate the ICON app, click on the “Install” button next to it. The app will then be installed on your Ledger Nano S.
6. Wait for the installation process to complete. It may take a few seconds.
7. Once the installation is finished, you will see a confirmation message on both the Ledger Live application and your Ledger Nano S. The ICON app is now installed and ready to use.
You have successfully installed the ICON app on your Ledger Nano S. In the next section, we will guide you through the process of creating an ICON wallet address on your Ledger Nano S.
Creating an ICON wallet address on your Ledger Nano S
Now that you have the ICON app installed on your Ledger Nano S, it’s time to create a wallet address to store your ICX tokens securely. Follow the steps below to generate an ICON wallet address.
1. Open the ICON app on your Ledger Nano S by navigating to the app section using the device’s buttons.
2. Once the ICON app is opened, you will see a welcome screen with different options. Select “Create new wallet” to begin the wallet creation process.
3. Follow the instructions displayed on both the Ledger Nano S screen and the Ledger Live application on your computer to confirm the wallet creation process.
4. The Ledger Nano S will generate a new wallet address for you. This address is a combination of characters and numbers unique to your wallet.
5. Once the address is generated, make sure to note it down in a safe place or save a digital copy. This wallet address will be required when you want to receive ICX tokens, so it’s important to keep it safe and easily accessible.
Congratulations! You have successfully created an ICON wallet address on your Ledger Nano S. In the next section, we will guide you through the process of transferring your ICX tokens to your Ledger Nano S wallet.
Transferring ICX tokens to your Ledger Nano S wallet
Now that you have your Ledger Nano S set up and an ICON wallet address created, you’re ready to transfer your ICX tokens to your Ledger Nano S wallet. Follow the steps below to safely and securely transfer your ICX tokens.
1. Open the ICON wallet or exchange platform where your ICX tokens are currently stored.
2. Look for the option to send or withdraw your ICX tokens. Click on this option to initiate the transfer process.
3. You will be asked to provide a recipient address. This is the ICON wallet address on your Ledger Nano S where you want to receive the ICX tokens.
4. Copy and paste your Ledger Nano S wallet address into the recipient address field. Double-check the address to ensure accuracy.
5. Enter the amount of ICX tokens you wish to transfer to your Ledger Nano S wallet. Review the transaction details to ensure correctness.
6. Confirm the transfer and proceed with the transaction. Depending on the platform, you may need to authenticate the transfer using a second-factor authentication method such as a one-time password or email verification.
7. Wait for the transaction to be processed and confirmed. This may take some time depending on network congestion. Be patient and resist the urge to panic if it takes longer than expected.
Congratulations! You have successfully transferred your ICX tokens to your Ledger Nano S wallet. In the next section, we will guide you through the process of confirming the transaction on your Ledger Nano S device.
Confirming the transaction on your Ledger Nano S device
Once you have initiated the transfer of your ICX tokens to your Ledger Nano S wallet, you will need to confirm the transaction on your device to ensure its security and validity. Follow the steps below to confirm the transaction on your Ledger Nano S.
1. On your Ledger Nano S, navigate to the ICON app using the device’s buttons.
2. Open the ICON app and select the option to view your wallet or transaction history.
3. Look for the incoming transaction that matches the details of the transfer you initiated in the previous section.
4. Ensure that the transaction details, including the recipient address and amount of ICX tokens, match your intended transfer.
5. Once you have confirmed the details, use the Ledger Nano S buttons to approve the transaction.
6. Your Ledger Nano S may prompt you to enter your PIN code as an additional security measure. Enter your PIN code to proceed with the transaction confirmation.
7. After confirming the transaction on your Ledger Nano S, wait for it to be processed and confirmed by the ICON network.
8. You can track the progress of your transaction by checking the ICON blockchain explorer or using the wallet or exchange platform from which you initiated the transfer.
Great news! You have successfully confirmed the transaction on your Ledger Nano S. In the next section, we will guide you through the process of verifying the ICX token transfer on the ICON blockchain.
Verifying the ICX token transfer on the ICON blockchain
After confirming the transaction on your Ledger Nano S, it’s important to verify that the ICX token transfer has been successfully recorded on the ICON blockchain. Follow the steps below to verify your ICX token transfer.
1. Open your web browser and navigate to an ICON blockchain explorer. There are several options available, such as ICON Tracker or ICON Scan.
2. In the search bar of the blockchain explorer, enter your wallet address or the transaction hash associated with the ICX token transfer.
3. Hit enter or click on the search icon to initiate the search. The blockchain explorer will display the transaction details related to the ICX token transfer.
4. Verify that the transaction details, such as the recipient address, transaction amount, and timestamp, match your intended transfer.
5. Confirm that the status of the transaction is marked as “confirmed” or “completed.” This indicates that the ICX tokens have been successfully transferred to your Ledger Nano S wallet.
6. Take note of the transaction details or save a screenshot for your records. It is always a good practice to keep a record of your transactions for future reference.
By verifying the ICX token transfer on the ICON blockchain, you can ensure that your transaction has been successfully recorded on the decentralized network. In the next section, we will discuss common troubleshooting issues that you may encounter when moving ICX to your Ledger Nano S.
Troubleshooting common issues when moving ICX to Ledger Nano S
While moving ICX (ICON) tokens to your Ledger Nano S wallet is generally a straightforward process, you may encounter some common issues along the way. Here are a few troubleshooting tips to help you overcome these issues:
1. Connection Issues: If you are unable to connect your Ledger Nano S to your computer or the ICON app, ensure that you are using a compatible USB cable and that your Ledger Nano S is properly connected to a functional USB port. Restart both your computer and the Ledger Nano S, and try different USB ports if necessary.
2. Incorrect Recipient Address: Double-check the recipient address you entered when initiating the transfer. Even a small typo can result in the loss of your tokens. Verify that the address is correct and matches the address on your Ledger Nano S device.
3. Insufficient Gas: ICON transactions require a small amount of ICX tokens as gas for processing. Ensure that you have enough ICX tokens in your wallet to cover the transaction fees. If you don’t have enough ICX tokens, you will need to acquire some before proceeding with the transfer.
4. Slow Network Confirmation: The ICON blockchain network may experience periods of high congestion, resulting in delays in transaction confirmation. If your transaction is taking longer than expected to confirm, be patient and wait for the network to process it. You can check the progress of your transaction using an ICON blockchain explorer.
5. Recovery Seed Issues: If you encounter any issues with your Ledger Nano S device or need to recover your wallet, ensure that you have safely stored your recovery seed. Follow the recovery process outlined by Ledger to restore your wallet and access your ICX tokens.
6. Firmware and App Updates: Make sure that both your Ledger Nano S firmware and the ICON app on the device are up to date. Outdated firmware or app versions may cause compatibility issues or limit functionality.
If you continue to experience difficulties when moving ICX to your Ledger Nano S, consider reaching out to the Ledger support team or consulting the ICON community for further assistance. They can provide guidance and help troubleshoot specific issues you may encounter.
By being aware of these common issues and following troubleshooting steps, you can ensure a smoother experience when moving ICX to your Ledger Nano S wallet.