
Enable Reading Confirmation in Gmail
Gmail offers a useful feature called “reading confirmation” that allows you to know whether your emails have been read by the recipients. Enabling this feature can provide valuable insights into the effectiveness of your email communication. Here’s how you can set it up:
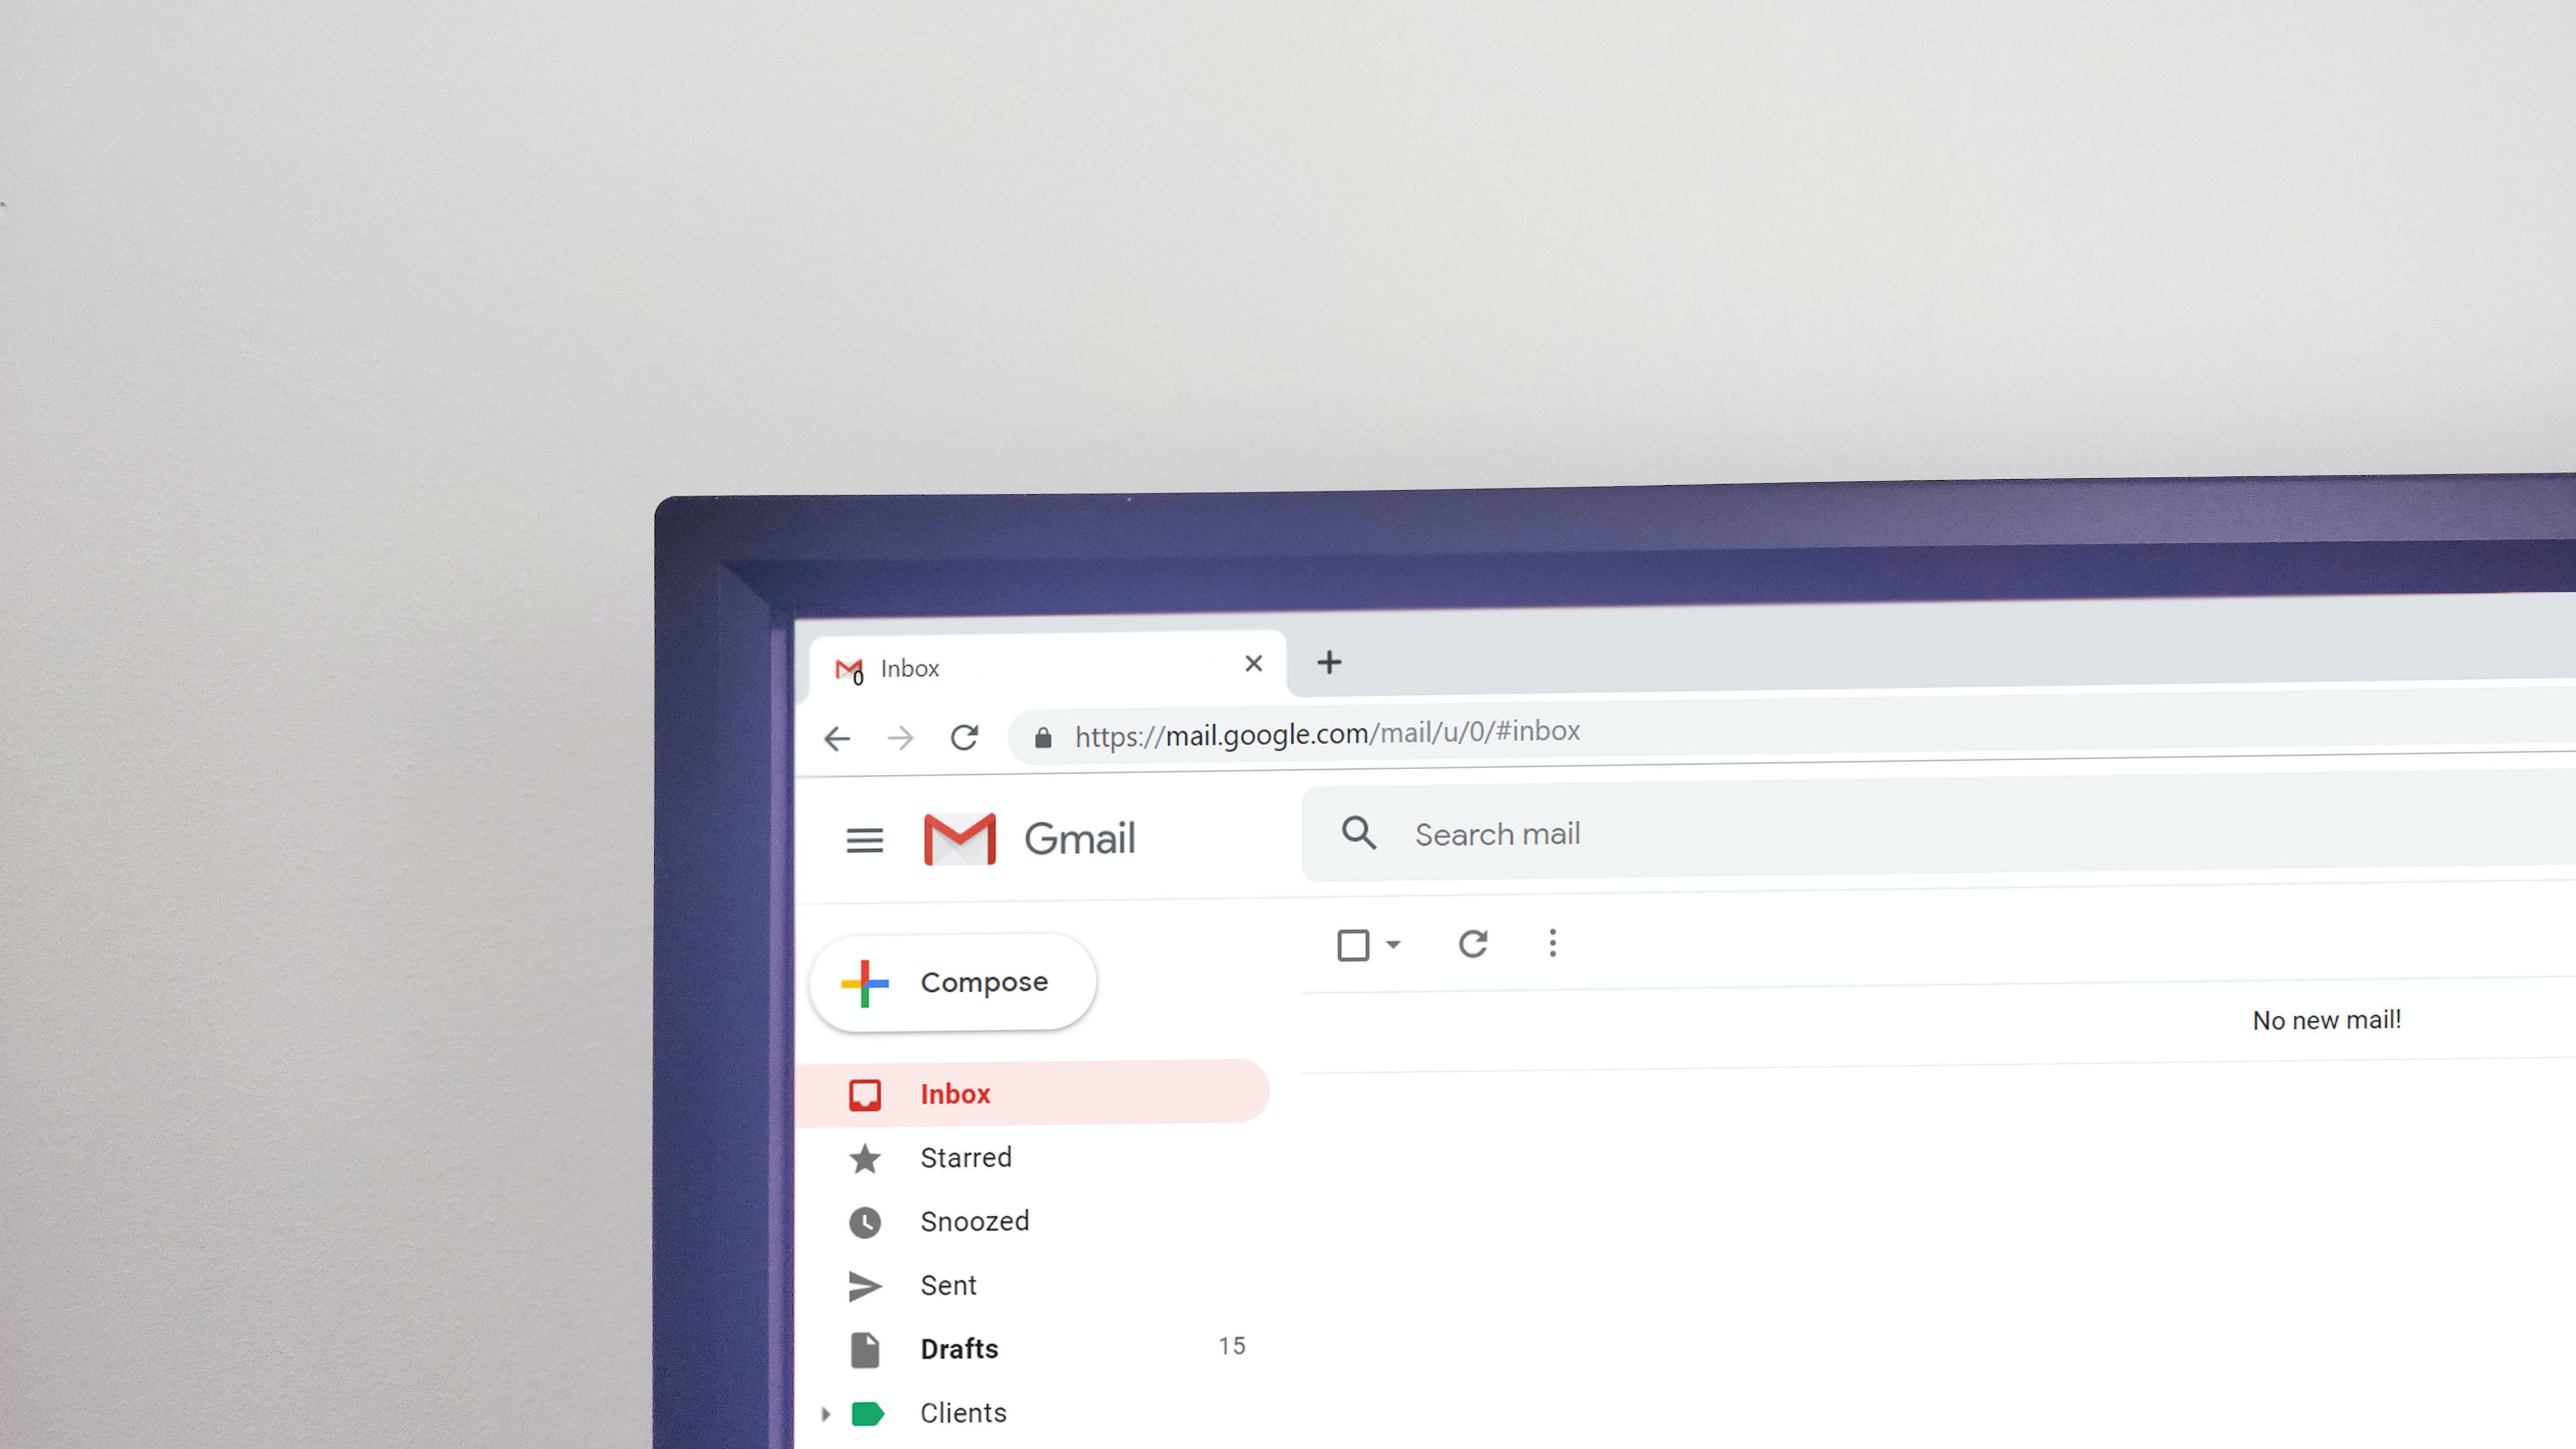
- Open your Gmail account and click on the gear icon in the top-right corner to access the settings.
- Select “Settings” from the dropdown menu.
- Navigate to the “Advanced” tab.
- Scroll down until you find the “Read Receipts” section.
- Check the box next to “Request read receipt.”
- Click on “Save Changes” at the bottom of the page to apply the settings.
Once you have enabled reading confirmation, Gmail will automatically send a notification when your email has been opened by the recipient. It’s important to note that not all email clients support this feature, so you may not receive confirmation for every email you send.
This feature can be particularly useful in professional settings, where you may want to ensure that important emails have been read by your colleagues or clients. By enabling reading confirmation, you can have peace of mind knowing that your messages have been seen.
However, it’s essential to use this feature responsibly and respect the privacy of the recipients. Some people may have concerns about their privacy and may not appreciate the use of read receipts. It’s always a good idea to ask for permission or inform recipients if you plan to enable reading confirmations in your emails.
Now that you know how to enable reading confirmation in Gmail, you can make use of this feature to enhance your email communication and track the effectiveness of your messages.
How to Mark Emails as Read Manually
In Gmail, marking an email as read manually is a straightforward process. Here’s how you can do it:
- Open your Gmail account and navigate to the inbox.
- Locate the email you want to mark as read.
- Hover over the email to reveal the selection options.
- Click on the checkbox located on the left side of the email.
- The selected email will now have a checkmark.
- At the top of the inbox, you will see a menu with different options. Click on the “More” button (represented by three vertical dots).
- From the dropdown menu, select “Mark as read.”
Alternatively, you can also mark an email as read by opening the email and then clicking on the “Mark as read” button located at the top of the email window. This button looks like an open envelope.
By manually marking an email as read, you can keep your inbox organized and easily identify which emails you have already addressed. This can be particularly useful for prioritizing your tasks and reducing clutter in your inbox.
Remember that once an email is marked as read, it will no longer appear in the “Unread” section of your inbox. Instead, it will be categorized as a read email and may appear in other folders or labels based on your Gmail settings.
Now you have mastered the process of marking emails as read manually in Gmail. Take advantage of this feature to stay on top of your inbox and effectively manage your email communications.
How to Use Keyboard Shortcuts to Mark Emails as Read
Gmail offers a range of keyboard shortcuts that can help you navigate through your emails quickly and efficiently. By utilizing these shortcuts, you can easily mark emails as read without the need for mouse clicks. Here’s how you can use keyboard shortcuts to mark emails as read in Gmail:
- Make sure keyboard shortcuts are enabled in your Gmail settings. To check, click on the gear icon in the top-right corner and select “Settings.” Navigate to the “General” tab and ensure that “Keyboard shortcuts” is set to “On.”
- Return to your Gmail inbox and select the email you want to mark as read by navigating through your list using the up and down arrow keys.
- With the email selected, press the “Shift” + “I” keys simultaneously. This keyboard shortcut will mark the email as read.
- To navigate to the next email, use the “J” key to move down in your list. Similarly, the “K” key allows you to move up to the previous email.
- Continue using the “Shift” + “I” combination to mark additional emails as read.
Using keyboard shortcuts to mark emails as read can help you streamline your email management process and save valuable time. By eliminating the need for mouse clicks, you can quickly go through your inbox and mark emails as read with ease.
It’s worth mentioning that Gmail provides a vast array of other keyboard shortcuts as well. Familiarizing yourself with these shortcuts can further enhance your productivity and efficiency when working with emails.
Now that you know how to use keyboard shortcuts to mark emails as read, try incorporating them into your Gmail workflow. Before you know it, you’ll be navigating through your inbox with lightning speed, making your email management a breeze.
Use Filters to Automatically Mark Emails as Read
Gmail provides a powerful feature called filters that allow you to automatically organize and manage your incoming emails. By setting up filters, you can specify certain criteria that match specific emails, and then apply actions, such as marking emails as read. Here’s how you can use filters to automatically mark emails as read:
- Open your Gmail account and click on the gear icon in the top-right corner.
- Select “Settings” from the dropdown menu.
- Navigate to the “Filters and Blocked Addresses” tab.
- Click on the “Create a new filter” link.
- In the filter creation window, specify your desired criteria. This can include the sender’s email address, subject, specific keywords, or other parameters.
- Once you have configured the filter criteria, click on the “Create filter” button.
- In the next window, select the action you want to apply to matching emails. In this case, choose “Mark as read.”
- Finally, click on the “Create filter” button to save the filter.
Once the filter is created, Gmail will automatically mark incoming emails that match the specified criteria as read. This can be particularly useful for managing newsletters, promotions, or other types of emails that you don’t need to read immediately.
It’s important to note that filters work on incoming emails and may not retroactively apply to existing emails in your inbox. If you want to mark existing emails as read based on specific criteria, you can use the “Search” function in Gmail to find those emails and then manually apply the “Mark as read” action.
By utilizing filters to automatically mark emails as read, you can keep your inbox organized and ensure that important emails are prioritized while less critical emails are conveniently marked as read.
Now that you understand how to use filters to automatically mark emails as read in Gmail, take advantage of this feature to streamline your inbox management and save time for more important tasks.
Mark Emails as Read on Mobile Devices
If you primarily access your Gmail account on your mobile device, you may be wondering how to mark emails as read on the go. Fortunately, Gmail offers a simple way to do this through its mobile app. Here’s how you can mark emails as read on mobile devices:
- Open the Gmail app on your mobile device and navigate to your inbox.
- Locate the email you want to mark as read.
- Swipe left on the email to reveal a menu of options.
- Tap on the “Mark as read” option.
Alternatively, you can also mark multiple emails as read by selecting them first. To do this, tap and hold on the email until a checkbox appears. Then, tap on the other emails you want to mark as read. Finally, tap on the “Mark as read” button that appears at the top of the screen.
Marking emails as read on your mobile device allows you to stay organized and keep track of your correspondence, even when you’re away from your computer. By taking care of important emails on the go, you can ensure that you don’t miss any crucial information or tasks.
It’s worth noting that any actions you take on your mobile device, such as marking emails as read, will also be reflected on other devices where you access your Gmail account. This synchronization ensures that your mailbox is consistently updated across all your devices.
Now that you know how to mark emails as read on your mobile device, make use of this feature to stay on top of your emails and manage your inbox effectively, no matter where you are.
How to Mark Multiple Emails as Read at Once
If you have a cluttered inbox and need to quickly mark multiple emails as read, Gmail provides a convenient way to do so. Here’s how you can mark multiple emails as read at once:
- Open your Gmail account and navigate to your inbox.
- Locate the first email you want to mark as read.
- Click on the checkbox located on the left side of the email to select it.
- Continue scrolling through your inbox and select the additional emails you want to mark as read by clicking on their respective checkboxes.
- As you select emails, you will notice that a toolbar appears at the top of the inbox with various options.
- Click on the “More” button (represented by three horizontal dots) in the toolbar.
- In the dropdown menu, select “Mark as read.”
Once you’ve selected the desired emails and applied the “Mark as read” action, Gmail will mark all the selected emails as read simultaneously. This allows you to efficiently handle a large number of emails without the need to mark each one individually.
It’s important to note that this method applies the action to all selected emails, so make sure you’ve only selected the emails you want to mark as read. Double-check the list of selected emails before proceeding to avoid any unintentional actions.
By marking multiple emails as read at once, you can quickly clear your inbox and stay organized. This feature is especially useful when dealing with newsletters, promotional emails, or other messages that you want to process efficiently.
Now that you know how to mark multiple emails as read at once in Gmail, take advantage of this time-saving technique to streamline your email management and keep your inbox under control.
Troubleshooting: Emails Still Showing as Unread
If you are experiencing issues where emails continue to show as unread in your Gmail inbox, there are a few troubleshooting steps you can follow to resolve the problem:
1. Refresh the page: Sometimes, the unread status of an email may not update immediately due to a temporary glitch. Refreshing the page can often resolve this issue.
2. Check your internet connection: Ensure that you have a stable internet connection. If your connection is weak or intermittent, it can cause synchronization issues, preventing the read status from being updated.
3. Clear your browser cache: A cached version of your Gmail inbox might cause discrepancies between the actual read status and what is displayed. Clearing your browser cache can help refresh the page and display the correct read status of emails.
4. Disable browser extensions: Browser extensions or add-ons can sometimes interfere with Gmail functionality. Try disabling any extensions that you have installed and see if the issue persists.
5. Verify email settings: Double-check your email settings to ensure that you have not configured any filters or settings that might be causing the unread status issue. Review your filters, labels, and notifications settings to ensure they are properly configured.
6. Check for email forwarding: If you have set up email forwarding to another account, the read status may not update in your Gmail inbox. Make sure to check the read status in the account to which the emails are being forwarded.
7. Try accessing Gmail from a different device or browser: If the issue persists, try accessing your Gmail account from a different device or browser. This will help determine if the problem is specific to your current device or browser.
If none of the above troubleshooting steps resolve the issue, it may be necessary to contact Gmail support for further assistance. They can help investigate and identify any underlying issues that might be causing the emails to still show as unread.
By following these troubleshooting steps, you can address the issue of emails continuing to show as unread in your Gmail inbox and ensure that the read status accurately reflects the emails you have read.