
Checking System Requirements
Before installing Kaspersky on another computer, it’s crucial to ensure that the system meets the necessary requirements. By doing so, you can guarantee a smooth installation process and optimal performance of the software. Here are the key system requirements to check:
- Operating System Compatibility: Verify that the other computer runs an operating system that is supported by Kaspersky. This includes Windows, macOS, and some Linux distributions. Check the Kaspersky website or product documentation to determine the specific compatibility.
- Hardware Specifications: Assess the computer’s hardware capabilities, including the processor, RAM, and disk space. Ensure that the system meets the minimum requirements specified by Kaspersky. Insufficient hardware resources may lead to slow performance or installation issues.
- Internet Connectivity: A stable internet connection is essential to download the installation files and to activate the Kaspersky license. Make sure that the computer has a reliable internet connection during the installation process. For better protection, an internet connection is also required for regular updates of the antivirus database.
- Software Compatibility: Check for any conflicting applications or security software already installed on the computer. Some antivirus programs may interfere with the installation or execution of Kaspersky. Uninstall any incompatible software before proceeding with the installation.
- Browser Requirements: Certain Kaspersky features, such as accessing the online portal or managing the account, may require a supported web browser. Ensure that the computer has a compatible browser installed and that it is up to date.
By carefully reviewing and confirming these system requirements, you can avoid any potential compatibility issues and enjoy a hassle-free installation of Kaspersky on another computer.
Preparing to Install Kaspersky
Before diving into the installation process of Kaspersky on another computer, it’s important to take a few preparatory steps to ensure a successful installation. These steps will help you gather the necessary information and make the installation process seamless. Here’s what you need to do:
- Uninstall Previous Antivirus Software: If there is any existing antivirus software on the computer, it’s recommended to uninstall it before installing Kaspersky. Having multiple antivirus programs simultaneously can cause conflicts and negatively impact system performance.
- Create a Kaspersky Account: If you don’t have a Kaspersky account yet, it’s time to create one. A Kaspersky account is essential for managing your license, accessing the My Kaspersky portal, and receiving important updates. Visit the Kaspersky website and follow the prompts to create an account if you don’t already have one.
- Gather Your License Information: Ensure you have your Kaspersky license information ready before starting the installation. This includes the license key or activation code. This information is typically sent to your email upon purchase. If you purchased a physical copy of Kaspersky, the key can be found inside the packaging.
- Disable Firewall and Other Security Programs: Temporarily disable any firewall or security programs on the computer. These programs may interfere with the installation process or block necessary connections. Once Kaspersky is installed, you can re-enable the firewall and adjust the settings accordingly.
- Clean Up Disk Space: Check the available disk space on the computer and ensure that there is enough room for the installation. Delete any unnecessary files or programs to free up space and create a smoother installation experience.
By preparing your computer and gathering the necessary information and resources, you can avoid interruptions during the installation process and ensure that Kaspersky is set up correctly on another computer.
Downloading the Kaspersky Installer
Once you’ve completed the preparatory steps, the next crucial step is to download the Kaspersky installer onto the computer where you wish to install the software. Follow these steps to obtain the installer:
- Visit the Kaspersky website: Open a web browser and navigate to the official Kaspersky website. Ensure that you are on the official website to guarantee a safe and legitimate download.
- Select the desired product: Browse through the available Kaspersky products and select the one that suits your needs. Consider factors such as the level of protection, features, and compatibility with your operating system.
- Choose the license type: Decide on the license type that best suits you, whether it’s a free trial or a purchased license. Select the appropriate option and proceed to the next step.
- Download the installer: Look for the download button or link on the product page and click on it. This will initiate the download of the Kaspersky installer file. The file may be in the form of an executable (.exe) or a disk image (.dmg) depending on your operating system.
- Save the installer: Choose a location on your computer where you want to save the installer file. It’s recommended to select a location that is easily accessible, such as the desktop or the Downloads folder.
Once the download is complete, you have successfully obtained the Kaspersky installer. In the next section, we will guide you through the installation process to get Kaspersky up and running on your computer.
Starting the Installation Process
Now that you have downloaded the Kaspersky installer, it’s time to begin the installation process. Follow these steps to install Kaspersky on another computer:
- Locate the installer file: Open the file explorer on your computer and navigate to the location where you saved the Kaspersky installer file.
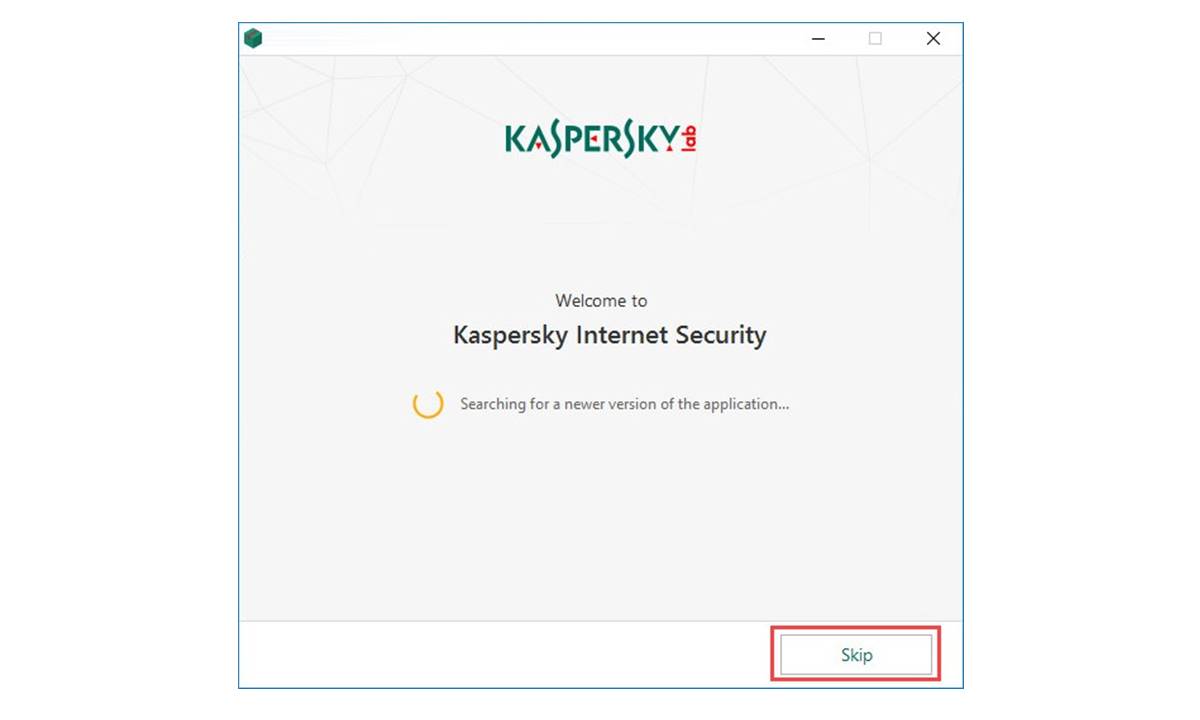
- Double-click the installer: Double-click on the installer file to launch the installation wizard. This will initiate the installation process and guide you through the necessary steps.
- Read and accept the terms: Carefully review the End User License Agreement (EULA) presented during the installation process. If you agree to the terms, select the checkbox indicating your acceptance and click on the “Next” or “Continue” button.
- Select installation type: Choose the desired installation type. There are typically two options: “Full” and “Custom”. The “Full” installation includes all the necessary components, while the “Custom” installation allows you to select specific components to install.
- Customize installation settings: If you selected the “Custom” installation, you’ll be presented with options to customize the installation settings. Adjust the settings according to your preferences or leave them as the default settings if you’re unsure.
- Wait for the installation: Once you’ve selected the installation type and customized the settings, click on the “Install” or “Next” button to initiate the installation process. The installation may take a few minutes, so be patient and do not interrupt the process.
- Reboot if required: After the installation is complete, you may be prompted to restart your computer. Follow the on-screen instructions and reboot if necessary.
- Complete the setup: After the reboot, the setup process may continue by guiding you through additional configuration steps or asking for your Kaspersky account details for activation. Follow the prompts to complete the setup process.
Once you have successfully completed these steps, Kaspersky is now installed on your computer. In the next section, we will discuss how to activate your Kaspersky license to unlock the full functionality of the software.
Activating Your Kaspersky License
After installing Kaspersky on another computer, the next step is to activate your license to ensure that the software is fully functional and up-to-date. Follow these steps to activate your Kaspersky license:
- Launch Kaspersky: Open the Kaspersky program on your computer. You can typically find the Kaspersky icon in the system tray or the applications menu.
- Access the activation window: Look for an option labeled “License” or “Activate” within the Kaspersky interface. Click on it to open the activation window.
- Enter your license key: In the activation window, you will be prompted to enter your license key or activation code. Type in the key exactly as provided, ensuring there are no extra spaces or incorrect characters.
- Connect to the internet: Ensure that your computer is connected to the internet. Click on the “Activate” or “Next” button to proceed with the activation process.
- Wait for activation: Kaspersky will establish a connection to the activation server to validate your license key. The process may take a few seconds. Once the activation is successful, you will see a confirmation message.
- Create or log in to your Kaspersky account (optional): If you have a Kaspersky account, you will be prompted to log in during the activation process. If you don’t have an account, you can create one by following the on-screen instructions. Having a Kaspersky account allows you to manage your license, access additional features, and receive important updates.
Once you have successfully activated your Kaspersky license, the software is now ready to provide comprehensive protection for your computer. In the next section, we will discuss how to configure the settings in Kaspersky to customize the software to your preferences.
Configuring Kaspersky Settings
Now that you have activated your Kaspersky license, it’s time to configure the settings to customize the software according to your preferences. By adjusting the settings, you can optimize Kaspersky’s performance and tailor its functionality to meet your specific needs. Here’s how to configure the settings:
- Open Kaspersky: Launch the Kaspersky program on your computer. Locate the Kaspersky icon in the system tray or the applications menu and click on it to open the software.
- Access the settings: Once the Kaspersky interface is open, look for an option labeled “Settings” or “Preferences”. Click on it to access the settings menu.
- Explore the settings categories: In the settings menu, you’ll find various categories that allow you to customize different aspects of Kaspersky. These may include “General Settings”, “Scan Settings”, “Update Settings”, “Privacy Settings”, and more.
- Adjust general settings: Within the “General Settings” category, you can modify options such as notifications, application behavior, and performance settings. Customizing these settings can enhance the user experience and ensure that Kaspersky runs smoothly on your computer.
- Configure scan settings: In the “Scan Settings” category, you can define the parameters for Kaspersky scans, including the type of scans to perform (Quick Scan, Full Scan, Custom Scan), the frequency of scans, and what to do when threats are detected.
- Manage update settings: The “Update Settings” category allows you to control how Kaspersky updates its virus definitions and software components. You can schedule update tasks, choose update sources, and configure proxy settings if needed.
- Customize privacy settings: Within the “Privacy Settings” category, you can manage features like anti-phishing, webcam protection, and file encryption. Depending on your requirements and privacy concerns, adjust these settings to your desired level of security.
Remember to review each setting carefully and make adjustments based on your needs and preferences. After configuring the settings, you can be confident that Kaspersky is tailored to provide the utmost protection and performance for your computer. In the next section, we will discuss the importance of updating the Kaspersky database and how to easily accomplish this task.
Updating Kaspersky Database
Keeping your antivirus software up to date is crucial for optimal protection against the latest threats. Kaspersky regularly releases updates to its virus database, which contains information about known viruses, malware, and other malicious software. To ensure that your Kaspersky software provides the most effective defense, it’s essential to regularly update the database. Here’s how you can update the Kaspersky database:
- Open Kaspersky: Launch the Kaspersky program on your computer. Locate the Kaspersky icon in the system tray or the applications menu and click on it to open the software.
- Access the update feature: Once inside the Kaspersky interface, look for an option labeled “Update”, “Database Update”, or something similar. Click on it to access the update feature.
- Check for updates: In the update section, you will find an option to check for updates. Click on the “Check for Updates” button to initiate the process.
- Download and install updates: Kaspersky will now connect to its server and check for any available updates. If updates are found, it will automatically download and install them. This process may take a few minutes, depending on the size of the update and the speed of your internet connection.
- Monitor the update progress: During the update process, you will be able to see the progress bar indicating the status of the update. It’s important not to interrupt the update or turn off your computer while it is in progress.
- Verify successful update: Once the update is complete, Kaspersky will display a confirmation message. You can also verify the successful update by checking the date of the last update in the software’s interface.
By regularly updating the Kaspersky database, you ensure that your computer is equipped with the latest threat intelligence to fend off any potential risks. It’s recommended to schedule automatic updates or check for updates manually on a regular basis to maintain optimal protection. In the next section, we will discuss how to scan for threats and remove them using Kaspersky.
Scanning and Removing Threats
A vital aspect of maintaining a secure computer is regularly scanning for and removing any potential threats. Kaspersky provides powerful scanning capabilities to identify and eliminate viruses, malware, and other malicious software. Here’s how you can scan and remove threats using Kaspersky:
- Open Kaspersky: Launch the Kaspersky program on your computer. Locate the Kaspersky icon in the system tray or the applications menu and click on it to open the software.
- Access the scanning feature: Once inside the Kaspersky interface, look for an option labeled “Scan” or “Scan for Threats”. Click on it to access the scanning feature.
- Select the scan type: Kaspersky offers different scan types, including Quick Scan, Full Scan, and Custom Scan. Choose the appropriate scan type based on your needs. Quick Scan focuses on critical areas, Full Scan examines the entire system, and Custom Scan allows you to select specific files or folders for scanning.
- Start the scan: After selecting the scan type, click on the “Start Scan” or “Scan Now” button to initiate the scanning process. Kaspersky will begin scanning your computer for any threats.
- Monitor the scan progress: During the scan, Kaspersky will display a progress bar indicating the status of the scan and the number of files scanned. You can also view a detailed report of the scan results once it is completed.
- Review and remove threats: After the scan is complete, Kaspersky will provide a list of any detected threats. Review the scan results carefully and mark the threats for removal. Click on the “Remove” or “Quarantine” button to eliminate the threats from your computer.
- Follow any additional prompts: Depending on the severity of the threats detected, Kaspersky may prompt you for further action or suggest additional steps to ensure complete removal and quarantine.
Regularly scanning your computer with Kaspersky helps to identify and eliminate potential threats, providing you with a safer and more secure computing environment. Remember to update the virus database regularly to enhance the effectiveness of the scans. In case you encounter any issues during the installation or usage of Kaspersky, refer to the troubleshooting section or contact customer support.
Troubleshooting Installation Issues
While installing Kaspersky on another computer, you may encounter certain issues that can hinder the installation process. These issues can range from compatibility problems to conflicting software or installation errors. In this section, we will discuss troubleshooting steps to help you overcome common installation issues:
- Check system requirements: Ensure that your computer meets the minimum system requirements specified by Kaspersky. Check the operating system version, available disk space, and hardware specifications to confirm compatibility.
- Disable conflicting software: Other antivirus programs or security software on your computer may interfere with the installation. Temporarily disable or uninstall any conflicting software before attempting to install Kaspersky.
- Run as administrator: To ensure proper installation, right-click on the Kaspersky installer file and select “Run as administrator”. This grants the necessary permissions for the installation process.
- Use the Kaspersky Removal Tool: If you have previously installed Kaspersky or another security software that is causing conflicts, use the Kaspersky Removal Tool to completely uninstall any remnants. Then, try reinstalling Kaspersky.
- Check internet connectivity: Reliable internet connectivity is crucial for downloading installation files and activating the license. Verify that you have a stable internet connection and try restarting your modem or router if needed.
- Download a fresh installer: If the installer file is corrupted or incomplete, it may cause installation errors. Delete the existing installer and download a fresh copy from the official Kaspersky website.
- Repair installation: If the installation process encounters an error, try repairing the installation using the built-in repair functionality. This option is usually available in the Control Panel or within the Kaspersky program.
- Update your operating system: Ensure that your operating system is up to date with the latest updates and patches. Outdated operating systems may cause compatibility issues during the installation process.
- Consult Kaspersky support: If you have exhausted all troubleshooting options and still cannot resolve the installation issue, contact Kaspersky support for further assistance. Their technical support team can provide tailored guidance to help you overcome the specific problem.
By following these troubleshooting steps, you can address common installation issues and successfully install Kaspersky on another computer. Remember to patiently troubleshoot and seek help if needed to ensure a smooth and error-free installation process.
Uninstalling Kaspersky from Another Computer
If you no longer need Kaspersky on a particular computer or wish to switch to a different antivirus software, it’s important to know how to properly uninstall Kaspersky. By following the correct uninstallation process, you can ensure that all components and traces of Kaspersky are completely removed from your computer. Here’s how to uninstall Kaspersky from another computer:
- Open the Kaspersky interface: Launch the Kaspersky program on your computer. Locate the Kaspersky icon in the system tray or the applications menu and click on it to open the software.
- Access the settings: Once inside the Kaspersky interface, look for an option labeled “Settings” or “Preferences”. Click on it to access the settings menu.
- Locate the uninstall feature: Within the settings menu, navigate to the section that contains the uninstall option. It may be labeled as “Additional” or “Support” depending on the version of Kaspersky.
- Initiate the uninstallation process: Click on the “Uninstall” or “Remove” button to start the Kaspersky uninstallation process. The software will prompt you to confirm your decision to uninstall.
- Follow the uninstallation wizard: Kaspersky will guide you through the uninstallation process with a series of prompts. Carefully follow the instructions and respond accordingly.
- Complete the uninstallation: After confirming the uninstallation, the Kaspersky software will be removed from your computer. This may take a few moments to complete.
- Restart your computer: To ensure that any remaining traces of Kaspersky are completely removed, it’s recommended to restart your computer after the uninstallation process is finished.
- Verify the uninstallation: Once your computer restarts, check for any remaining files or shortcuts related to Kaspersky. You can also verify the absence of Kaspersky in the list of installed programs via the Control Panel or the system settings.
By following these steps, you can successfully uninstall Kaspersky from another computer. It’s essential to ensure that all traces of the software are removed to prevent any conflicts or unnecessary resource usage. If you encounter any difficulties during the uninstallation process, refer to the Kaspersky support documentation or contact their support team for assistance.