
Tools and Materials Needed
Before you can begin the installation process, it’s important to gather all the necessary tools and materials. Here’s a list of what you’ll need:
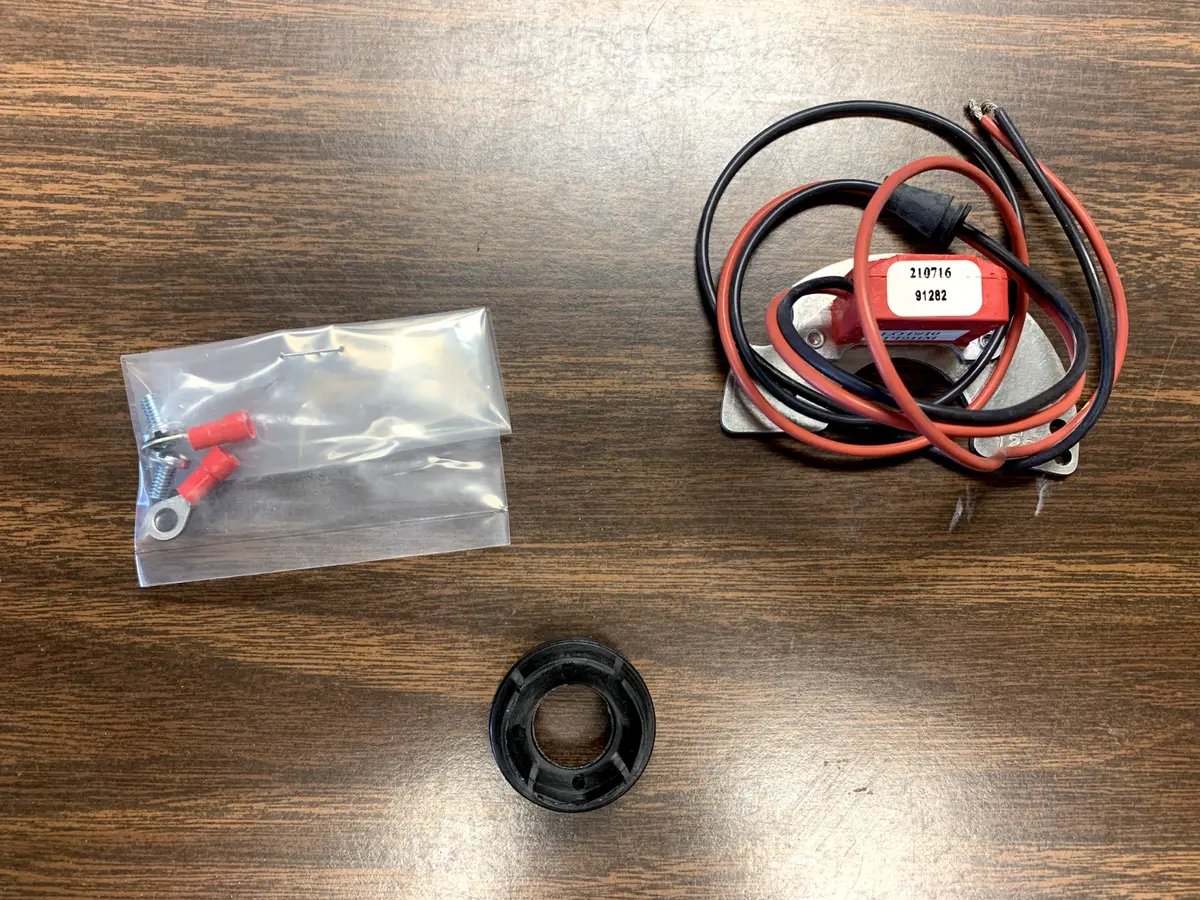
- Ignitor electronic ignition kit
- Screwdriver
- Wire cutters
- Wire strippers
- Electrical tape
- Mounting brackets
- Fasteners and screws
- Power drill (optional)
- Voltage tester
- Owner’s manual
The ignitor electronic ignition kit is the most important component you’ll need for this installation. Make sure to purchase one that is compatible with your specific heating system model and brand. The screwdriver will be used to remove any screws or fasteners holding the old ignition system in place. Wire cutters and strippers are necessary for trimming and preparing the wires for connection to the electronic ignition. Electrical tape will be used to secure and insulate the wired connections. Mounting brackets, fasteners, and screws will be essential for mounting the new ignition system securely. If needed, a power drill can be used for drilling pilot holes for the mounting brackets. A voltage tester will help you ensure that the power supply is turned off before starting the installation process. Finally, make sure to have the owner’s manual handy for reference throughout the installation.
By having all these tools and materials ready before you begin, you can ensure a smooth and efficient installation process. Double-check to make sure you have everything on the list to avoid any delays or interruptions during the installation.
Step 1: Turn off the power supply
Before you start working on the ignition system, it is crucial to turn off the power supply to ensure your safety. Following these steps:
- Locate the main power switch or breaker for your heating system. It is typically located near the unit or in the electrical panel of your home.
- If you are unsure which switch or breaker controls the power to the heating system, consult the owner’s manual or contact a professional electrician for assistance.
- Once you have identified the correct switch or breaker, flip it to the “off” position. This will cut off the power supply and prevent any potential electrical hazards while you are working on the ignition system.
- For added safety, you can also use a voltage tester to double-check that there is no power running to the ignition system. Simply place the tester on the wires or connectors to ensure there is no voltage present.
Turning off the power supply before starting the installation process is crucial to prevent any accidents or damage to the electrical components. Remember, safety should always be your top priority when working with any electrical system.
Step 2: Remove the old ignition system
Now that you have turned off the power supply, you can proceed to remove the old ignition system. Follow these steps:
- Locate the existing ignition system. It is typically located near the burner assembly.
- Using a screwdriver, remove any screws or fasteners that secure the old ignition system to the burner assembly.
- Gently disconnect the wires connected to the old ignition system. Take note of the wire colors and their corresponding connections for later reference. If necessary, use wire cutters or strippers to trim the wires.
- Once the wires are disconnected, carefully remove the old ignition system from the burner assembly.
- Inspect the burner assembly for any debris or buildup. Clean it thoroughly if necessary to ensure optimal performance of the new ignition system.
Removing the old ignition system can sometimes be a straightforward process, but it may vary depending on the model and make of your heating system. It’s always recommended to consult the owner’s manual or seek professional assistance if you encounter any difficulties during this step.
By removing the old ignition system, you are preparing the way for the installation of the new electronic ignitor. Ensure that the area is clean and free of any obstructions before proceeding to the next step.
Step 3: Prepare the electronic ignition system
With the old ignition system removed, it’s time to prepare the electronic ignition system for installation. Here’s what you need to do:
- Take out the ignitor electronic ignition kit and carefully unpack all the components. Refer to the owner’s manual to familiarize yourself with the different parts.
- If necessary, attach any mounting brackets or adapters included with the kit onto the ignition system. Follow the instructions provided to ensure proper alignment and secure installation.
- Inspect the wires of the ignition system for any damage or fraying. If you notice any issues, consult the owner’s manual for guidance on how to proceed. It may be necessary to replace the wires before installation.
- If the wires are in good condition, use wire strippers to strip off a small portion of the insulation from the ends of each wire. This will expose the bare metal for proper connection.
- Before proceeding to the next step, double-check that you have all the necessary components and that they are in good working condition.
Preparing the electronic ignition system before installation is essential to ensure a smooth and successful setup. Make sure to follow the instructions provided in the owner’s manual and take the necessary precautions to handle the components with care.
Once you have prepared the ignition system, you are ready to move on to the next step of the installation process.
Step 4: Mount the electronic ignition
Now that you have prepared the electronic ignition system, it’s time to mount it onto the burner assembly. Follow these steps:
- Align the mounting brackets of the electronic ignition system with the designated mounting points on the burner assembly.
- Securely fasten the brackets using appropriate screws or fasteners. Ensure that the ignition system is firmly and evenly attached to the burner assembly.
- Double-check the alignment of the ignition system to ensure that it is positioned correctly. This will help optimize its efficiency and effectiveness during operation.
- If necessary, use a power drill to create pilot holes for the mounting screws. Be careful not to damage any surrounding components or the burner assembly itself.
- Once the electronic ignition system is securely mounted, visually inspect the assembly to ensure that everything is in place and properly connected.
Mounting the electronic ignition system is a critical step in the installation process. It ensures that the system is positioned correctly and securely, allowing for smooth operation and optimal performance. Take your time to align the components properly and double-check the fastenings to avoid any issues later on.
Once the electronic ignition system is mounted, you can proceed to the next step of connecting the wires.
Step 5: Connect the wires
With the electronic ignition system securely mounted, it’s time to connect the wires. Follow these steps:
- Refer to the owner’s manual to identify the specific wiring diagram for your electronic ignition system.
- Take note of the wire colors and their corresponding connections as indicated in the wiring diagram.
- Connect each wire from the electronic ignition system to its respective connection point on the burner assembly. Ensure that the connections are secure and tight.
- If necessary, use wire connectors or electrical tape to join the wires together. This will provide additional insulation and protection.
- Double-check the connections to ensure that there are no loose or exposed wires.
When connecting the wires, it’s important to follow the wiring diagram provided in the owner’s manual. This will help ensure that the electronic ignition system functions correctly and safely. Take your time to make secure and proper connections to avoid any issues in the future.
Once all the wires are connected, move on to the next step of testing the ignition system.
Step 6: Test the ignition system
After connecting the wires, it’s crucial to test the ignition system before finalizing the installation. Here’s how you can test it:
- Ensure that the power supply is still turned off to prevent any accidental activation during the testing phase.
- Refer to the owner’s manual for instructions on how to activate the ignition system. This may involve pressing a specific button or turning a knob.
- Once activated, observe the electronic ignition system and listen for any clicking sounds. This indicates that the ignition system is functioning properly.
- Check if the electronic ignition system successfully ignites the burner. If the burner ignites, you can proceed to the next step. If not, refer to the troubleshooting section in the owner’s manual or seek assistance from a professional.
- Repeat the testing process a few times to ensure consistent and reliable ignition.
Testing the ignition system is essential to verify that it is working correctly and efficiently. It’s crucial to follow the instructions in the owner’s manual and pay attention to any specific details or troubleshooting tips provided.
If the electronic ignition system passes the testing phase and consistently ignites the burner, you can proceed to secure it in place for long-term use.
Step 7: Secure the ignition system in place
Once you have tested the ignition system and verified its functionality, it’s time to secure it in place for long-term use. Follow these steps:
- Ensure that the power supply is still turned off to prevent any accidental activation while securing the ignition system.
- Inspect the mounting brackets and fasteners to ensure that they are securely fastened and holding the ignition system firmly in place.
- Tighten any loose screws or fasteners if needed to reinforce the stability of the ignition system.
- Check that all wires are neatly arranged and secured to avoid any interference with the surrounding components.
- If necessary, use zip ties or clips to organize and secure the wires into a clean and tidy arrangement.
Securing the ignition system is important to prevent any potential movement or dislodging during regular use. A firmly secured system will ensure reliable ignition and minimize the risk of damage or malfunction.
Once you are confident that the ignition system is securely in place, you can proceed to the next step of turning on the power supply.
Step 8: Turn on the power supply
After securing the ignition system in place, it’s time to turn on the power supply to activate the system. Follow these steps:
- Double-check that the ignition system is properly mounted and all connections are secure.
- Locate the main power switch or breaker that you turned off earlier during the installation process.
- Flip the switch to the “on” position or reset the breaker to restore the power supply to the heating system.
- Allow a few moments for the system to power up and initialize.
- Observe the electronic ignition system to ensure that it activates and ignites the burner as expected.
Turning on the power supply is the final step before starting to enjoy the benefits of your new electronic ignition system. It’s important to ensure that the system is properly connected and mounted before activating the power supply.
If the electronic ignition system successfully ignites the burner without any issues, you have successfully installed and activated the new ignition system. However, if you encounter any problems, refer to the troubleshooting section in the owner’s manual or seek assistance from a professional.
With the power supply turned on, you can now enjoy the efficient and reliable performance of your newly installed electronic ignition system.
Step 9: Troubleshooting tips
Even with careful installation and testing, issues may occasionally arise with the electronic ignition system. Here are some troubleshooting tips to help you address common problems:
- No ignition: If the burner fails to ignite, check the power supply and ensure that the gas supply is turned on. Verify that the wiring connections are secure and correctly aligned as per the wiring diagram.
- Weak or inconsistent ignition: If the ignition spark is weak or inconsistent, there may be an issue with the wiring or the gap between the ignitor and the burner. Check for loose connections or debris that may interfere with the spark.
- Continuous sparking: If the electronic ignition system continues to spark even after the burner is lit, it may indicate a faulty ignition control module. Consider consulting the manufacturer or a professional for further assistance.
- Repeated failures: If the ignition system consistently fails to function correctly, despite troubleshooting attempts, it is advisable to seek expert help. A trained technician can diagnose the problem and provide the necessary repairs or replacement parts.
Remember to always prioritize your safety when troubleshooting electrical systems. If you are unsure or uncomfortable performing any troubleshooting steps, it’s best to consult a professional rather than risking damage or injury.
By following these troubleshooting tips, you can minimize potential issues and ensure the efficient operation of your electronic ignition system.