
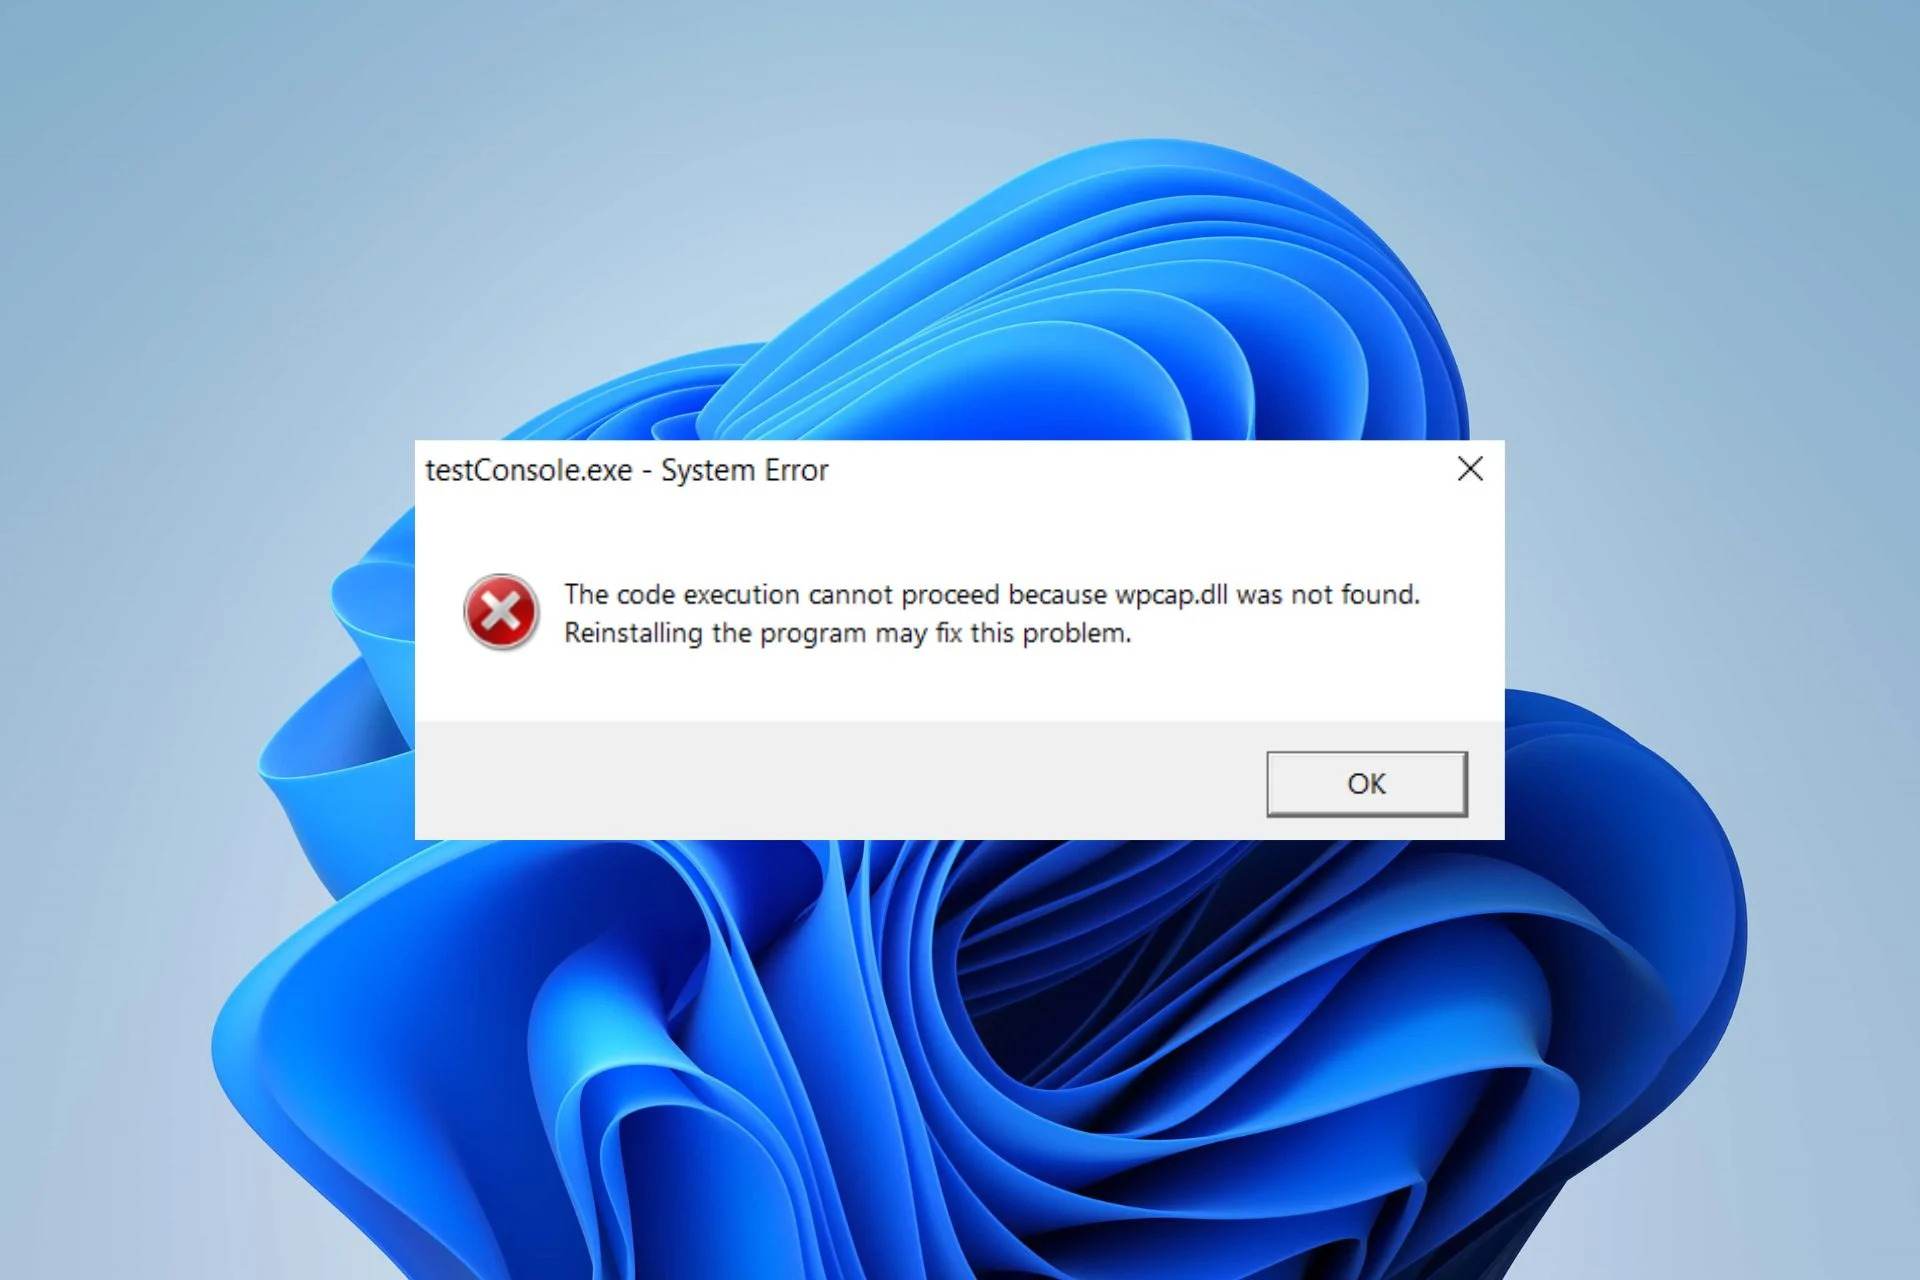
What is wpcap.dll and why is it important?
The wpcap.dll is a dynamic link library file that is an integral part of the WinPcap library. WinPcap stands for Windows Packet Capture, and it is a popular open-source library used by network administrators, developers, and security professionals to capture and analyze network packets. It provides programming interfaces that allow applications to intercept and capture packets that are being transmitted over a network interface.
Wpcap.dll acts as the intermediary between network applications and the underlying network drivers, enabling them to interact with the network interface card (NIC) to capture packet-level data. This DLL file allows network monitoring and packet analysis tools to collect and analyze network traffic, helping to troubleshoot network issues, monitor network performance, and detect potential security threats.
Without wpcap.dll, applications that rely on WinPcap would not be able to function properly. It serves as a bridge that allows these applications to gain access to network data, facilitating packet sniffing, network scanning, and other network analysis activities. From analyzing network traffic patterns to detecting network intrusions, wpcap.dll is crucial for various tasks related to network management and security.
Given its importance in network monitoring and analysis, any issue with wpcap.dll can disrupt the functioning of network analysis tools and hinder effective network management. When encountering errors related to wpcap.dll, it is important to address them promptly to ensure the smooth operation of network monitoring and analysis tasks.
Common causes for wpcap.dll errors
Errors related to the wpcap.dll file can occur due to various reasons. Understanding the common causes can help in troubleshooting and resolving these issues effectively. Here are some of the common causes for wpcap.dll errors:
1. Outdated or incompatible WinPcap version: Using an outdated version of WinPcap or installing a version that is not compatible with your operating system can lead to wpcap.dll errors. It is essential to ensure that you have the appropriate version for your system.
2. Malware infections: Malicious software or malware can infect and modify critical DLL files like wpcap.dll. This can result in errors when attempting to access or utilize the file. Running a thorough malware scan is vital to identify and remove any harmful infections.
3. Corrupted or missing wpcap.dll file: The wpcap.dll file may become corrupted or accidentally deleted. This can happen during software installations, uninstallations, or due to system errors. Without the correct file, applications utilizing WinPcap will not function correctly.
4. Conflicts with other applications: Sometimes, conflicts between WinPcap and other network-related applications or security software can lead to wpcap.dll errors. These conflicts may arise due to incompatible software versions or conflicting settings.
5. Hardware issues: In some cases, hardware issues such as a faulty network interface card or outdated drivers can cause wpcap.dll errors. It is crucial to ensure that your hardware is functioning correctly and that you have the latest drivers installed.
Resolving wpcap.dll errors requires identifying the specific cause and implementing the appropriate solution. Performing a comprehensive analysis of the system and addressing any underlying issues is essential for resolving these errors effectively.
How to download and install wpcap.dll
If you are experiencing wpcap.dll errors, one possible solution is to download and install the correct version of the file. Here are the steps to follow:
1. Identify the correct version: Determine the version of WinPcap that is compatible with your operating system. You can visit the official WinPcap website or refer to the documentation of the application that relies on wpcap.dll for network monitoring and analysis.
2. Download the WinPcap installer: Once you have identified the appropriate version, download the WinPcap installer from a reliable source. It is recommended to get the installer from the official WinPcap website or trusted software repositories.
3. Run the installer: Locate the downloaded installer file and double-click on it to start the installation process. Follow the on-screen instructions and choose the desired installation options.
4. Complete the installation: Once the installation is complete, restart your computer to ensure that the necessary changes are applied.
5. Verify the installation: After the restart, check if the wpcap.dll file is successfully installed. You can do this by opening the application that previously showed the wpcap.dll error, and see if it functions without any issues.
It is important to note that the installation process may vary slightly depending on the version of WinPcap and your operating system. Make sure to carefully read the documentation or installation instructions provided by the WinPcap developers for specific guidance.
If you continue to experience wpcap.dll errors after installing the correct version of WinPcap, consider exploring other troubleshooting steps or seeking professional help.
Updating your operating system
Keeping your operating system up to date is crucial for maintaining the stability and security of your system. In the case of wpcap.dll errors, outdated system components may be the underlying cause. Here’s how you can update your operating system:
1. Check for updates: Open the settings or control panel of your operating system and navigate to the Update & Security section. Check for available updates and ensure that your system is set to install them automatically.
2. Install updates: If updates are available, click on the “Install” or “Update” button to initiate the installation process. Depending on the size of the updates, this may take some time.
3. Restart your computer: After the updates are installed, it is essential to restart your computer to apply the changes. This ensures that any system files, including wpcap.dll, are updated and loaded correctly.
4. Verify the update: Once your computer restarts, check if the wpcap.dll errors have been resolved. Open the application that previously showed the error and see if it functions without any issues.
If you are using a Windows operating system, it is recommended to enable automatic updates to ensure that your system receives the latest security patches and bug fixes. Additionally, consider installing optional updates and driver updates to further enhance system functionality.
By regularly updating your operating system, you can reduce the likelihood of encountering wpcap.dll errors caused by outdated system components. If the errors persist even after updating your operating system, consider exploring other troubleshooting options or seeking professional assistance.
Running a malware scan
Malware infections can interfere with the proper functioning of vital system files like wpcap.dll. It is crucial to perform a thorough malware scan to identify and remove any malicious software that may be causing wpcap.dll errors. Here’s how you can run a malware scan:
1. Choose a reputable antivirus program: Select a reliable antivirus program that offers real-time protection and regular malware scanning. There are many trusted options available, such as Avast, AVG, or Malwarebytes. Ensure that the software is up to date with the latest virus definitions.
2. Initiate a full system scan: Open your antivirus program and navigate to the scanning section. Choose the option for a full system scan, which will thoroughly examine all files and folders on your computer. This may take some time, depending on your system’s speed and the size of your storage.
3. Quarantine or remove detected threats: Once the scan is complete, review the scan results to identify any malware or infected files. Most antivirus programs will provide options to quarantine or remove the detected threats. Follow the prompts to take the necessary actions and ensure that the infected files are isolated or deleted.
4. Restart your computer: After removing any malware, restart your computer to apply the changes and ensure that the system is clean.
5. Check for wpcap.dll errors: Once your computer restarts, check if the wpcap.dll errors have been resolved. Open the application that previously showed the error and see if it functions without any issues.
Regularly running malware scans is essential for maintaining the security and integrity of your system. If the wpcap.dll errors persist even after scanning and removing malware, consider exploring other troubleshooting steps or seeking professional assistance.
Reinstalling or repairing the affected application
If you continue to experience wpcap.dll errors, one possible solution is to reinstall or repair the application that relies on the wpcap.dll file. Issues with the application’s installation or files can cause wpcap.dll errors. Here’s how you can reinstall or repair the affected application:
1. Uninstall the application: Open the Control Panel or Settings of your operating system and navigate to the “Programs” or “Apps” section. Find the application that is displaying the wpcap.dll error and select the option to uninstall it. Follow the on-screen instructions to complete the uninstallation process.
2. Download the latest version: Visit the official website of the application or a trusted software repository to download the latest version of the application. Ensure that you select the version that is compatible with your operating system.
3. Install the application: Once the download is complete, run the installer to install the application. Follow the provided installation instructions and choose the desired installation options. If the installer offers the option to repair the installation, select that option to repair any corrupted or missing files.
4. Restart your computer: After the installation or repair is complete, restart your computer to apply the changes and ensure that the application is properly loaded.
5. Verify the application: Once your computer restarts, open the application that previously showed the wpcap.dll error and check if it functions without any issues. Ensure that the error related to the wpcap.dll file no longer appears.
By reinstalling or repairing the affected application, you can resolve any installation-related issues that may be causing wpcap.dll errors. If the errors persist after reinstalling or repairing the application, consider exploring other troubleshooting options or seeking assistance from the application’s support team.
Restoring wpcap.dll from the Recycle Bin
If you accidentally deleted the wpcap.dll file, it might still be present in the Recycle Bin of your computer. Restoring the file from the Recycle Bin can help resolve wpcap.dll errors. Here’s how you can restore wpcap.dll from the Recycle Bin:
1. Open the Recycle Bin: Locate the Recycle Bin icon on your desktop or access it through the File Explorer or Finder. Double-click on the Recycle Bin to open it.
2. Search for wpcap.dll: In the Recycle Bin, you will see a list of deleted files. Use the search bar at the top-right corner of the Recycle Bin window to search for “wpcap.dll”. This will help filter out irrelevant files and make it easier to locate wpcap.dll.
3. Select and restore wpcap.dll: Once you have found the wpcap.dll file from the search results, right-click on it and select the “Restore” option. This will restore the file to its original location on your computer.
4. Verify the restoration: After restoring wpcap.dll from the Recycle Bin, check if the wpcap.dll errors have been resolved. Open the application that was displaying the error and see if it functions without any issues.
If the wpcap.dll file is not found in the Recycle Bin or if restoring it does not resolve the errors, consider exploring other troubleshooting options, such as reinstalling the application or downloading the wpcap.dll file from a reliable source.
Fixing wpcap.dll errors using System File Checker
If you are encountering wpcap.dll errors, it’s possible that the file itself is corrupted or missing. The System File Checker (SFC) tool in Windows can help identify and repair such system file issues. Here’s how you can use the System File Checker to fix wpcap.dll errors:
1. Open Command Prompt as an administrator: Press the Windows key on your keyboard, type “Command Prompt” in the search bar, then right-click on “Command Prompt” and select “Run as administrator”. This will open the Command Prompt with administrative privileges.
2. Run the System File Checker: In the Command Prompt window, type “sfc /scannow” and press Enter. This command will initiate the System File Checker scan, which will examine your system files, including wpcap.dll, for any corruption or missing components.
3. Wait for the scan to complete: The System File Checker will scan your system files and attempt to repair any issues it finds. This process may take some time, so be patient and let it complete.
4. Restart your computer: Once the scan and repair process is complete, restart your computer to apply the repaired system files.
5. Check for wpcap.dll errors: After your computer restarts, open the application that previously displayed the wpcap.dll error and verify if it is now functioning without any issues.
The System File Checker is a powerful tool for resolving system file-related errors. If the scan does not identify or fix the issue with wpcap.dll, you may need to explore other troubleshooting options, like reinstalling or updating the application, or seeking assistance from technical support or professional services.
Updating drivers
Outdated or incompatible drivers can often cause wpcap.dll errors. To resolve these issues, updating your system drivers can be an effective solution. Here’s how you can update your drivers:
1. Identify the drivers: Identify the specific drivers related to your network interface card (NIC) or the application causing the wpcap.dll error. You can find this information in the device manager or by visiting the manufacturer’s website for your network card.
2. Visit the manufacturer’s website: Go to the official website of your computer’s manufacturer or the manufacturer of your network card. Look for the “Support” or “Drivers” section and search for the updated drivers compatible with your operating system.
3. Download and install the drivers: Locate the updated drivers for your network card and download them to your computer. Follow the installation instructions provided by the manufacturer to install the drivers. It is usually recommended to download and install the drivers from the manufacturer’s website to ensure compatibility and reliability.
4. Restart your computer: After installing the updated drivers, restart your computer to apply the changes. This ensures that the new drivers are properly loaded and take effect.
5. Verify the driver update: Once your computer restarts, open the application that previously showed the wpcap.dll error and see if it functions without any issues. If the error no longer appears, the driver update was successful.
It’s worth noting that updating drivers requires caution and attention to detail. Ensure that you download the drivers from trusted sources and follow the manufacturer’s instructions accurately. If updating the drivers does not resolve the wpcap.dll errors, consider exploring other troubleshooting steps or consulting with technical support for further assistance.
Checking for hardware issues
In some cases, hardware issues can be the underlying cause of wpcap.dll errors. Performing a thorough check of your hardware components can help identify and resolve such issues. Here are some steps to check for hardware issues:
1. Inspect the network interface card (NIC): Check the physical condition of your NIC. Ensure that it is properly connected to the motherboard and that there are no loose connections or obvious signs of damage. You can also try reseating the NIC to ensure a secure connection.
2. Update NIC drivers: Make sure that you have the latest drivers installed for your NIC. Refer to the manufacturer’s website for updates and follow the instructions to install them. Outdated or incompatible drivers can cause conflicts and result in wpcap.dll errors.
3. Test with different NIC: If possible, try using a different NIC to see if the wpcap.dll errors persist. This will help determine if the issue lies with the existing NIC. If the errors disappear with the new NIC, it may be necessary to replace the old NIC.
4. Check network cables: Inspect the network cables connected to your NIC. Ensure that they are not damaged and are securely connected to the appropriate ports. Faulty or loose cables can cause network connectivity issues and contribute to wpcap.dll errors.
5. Update firmware: If your NIC has firmware, check for firmware updates on the manufacturer’s website. Keeping the firmware up to date can resolve compatibility issues and improve the performance of the NIC.
6. Test on a different network: Connect your computer to a different network or try using a different network connection, such as Wi-Fi instead of Ethernet. This can help determine if the issue is specific to your network setup.
If any hardware issues are detected during the checks, proper troubleshooting steps should be taken to resolve them. This may involve contacting the manufacturer for support, replacing faulty hardware components, or seeking assistance from a professional technician. By addressing hardware-related issues, you can eliminate potential causes for wpcap.dll errors and ensure the smooth operation of your network monitoring and analysis tasks.
Contacting support for further assistance
If you have tried various troubleshooting steps and are still experiencing wpcap.dll errors, it may be necessary to seek further assistance from technical support. Here are some steps to follow when contacting support:
1. Gather information: Before reaching out to support, gather relevant information about the wpcap.dll error. Take note of the specific error message, any error codes, and the steps you have already taken to troubleshoot the issue. This will help provide a clear picture of the problem to the support team.
2. Identify the affected application: Determine which application is encountering the wpcap.dll error. This will help support personnel understand the context and focus their assistance accordingly.
3. Search the knowledge base: Check if the application’s developer or the WinPcap community has a knowledge base or a support forum. Often, you can find troubleshooting articles, FAQs, or community discussions that address common issues related to wpcap.dll errors.
4. Contact the support team: If you are unable to find a solution in the knowledge base or community forums, reach out to the official support team of the affected application or WinPcap. Visit their website and look for a support contact or submit a support ticket through their designated channels. Provide a detailed description of the issue and the steps you have taken to address it.
5. Follow instructions: Once you have contacted support, they may ask for additional information or provide specific instructions to further diagnose and resolve the wpcap.dll error. Follow their instructions closely and provide any requested details promptly.
6. Provide feedback: After receiving assistance from the support team, provide feedback on the effectiveness of their recommendations and whether the suggested solutions resolved the wpcap.dll errors. This feedback can help improve the support process for others who may encounter similar issues.
Remember to be patient and polite when engaging with support personnel. They are there to assist you and will likely do their best to help resolve the issue. Explaining the problem clearly, providing all the necessary information, and following their guidance will increase the chances of finding a resolution to the wpcap.dll errors.