
What is sdl.dll?
The sdl.dll is a dynamic link library file that is a crucial component of the Simple DirectMedia Layer (SDL) development library. SDL is an open-source, cross-platform development framework used for creating multimedia applications, especially video games. It provides a set of tools and libraries that simplify the development process by abstracting low-level APIs and handling tasks such as window creation, input management, and audio rendering.
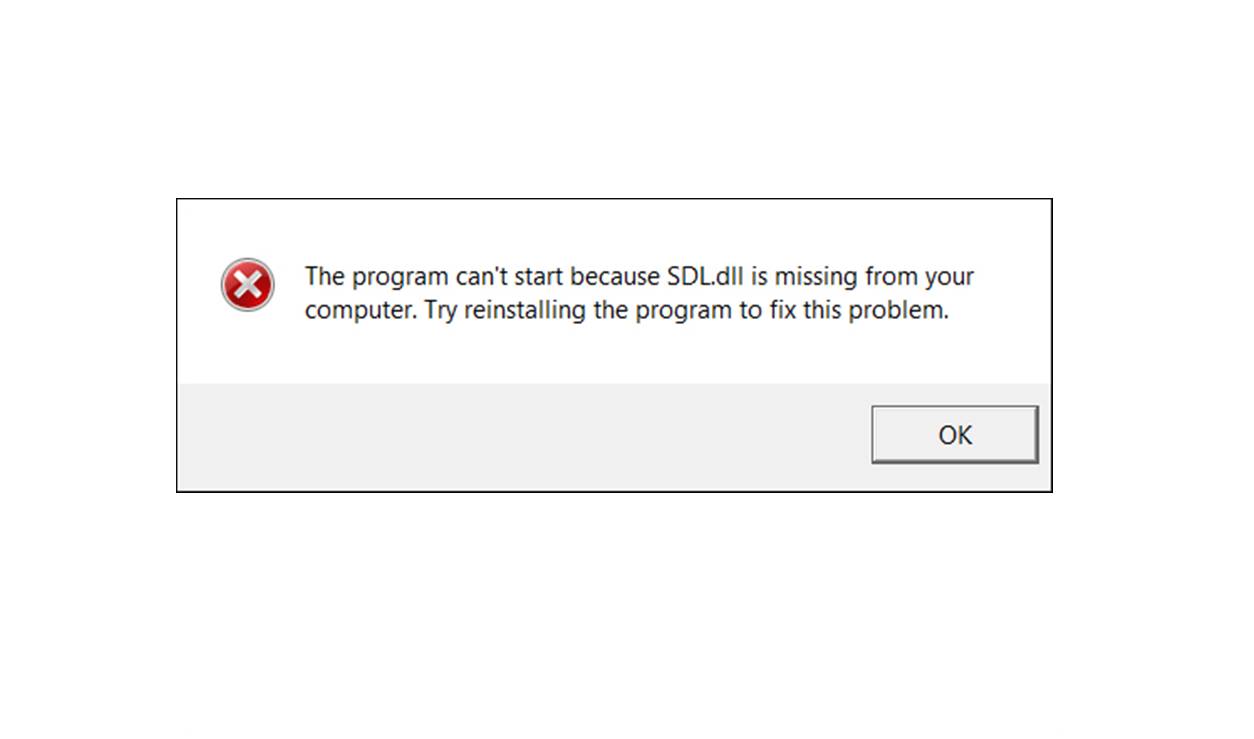
The sdl.dll file contains the necessary functions and resources required by software applications and games that utilize the SDL framework. It allows these programs to communicate with the SDL library and access its functionalities. Without the sdl.dll file, such applications may not be able to start or function properly, leading to various errors and issues.
SDL is widely used by developers due to its portability across different platforms, including Windows, Mac OS, Linux, and even gaming consoles. It provides a comprehensive set of features for creating high-performance applications with graphics, audio, and input handling capabilities. The sdl.dll file is a vital component in ensuring the seamless execution of these applications.
Keep in mind that sdl.dll is not a system file, but rather a file specific to applications that utilize the SDL library. Therefore, it is important to ensure that the correct version of the sdl.dll file is installed and properly accessible by the applications that require it.
Why is sdl.dll not found or missing?
There are several reasons why the sdl.dll file may not be found or go missing from your system. Understanding these reasons can help you troubleshoot and resolve the issue effectively. Here are the most common causes:
1. Corrupted or deleted file: The sdl.dll file may get corrupted due to system errors, software conflicts, or accidental deletion. This can happen when you uninstall a program or when a malicious program deletes the file.
2. Incorrect file path: If the application or game that requires sdl.dll is unable to locate the file in its designated location, it will result in a “not found” error. This can occur if the file is moved, renamed, or if the application is installed in a different directory.
3. Outdated or incompatible version: Applications and games may require specific versions of sdl.dll to function correctly. If you have an outdated or incompatible version of the file, it may not be recognized, leading to errors or missing file messages.
4. Malware or virus infection: Malicious software can corrupt or delete important system files, including sdl.dll. These infections can occur through unsafe downloads, email attachments, or visiting compromised websites.
5. Registry issues: Problems with the Windows registry, such as invalid or missing entries related to sdl.dll, can cause the file to be inaccessible by the applications that require it.
It is essential to identify the cause behind the “not found” or missing sdl.dll file to implement the appropriate solution. By addressing the root cause, you can effectively resolve the issue and ensure the smooth functioning of your applications and games that depend on the sdl.dll file.
How to Fix sdl.dll Not Found or Missing Errors:
Encountering an error related to the sdl.dll file can be frustrating, but there are several solutions you can try to resolve the issue. Here are some methods that may help fix sdl.dll not found or missing errors:
1. Restart your computer: Sometimes, a simple restart can solve the issue. Restart your computer and check if the sdl.dll error persists.
2. Reinstall the program: If the error is specific to a particular program or game, try uninstalling and reinstalling it. This process will ensure that the necessary files, including sdl.dll, are correctly installed.
3. Update the program or game: Check if there are any available updates for the program or game that is generating the sdl.dll error. Developers often release updates to address compatibility issues and bug fixes.
4. Restore sdl.dll from the Recycle Bin: If you recently deleted sdl.dll, it may still be in your Recycle Bin. Open the Recycle Bin, locate sdl.dll, right-click on it, and choose “Restore” to return the file to its original location.
5. Run a virus/malware scan: Perform a full system scan using reliable antivirus or antimalware software. Malicious programs can interfere with important system files like sdl.dll. Removing any threats may resolve the issue.
6. Use System Restore: If the sdl.dll error started occurring after a recent system change, such as a software installation or update, you can use System Restore to revert your computer to a previous state when it was working fine.
7. Update your drivers: Outdated or malfunctioning device drivers can cause sdl.dll errors. Visit the manufacturer’s website and download the latest drivers for your hardware components, such as graphics cards and audio devices.
8. Download sdl.dll from a trusted source: If sdl.dll is genuinely missing from your system, you can try downloading it from a reliable DLL download website. Ensure that you choose a reputable source, and exercise caution to avoid downloading malware-infected files.
9. Register sdl.dll manually: Open the Command Prompt as an administrator and use the “regsvr32” command to register the sdl.dll file manually. This process can help resolve any issues with the file’s registration.
10. Repair your Windows installation: If all else fails, you may need to perform a repair installation of your Windows operating system. This process will fix any corrupted system files, including sdl.dll, without affecting your personal files and applications.
Keep in mind that the effectiveness of these solutions may vary depending on the specific cause of the sdl.dll error. It is always recommended to follow these steps carefully and create a backup of your important files before making any system changes.
Restart your computer
Sometimes, the simplest solution is the most effective. Restarting your computer can resolve many software and system-related issues, including those related to the sdl.dll file. Here’s how to do it:
1. Save your work and close all open programs.
2. Click on the “Start” button in the bottom left corner of your screen.
3. From the Start menu, click on the “Power” button.
4. Select “Restart” from the options listed. Your computer will begin the restart process.
5. Once your computer restarts, check if the sdl.dll error is resolved.
Restarting your computer clears temporary files and refreshes the system processes, which can help resolve conflicts and errors. It also ensures that any recent changes or updates are implemented properly.
If the sdl.dll error persists after restarting, proceed to the next troubleshooting steps to resolve the issue.
Note: In some cases, a simple restart may temporarily solve the issue but does not address the root cause. If you encounter the same error frequently, it is advisable to investigate further and implement a more permanent solution.
Reinstall the program
If you are experiencing the sdl.dll error with a specific program or game, reinstalling that program can help resolve the issue. Follow these steps to reinstall the program:
1. Open the “Control Panel” on your Windows computer. You can access it by searching for “Control Panel” in the Start menu or by right-clicking on the Start button and selecting “Control Panel.”
2. In the Control Panel, click on “Programs” or “Programs and Features” depending on your Windows version.
3. Find the program that is giving you the sdl.dll error in the list of installed programs.
4. Right-click on the program and select “Uninstall” or “Uninstall/Change.”
5. Follow the on-screen prompts to complete the uninstallation process.
6. Once the program is uninstalled, restart your computer.
7. After restarting, reinstall the program by running the installer file or downloading it from the official website.
8. Follow the installation prompts and select the desired installation options.
9. Once the installation is complete, restart your computer again.
Reinstalling the program ensures that all necessary files, including sdl.dll, are properly installed and configured. This process can resolve any issues caused by corrupted or missing files that were present during the initial installation.
If the sdl.dll error persists even after reinstalling the program, you may need to try other troubleshooting methods to resolve the issue.
Update the program or game
Outdated versions of programs or games can sometimes cause compatibility issues, leading to errors related to the sdl.dll file. Updating the program or game to the latest version can help resolve these issues. Here’s how you can update a program or game on your Windows computer:
1. Open the program and check if there is an option to update within the program itself. Look for a “Check for Updates” or “Update” button/option. Click on it to initiate the update process. Follow the prompts to complete the update.
2. If there is no built-in update option, you can manually check for updates on the official website of the program or game. Visit the website and look for a “Download” or “Downloads” section. Locate the latest version for your operating system and download it.
3. After downloading the latest version, run the installer file and follow the installation prompts. Make sure to review the installation settings and select appropriate options.
4. Once the installation is complete, restart your computer.
Updating the program or game ensures that you have the most recent version with bug fixes, enhancements, and compatibility improvements. These updates may include specific fixes related to the sdl.dll file, resolving any issues that were causing the sdl.dll error.
If the sdl.dll error persists even after updating the program or game, proceed to the next troubleshooting steps to resolve the issue.
Restore sdl.dll from the Recycle Bin
If you recently deleted the sdl.dll file, it may still be recoverable from the Recycle Bin. Restoring the file from the Recycle Bin can help resolve the sdl.dll error. Here’s how to do it:
1. Double-click on the Recycle Bin icon on your desktop to open it.
2. In the Recycle Bin window, locate the sdl.dll file. You can use the search bar at the top-right corner of the window to quickly search for the file.
3. Once you find the sdl.dll file, right-click on it and select “Restore” from the context menu. Alternatively, you can select the file and click on the “Restore the selected items” button in the toolbar.
4. The sdl.dll file will be restored to its original location before it was deleted.
5. Now, try running the program or game that was showing the sdl.dll error and check if the issue is resolved.
Restoring sdl.dll from the Recycle Bin allows you to retrieve the file if it was accidentally deleted or moved to the Bin. By restoring it to its original location, you ensure that the program or game can access the necessary sdl.dll file, preventing the error from occurring.
If you can’t find the sdl.dll file in the Recycle Bin or if restoring it doesn’t resolve the error, move on to the next troubleshooting methods to fix the sdl.dll issue.
Run a virus/malware scan
A virus or malware infection on your computer can corrupt or delete important files, including the sdl.dll file. Running a thorough virus/malware scan can help identify and remove any malicious software that may be causing the sdl.dll error. Follow these steps to scan your computer for viruses and malware:
1. Ensure that you have updated antivirus or antimalware software installed on your computer. If you don’t have one, consider installing reputable security software.
2. Open your antivirus or antimalware program. Depending on the software you are using, the interface and options may vary.
3. Initiate a full system scan for viruses and malware. This option is usually available on the main screen or under the “Scan” or “Protection” tab.
4. Wait for the scan to complete. This process may take some time, depending on the size of your hard drive and the number of files on your system. During the scan, the software will check all files and folders for any potential threats.
5. If any malware or viruses are detected, follow the prompts provided by the software to remove or quarantine them. Ensure that you carefully review the items marked as threats before proceeding with the removal process.
6. Once the scan and removal process is complete, restart your computer.
Running a virus/malware scan helps to ensure that your computer is free from any malicious programs that may be interfering with important system files like sdl.dll. Removing these threats can resolve the sdl.dll error and also improve the overall security and performance of your computer.
If the sdl.dll error persists even after running a virus/malware scan, continue with the subsequent troubleshooting steps to resolve the issue.
Use System Restore
If you started experiencing the sdl.dll error after making system changes, such as installing new software or updates, using System Restore can help revert your computer to a previous state when it was functioning properly. This can effectively resolve the sdl.dll error. Here’s how you can use System Restore:
1. Press the Windows key and search for “System Restore” in the Start menu. Click on the “Create a restore point” or “System Restore” option that appears in the search results.
2. In the System Properties window, click on the “System Restore” button. This will launch the System Restore wizard.
3. Select the option to “Restore my computer to an earlier time” and click “Next.”
4. You will now see a list of available restore points. These are previous states of your system that were created automatically or manually. Choose a restore point that predates the occurrence of the sdl.dll error and click “Next.”
5. Carefully review the details of the selected restore point and click “Finish” to initiate the restoration process.
6. Your computer will restart and begin the restoration process. This may take a while, so be patient and avoid interrupting the process.
System Restore will revert your computer’s settings, drivers, and system files to the state they were in when the selected restore point was created. This includes the sdl.dll file, potentially resolving any issues that were causing the error.
It’s important to note that using System Restore will not affect your personal files, but it may uninstall recently installed software or updates. After the restoration is complete, check if the sdl.dll error persists. If it does, proceed to the next troubleshooting methods to resolve the issue.
Update your drivers
Outdated or malfunctioning drivers can cause compatibility issues and result in errors related to the sdl.dll file. Updating your drivers can help resolve these issues and ensure smooth operation of your system. Follow these steps to update your drivers:
1. Identify the hardware components that may be related to the sdl.dll error. Common components include graphics cards, sound cards, and network adapters.
2. Visit the manufacturer’s website for each component to find the latest driver updates. Look for a “Support” or “Downloads” section on the website.
3. Locate the exact driver version that matches your hardware model and operating system. Be sure to select the correct version to avoid compatibility issues. If available, download the driver installer file to your computer.
4. Run the driver installer file and follow the on-screen instructions to install the updated driver. Make sure to review the installation settings and select appropriate options.
5. Repeat this process for each hardware component you identified in step 1.
6. Once all the drivers are updated, restart your computer to ensure the changes take effect.
Updating your drivers ensures that your hardware components work properly and remain compatible with other system files, including sdl.dll. Incompatibility or outdated drivers can often be the culprit behind sdl.dll errors, and updating them can resolve the issue.
If the sdl.dll error persists even after updating your drivers, proceed to the next troubleshooting steps to resolve the issue.
Download sdl.dll from a trusted source
If the sdl.dll file is genuinely missing from your system, you can attempt to resolve the error by downloading a new copy of the sdl.dll file from a trusted source. Here’s how you can do it:
1. Start by searching for trusted DLL download websites. It’s important to choose a reputable source to ensure the integrity of the downloaded file. Look for websites that have positive user reviews and a good reputation for providing reliable DLL files.
2. Once you have identified a trustworthy source, search for “sdl.dll” on their website’s search bar or navigate to the appropriate page for downloading DLL files.
3. Locate and select the correct version of the sdl.dll file that matches your operating system and application requirements. Pay attention to whether you have a 32-bit or 64-bit system and choose the corresponding version of sdl.dll accordingly.
4. Download the sdl.dll file to a secure location on your computer, such as your Downloads folder.
5. After the download is complete, navigate to the folder where you saved the sdl.dll file.
6. Copy the sdl.dll file.
7. Paste the sdl.dll file into the appropriate directory. The exact location may vary depending on your operating system and the application in question. Generally, you can try pasting the file into the same directory as the program or game that is experiencing the sdl.dll error. Alternatively, you can place the file in the Windows System folder (e.g., C:\Windows\System32).
8. Confirm any prompts that ask for your permission to replace or overwrite the existing sdl.dll file.
Downloading sdl.dll from a trusted source and replacing the missing file can potentially resolve the error. However, exercise caution and ensure that you have obtained the sdl.dll file from a reputable source to prevent any potential risks associated with downloading files from unknown or malicious websites.
If the sdl.dll error does not resolve after replacing the file, proceed to the next troubleshooting steps to resolve the issue.
Register sdl.dll manually
If the sdl.dll file is present on your system but not properly registered, you may encounter errors. Registering the sdl.dll file manually can help resolve such issues by ensuring that it is recognized and accessible by the applications that require it. Follow these steps to manually register sdl.dll:
1. Press the Windows key and search for “Command Prompt” in the Start menu. Right-click on “Command Prompt” and select “Run as administrator” to open an elevated Command Prompt.
2. In the Command Prompt window, type the following command and press Enter:
regsvr32 path\to\sdl.dll
Replace “path\to\sdl.dll” with the actual file path of the sdl.dll file on your system. For example, if the sdl.dll file is located in the Windows System32 folder, the command would be:
regsvr32 C:\Windows\System32\sdl.dll
3. After executing the command, you should see a message confirming that the registration was successful. If you encounter any error messages, double-check the file path and ensure that you have administrative privileges.
4. Once the registration is complete, close the Command Prompt.
Manually registering sdl.dll ensures that the file is correctly mapped and accessible by the applications that require it. This can help resolve errors related to sdl.dll by allowing the applications to locate and utilize the file properly.
If the sdl.dll error persists after attempting to register the file, proceed to the next troubleshooting steps to resolve the issue.
Repair your Windows installation
If none of the previous solutions have resolved the sdl.dll error, it may be necessary to repair your Windows installation. This process can help fix any corrupted system files, including sdl.dll, without affecting your personal files and applications. Here’s how you can repair your Windows installation:
1. Back up your important files to an external storage device or cloud storage service to ensure their safety during the repair process.
2. Insert your Windows installation media (DVD or USB) into your computer.
3. Restart your computer and boot from the installation media. You may need to change the boot order in your computer’s BIOS settings to prioritize the installation media.
4. Select your language preferences and click on “Next” to proceed.
5. On the installation screen, click on “Repair your computer” or “Troubleshoot,” depending on your Windows version.
6. Follow the on-screen prompts to reach the repair options. Look for options such as “Startup Repair,” “System Restore,” or “Automatic Repair.”
7. Select the appropriate repair option that matches your issue. If none of the provided options seem relevant, look for an option to access the Command Prompt.
8. If you can access the Command Prompt, type the following command and press Enter:
sfc /scannow
This command will initiate a system file scan and automatically repair any corrupted system files, including sdl.dll.
9. Allow the repair process to complete. This may take some time, and your computer may restart multiple times during the process. Follow any further prompts that appear on the screen.
Repairing your Windows installation can help resolve any system file issues that may be causing the sdl.dll error. Once the repair process is complete, check if the sdl.dll error is resolved. If it persists, you may need to seek further assistance or consider more extensive troubleshooting methods.