
What is Spam?
Spam is a term used to describe unsolicited and unwanted emails that are sent to a large number of recipients, usually for advertising or malicious purposes. These emails often contain promotional content, phishing attempts, or other forms of unwanted communication. Spam emails can be a nuisance, cluttering up our inboxes and wasting our time. They can also pose potential risks, as they may contain links to malware-infected websites or attempt to trick recipients into revealing sensitive information.
Spam emails are typically sent out in bulk by automated email systems, targeting a wide range of email addresses. They can be disguised as legitimate emails, making it difficult to distinguish between spam and genuine messages. This is where spam filters come into play.
Spam filters are tools designed to identify and block spam emails. They work by analyzing the content, sender, and other characteristics of incoming messages to determine their likelihood of being spam. These filters use various techniques, such as pattern recognition, Bayesian analysis, and machine learning algorithms, to improve their accuracy over time and effectively separate spam from legitimate emails.
Why Filter Spam?
Filtering spam emails is essential for several reasons. Here are a few key reasons why it is important to implement spam filters:
- Reducing Inbox Clutter: Spam emails can quickly fill up your inbox, making it difficult to find important and legitimate messages. Filtering out spam ensures that your inbox remains organized and focused on relevant communications.
- Time-saving: Dealing with a flood of spam emails can be time-consuming. By filtering out spam, you can save valuable time that would otherwise be wasted on sorting and deleting unwanted messages.
- Protecting Against Malware: Spam emails often contain malicious links or attachments that can unleash malware onto your computer or network. Filtering out spam helps to prevent these potential security threats.
- Preventing Phishing Attempts: Many spam emails are designed to trick recipients into revealing sensitive information, such as passwords or financial details. By filtering out such emails, you can significantly reduce the risk of falling victim to phishing scams.
- Improving Email Performance: Large volumes of spam can impact the performance of email servers and slow down the delivery of legitimate emails. Filtering spam helps to enhance the overall efficiency and speed of the email system.
By actively filtering spam, you can enjoy a clutter-free inbox, save time, protect your devices from malware, prevent phishing attacks, and ensure the smooth functioning of your email experience. With the right spam filtering techniques in place, you can maintain control over your email communication and focus on what matters most.
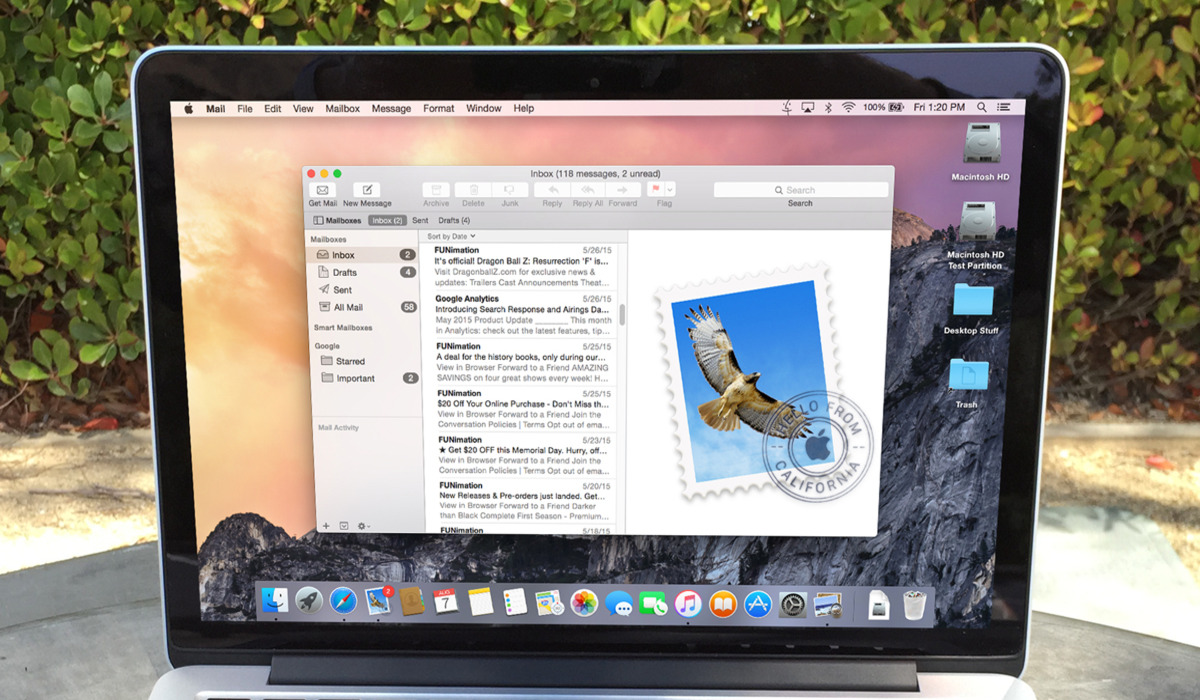
Setting Up Spam Filters in Apple Mail
If you use Apple Mail as your email client, you have a built-in spam filtering feature that can help you effectively manage and filter out unwanted emails. Here’s how to set up spam filters in Apple Mail:
- Open Apple Mail: Launch the Apple Mail application on your Mac.
- Go to Preferences: Click on the “Mail” menu in the top-left corner of the screen and select “Preferences” from the dropdown menu.
- Select the Junk Mail tab: In the Preferences window, click on the “Junk Mail” tab at the top.
- Enable Junk Mail Filtering: Check the box next to “Enable junk mail filtering” to activate the spam filter.
- Adjust Filtering Options: Apple Mail provides different options for how you want to handle incoming spam. You can choose to mark suspected emails as junk, move them to the Junk mailbox, or automatically delete them. Configure these options according to your preferences.
- Optional: Train Mail: Apple Mail has a feature called “Train Mail” that allows you to mark emails as junk or not junk, which helps the program learn and improve its filtering accuracy over time. If you receive a spam email in your inbox or a legitimate email in your Junk mailbox, right-click on the email and select “Train as Junk” or “Train as Not Junk” to provide feedback to the spam filter.
- Customize Settings: You can further customize the spam filter settings by clicking on the “Advanced” button. Here, you can adjust the sensitivity of the filter and create additional rules for specific senders or domains.
- Click “OK”: Once you have configured the spam filter settings to your liking, click on the “OK” button to save the changes.
By following these steps, you can easily set up and customize spam filters in Apple Mail to ensure that you have better control over your incoming emails, reduce inbox clutter, and prevent unwanted spam from reaching your inbox.
Training Apple Mail to Recognize Spam
Training Apple Mail to recognize and filter out spam emails is an effective way to improve the accuracy of the built-in spam filter. By providing feedback to the system, you can help it learn and adapt to your individual preferences. Here are some tips to train Apple Mail to recognize spam:
- Mark Emails as Junk: If you receive a spam email in your inbox, select the email and click on the “Junk” button in the toolbar at the top of the Apple Mail window. This action will immediately move the email to your Junk mailbox and help train the spam filter to recognize similar emails in the future.
- Mark Legitimate Emails: On occasion, legitimate emails may end up in your Junk mailbox. If this happens, select the email and click on the “Not Junk” button in the toolbar. This action will move the email to your inbox and teach Apple Mail to recognize similar emails as not spam.
- Use Keyboard Shortcuts: Apple Mail provides keyboard shortcuts to quickly mark emails as junk or not junk. Press “Command + Shift + J” to mark an email as junk and “Command + Shift + L” to mark an email as not junk. Utilizing these shortcuts makes it faster and more convenient to train the spam filter.
- Check Junk Mailbox: Regularly review the emails in your Junk mailbox to ensure that no legitimate emails are being incorrectly filtered. If you find any, mark them as not junk to help Apple Mail learn and improve its filtering accuracy.
- Consider External Filters: If Apple Mail’s built-in spam filter is not sufficient for your needs, you can also consider using external spam filters. These filters can integrate with Apple Mail and provide additional layers of protection against spam.
By actively training Apple Mail to recognize spam, you can improve the accuracy of the spam filter and ensure that your inbox is free from unwanted emails. By providing feedback through marking emails as junk or not junk, you contribute to the ongoing refinement of the spam filtering system.
Using Rules to Filter Spam
Apple Mail offers a powerful feature called “Rules” that allows you to create customized filters to automatically sort and filter incoming emails, including spam. By leveraging rules, you can have more control over how your emails are organized and ensure that spam is effectively filtered out. Here’s how to use rules to filter spam in Apple Mail:
- Open Rules Preferences: Go to the “Mail” menu in the top-left corner of the screen, select “Preferences,” and then click on the “Rules” tab.
- Create a New Rule: Click on the “+” button to create a new rule.
- Set Rule Criteria: In the “If” section of the rule, specify the criteria for identifying spam emails. This can include specific email addresses, domains, subject lines, or other identifying factors commonly found in spam emails.
- Define Action: In the “Then” section of the rule, specify the action to be taken with identified spam emails. Choose options such as moving the email to the Junk mailbox, marking it as junk, or deleting it.
- Refine the Rule: You can add additional criteria or actions to further refine the rule. For example, you can create multiple rules to target different types of spam or prioritize certain senders.
- Organize Rule Execution: Rules are executed in the order they appear in the list. You can use the up and down arrows to rearrange the rules and determine the priority of execution.
- Apply the Rules: Once you have set up the rule(s) according to your preferences, click on the “OK” button to save the changes.
By utilizing rules, you can automate the process of filtering spam emails based on specific criteria that you define. This allows you to have a more tailored approach to spam filtering and ensures that unwanted emails are dealt with automatically and efficiently.
Creating a Whitelist
A whitelist is a list of trusted email senders or domains that you want to receive emails from, even if they may be flagged as potential spam. By creating a whitelist, you can ensure that important emails from trusted contacts always make it to your inbox. Here’s how to create a whitelist in Apple Mail:
- Open Preferences: Go to the “Mail” menu in the top-left corner of the screen, select “Preferences,” and then click on the “Junk Mail” tab.
- Access the Mailbox List: In the Preferences window, click on the “Mailbox List” icon at the top to display your mailbox list.
- Create a New Mailbox: Right-click anywhere in the mailbox list and select “New Mailbox” from the context menu. Give your new mailbox a name, such as “Whitelist” or “Trusted Contacts”.
- Add Contacts to Whitelist: In your mailbox list, locate the email messages from trusted contacts that were incorrectly marked as spam. Drag and drop these emails into your newly created “Whitelist” mailbox.
- Set Criteria for Future Messages: To ensure that future emails from these trusted contacts always bypass the spam filter, go back to the “Junk Mail” tab in Preferences. In the “From” field, click on the “+” button and choose “Sender” from the dropdown menu. Type the email address or domain of the trusted contact that you want to whitelist.
- Save Changes: Click on the “OK” button to save your whitelist settings.
By creating a whitelist, you can prioritize emails from trusted contacts and prevent them from being mistakenly marked as spam. This ensures that important communications from coworkers, clients, friends, and family members always reach your inbox, providing you with peace of mind and efficient email management.
Reporting Spam to Apple
Reporting spam emails to Apple is a crucial step in the fight against spam and can help improve the overall effectiveness of spam filtering for all Apple Mail users. By reporting spam, you contribute to the collective effort of identifying and blocking spam sources. Here’s how you can report spam to Apple:
- Select the Email: Identify the spam email in your inbox or Junk mailbox that you want to report to Apple.
- Forward the Email: With the spam email selected, click on the “Forward” button to create a new email draft.
- Send to Apple: Address the email to reportphishing@apple.com. This email address is specifically designated for reporting spam and phishing attempts to Apple.
- Include Spam Headers: To provide Apple with as much information as possible, ensure that the complete email headers are included in the forwarded email. Headers contain technical information that can help Apple in investigating and blocking spam sources.
- Do Not Alter the Email: When forwarding the spam email, avoid making any modifications to the content or subject line. It is crucial to retain the original message as it was received.
- Add Additional Details (Optional): If you have any additional information or thoughts to share with Apple regarding the reported spam email, you can include it in the body of the forwarded email.
- Click Send: Once you have filled in the necessary information and included the complete email headers, click on the “Send” button to submit the report to Apple.
By reporting spam to Apple, you actively contribute to the ongoing efforts to combat spam and protect Apple Mail users from unsolicited and potentially harmful emails. Your report helps Apple identify spam patterns and take appropriate actions to prevent similar emails from reaching other users’ inboxes.
Additional Tips for Reducing Spam
While spam filters and reporting to Apple are effective in reducing unwanted emails, there are additional steps you can take to further minimize the amount of spam you receive. Here are some extra tips for reducing spam:
- Be cautious with your email address: Avoid sharing your email address publicly or on untrustworthy websites. Spammers often scrape websites and online directories for email addresses.
- Use a strong spam filter: Consider using third-party spam filtering software or services in addition to Apple Mail’s built-in spam filter. These solutions often provide advanced filtering techniques and better accuracy.
- Unsubscribe responsibly: When you want to unsubscribe from a newsletter or mailing list, use the unsubscribe link provided in the email. Do not reply to spam emails or click on suspicious links, as this may confirm your email address as active to spammers.
- Review privacy policies: Before sharing your email address with online services or websites, review their privacy policies to ensure that they have measures in place to protect your information and prevent spamming.
- Use a secondary email address: Consider using a separate email address for online registrations, subscriptions, and other non-essential communications. This can help keep your primary email address free from spam.
- Regularly update your email client: Keep Apple Mail and your operating system up to date with the latest security patches and updates. This helps protect against newly discovered vulnerabilities that spammers may exploit.
- Avoid opening suspicious attachments: Be cautious when opening email attachments, especially from unknown senders. Malware can be hidden within attachments, so only open files that you trust or were expecting.
- Exercise caution with links: Before clicking on links in emails, hover your mouse over them to preview the URL. Verify that the link goes to a legitimate and trustworthy website before clicking.
- Keep your email address private on social media: Be mindful of what you share on social media platforms, as spammers often target public profiles to harvest email addresses. Adjust your privacy settings to limit the visibility of your email address.
- Regularly review your spam folder: Check your spam folder periodically for any legitimate emails that may have been incorrectly flagged. Mark them as “Not Junk” to train your spam filter and prevent similar emails from being marked as spam in the future.
By implementing these additional tips, you can enhance your spam prevention efforts and enjoy a cleaner and more secure email experience. While it is nearly impossible to completely eliminate spam, staying vigilant and taking proactive measures can significantly minimize its impact.